Applesauce!

#VeganMoFo18 Day 6 – Applesauce!
Please note, this post is meant as an overview of canning applesauce and does not replace or represent itself to be an official guide for proper canning at home. It is important to consult safe canning resources, which are listed at the end of this post.
Applesauce is a great zero waste vegan thing to make because it is very easy and a great substitute for oil or butter in baked goods. I usually use equal parts applesauce to oil when converting recipes to whole food, plant-based, no oil (WFPBNO) and it works perfectly the majority of the time. You can make applesauce in an Instant Pot or on your stovetop and either freeze or can. Because apples are an acid food, you will boiling water bath can applesauce.

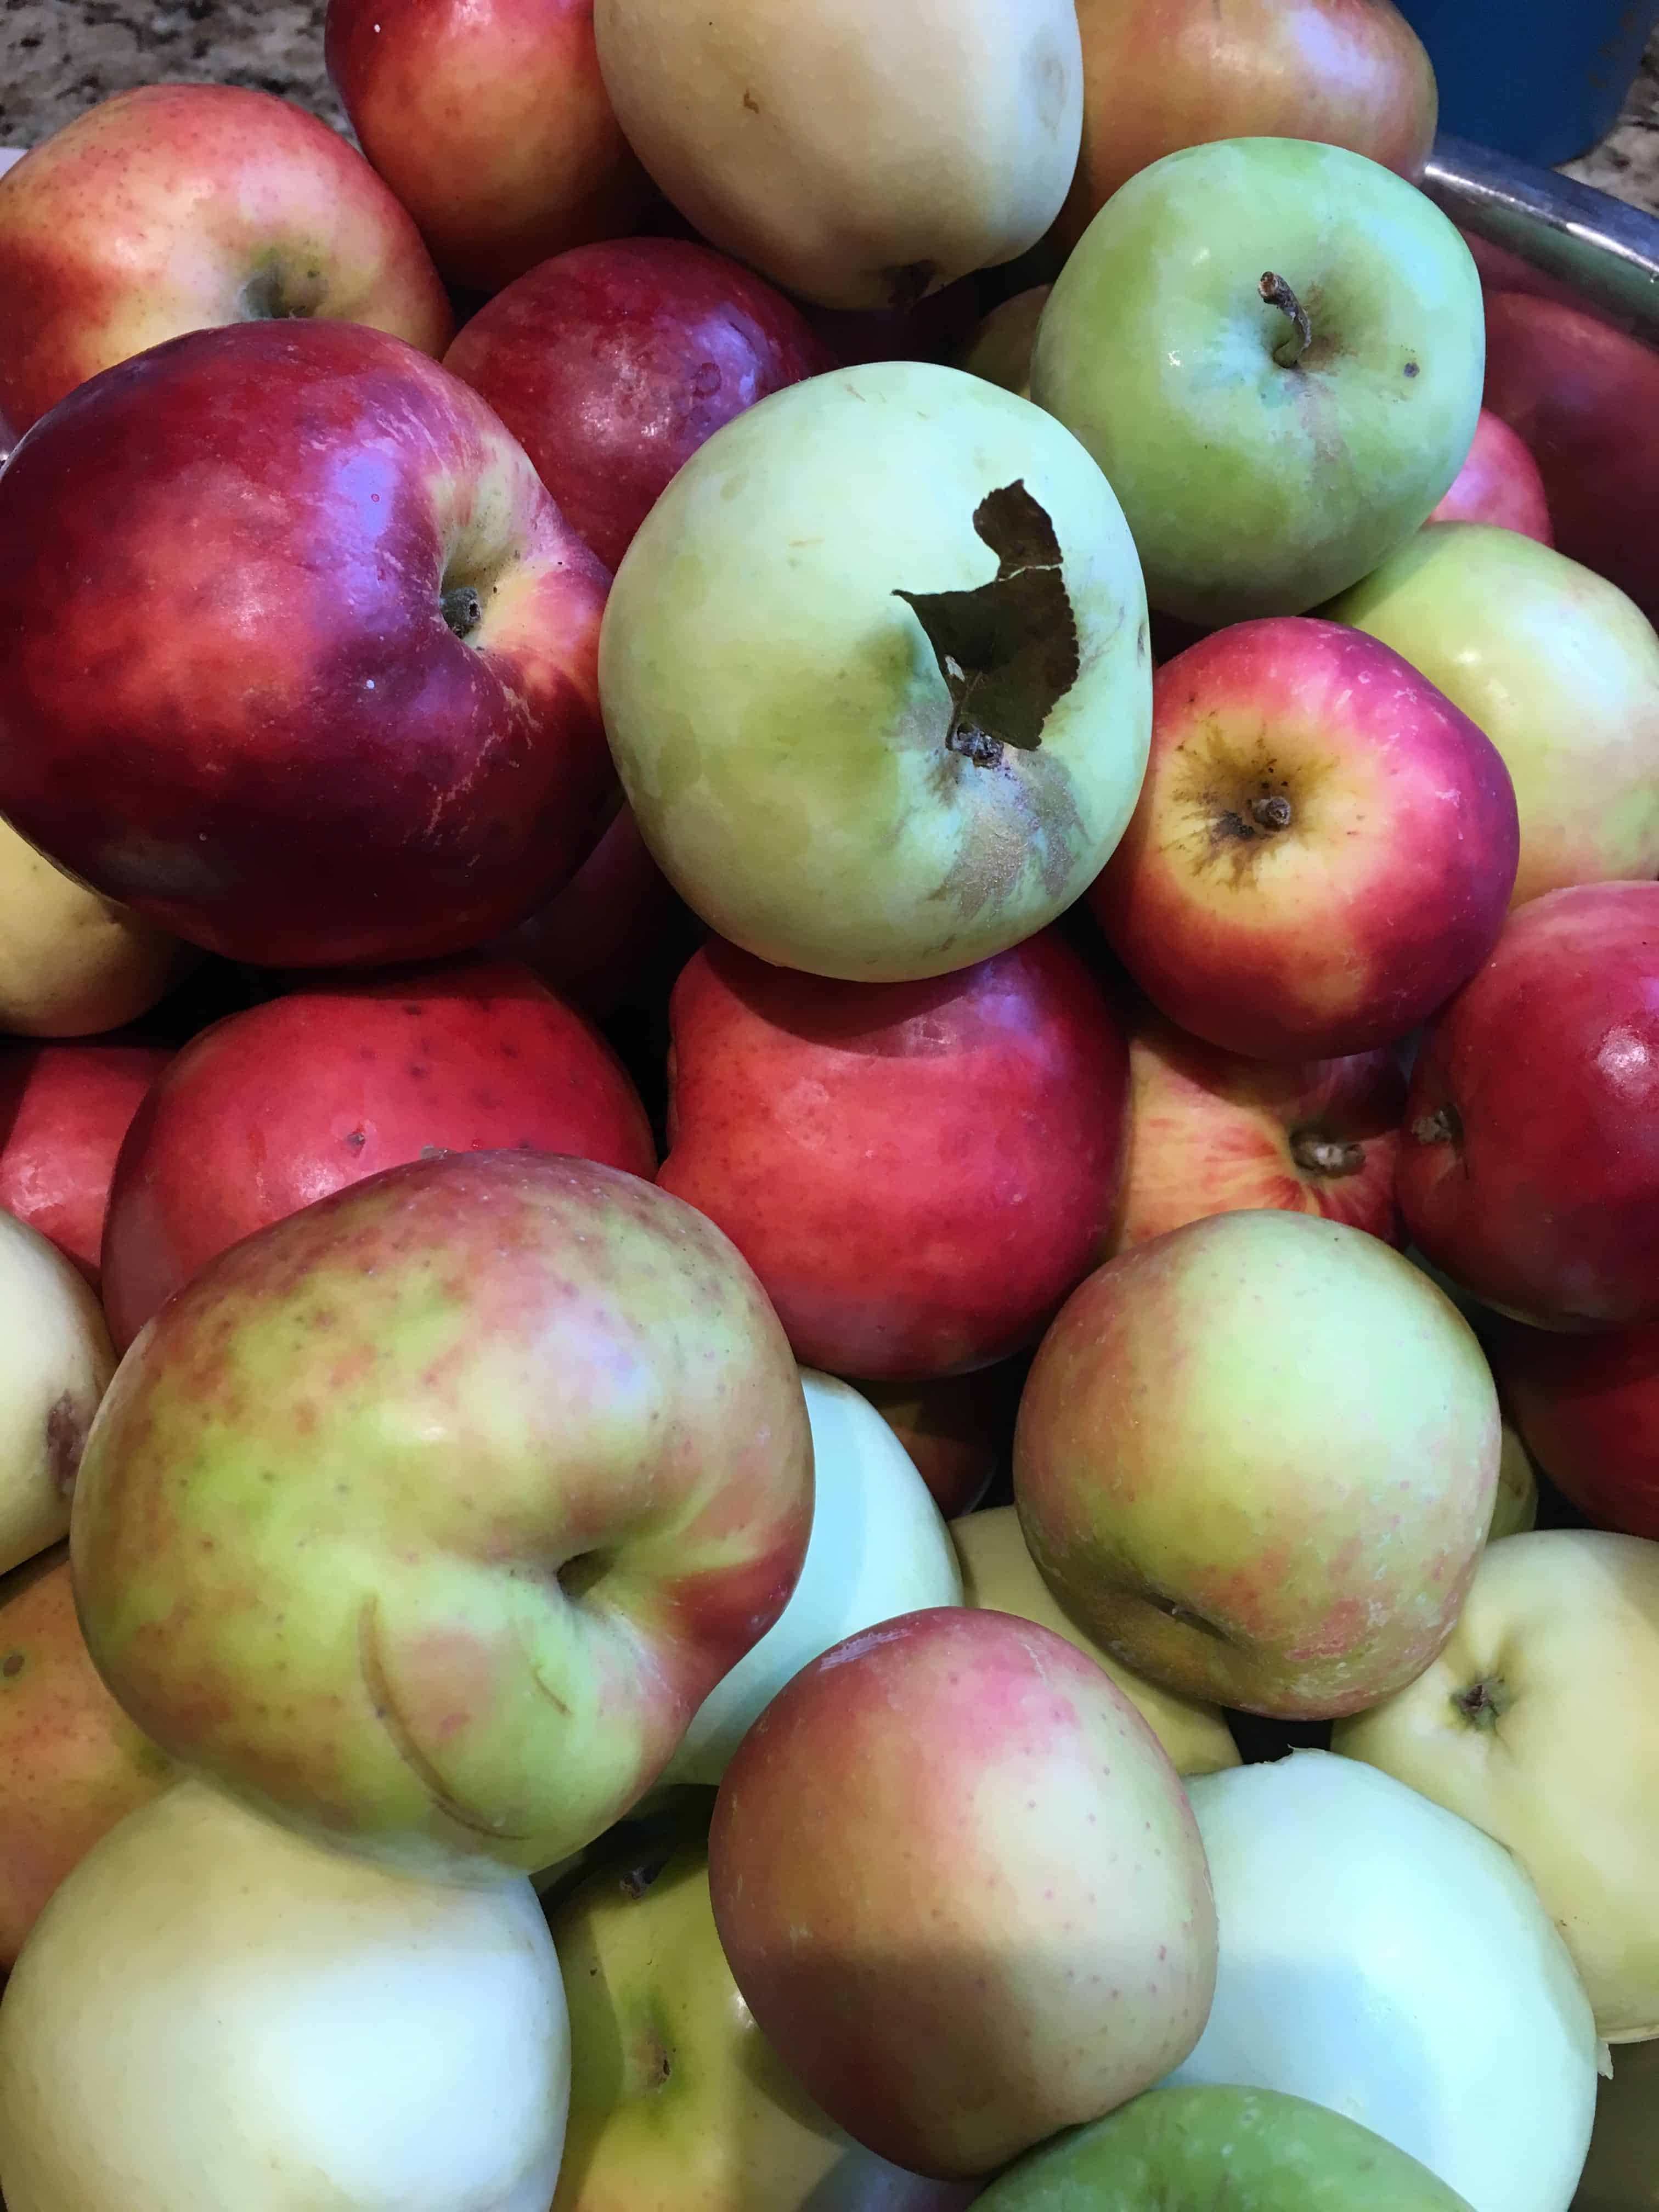
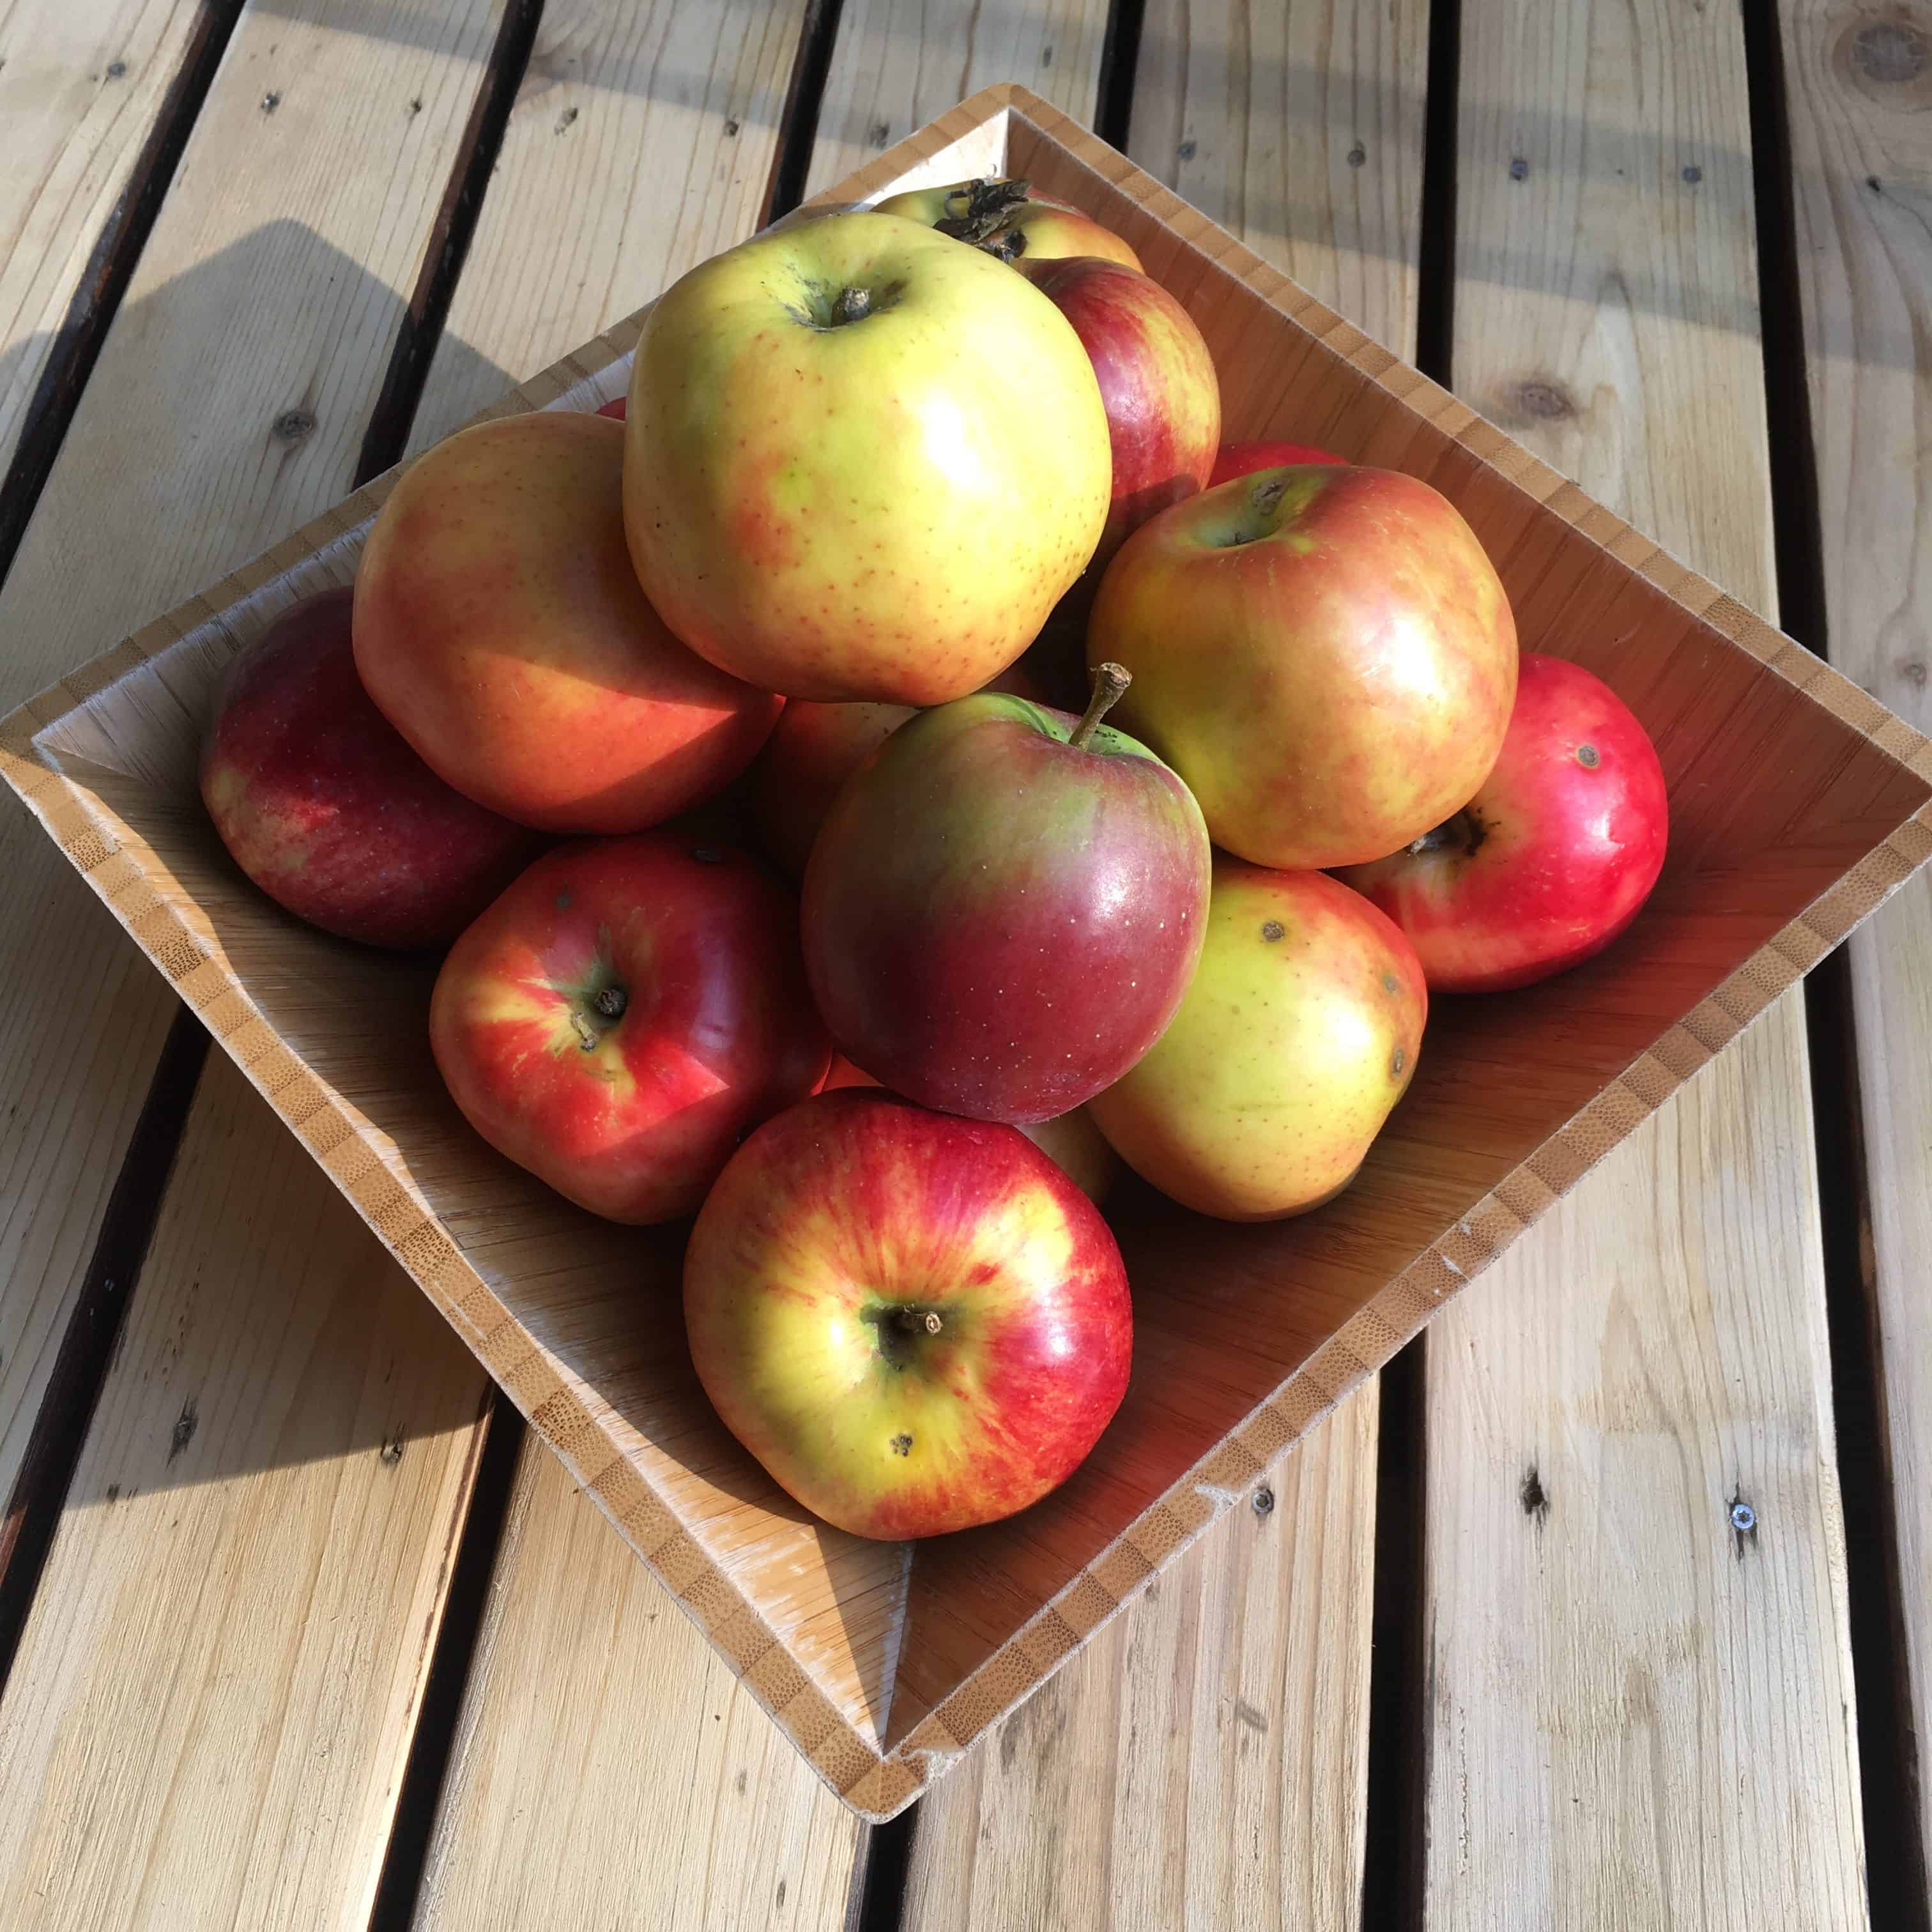
Assorted apples from Spirit Wild Farm
I live in Washington state, the largest apple producing state in the US, so we have a lot of apples at our house. We moved into our house two years ago and it doesn’t have any fruiting trees, yet, so I buy apples from a friend’s farm, Spirit Wild Farm, in Carnation, Washington. She is new to this farm, so she’s working on determining the varieties of apples. One variety is a Liberty apple, which is red and yellow, sweet-tart. I like to use several different varieties of apples when making applesauce, as it gives a nice depth of flavor. Conventional apples have a lot of pesticides on and in them, in fact they are on the Environmental Working Group’s Dirty Dozen, so we only use organic, non-sprayed apples.
The first step to making applesauce is to prepare your apples. Wash them well. Then you can decide whether or not you want to peel them. If you are using conventional apples, then you definitely want to peel them to reduce pesticide exposure, but if you are using organic, you can leave the peels on. The peels are full of phytonutrients, more than three times more concentrated in the peels than in the apple flesh, according to The World’s Healthiest Foods, so leaving them on is really good for you. But besides that, it gives the applesauce a lovely red blush if you use red apples and it makes the job so, so much easier when you don’t have to peel them! However, if you want to make a batch of apple cider vinegar, the peels are great to go with the cores to add bulk to your cider scrap. Next you want to cut them into quarters and remove the cores. To be totally zero waste, save the cores (and peels) to make apple cider vinegar. If you’re not ready to make vinegar right now, freeze the scraps in a mason jar until you’re ready!

Unpeeled, pared apples
Next, add your cut apples into a large pot and add just a little bit of water. You only need a little bit to keep the apples from sticking to the bottom of the pot and burning when you are first heating them. Apples are full of juice and will rapidly release it when heated, so you don’t want to have too much water at the beginning that would make your applesauce too runny later. You can cook the extra water off, but why create more work later? Bring them to a boil and then simmer, covered, stirring frequently to prevent sticking, until tender. Watch yourself when opening the lid, hot apple mash can splatter up and hit you in the face and cause bad burns if you aren’t careful, so don’t put your face over the pot.

Cooked down apples
If you are using your Instant Pot to make apple sauce, the process for cooking is really the same. Put cut apples (peeled or not) to your Instant Pot, add about a cup of water, put the lid on and set manual pressure for 8 minutes. After cooking time is up, quick release and either run your apples through a food mill, food press with a pestle, or blend with an immersion blender or run through your blender until it is the smooth consistency you want.
The next step is to run your cooked apples through a food mill or food press with a pestle. This breaks the apples down into a smooth sauce, and if you didn’t peel the apples, separates out the cooked peels. Work in batches.

Apples through food press
Return the sauce to the pot. I don’t add sugar to my applesauce, because I think it’s wonderful just as it is and we don’t eat a lot of sugar. But if you want it sweeter, you can add some sugar to it at this time. You can also add cinnamon now too, to taste.

Resulting applesauce
If you are freezing your applesauce, simply ladle sauce into jars, allow to cool, and freeze.
If you are canning your applesauce, you want to have some things ready to go when the applesauce is done. First, you’ll need pre-sterilized (from the dishwasher), hot jars (I like half-pint size). Applesauce is boiling water bath processed over 10 minutes, so you can use jars pre-sterilized from the dishwasher. Have your lids and bands prepared, per manufacturer specifications, a canning jar funnel, ladle, clean damp dishcloth to wipe jar rims, water canner with simmering water, jar lifter, and timer.
Once your applesauce is made into sauce and cooked down, you’ll ladle into hot jars, leaving 1/2-inch head space, wipe the rim, put on the lid, and screw on the bands. Make up only as many jars as you have room in your canner to process at once. Put the jars in the simmering water, making sure there’s 1-2 inches of water over the top of all the jars (you can stack jars), put the lid on the canner, bring the water to a boil, and start counting your time from the time the water starts boiling. You’ll process for 15-35 minutes, depending on the size of your jar and your elevation. Check this chart for your specific processing time.

Ladling applesauce into jar
You can also pressure can applesauce, but I never do, as it’s more work and babysitting! Here are specific details from the National Center for Home Food Preservation for pressure canning applesauce.
When time’s up, remove the jars from the water to cool, leaving bands in place for 12-24 hours. Refrigerate or freeze any jars that don’t seal, or change lids and reprocess. You may notice some separation in your jar, that’s ok, that happens if you have more liquid in your applesauce. It doesn’t hurt anything and all you have to do is shake before opening or stir before serving to mix it all back up.

Boiling water canning
Once you’ve conquered applesauce, you can move on to apple butter, which is really just a sweet, spiced applesauce that’s cooked until super thick so that it can be spread on toast like a jam! Apples are full of natural pectin, a gelatinous polysaccharide that thickens liquids in the presence of acid, sugar, and heat, so it’s a great jam to make without having to buy pectin packets. Tomorrow’s post will cover making apple butter!

Cooling jars of applesauce
Resources
There are some great resources available for home canning. Internet resources are fantastic as they are generally most up to date. There are some standby books, but remember to get new ones every few years to be current with updated guidelines.
Ball® Blue Book® Guide to Preserving
National Center for Home Food Preservation
Washington State University Extension Food Preservation
Iowa State University Preserve the Taste of Summer Online Canning Class
Ball® and Kerr® Fresh Preserving Website
My Vegan and Whole Food Plant-Based Canning Facebook Group
By the way, my worms in my worm bin LOVE the cooked apple peels from the food press! You can also compost the peels. More on worm bins (vermiculture) later this month when I talk about dealing with food scraps.

Feeding red wriggler worms spent apple peels!
Do you like this post? Please share....
[mashshare]
2 Comments
Leave a Comment
If you liked this post, you might like one of these:
Tags:

[Trī-māz-ing]
Cindy wants you to be Trimazing—three times better than amazing! After improving her health and fitness through plant-based nutrition, losing 60 pounds and becoming an adult-onset athlete, she retired from her 20-year firefighting career to help people just like you. She works with people and organizations so they can reach their health and wellness goals.
Cindy Thompson is a national board-certified Health and Wellness Coach, Lifestyle Medicine Coach, Master Vegan Lifestyle Coach and Educator, Fitness Nutrition Specialist, Behavior Change Specialist, and Fit2Thrive Firefighter Peer Fitness Trainer. She is a Food for Life Instructor with the Physicians Committee for Responsible Medicine, Rouxbe Plant-Based Professional, and Harvard Medical School Culinary Coach, teaching people how to prepare delicious, satisfying, and health-promoting meals.
She provides health and lifestyle coaching at Trimazing! Health & Lifestyle Coaching. Cindy can be reached at info@trimazing.com.
Subscribe to the Trimazing Blog
Receive occasional blog posts in your email inbox.
Subscribe to the Trimazing Blog
Receive occasional blog posts in your email inbox.


I've just made applesauce from some locally grown organic apples someone gave me but I took the skins off. I will make sure to leave them on next time!
It makes the whole process so much faster when you don't have to peel them all. And, it's more nutritious. Just make sure they are organic apples so you don't have pesticide-sauce! Using red-skinned apples makes a beautiful pink applesauce!