Sourdough Breadmaking at The Bread Lab & Make a Sourdough Starter!
As a cooking instructor, it’s always fun to go take a cooking class to pick up some new skills! I’ve been struggling with teaching myself how to make sourdough bread using only sourdough starter for the leavening. While I’ve been really successful making English muffins using sourdough discard and commercial yeast, my breads made using only sourdough starter have been hockey pucks (but we’ve had some awesome breadcrumbs, though!). My sourdough starter, that I learned to make with Zero-Waste Chef, Anne Bonneau, was active and great, but I was doing something, or some things, preventing a beautiful loaf.
The Bread Lab
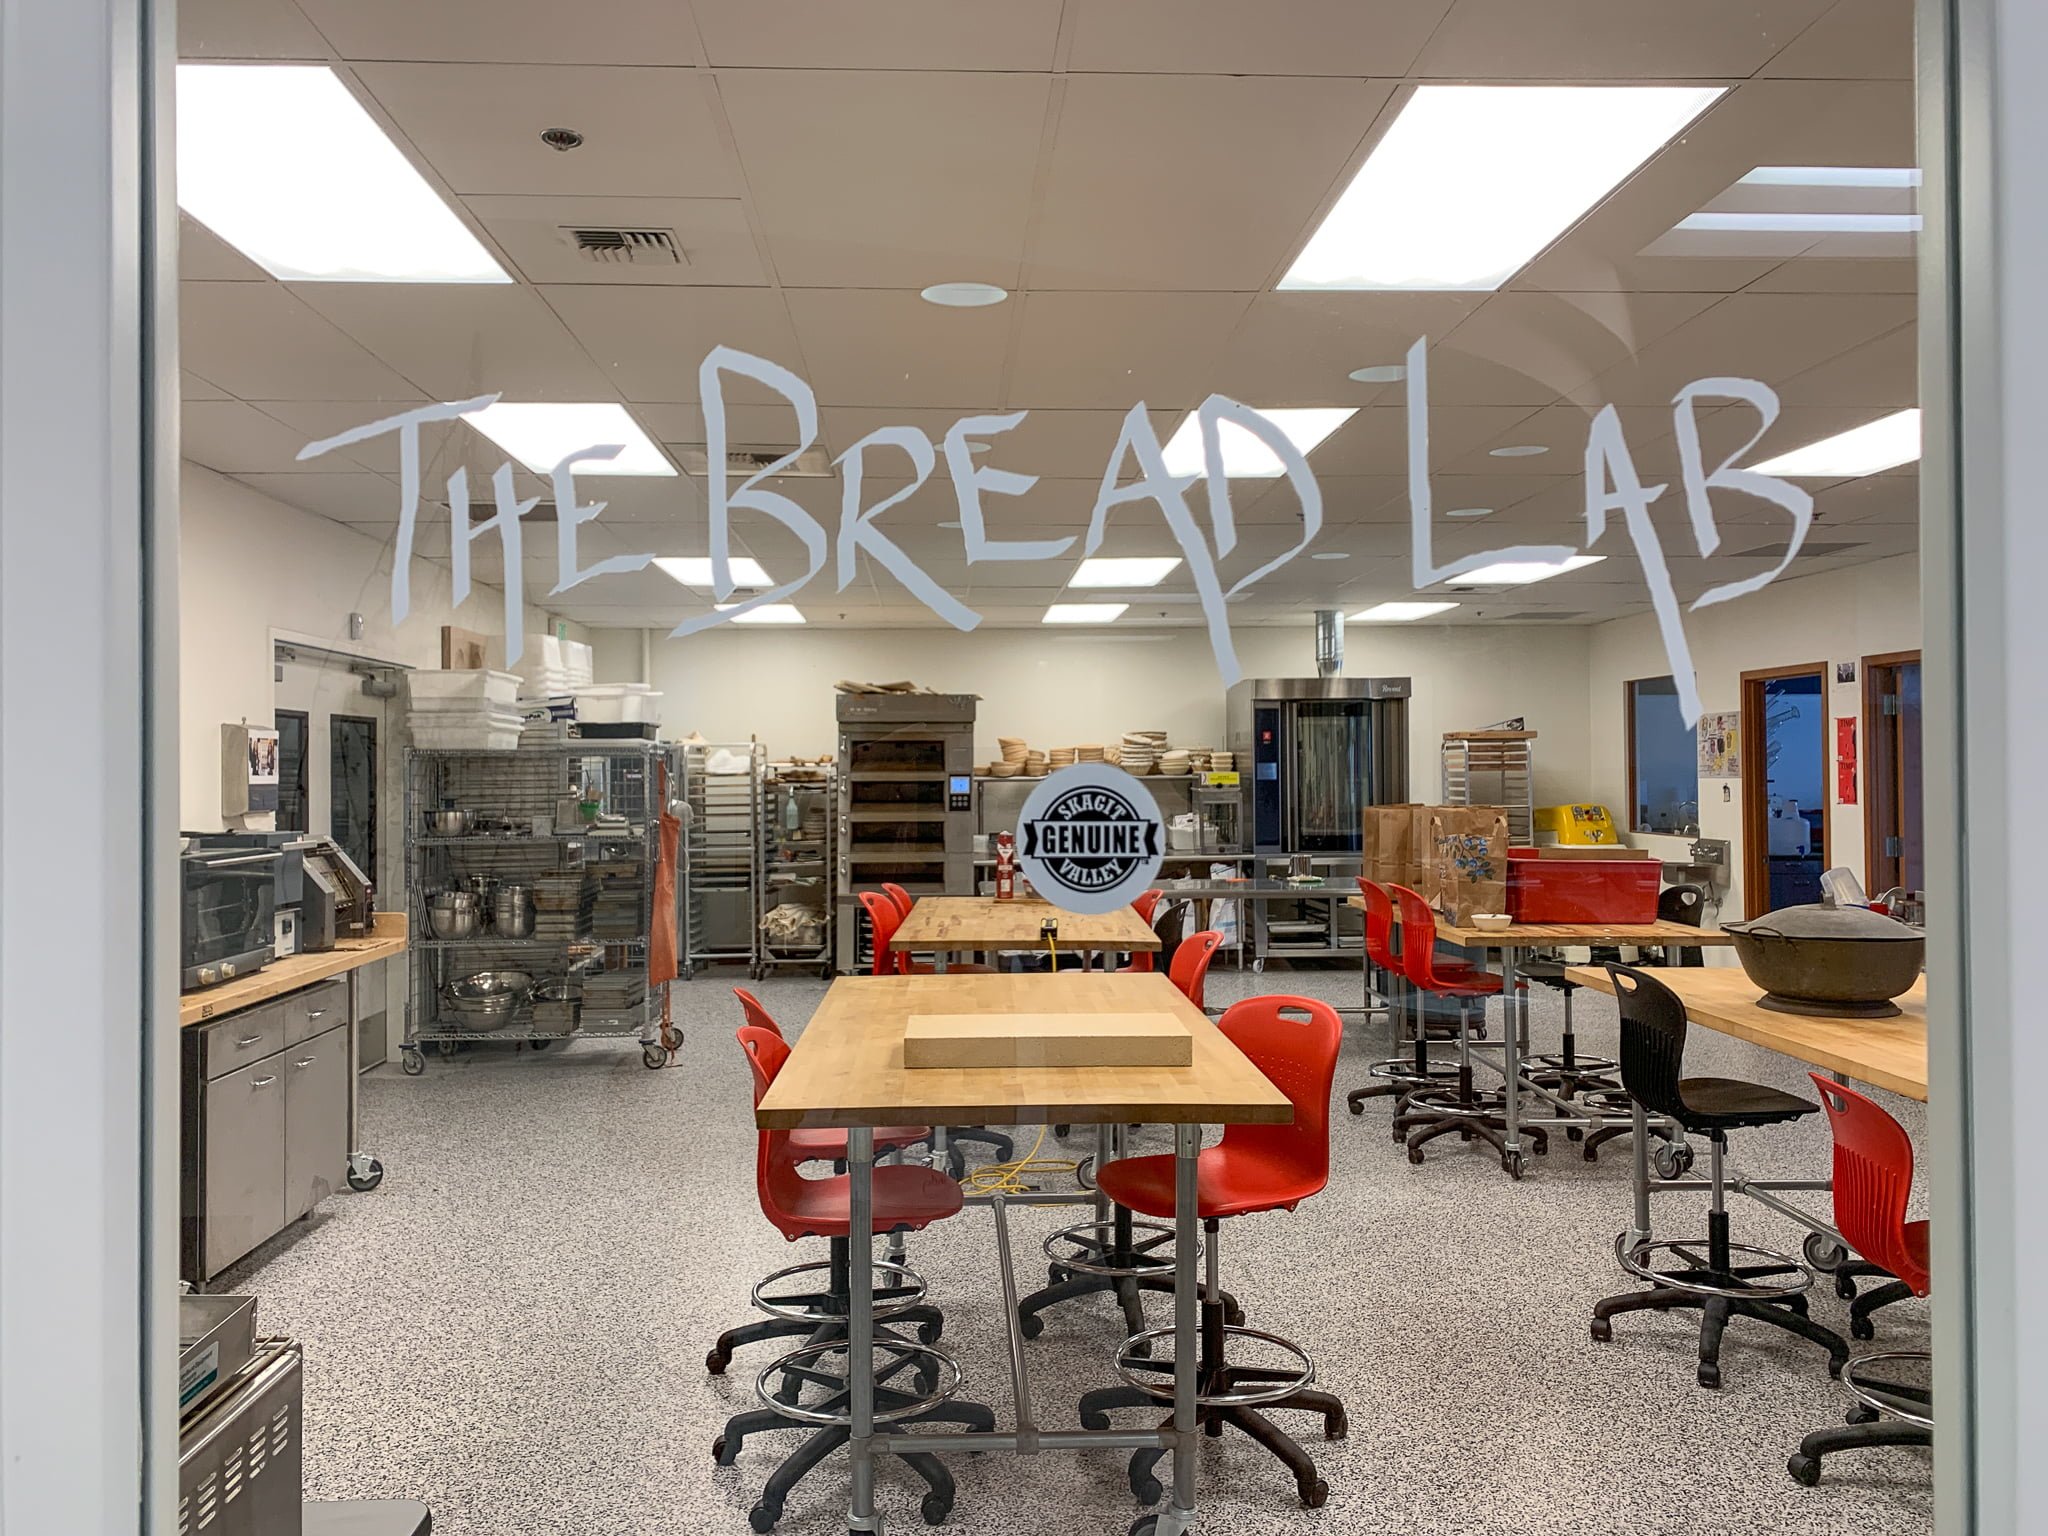
Welcome to the Bread Lab!
I read a fascinating article in the Seattle Times a year ago about The Bread Lab in Burlington, Washington, just 90 minutes north of Seattle. The Bread Lab started out in 2011 as just that, a small lab in a Washington State University research center in Mount Vernon, Washington. Led by Dr. Steven S. Jones, the Bread Lab works to discover and develop open-market grains, in particular organic, non-GMO, and heritage varieties. The goal is finding the highest quality grains with the best flavor, nutrition, and qualities for baking, brewing, and distilling. It grew bigger than the small laboratory could hold, and in 2016, partnered with King Arthur Flour to build this larger facility with a professional kitchen and cooking school, along with research labs. This partnership gave the Bread Lab much needed research space and King Arthur Flour a presence in the western US.
After reading the article, I needed to check this place out!
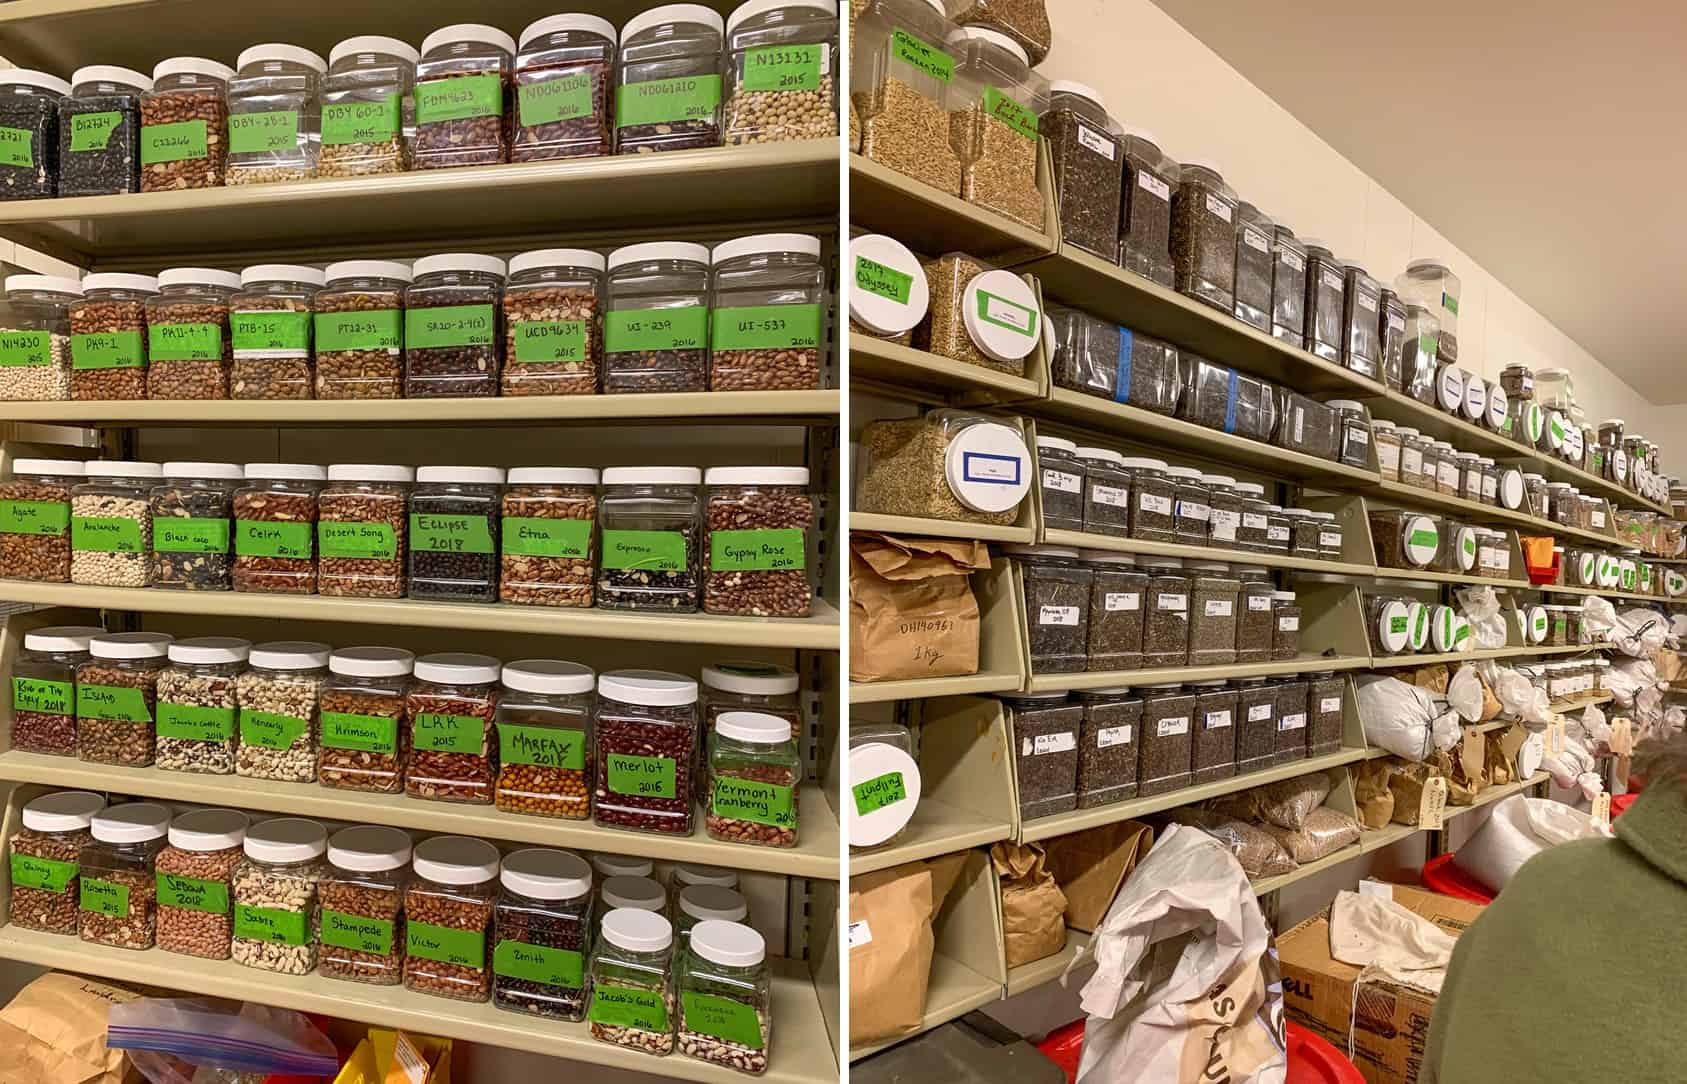
Part of the seed room. It was mindblowing! On left are beans, right is buckwheat.
The Bread Lab doesn’t just examine grain, they’ve branched into other commodities as well. I was fascinated to see all of the dried beans they have been working on, many of which were numbered varieties, not even named yet. The professional kitchen, where they made and served our lunch, was lined with test vinegars and preserves that a Seattle-area chef has been developing at the center.

Test vinegar production. This got me very excited with my experiences making apple, strawberry, and pineapple vinegars this year!
King Arthur Cooking School Sourdough Baking Basics Class

Classroom at the King Arthur Baking School at the Bread Lab, Burlington, WA.
The classes at the King Arthur Baking School at the Bread Lab are in high demand! I had to wait over six months for the earliest opening for their 3-day Sourdough Baking Basics class!
While I was the only plant-based student in this class of 14, the staff made sure to have options for me. I’d sent them an email after I registered to find out if I needed to bring any substitutions or lunch items (the class includes an in-house lunch made by the class assistant), and they were more than happy to accommodate with this prior notice. As there are some group projects in this class, I made sure my table partner was ok with making plant-based things; turns out he was good with this as his 16-year-old daughter has been pressing him and his wife to eat plant-based, so he was interested in learning about it (win!). Do note that while the substitutions were plant-based, they were not oil-free or 100% whole grain—I’m working on reworking the recipes to be Whole Food, Plant-Based, No Oil (WFPBNO), so watch for that in the future.
Day 1
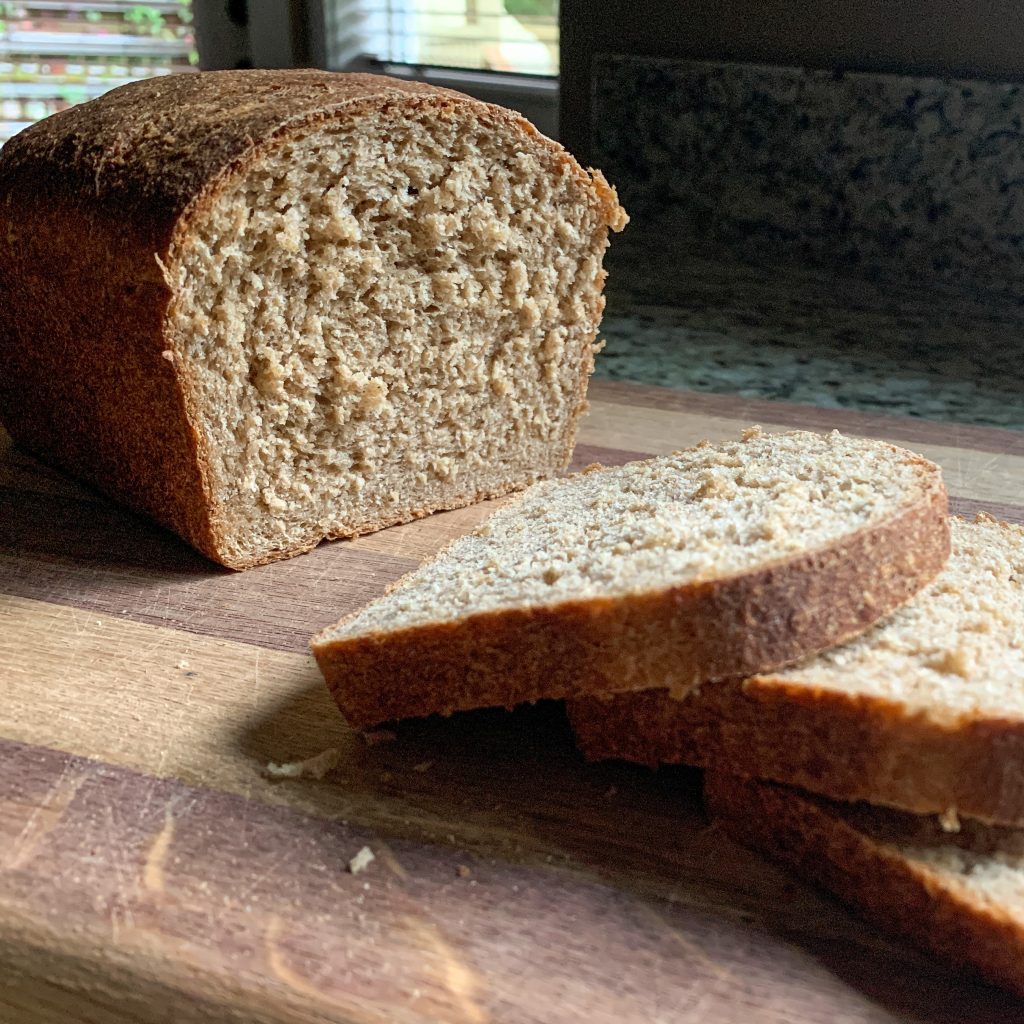
Provided with 5-gallon buckets of the Baking School’s starter affectionately called Mama, we got into breadmaking right away! Our first day consisted of making Sourdough Sandwich Bread, Sourdough English Muffins, and Sourdough Crackers. The instruction was a see-one-do-one style, which was great, with a lot of helpful information about the art and science of using sourdough. Being able to see, feel, taste, smell as I learned was immensely helpful. And if you’re plant-based and missing cheesy crackers like Cheez-Its, make these Sourdough Crackers, they taste just like I remember Cheez-Its tasting, it’s uncanny! Note: The King Arthur Flour website does not have many of the exact recipes we used in class, but I’m linking other similar ones they have on their website.

Some of Day 1’s bakes: Seeded Sourdough Crackers (bottom left), Plain Sourdough Crackers (top left), and two loaves of Sourdough Sandwich Bread.
Day 2
Day 2 was exhilarating but the most exhausting day of the 3-day series—we baked and prepped a ton! This day included making our first rustic-style Sourdough Bread Boules, a Soft Molasses Oat Sourdough Bread, Sourdough Oatmeal Cherry Cookies, and we prepped Sourdough Pizza Dough for Day 3’s lunch.
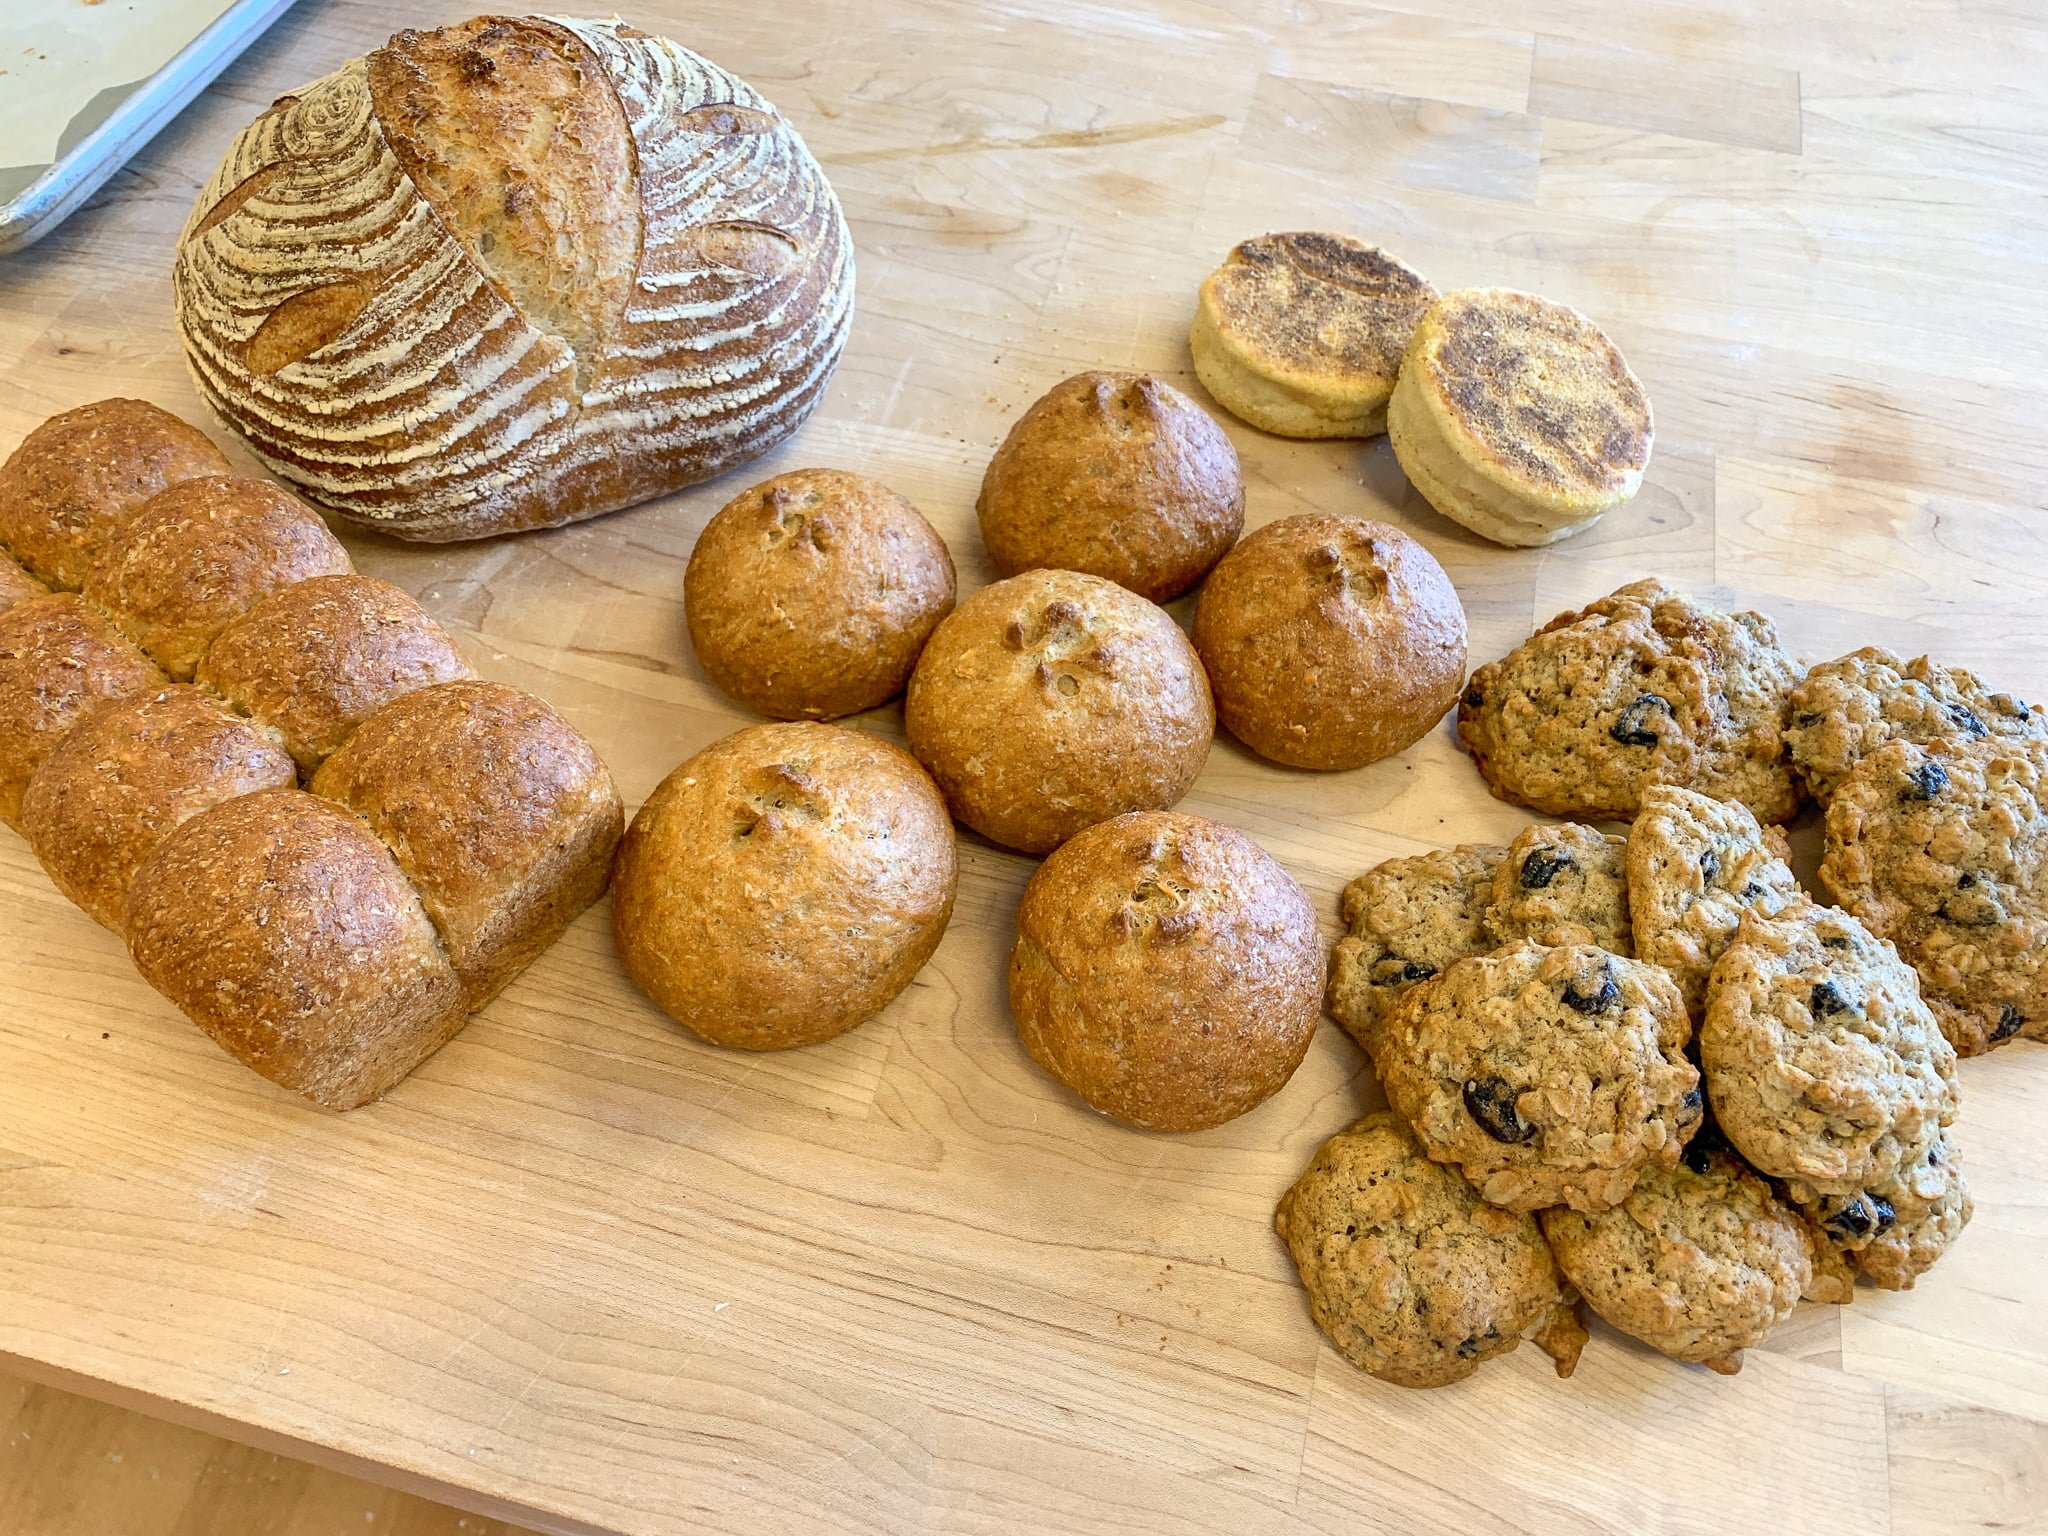
Can you even believe I made all this?!? From left to right: Pull-Apart Soft Molasses Oat Sourdough Bread, Sourdough Bread Boule, Soft Molasses Oat Sourdough Rolls, Sourdough English Muffins (from Day 1), and Sourdough Oatmeal Cherry Cookies.
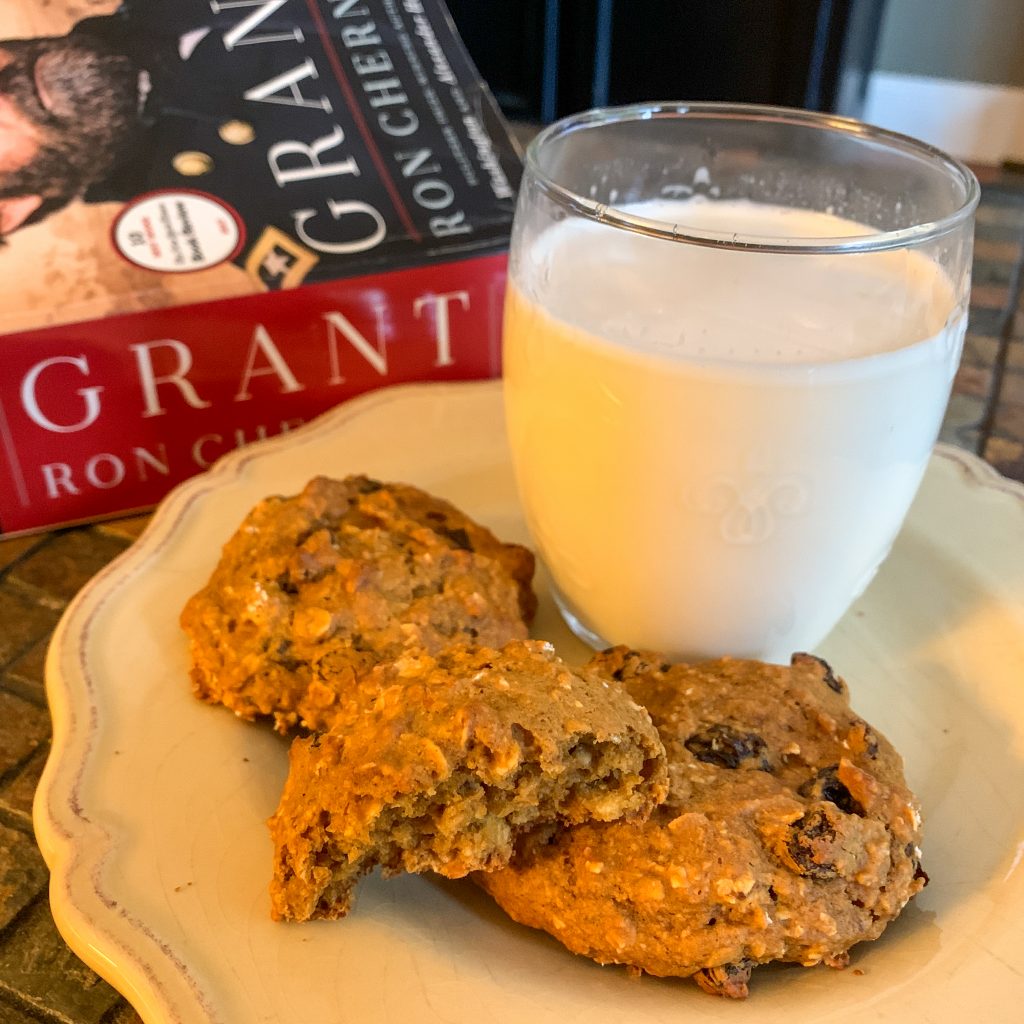
Sourdough cookies? You might ask? Well as strange as it sounds, they’re amazing! As patient as he was, my non-plant-based class partner was none too thrilled about the prospect of making cookies without eggs and butter, in fact, he was so concerned about the dough that he called the instructor over to check it out. But after they were baked, they looked exactly like everyone else’s cookies, so much so that they were hard to find in the cooling rack. I loved the dialogue we had as my baking partner was eating them:
Baking Partner: What are these cookies missing?
Me: I don’t know….coconut???
Baking Partner: NOTHING!! There’s NOTHING missing from these cookies even without the butter and eggs!
Me: Right! Because they’re COOKIES!!
Break-through!
Day 3

Some of Day 3’s bakes: Sourdough Pretzels (bottom left), Whole Wheat Sourdough Batards (top left), and Sourdough Bread Boule (top right).
Day 3 consisted of baking a second Sourdough Bread Boule that had cold-proofed overnight to develop a more sour flavor, Whole Wheat Sourdough Batards (that’s the shape), Sourdough Pretzels, and Pizza!

Sourdough Pizza topped with Broccoli, Mushrooms, and Kalamata Olives. Imagine pizza from your favorite wood-fired pizza place and you’ve got this pizza in mind!
This was a fabulous experience, one that I whole-heartedly recommend. Not only did I make some amazing breads, but I came away with skills that I’ve used at home. It’s one thing to make amazing breads with an instructor and commercial baking ovens, but quite another to do it at home with a home oven and no one holding your hand! I’ve already signed up for my next baking class, Whole Grain Artisan Baking in January! Who wants to join me?
Here are some fun pictures from this class:
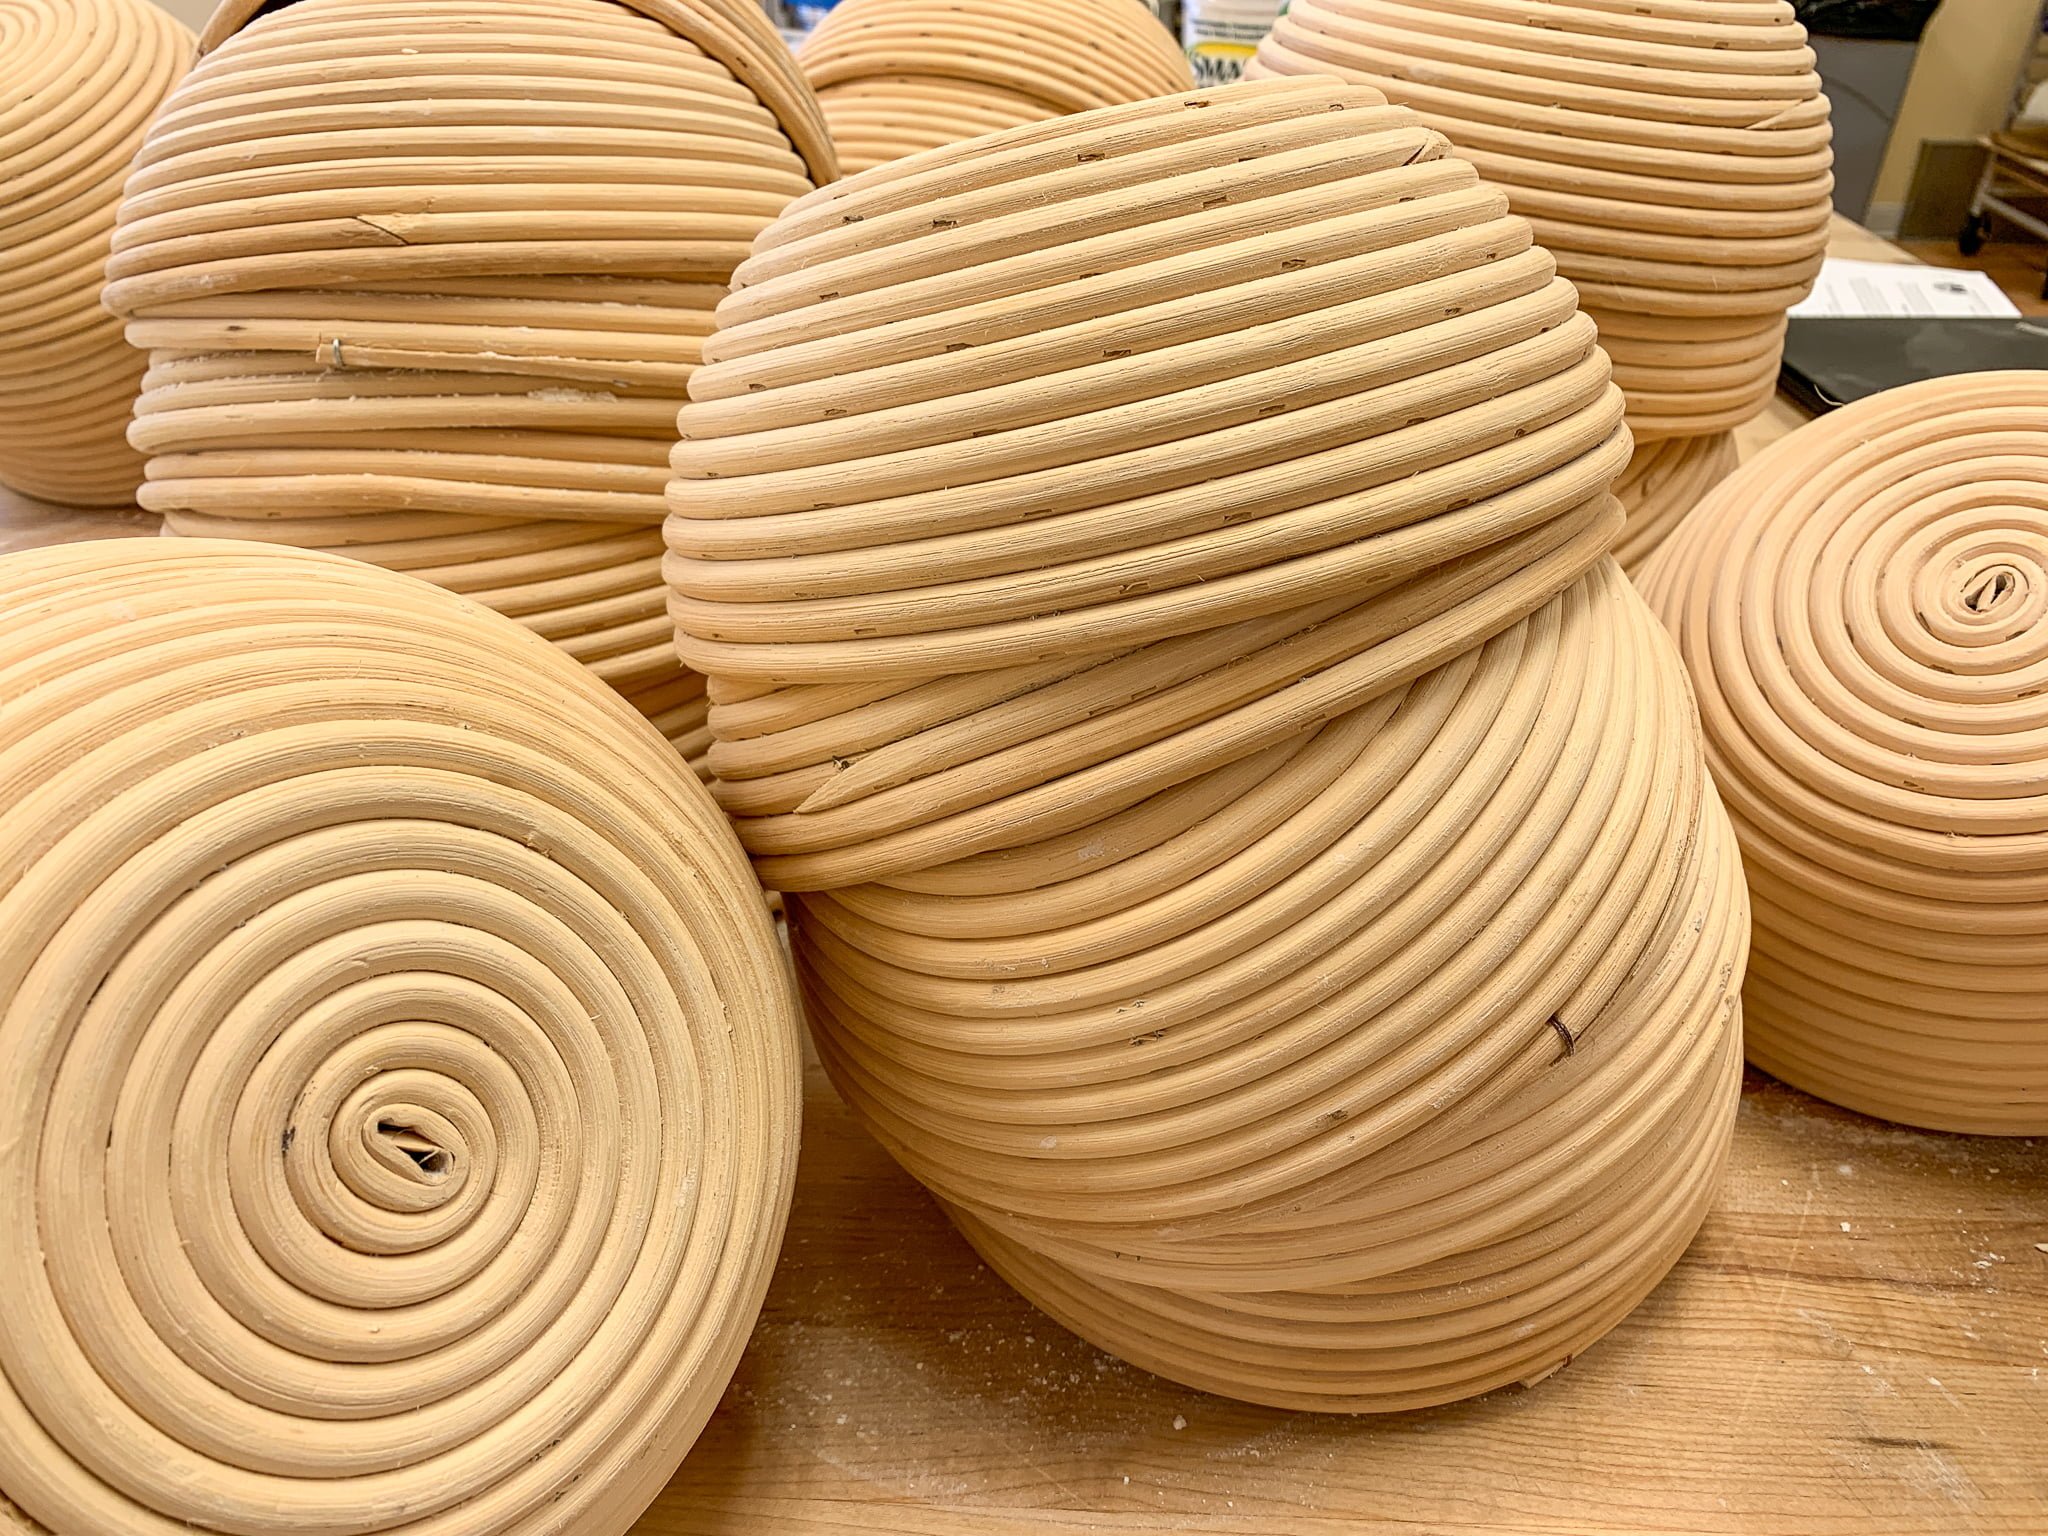
Pile of bannetons (proofing baskets)
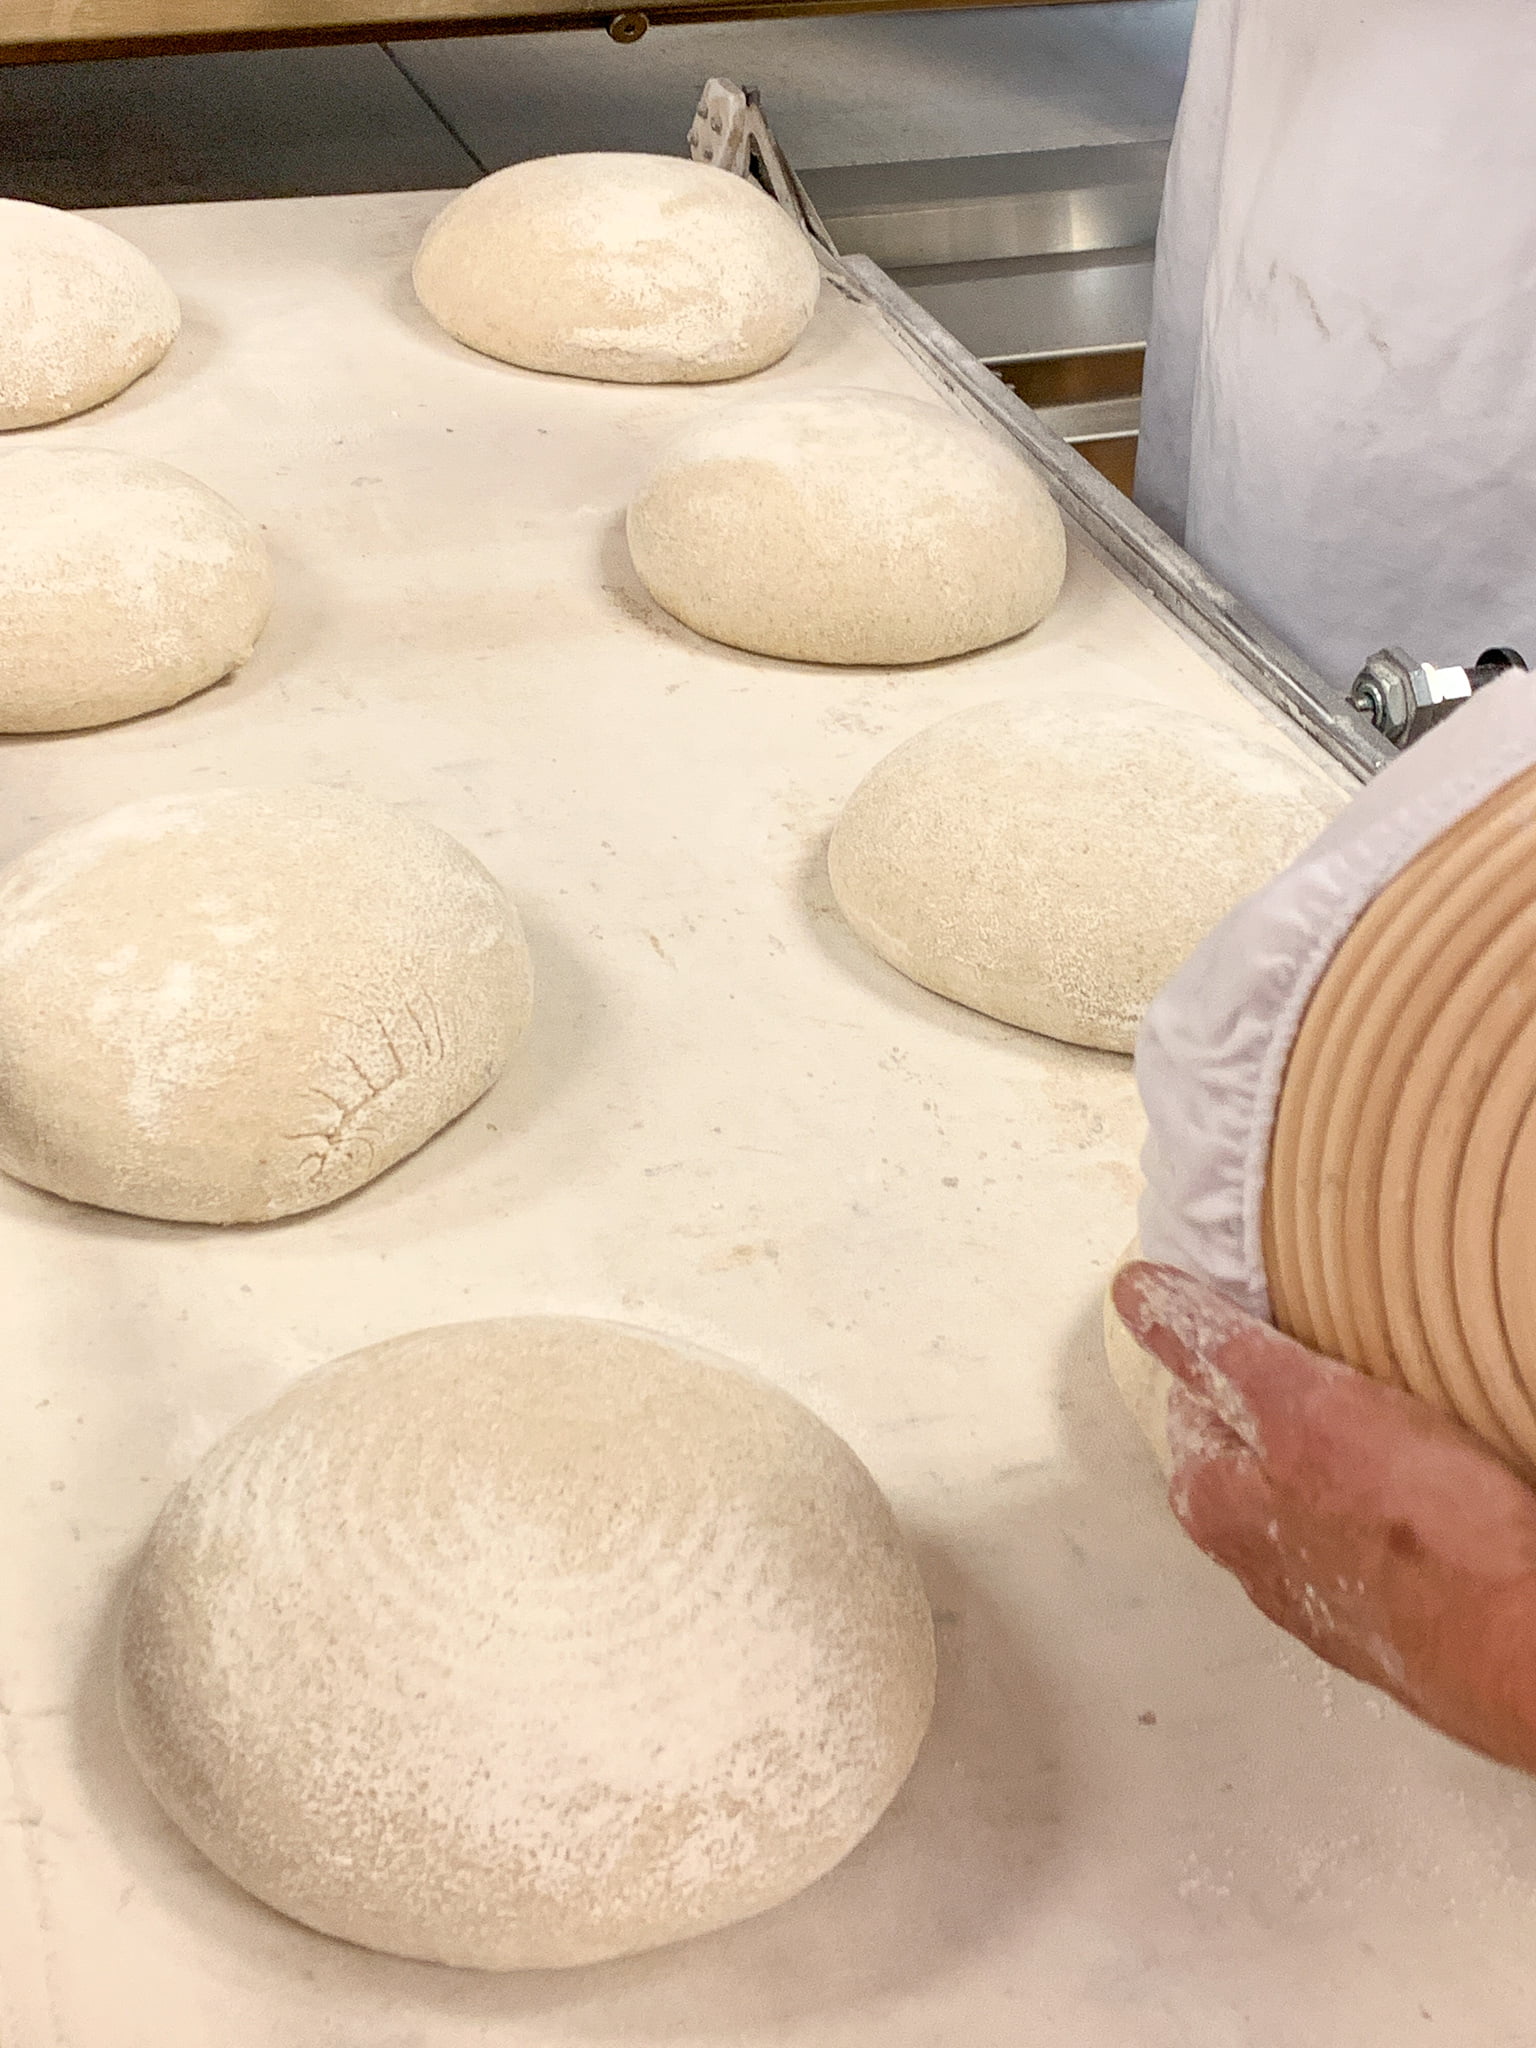
Carefully turning out boules from proofing baskets onto belt to go into commercial oven.

Commercial bread oven with special belt to load breads.
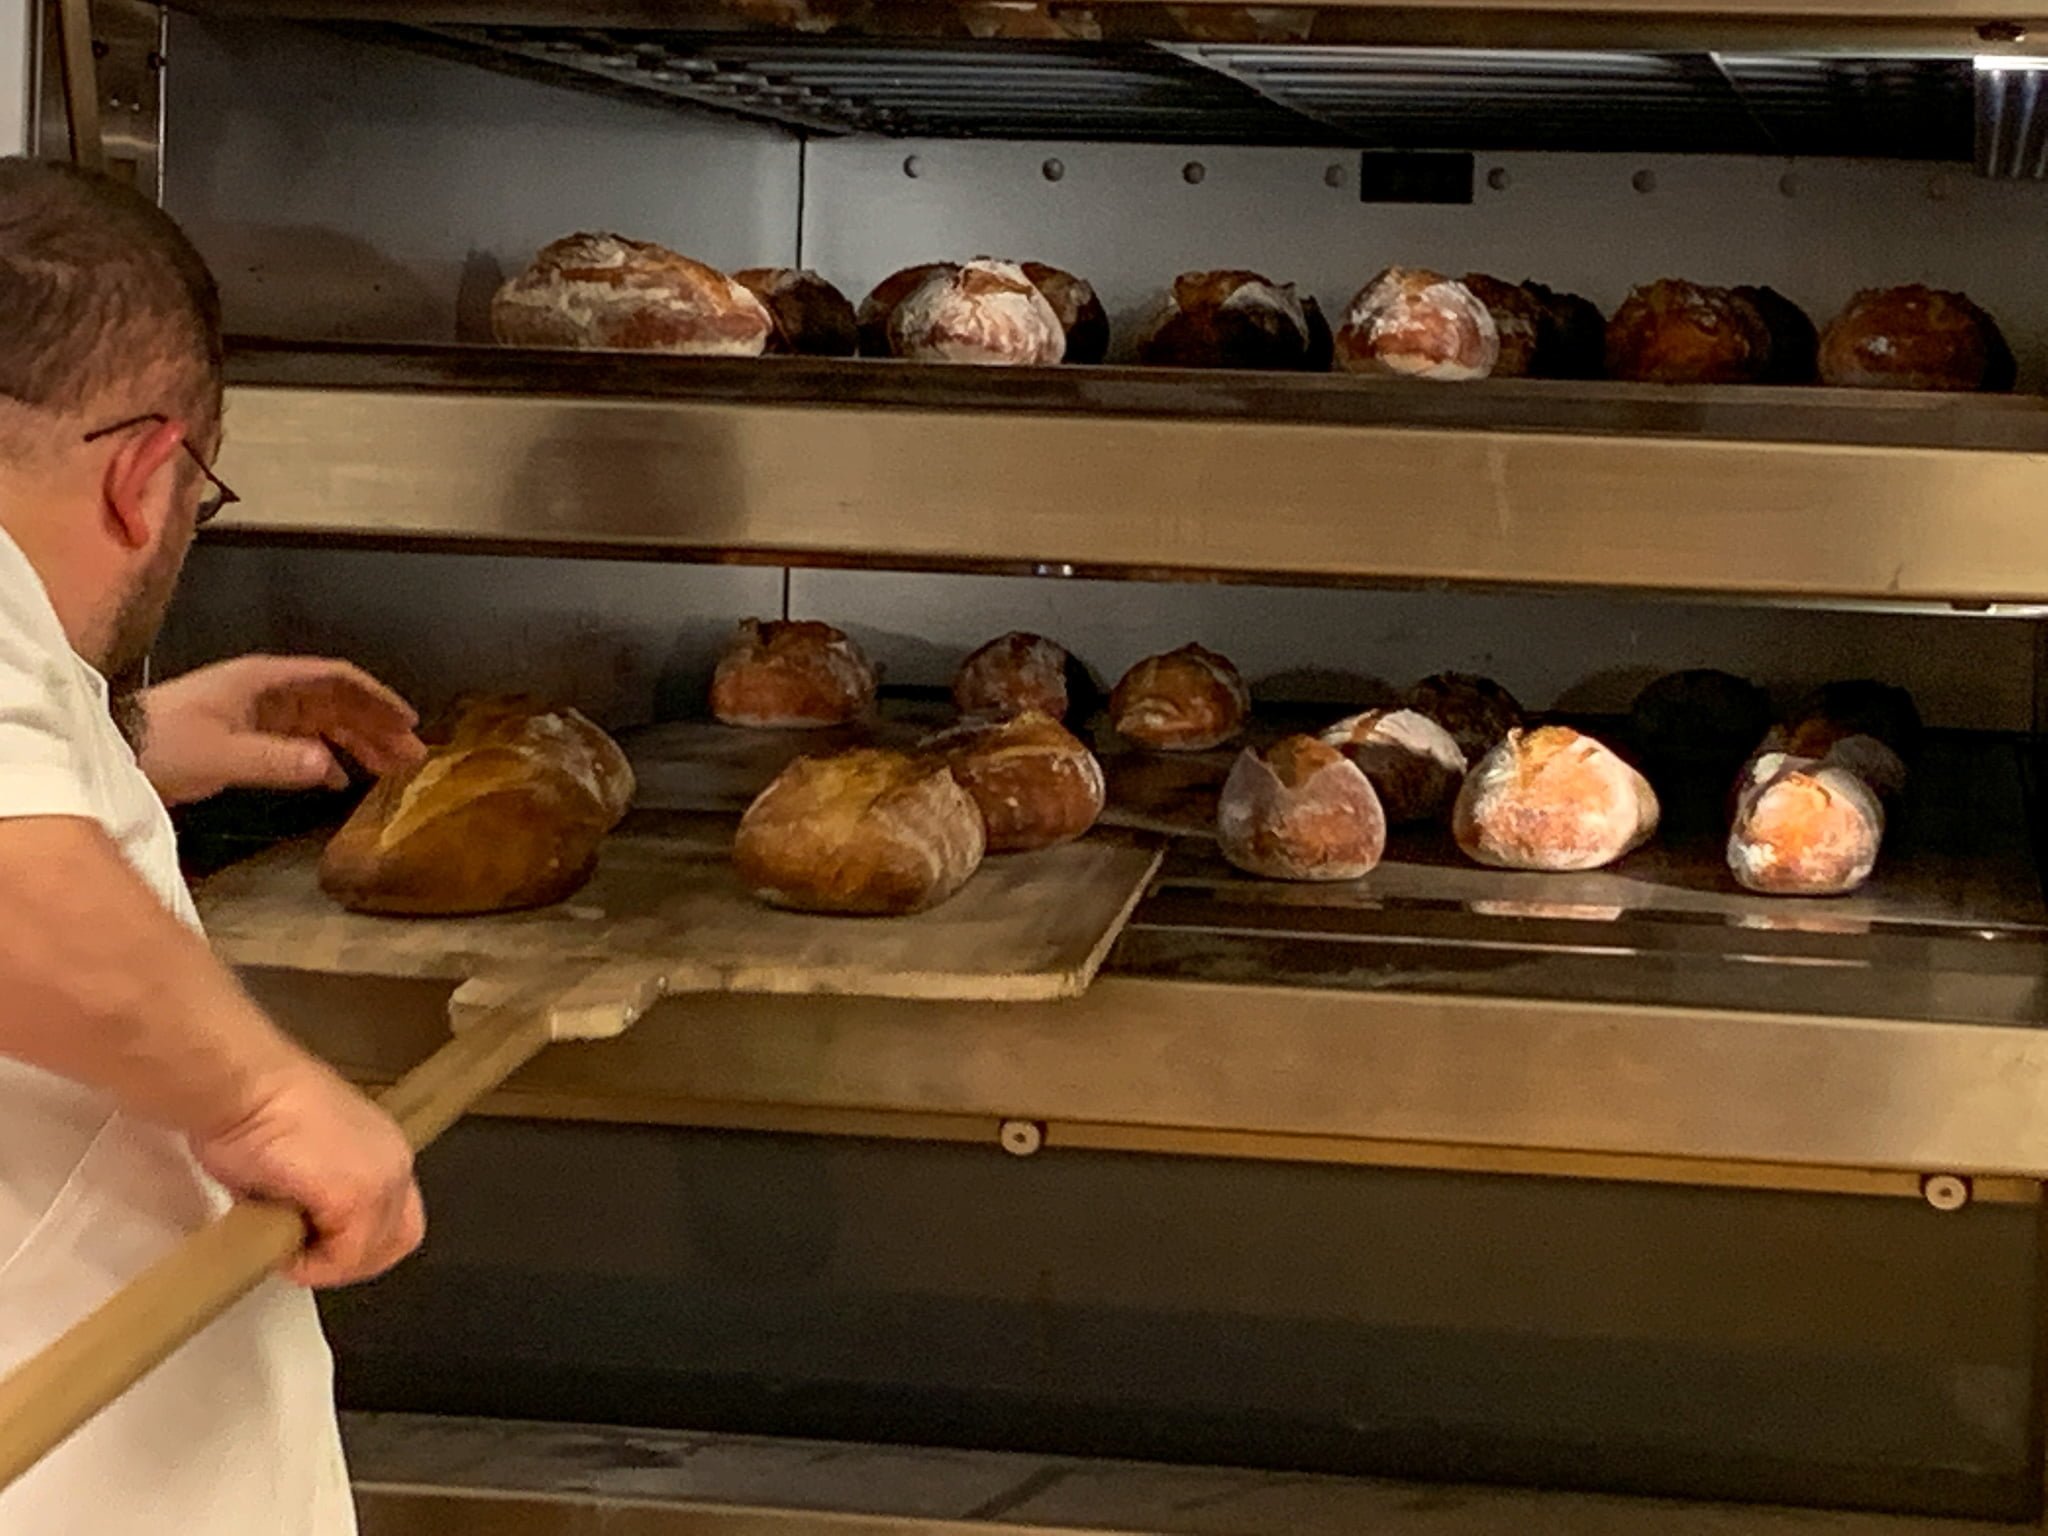
Pulling batards from the oven. I wish I could insert smell into this post!
Making Sourdough Starter
Now, we used some Mama, King Arthur Baking School’s sourdough starter to make our own starter that we used throughout the class. While most people think you have to get an old starter from the Klondike to get started, you don’t, and you can easily make your own! A sourdough starter is simply a cultivation of wild yeasts naturally present in our everyday environment, floating in the air, and on grains. I will do a more in-depth post on making a sourdough starter, but wanted to share King Arthur’s post now in case you’re ready to get started:
https://www.kingarthurflour.com/recipes/sourdough-starter-recipe
It does take a week to get the starter growing and really a month for it to be ready for baking.
But, an even faster and easier way, is getting a bit of starter (seed starter) from someone else and establishing your own from it! You can start using your starter for baking right away with this method. We all got to take our starter home, made from bits of Mama. So now I have Estella, my sourdough starter made from Mama, and Larry, the sourdough starter I already had at home that I made from scratch with Anne Bonneau. If you live in the Seattle-area and are interested in getting some seed starter from me so you can get started, let me know. If you live elsewhere, you can probably easily get some starter from someone by putting a request out there on Facebook in a BuyNothing or local sourdough baking group.
Maintaining Sourdough Starter

What you need for maintaining your sourdough starter: Flour, water, a scale, sourdough starter (or seed starter), discard jar, and something to stir it together (I like this small spatula).
Once you’ve got a starter, or seed starter, it’s really easy to maintain. It’s all about feeding.
Step One: Discard Some of Your Starter

Pouring off some discard into my discard jar from the fridge.
If you’ve got an established starter, the first thing to do is to remove all but about 50g. I eyeball this, it’s about a couple big tablespoonsful. Pour this discard into a separate jar and keep it in your refrigerator to use for making things like English Muffins, pancakes, crackers, etc., or you can put it in your compost, but it’s highly useful, so I recommend saving it. Do NOT, pour it down your sink drain, or it will plug up your plumbing!
Why discard? Because your starter would grow in size exponentially with all the feedings if you’re not using it every day.
If you’ve only got a small amount of seed starter, start with Step Two.
Step Two: Feed the Starter

Steps: Taring scale with remaining starter; Adding 50g water; Taring scale before adding flour; 50g flour added.
Your starter is hungry, so it needs food, i.e. flour and water.
Put your container with the remaining sourdough starter on a scale and tare it so it reads 0g. Add 50g of room temperature water. I simply use water from my tea kettle that’s been sitting on the stove top overnight. According to King Arthur Flour, you don’t need to use special water and chlorinated water doesn’t cause an issue. However, if your water is chlorinated and you’re concerned about it, chlorine readily dissipates if water is left in an open container overnight.
Gently stir this together. Return to the scale and tare to 0g again. Add 50g flour. You can use any glutinous flour: all-purpose, whole wheat pastry, rye, etc. Stir to combine. It’s thick, thicker than what you started with because the yeast hasn’t fed on all the flour yet.

Thick, fed sourdough starter.
Step Three: Keep in a warm, safe place.
I know I like to be in a warm, safe place when I’m eating, and your starter is no different!
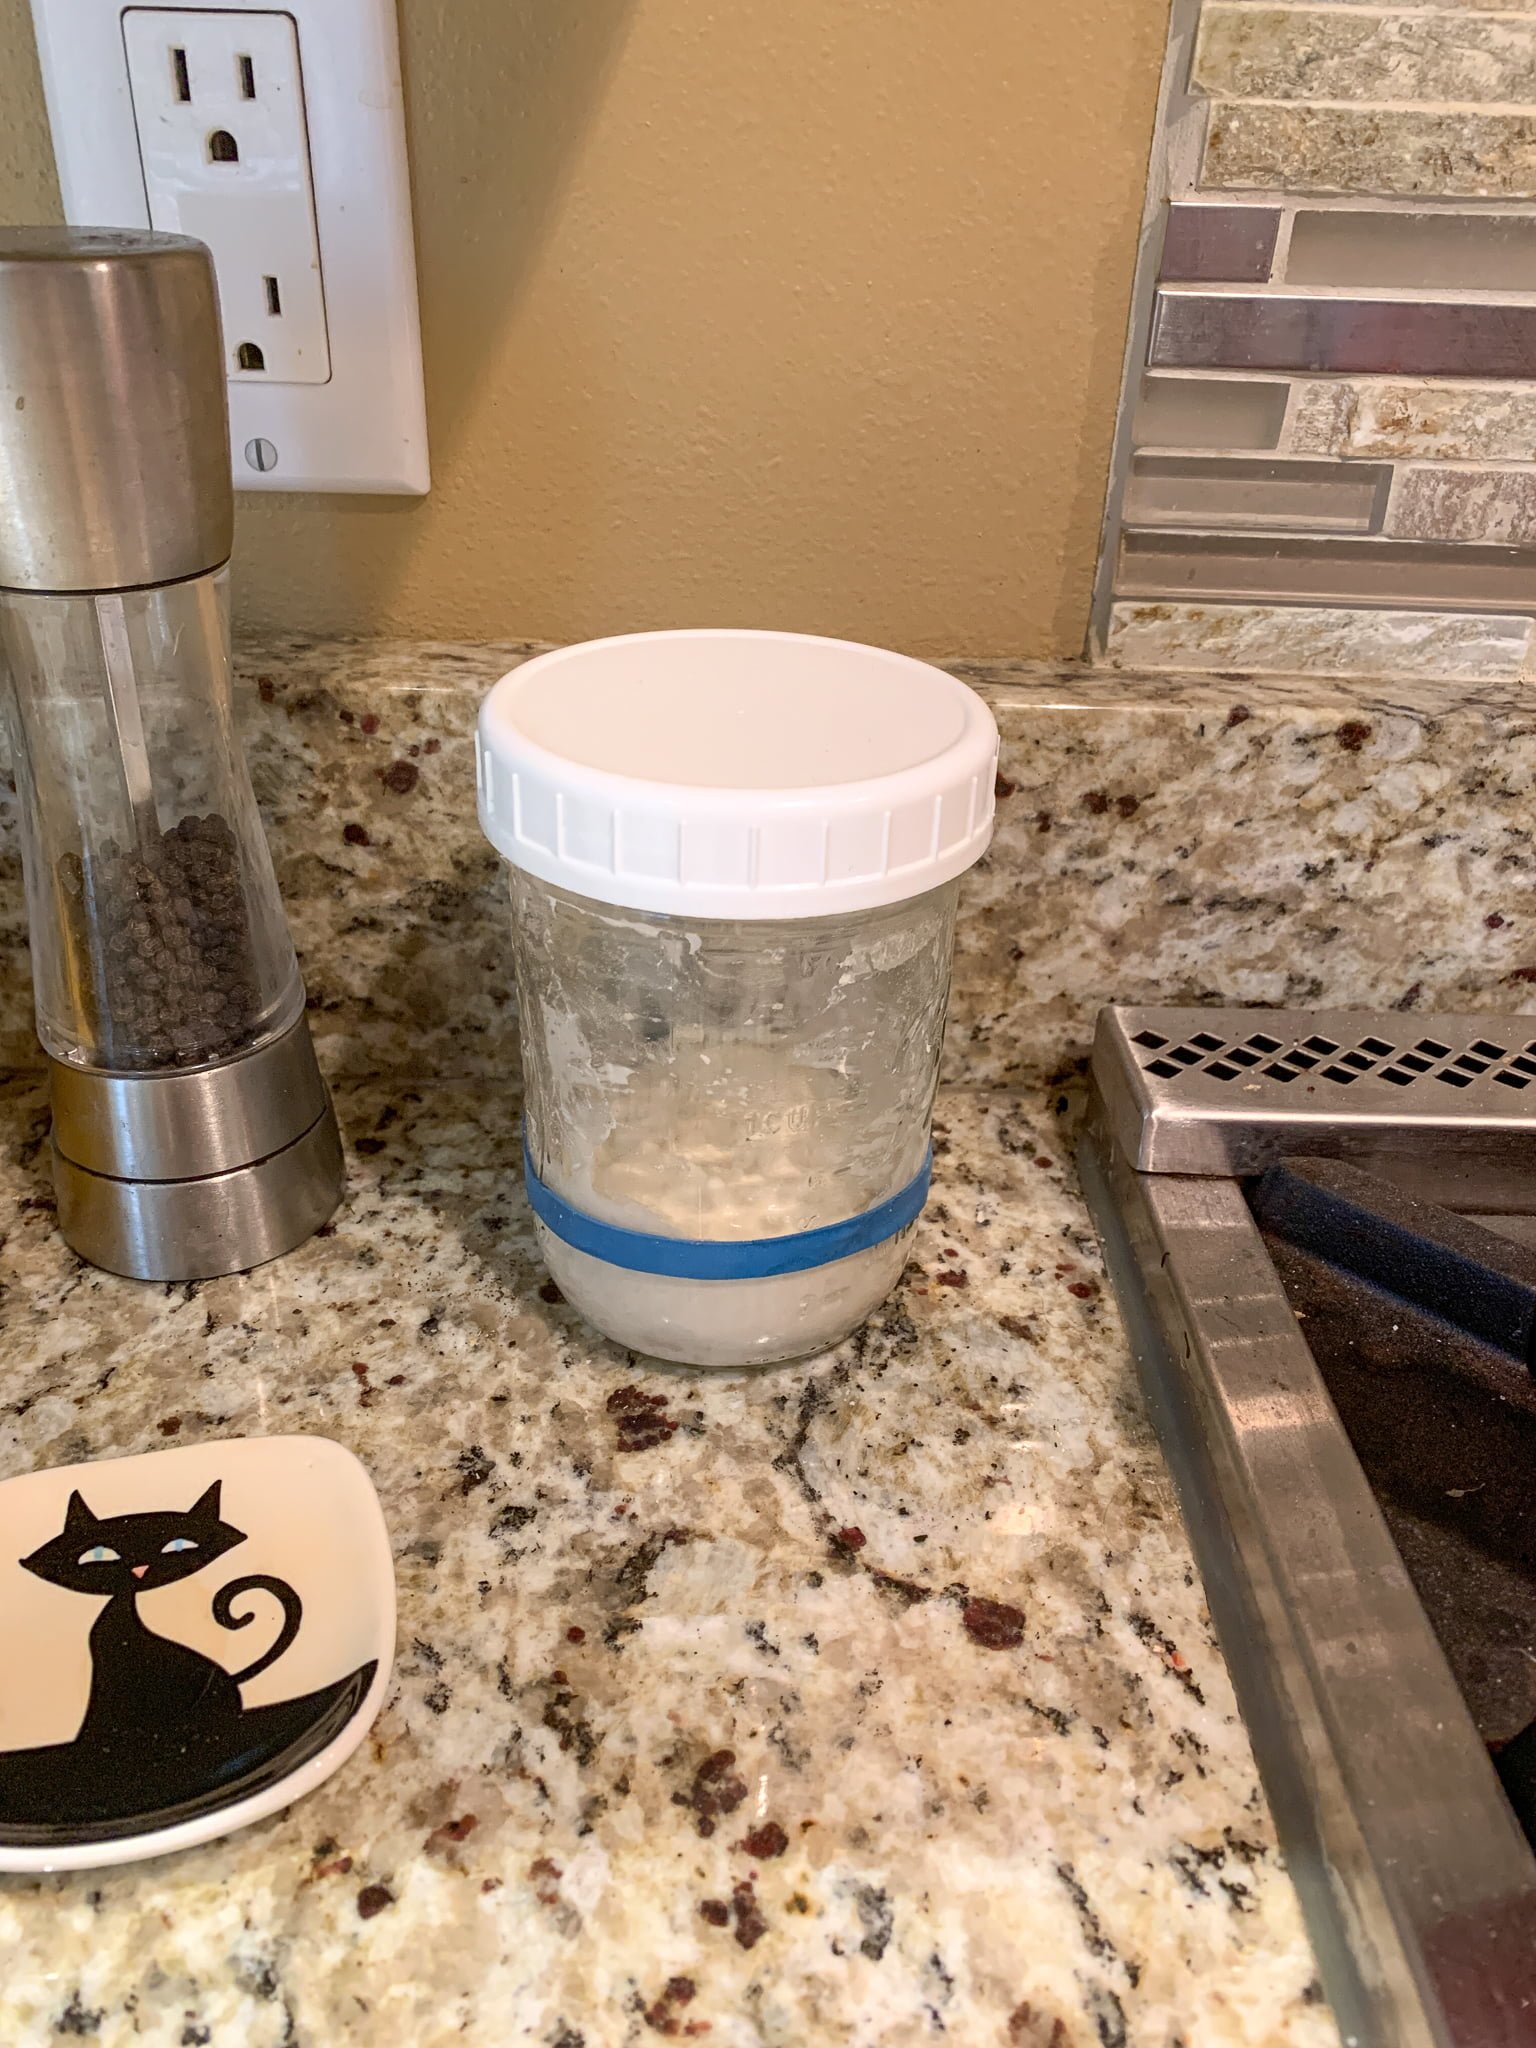
Fed starter next to my stove.
Go ahead and put a lid on it, it won’t hurt anything, and leave your starter to do it’s thing for 24 hours. I keep mine next to my stove most of the year as it’s warm there, but in the winter I keep it next to my gas fireplace where the pilot light keeps it a bit warmer and cozy. Over the course of the day, after feeding, the starter will fill with bubbles and grow as the yeasts develop and give off carbon dioxide. I keep a rubber band on the jar to mark the starting level so I can see how well the starter is growing. A sourdough starter is developed and ready to start using in baking once it consistently grows at least double in size after feedings.

Starter growing over double during the course of the day.
Step Four: Repeat
By the next morning, the starter will have finished feeding and deflated back down toward the starting level and it’s time to repeat the process.
Less Intensive Maintenance Methods
If feeding every day is not your thing, you can do a couple different things.
Feed every other week: Feed as described. Leave on the counter and as soon as the first bubble breaks the surface (a couple of hours), put in the refrigerator. Take out in 2 weeks to discard and feed again. Repeat.
Dehydrate: Spread 50g of discard onto parchment or silicone baking sheet and let air dry. After fully dry, break into pieces and store in an airtight jar. To bring back, reconstitute 50g of dried starter in a jar with 50g room temperature water and add 50g flour and start the process described above. It will take about a week of daily feedings of this reconstituted starter before it’s ready for baking use.

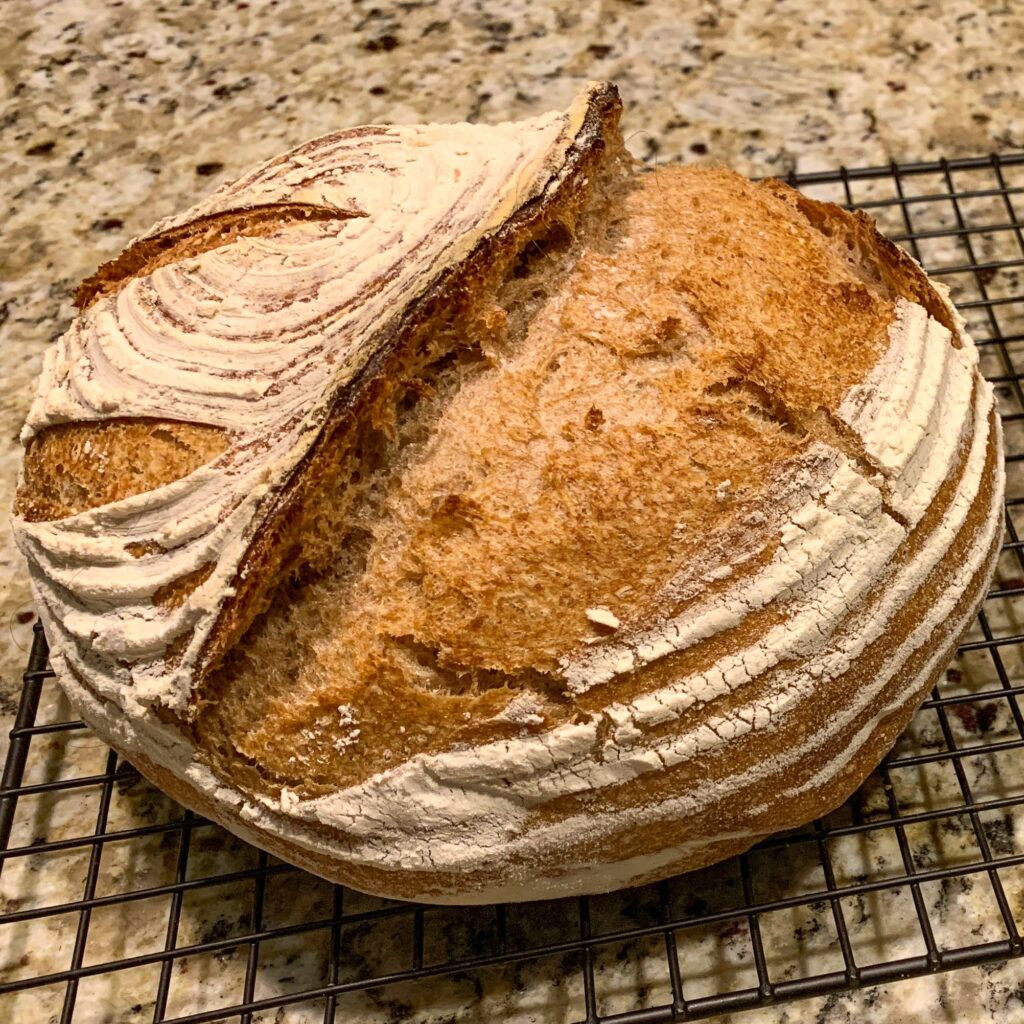
Whole Wheat Sourdough Boule made on a recent beach trip with my mom.
I’m just so thrilled to have figured out what I’ve been doing wrong with my sourdough bread making. The class at The Bread Lab was awesome and I’m looking forward to sharing WFPBNO adapted recipes soon! It’s great to have an option for bread without plastic packaging, which was the whole reason I started down the sourdough starter path. And there’s something so satisfying about eating things you’ve made by hand. In fact, the other day Alan and I giggled when we realized our meal was nearly completely grown or made by hand—a garden vegetable soup with veggies and dried beans we’d grown, and sourdough toast with homemade pumpkin seed butter and plum jam.
Are you interested in learning more about sourdough bread? Let me know and I’ll make sure to include more posts about it! And join me at the Whole Grain Artisan Baking class in January! It’s not necessarily a sourdough class, but should be a great class for learning how to bake with whole grains.
Do you like this post? Please share....
[mashshare]
2 Comments
Leave a Comment
If you liked this post, you might like one of these:
Categories:
Tags:
[Trī-māz-ing]
Cindy wants you to be Trimazing—three times better than amazing! After improving her health and fitness through plant-based nutrition, losing 60 pounds and becoming an adult-onset athlete, she retired from her 20-year firefighting career to help people just like you. She works with people and organizations so they can reach their health and wellness goals.
Cindy Thompson is a national board-certified Health and Wellness Coach, Lifestyle Medicine Coach, Master Vegan Lifestyle Coach and Educator, Fitness Nutrition Specialist, Behavior Change Specialist, and Fit2Thrive Firefighter Peer Fitness Trainer. She is a Food for Life Instructor with the Physicians Committee for Responsible Medicine, Rouxbe Plant-Based Professional, and Harvard Medical School Culinary Coach, teaching people how to prepare delicious, satisfying, and health-promoting meals.
She provides health and lifestyle coaching at Trimazing! Health & Lifestyle Coaching. Cindy can be reached at info@trimazing.com.
Subscribe to the Trimazing Blog
Receive occasional blog posts in your email inbox.
Subscribe to the Trimazing Blog
Receive occasional blog posts in your email inbox.





So, I’d like to know what you learned re: what you were doing wrong.
What a great question! Here are things I was doing wrong. First, I didn’t understand the differences in flour. Bread flour has the most gluten, AP flour less than that, and pastry flour much less of the three, and gluten content helps with structure and holding air bubbles in the dough so it rises. There’s a lot more science to that, but that’s a basic misunderstanding I had. Second, I didn’t realize that whole grains are sharp and cut gluten in dough, so that if you didn’t treat those whole grains differently or add some more glutinous flour, the dough won’t hold air because the gluten strands are damaged. In addition, whole grains ferment a whole lot faster and I did not recognize when doughs were ready and overproofed them. Third, I had no idea how to knead high hydration doughs. Fourth, I didn’t know how to get the proofed dough into the heated Dutch oven and deflated the risen dough when I plopped it into the pot! Those are the major things I learned, and there were dozens and more little things.
I do have a recent post on making Whole Wheat Sourdough Bread that addresses a lot of those issues in a step by step process and has a video on the kneading method I learned at the Bread Lab. Thank you for inquiring!