Composting Food Scraps
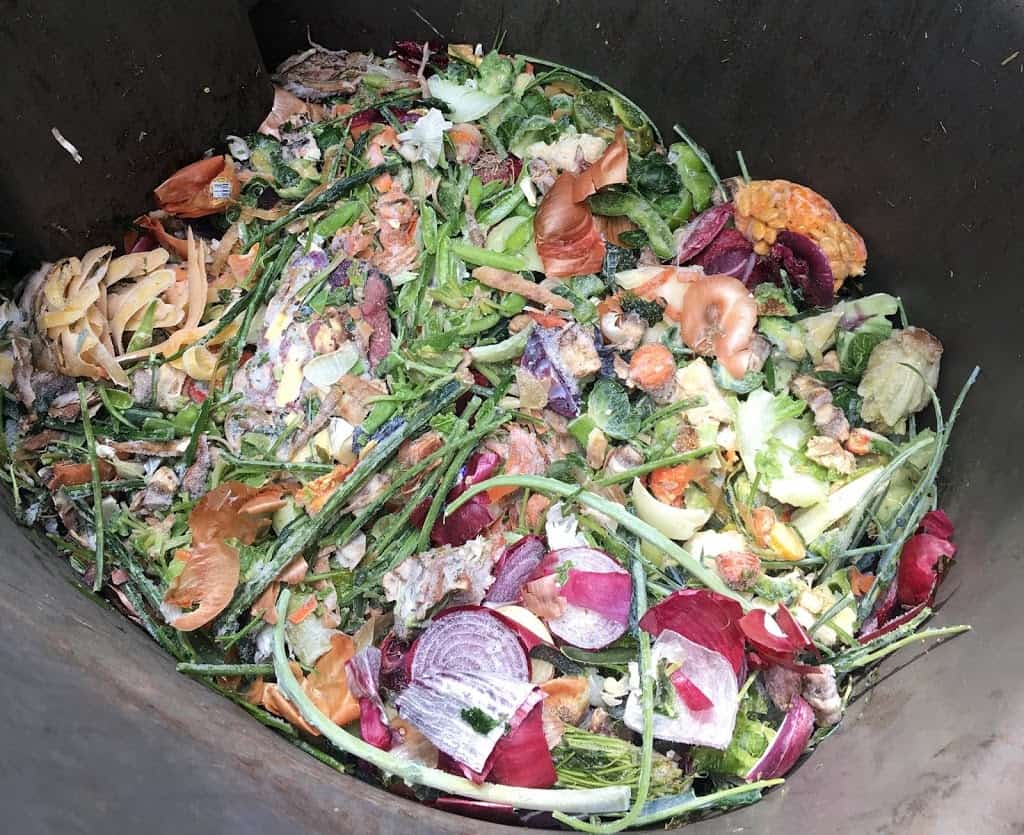
Vegetable Food Scraps
#VeganMoFo18 Day 27 – Composting Food Scraps
One of the awesome things about being a whole food, plant-based, no oil vegan, and there are many, is that ALL of our food scraps are compostable! You don’t have to live on a farm or a big piece of property to compost, either. There are options for composting whether you live in an apartment or on an acre. Composting comprises the final R (Rot) in the 5 R’s of Zero Waste:
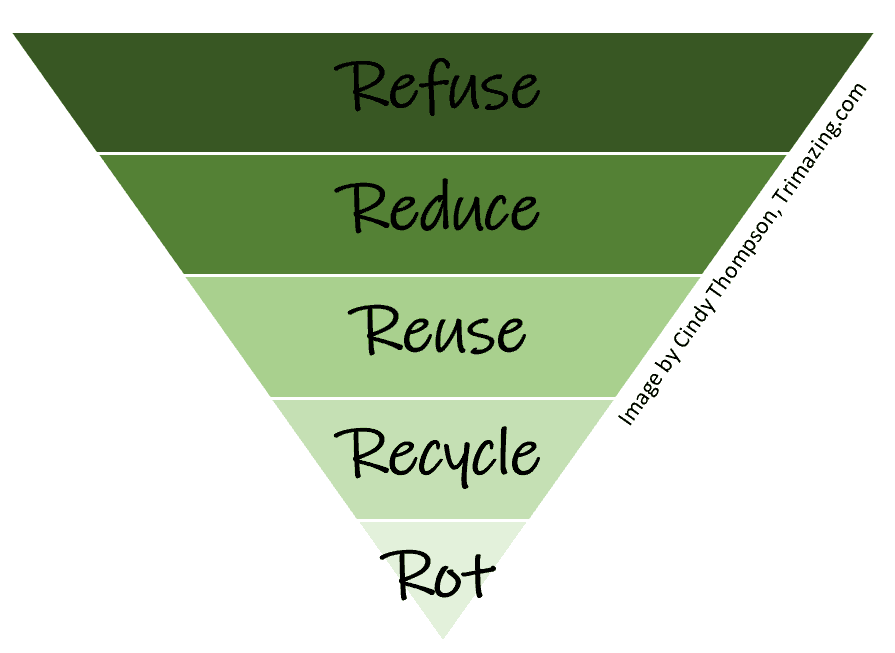
5 R’s of Zero Waste
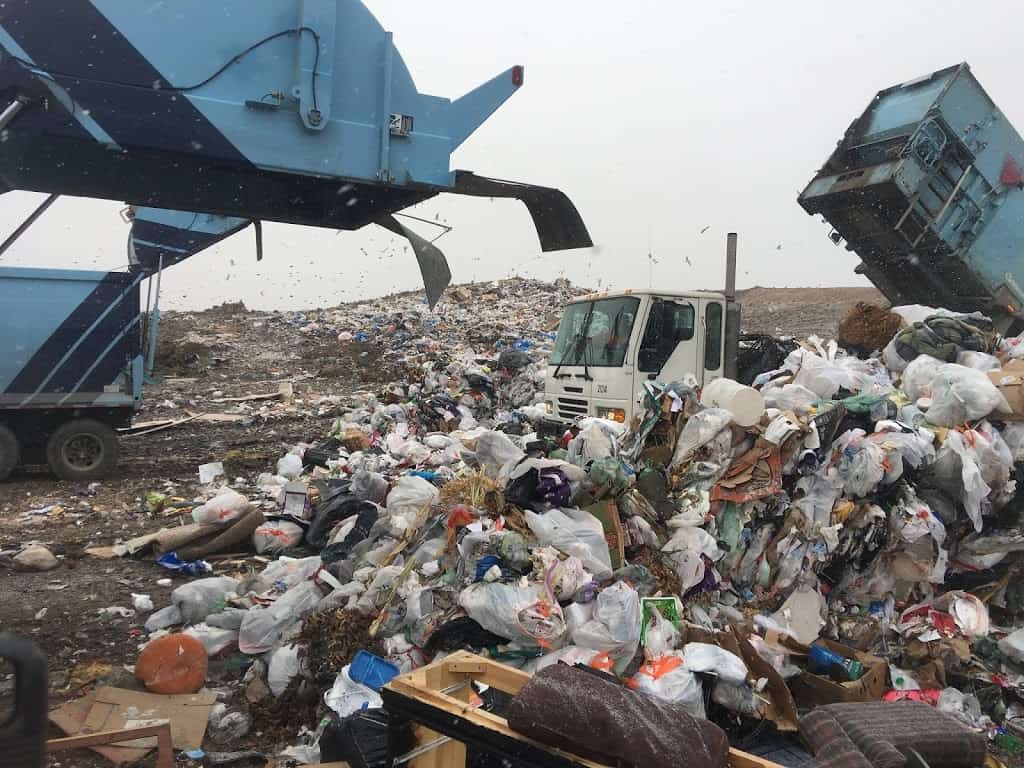
Photo by S. Ross Morris on Unsplash
Why should we compost our food scraps? First and foremost, to reduce the production of methane, a potent greenhouse gas, in our environment. Most people think that food waste decomposes in landfills after we’ve thrown it in the trash, but this is not true. As we will learn, organic matter requires oxygen in order to decompose, and in landfills, food waste gets smothered in all other types of waste, depriving it of oxygen, so it sits in that debris and creates methane gas instead. According to King County, nearly 35% of the waste in dumps is comprised of food scraps and food-soiled paper. The Environmental Protection Agency (EPA) reports that landfills are the third largest human-made source of methane in our environment, accounting for 16% of overall methane production in 2016. Methane is 25 times more effective at trapping heat in our atmosphere than carbon dioxide, and therefore is a major contributor to global climate change. While the EPA is working to promote collection of as much landfill methane as possible through their Landfill Methane Outreach Program, it is a voluntary program, and it would be best just not to produce it in the first place.
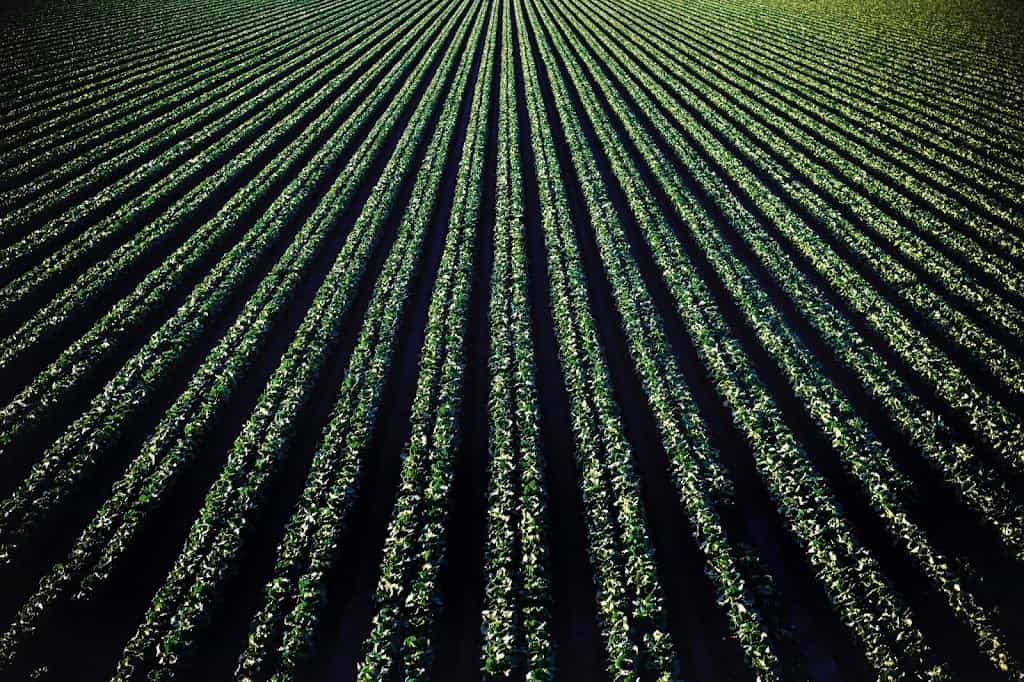
Photo by Tim Mossholder on Unsplash
Second, we need the nutrients back in our soil. Plants pull nutrients out of the soil to grow and produce the fruits and vegetables we eat. By putting food waste in our landfill, those nutrients never get back into regenerating the soil. We are losing topsoil, where plants get their nutrients to grow, at a remarkable rate, through farming practices and erosion, faster than the planet can regenerate it. During the Tilth Alliance Soil and Water Stewardship program, I learned that a major cause of the Dust Bowl in the 1930s United States was the annihilation of the buffalo, whose migration across the plains normally contributed to the rich topsoil in that area, which was lost when the herds were destroyed. The United Nations’ Food and Agriculture Organization warns we could lose all of our global topsoil in the next 60 years, as were are overtaking natural processes that replenishes soil at a little over an inch per yer. Turning food waste into compost can help restore critical topsoil.
What is Composting?
Composting is simply decomposing organic material into nutrient-rich soil. It seems like a complicated, mysterious, labor-intensive process, but it isn’t. Our environment will naturally decompose organic materials left to the elements, whether its a pile of leaves, cut wood, or a cotton rag. But we can help this process along by providing the optimum environment for decomposition to occur through the work of organisms such as bacteria, fungi, insects, and worms, the makers of compost!
Home Composting or Commercial Composting?
Many municipal garbage companies now offer yard and food waste debris collection. Not only does this decrease methane accumulation in dumps, it is a resource for building compost. In King County, Washington, food waste recycling is available to 99% of all single family residences. Food waste recycling can be a bit hit-or-miss in multi-family residences, like apartments or condos; residents are asked to encourage property managers to work with the County to establish recycling programs in their complexes.
Yard and food scrap waste in King County is shipped to commercial composting facilities, like Cedar Grove. Cedar Grove turns the organic waste into compost, which can be purchased to amend the soil. Unlike home composting, industrial compost facilities can be capable of breaking down compostable plastic service ware and utensils. However, not all composting facilities can do this, so you’ll need to contact your facility to see what items they accept.
OK to put in your Commercial Compost/Yard Debris Bin (Waste Management, King County, WA) but NOT in your home compost:
- Parchment, waxed, freezer, or butcher paper (includes cough drop wrappers)
- Compostable utensils
- Seedy weeds
- Diseased plants
- Rose clippings
- Black Walnut shells
So we do still use our yard debris container for these items.
The video below outlines the industrial composting process at Cedar Grove in Everett, Washington. It is worth viewing for a better understanding of composting in general, besides just learning about commercial composting.
Cedar Grove Facility Tour
Take a look inside the organic composting process with a virtual tour of the Cedar Grove composting facilities in Everett and Maple Valley, WA.
Check with your local garbage/recycling provider to see what services they provide and what items can be sent off in your yard and food waste debris container. Acceptable items vary from site to site.
Home Composting
You don’t necessarily need to send your yard and food debris off to an industrial composting facility—you can do it at home! And the great thing is, you know EXACTLY what’s in your compost, because you control what goes in it. I like knowing that there are no herbicides, pesticides, or plastics in the compost that goes on my vegetable garden. As a note, Cedar Grove does test their end-product, as do other industrial facilities, to make sure their compost is safe to use on food gardens—I’m just really picky.

Inside my compost bin
In order to encourage decomposition of organic materials into compost, we have to ensure the right environment for the microorganisms that break all that stuff down. To work best, compost piles need a balanced diet of nitrogen and carbon, oxygen, moisture, the right temperature, and the right size of materials, all the same things they talked about in the Cedar Grove video above.
Feeding Your Compost Pile
This is where a lot of folks get confused and derailed about home composting. Microorganisms like a steady diet of carbon and nitrogen, but in a specific ratio. This ratio is:
2 Parts Carbon to 1 Part Nitrogen
which can be easily remembered as:
2 Parts Brown to 1 Part Green
or
2 Parts Dry to 1 Part Wet
What this means is, if you add a quart jar of vegetable scraps from your kitchen, add two quarts of dried leaves or shredded paper at the same time.
Nitrogen (Green or Wet) Materials
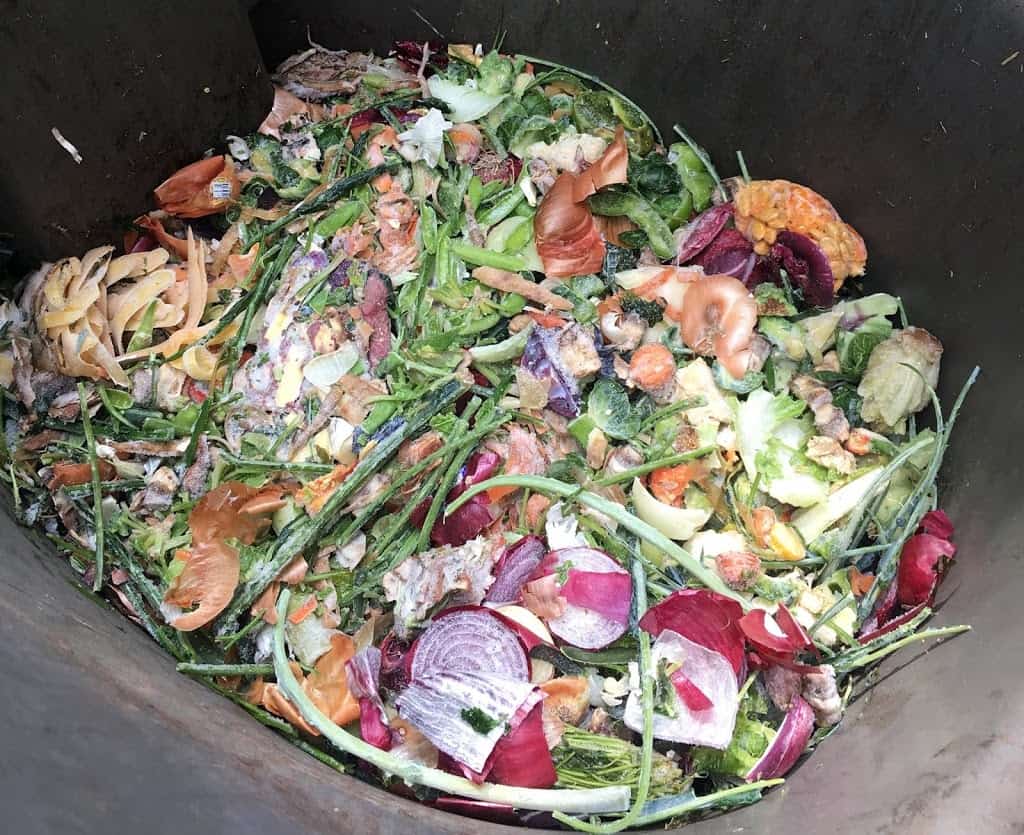
A bin full of vegetable scraps
- Fruit and vegetable scraps
- Fresh grass clippings
- Fresh leaves and flowers (Here’s a great blog covering noxious and toxic plant parts)
- Coffee grounds, including the filter
- Okara and whey from making soy milk and tofu
- Hair from your hairbrush!
- Finger- and toenail clippings (yes, we decompose too!)
- Bedding and manure from herbivores, such as hamsters, rabbits, guinea pigs, pet birds, chickens, etc.
Carbon (Brown or Dry) Materials

Shredded Cardboard in a Paper Shredder
- Dry (brown) leaves
- Small twigs
- Straw
- Dried out, brown lawn clippings
- Nutshells (except black walnuts, these are toxic to compost piles)
- Corncobs
- Food-soiled paper towels and napkins
- Shredded newspaper, paper, cardboard boxes, cardboard paper towel and toilet paper tubes (no wax, parchment, freezer, or butcher paper nor glossy inserts in the newspaper)
- Stale herbs
- Floor sweepings from your dustpan
- Shavings and dust from untreated wood
- Cotton, linen, denim fabric
- Wood ash, small amounts
- Lint from your clothes dryer
If your ratio is off, your compost pile won’t perform optimally. Too much nitrogen (greens or wet) causes the formation of ammonia, causing the pile to stink and stalls the process. Too much carbon (brown or dry) and the pile won’t heat up, stalling the process.
There are a few things that you shouldn’t put in your home compost. Don’t put in:
- Human, dog, or cat waste (Don’t put in Commercial Compost, either)
- Charcoal ashes
- Invasive weeds
- Diseased plants
- Black Walnut shells
- Any plants treated with herbicides, including clopyralid, aminopyralid, and aminocyclopyrachlor
- Parchment, waxed, freezer, or butcher paper
- Plastic, including those clear plastic windows in mailing envelopes, those go in the trash.
- Compostable plastic service ware and utensils, they don’t break down in home compost systems and behave just like other plastic materials in your compost bin.
Letting your Pile Breathe
The microorganisms of composting breathe in oxygen and breathe out carbon dioxide just like we do. Your compost system will need to have ventilation. Vent holes in the sides suffice, but more importantly, keeping the moisture content in the optimum range has a huge impact on air exchange.
Moisture
Your compost pile should be as moist as a wrung-out sponge, damp, but not dripping. These microbes require damp conditions. Green materials, especially kitchen scraps, add moisture to the mix, but if you’re adding large amounts of paper or cardboard, you might need to lightly spritz them with a little bit of water before putting them in. If your pile is too dry, microorganisms don’t have conditions they need to thrive. Too much moisture can make the mix swampy and keep oxygen from penetrating, killing off the microorganisms and leading to anaerobic conditions. Keep your eye on your compost pile during the changing seasons, adding water in hot weather, if needed, and covering in the rainy season so it doesn’t drown.
If your pile is too wet, add more carbon/brown/dry materials. If it’s too dry, add a spritz of water or more nitrogen/green/wet material.
Particle Size
Cut up cotton fabric scraps
Surface area has a big impact on the rate of decomposition. A chunk of firewood will decompose much slower than a pile of sawdust made from that same chunk of wood, because microorganisms have millions of more surfaces to act upon simultaneously with the sawdust. Chopping your browns and greens before putting them into your bin will rapidly increase the speed at which you get finished compost.
Ways to increase surface area:
- Run paper and even cardboard through a paper shredder. Yes! You can shred cardboard in your home shredder designed to shred 12-15 sheets of paper at a time!
- Run your lawnmower over the piles of leaves you’ve raked
- Chop kitchen scraps into small pieces
- Buzz kitchen scraps in a blender into a slurry
- Freeze and then thaw kitchen scraps before adding to the pile so cell walls are broken
- Cut yard debris into small pieces with shears
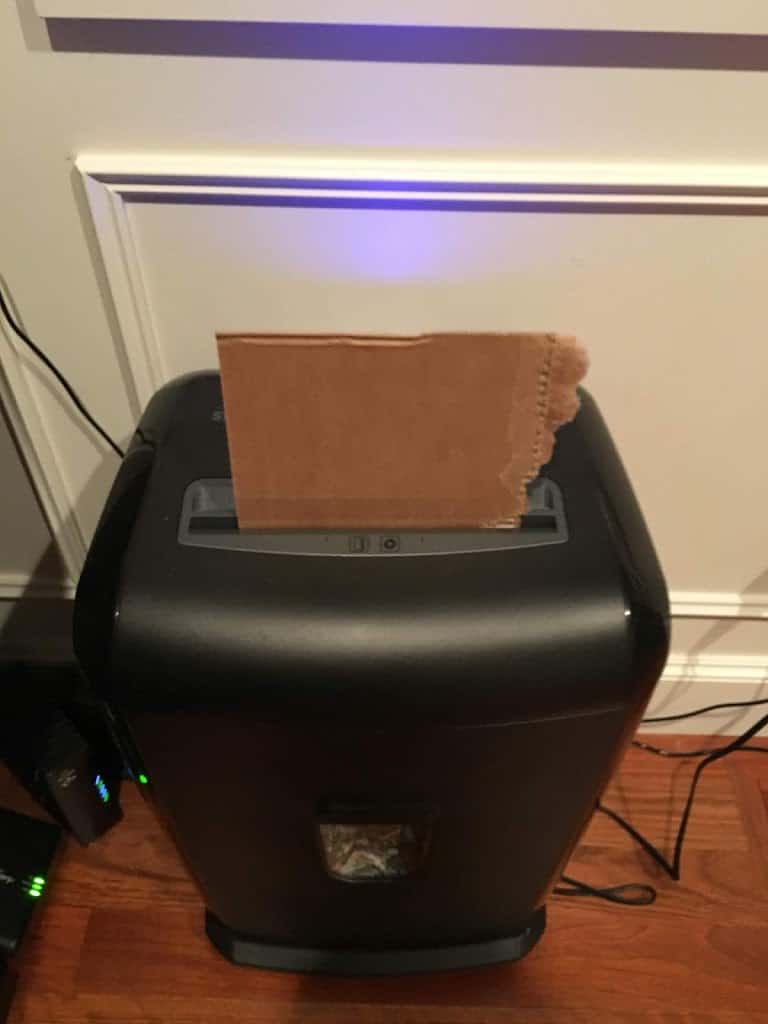
Shredding cardboard in a paper shredder
Temperature
Composting is often classified as hot or cold. Hot composting has a pile that quickly reaches 120-180˚F and can create compost in as little as six weeks. These piles are usually assembled in 1-3 days. Cold composting occurs at lower temperatures (50-130˚F) and produces compost within a year, sometimes in as little as eight weeks. In this process, organic material is added continuously. Neither process is superior, they just vary on temperature and speed of decomposition.
In order for all of the materials in a compost pile to be exposed to heat, water, and oxygen, the pile should have the optimum ratio of 2:1 Carbon to Nitrogen and be well mixed. Compost should be turned every few days to achieve this. And it gives you a chance to check the moisture level and add materials or water to adjust.
Ok, Enough Already with the Learning, How do you Actually Do This?!?
I’ve done compost piles on the ground and in tumblers. Both work great.
The first compost system I ever used was a 3 bin system I built using the instructions from Tilth Alliance. This system rocks! It has three separate compartments so you can fill one section and then move one to the next and let the first one cook. The sides and back are wire mesh, so lots of ventilation, and it has a solid top to keep rain out. The front is made of slats that you can remove for easier access for turning the pile or removing finished material.
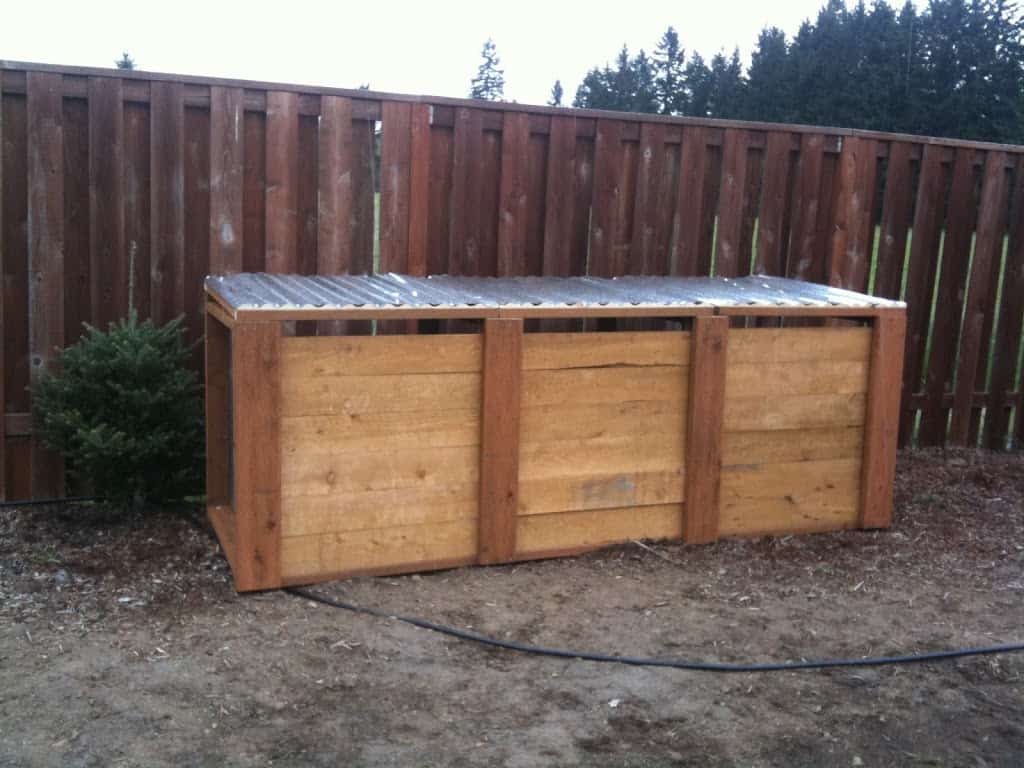
Three bin compost system
I did change the top from Tilth Alliance’s instructions so that each section had it’s own independent roof instead of one going all the way across. It was lighter this way.

One section of the compost system
Now we are using compost tumblers and worm bins. I’m going to go over the compost tumblers in this post and worm bins in the next one.
We got our first tumbler after a recommendation from a gardening friend—she swore by them. We wanted to get to composting right after moving into this house and didn’t really have time to develop a spot or build the three bin system, so this was a way to get going with composting sooner. We got an Envirocycle compost tumbler and started putting stuff into it. And then we forgot about it for a year…Neither of us were really shot in the head with it, until we opened it up this summer, figuring we needed to empty it out and start over and lo! and behold, it was full of the most beautiful compost we’d ever seen!
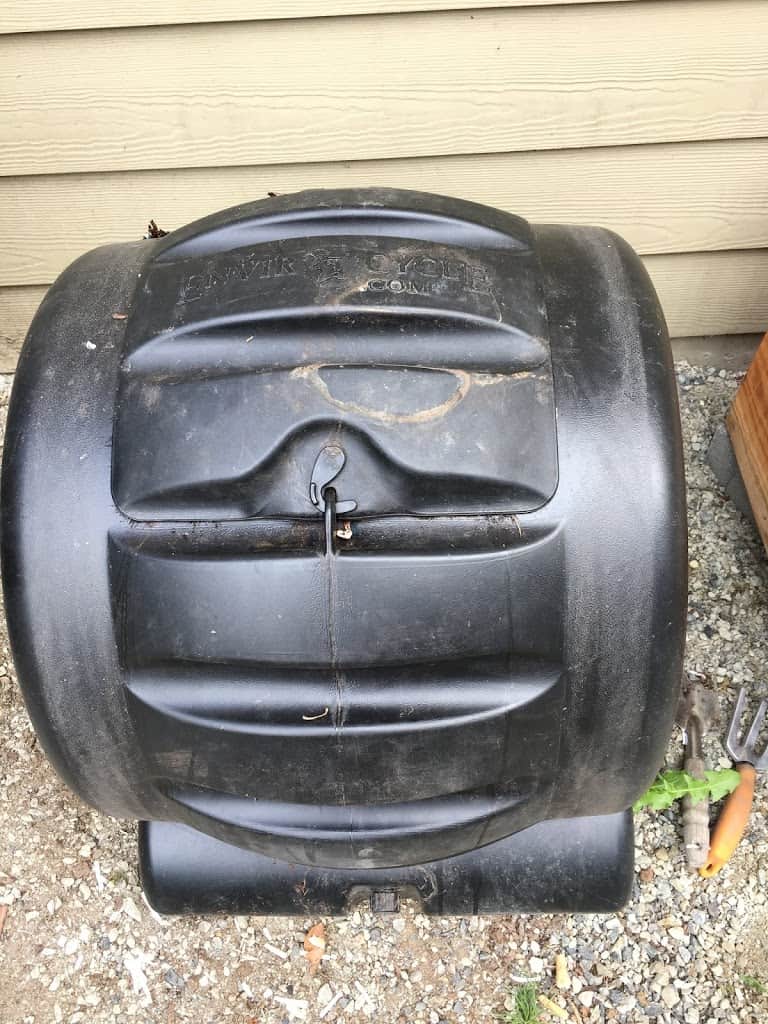
Envirocycle Compost Tumbler
I got our second tumbler, a Lifetime, free on the side of the road! Seriously! I don’t know why they were getting rid of it, but there it was. They probably had the same feelings we had at first about our first tumbler and decided to get rid of it.
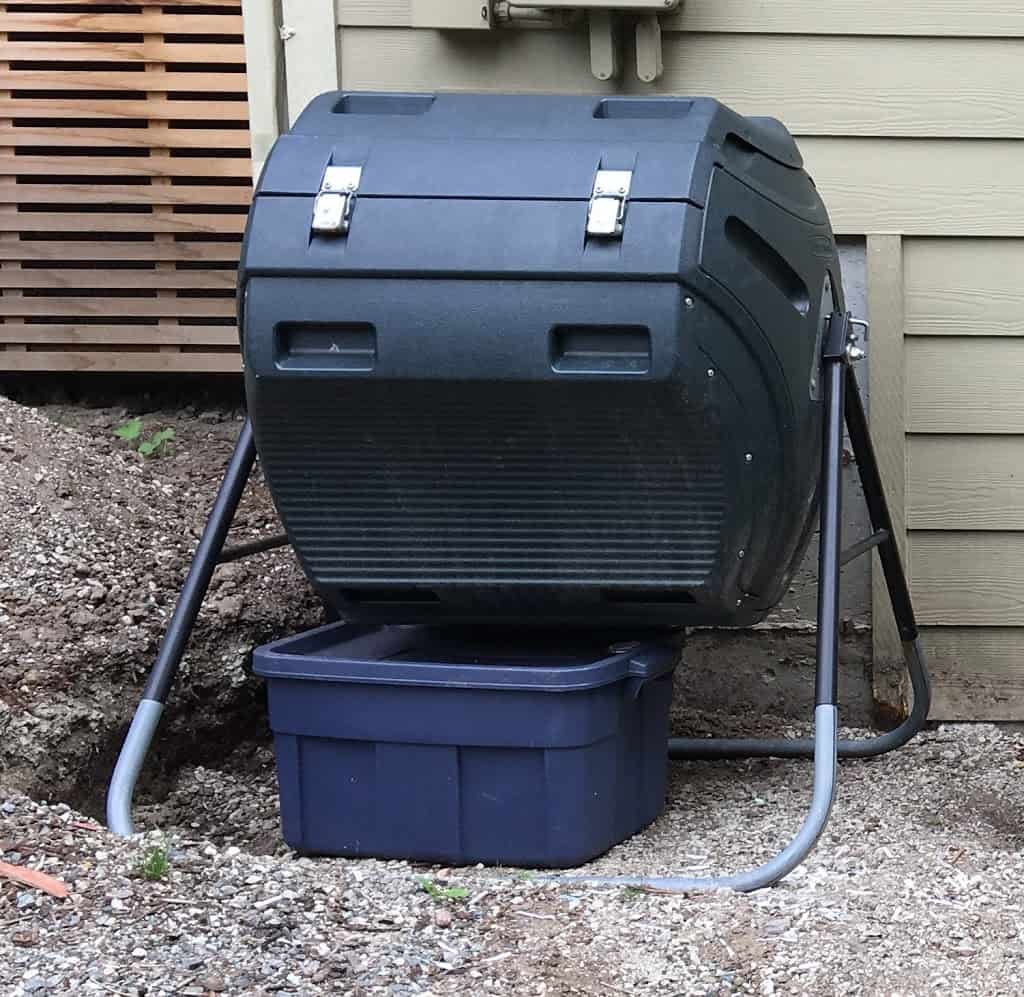
Lifetime Compost Tumbler
The problem we originally had with our compost tumbler was that it smelled. In retrospect, we just put too much nitrogen-rich material (all food scraps, little carbon) in it. We were used to having a compost system on the ground, so any extra water or leachate (water that leaches off the compost while it is cooking) went into the soil, so it was a bit more forgiving when being overloaded with food scraps. At one point, one of us threw a bunch of dried leaves or shredded paper in the nitrogen-rich tumbler and walked away—it was enough to get things started again. However, you can let the leachate drain out of the Envirocycle into the base it sit on—it has a spigot you can pull the liquid off and then dilute into compost tea to water your plants with.
We really like these tumblers now! First, they’re easy to turn the material, you just spin the tumbler to mix it all together. We spin it whenever we add new material to it, and our grandkids love to spin these! It’s so easy a 9-year-old can do it!
Spinning the Envirocycle Compost Tumbler
Uploaded by Trimazing! Health & Lifestyle Coaching on 2019-03-07.
Second, we don’t get animals into the compost tumbler looking for food scraps. The doors are latched tight and there aren’t any holes big enough for critters (other than worms, beetles, flies, etc.) to get through. I used to get an occasional rat or raccoon in my open bin system, and now that we live in bear country, it’s important that we are not attracting wildlife to our compost bin.
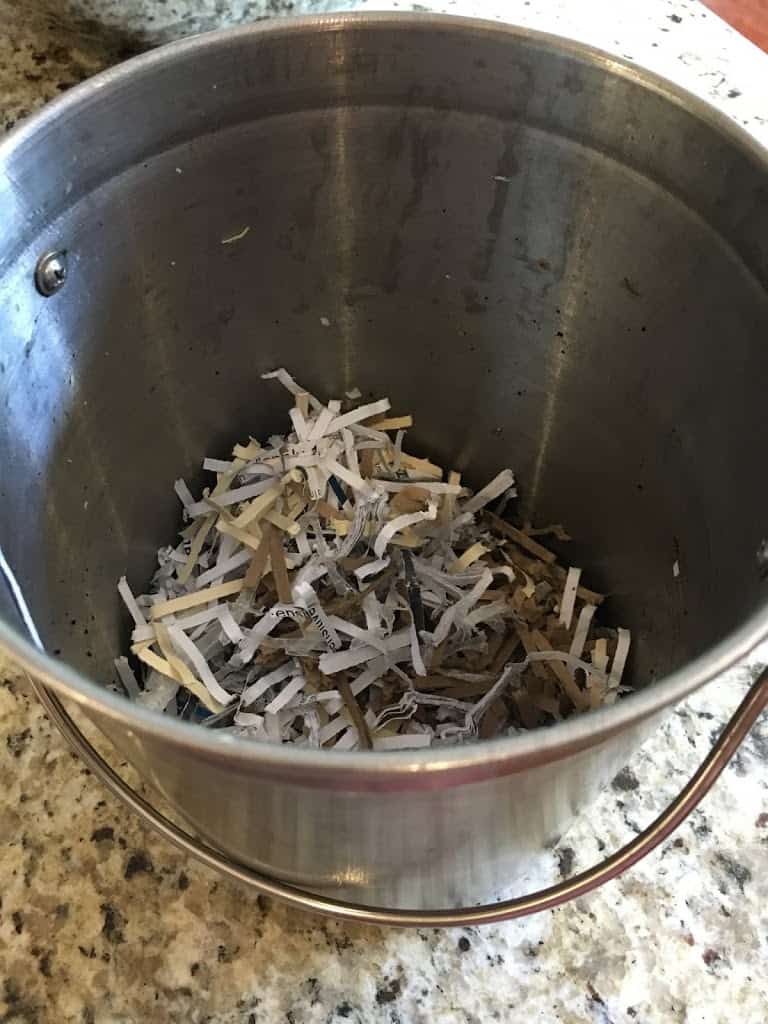
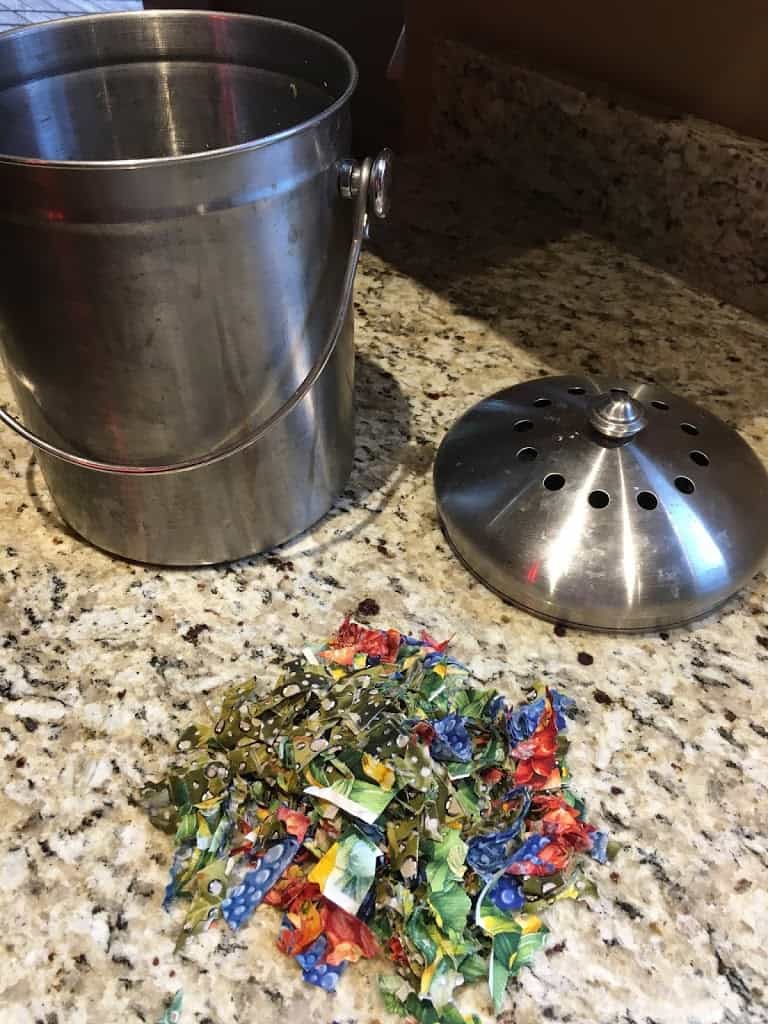
Paper shreds in the bottom of our compost pail.
Colleen Patrick-Goodreau, of Joyful Vegan, gave a great tip recently on one of her Food for Thought podcasts for an easy way to maintain your ratios of greens and browns in your compost bins. She suggests using the container you use to transport your food scraps to your compost bin as a measuring guide. When your container is empty, grab a couple of handfuls of shredded paper from your paper shredder and put it in the bottom. Then layer on your food scraps intended for the compost bin, but don’t fill it to the top. Before you head out to dump it, grab a couple more handfuls of shredded paper and, voila! you have your 2:1 ratio to add to your compost bin! We think this idea is brilliant! Not only does it help us get the ratio right, it makes it easier to dump the contents as the food scraps don’t stick to the bottom of the container.
I know this was a lot of information and it probably looks like a lot of work. But it’s not! Here’s the reality of composting at our house:
- We make food scraps because we’re eating and cooking
- We make dust (and hair and fingernails, eww, I know) because we’re living
- We have cardboard and paper, which we’re working to reduce, but still have
So we:
- Cook some veggie scraps into vegetable broth
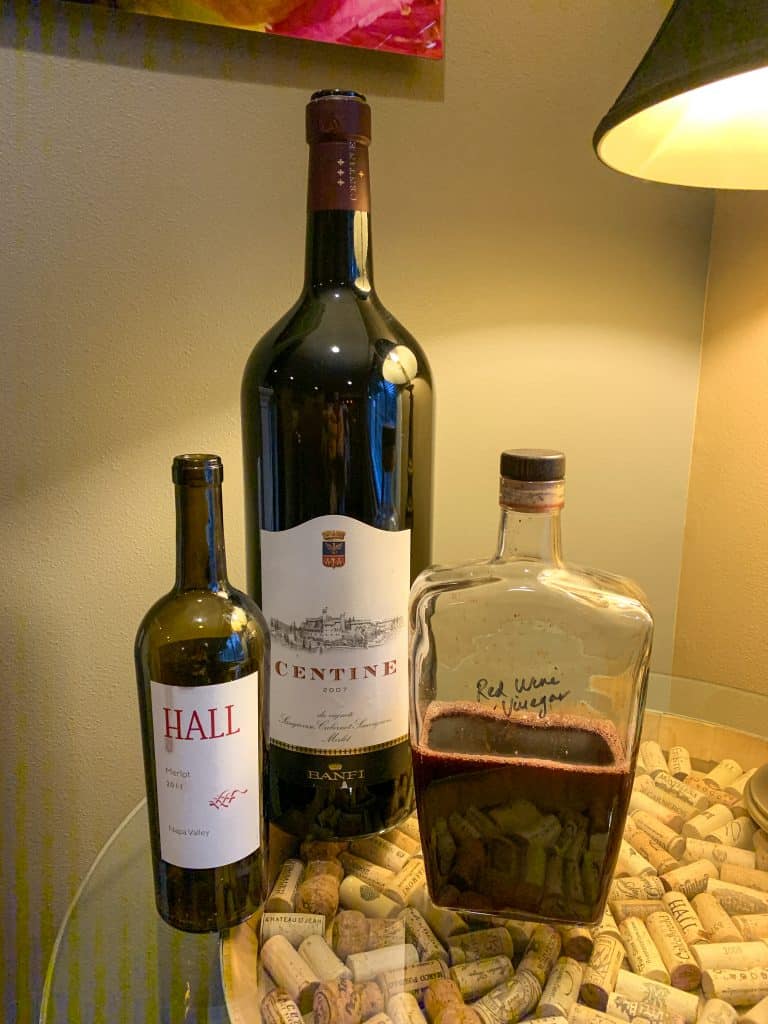
- Turn some scraps into vinegar
- Take these and other produce scraps and put them either in our compost tumbler (or worm bin), with twice as much paper shredding by volume
- Send it off in our commercial compost bin
- Put scraps and paper in the compost tumbler and spin it
- Put yard debris in the compost tumbler and spin it
- We let it do it’s thing, spinning it occasionally and peeking in to see how it’s going
And then we have compost! The great thing about the Envirocycle is that we can roll it off the stand right to where we want to put the compost. With the Lifetime tumbler, we put the wheelbarrow under it and rotate the tumbler to pour compost in it.
The next post will cover worm bins, or vermiculture, which is another way to deal with plant-based food waste. We use both methods as ways to deal with our produce scraps and make compost for our yard and garden.
Do you like this post? Please share....
[mashshare]
If you liked this post, you might like one of these:
Categories:
Tags:

[Trī-māz-ing]
Cindy wants you to be Trimazing—three times better than amazing! After improving her health and fitness through plant-based nutrition, losing 60 pounds and becoming an adult-onset athlete, she retired from her 20-year firefighting career to help people just like you. She works with people and organizations so they can reach their health and wellness goals.
Cindy Thompson is a national board-certified Health and Wellness Coach, Lifestyle Medicine Coach, Master Vegan Lifestyle Coach and Educator, Fitness Nutrition Specialist, Behavior Change Specialist, and Fit2Thrive Firefighter Peer Fitness Trainer. She is a Food for Life Instructor with the Physicians Committee for Responsible Medicine, Rouxbe Plant-Based Professional, and Harvard Medical School Culinary Coach, teaching people how to prepare delicious, satisfying, and health-promoting meals.
She provides health and lifestyle coaching at Trimazing! Health & Lifestyle Coaching. Cindy can be reached at info@trimazing.com.
Subscribe to the Trimazing Blog
Receive occasional blog posts in your email inbox.
Subscribe to the Trimazing Blog
Receive occasional blog posts in your email inbox.

