Big Bang Theory and Homemade Udon Noodles
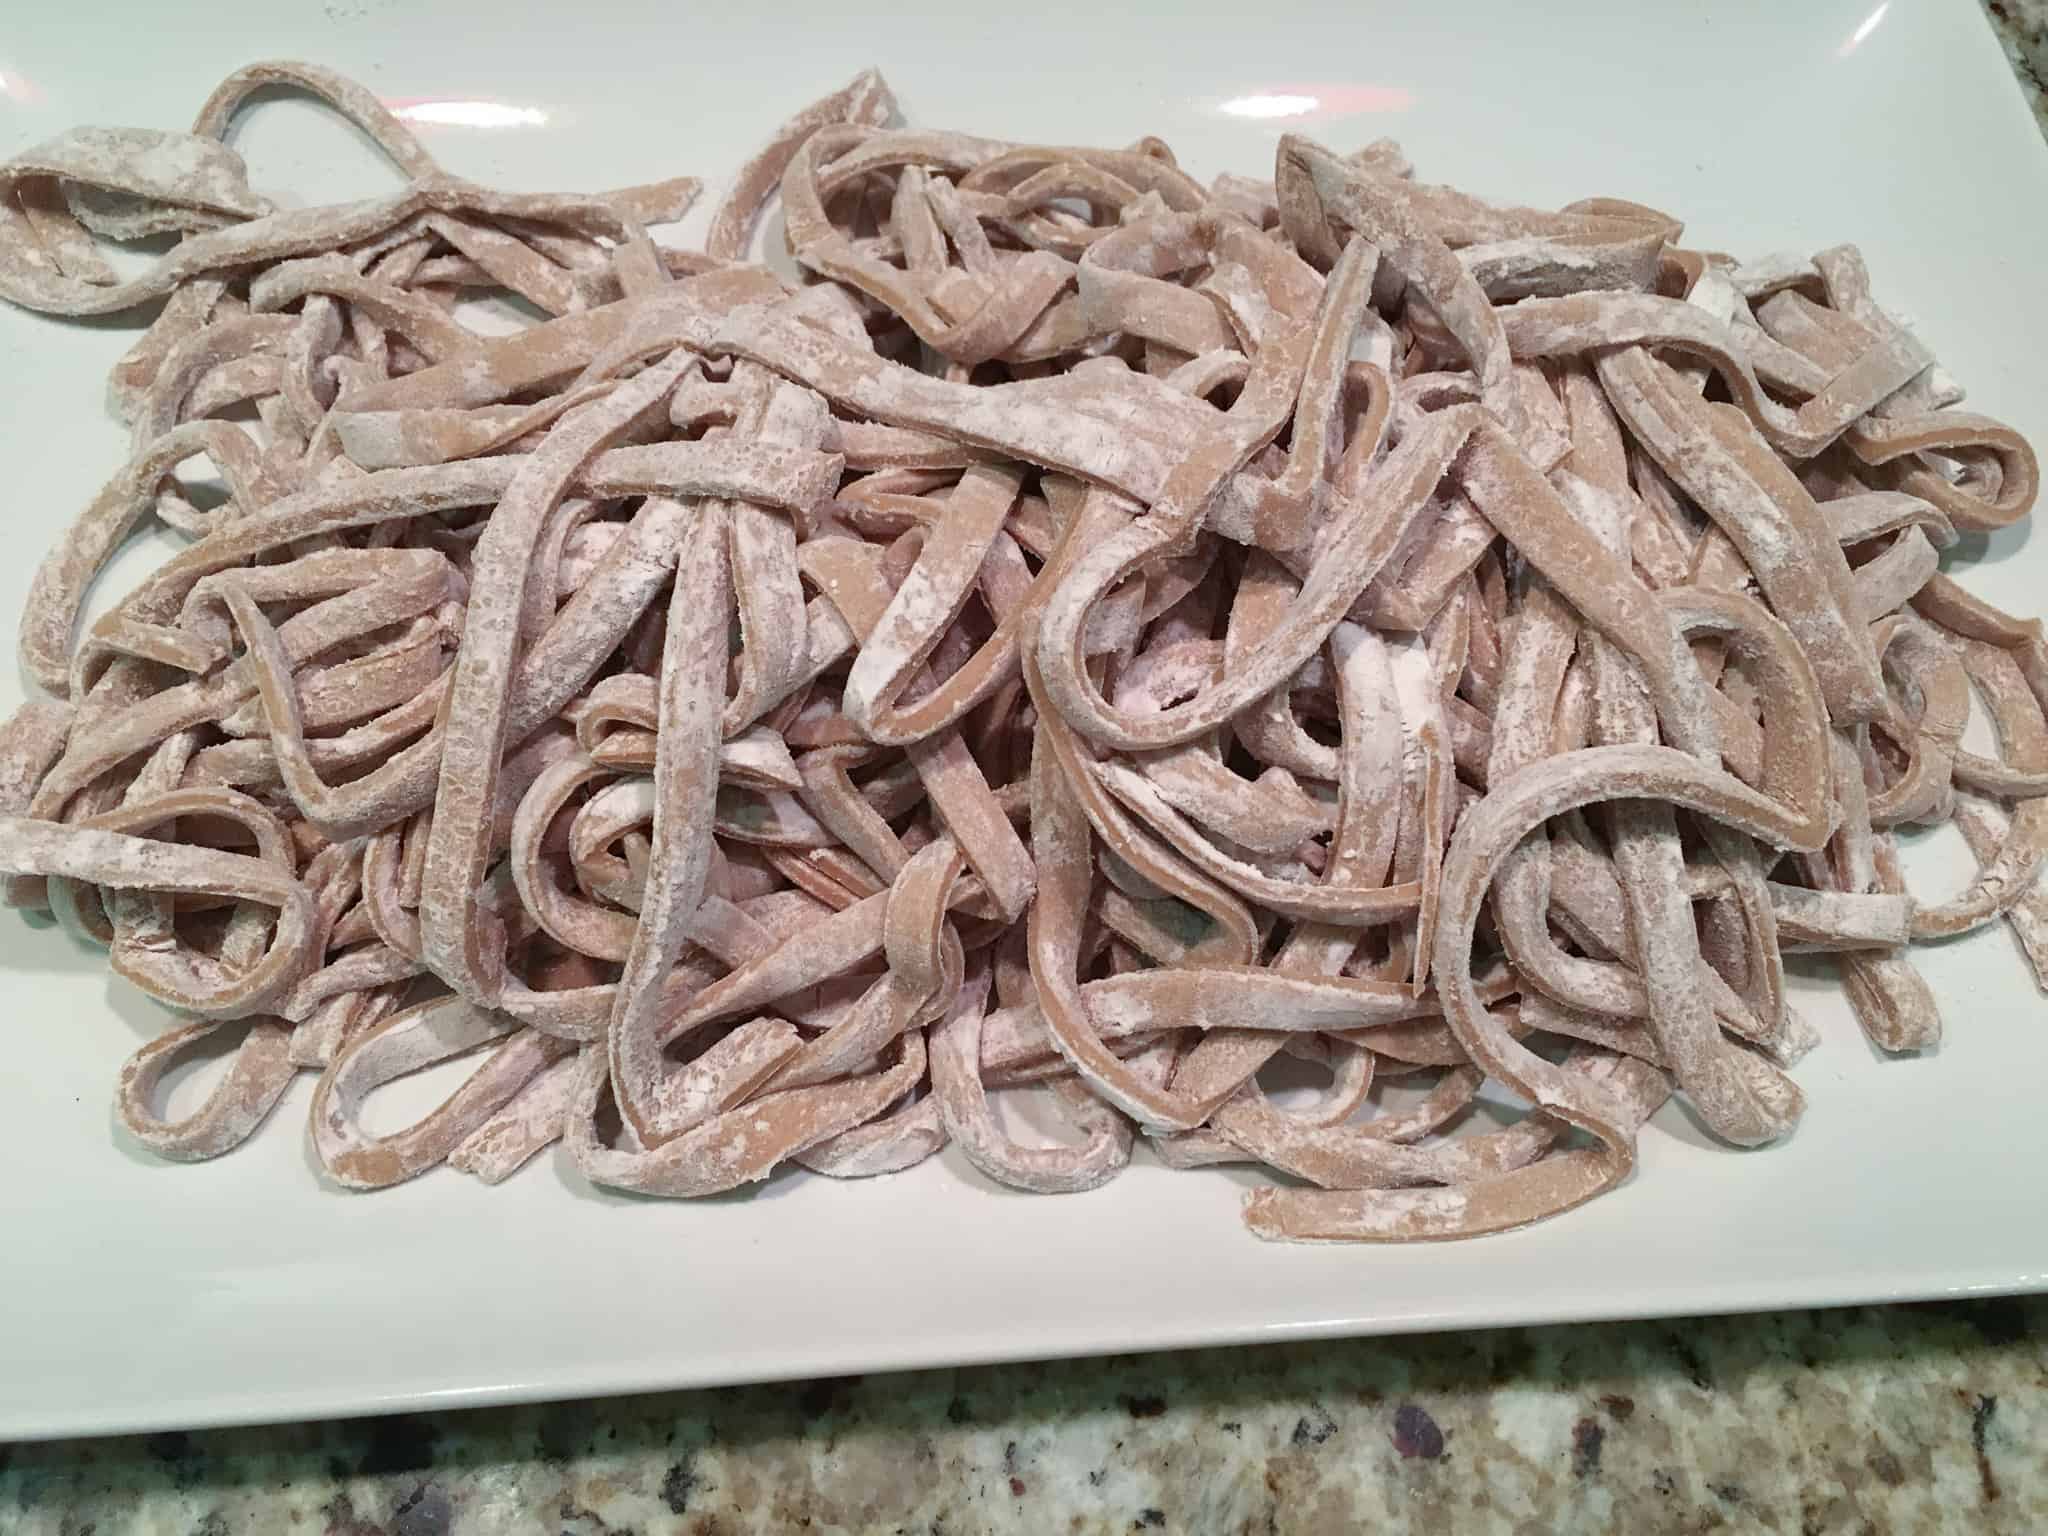
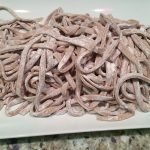
Hand-cut whole wheat udon noodles ready to be cooked.
Today’s topic for VeganMoFo 2019 is to write about something inspired by the characters of your favorite television shows. I don’t watch a lot of TV, but if I do, it’s the Big Bang Theory! I just love their sense of humor and find them so relatable!
Here are some of my favorite scenes:
Betrayals
I have a no-share toothbrush rule, too, and my reaction would be just like Sheldon!
The Big Bang Theory – Betrayals
Season 4 Episode 6 Description of the numerous betrayals each have suffered, ranging from dropping Raj’s iPhone in an urinal, the using of Sheldon’s toothbrush, and the feeding of insects to Leonard.
Please Pass the Butter!!
I’m pretty sure Alan and I have had more than one conversation just like this (where he’s Sheldon and I’m Amy)!
No Title
No Description
Amy and the Tiara
This cracks me up every time I watch it!
Amy Accepting The Tiara – The Big Bang Theory
http://www.facebook.com/YoureInMySpot
But I really love all the scenes in their living room where they all have different takeout items of an ethnic cuisine each night. There’s even a schedule online! While they don’t have a Japanese night, they do have Chinese takeout night (Fridays!) and Thai (Mondays!) and usually someone has a noodle dish.
I really started missing Udon noodles after going zero waste and plastic-free. These thick, chewy Japanese noodles are my favorite and were a staple in our house. I kept packs of frozen Udon noodles in the freezer from the Asian market so we could have hot Udon noodle soup with veggies in a flash. Unfortunately, I cannot find Udon without plastic packaging, so the only time I could enjoy Udon was at a restaurant or at Sankaku in Terminal 3 of the San Francisco Airport when we traveled (and I KNOW those noodles are packaged in plastic back in their kitchen). So, imagine my utter glee when I discovered last year that one of my required assignments for the Rouxbe Online Culinary School’s Plant-Based Professional Certification Program was making Udon!

We actually plan our flights through San Francisco International so we can stop at Sankaku for the Healthy Vegetable Tofu Soup with Udon and Added Broccoli (I bring my silverware, chopsticks, and cloth napkin with me too)! There’s Udon beneath all that tofu and broccoli, I promise!
How to Make Udon
It’s easier than you think, there’s just a bunch of kneading involved. But hey, that builds muscle!
Udon is usually made with white flour, but I use whole wheat pastry flour in my adaptation of this Rouxbe Online Culinary School’s Plant-Based Professional Certification Program recipe.
You’ll only need four ingredients to make Udon:
- Whole Wheat Pastry Flour (You can use bread flour if you don’t want whole wheat, just use a high gluten bread flour)
- Tapioca Starch
- Warm water
- Salt
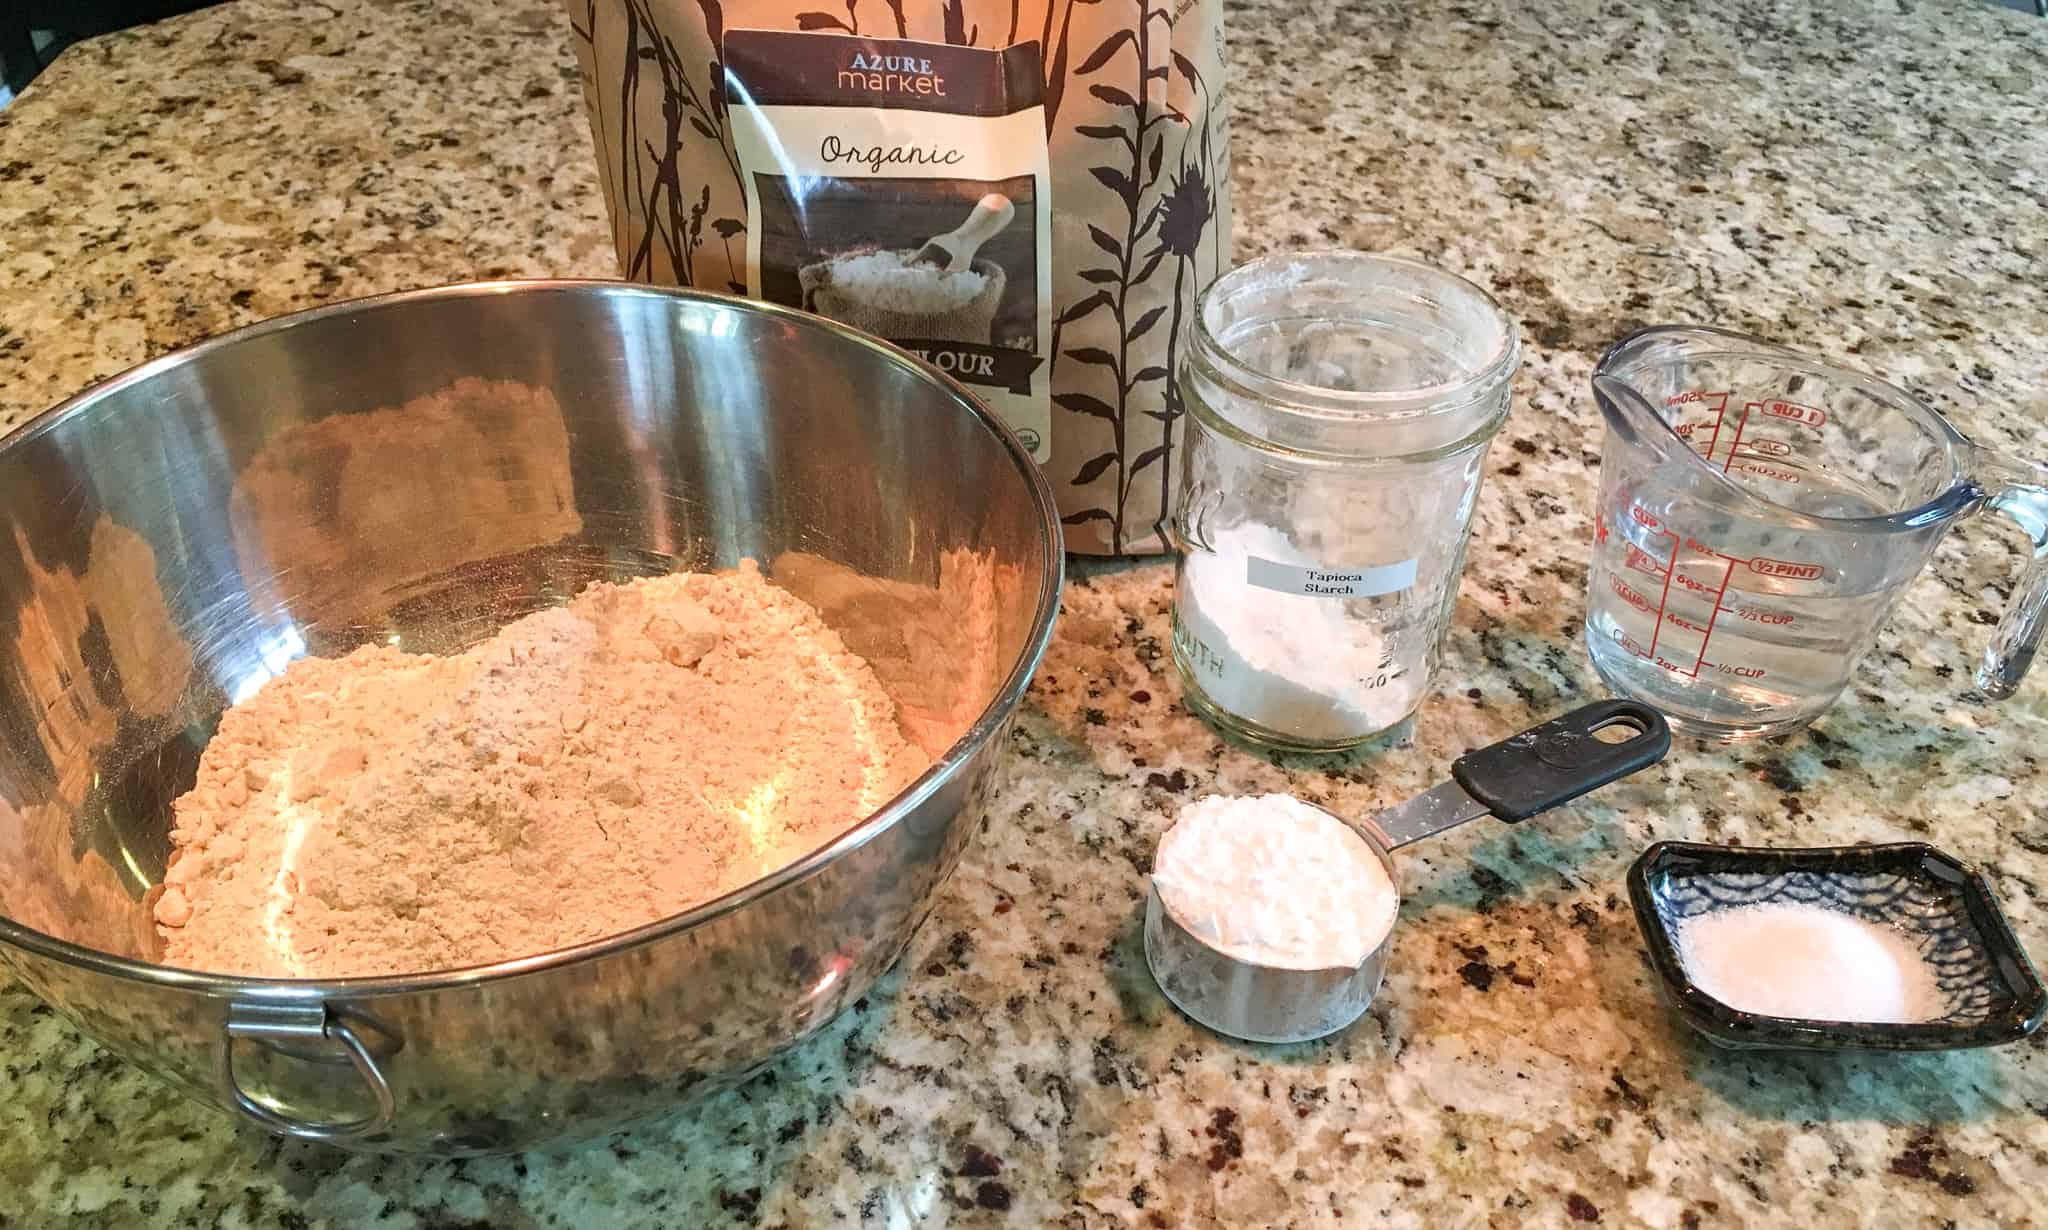
All you need for Udon is Whole Wheat pastry flour, tapioca starch, water, and salt (left to right)
Don’t fret if you can’t find tapioca starch as there are a couple solutions. First, you can substitute cornstarch. Or, second, you can MAKE tapioca starch with dry tapioca pearls in a high-speed blender (use the tapioca pearls, pre-cooked quick tapioca does not work). Simply put the tapioca pearls in your blender and run on high until it’s all pulverized into powder. It really is that simple.
First, dissolve the salt in the warm water and set aside. Next, mix the flour and tapioca starch in a mixing bowl, making a well in the center. Then pour half of the salt water into the well and mix by tossing the flour and water together with both hands, sliding your fingertips in from each side, going underneath, and lightly tossing together.
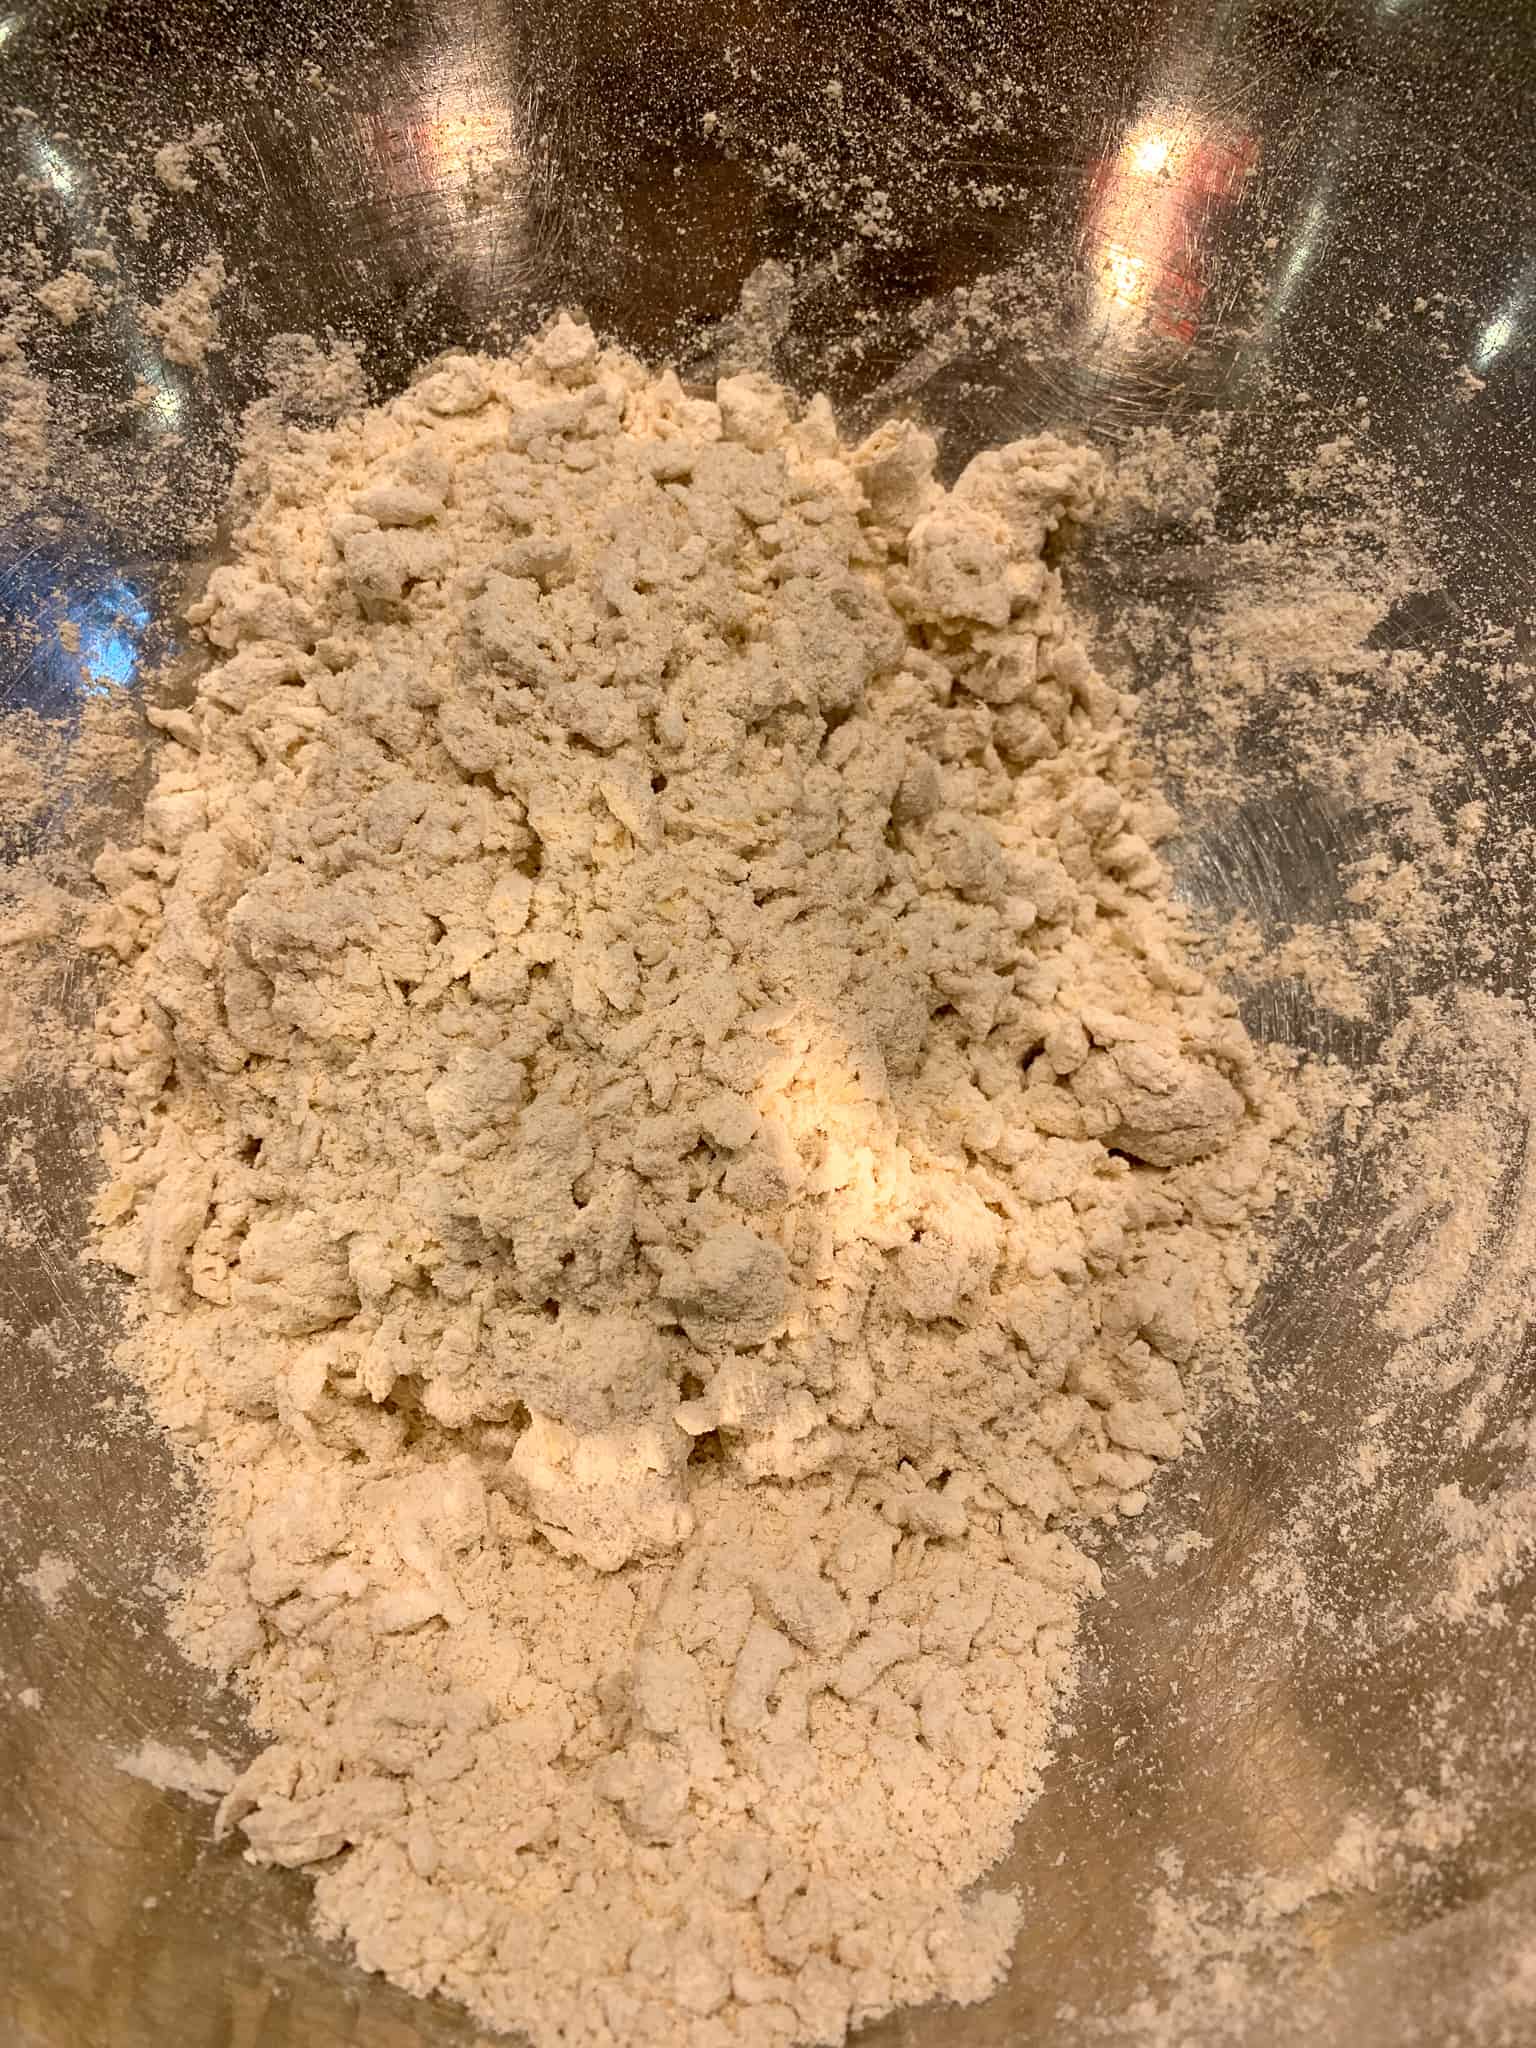
First tossing of flour and water.
Add half of the remaining water, and repeat the mixing. The dough will look stringy.
Then add the rest of the water, repeat mixing, and then squeeze the dough together into a ball. It doesn’t look great, kind of “shaggy,” but it’s right, don’t worry. It should be somewhat elastic if you try to pull it apart.

Balled up “shaggy” dough after mixing, ready to rest.
Let the dough rest in the bowl for 30 minutes. You don’t need to cover it at all.
After this first rest, dust the counter with some tapioca starch and knead the rested dough for 10 minutes. Yes, that’s TEN minutes. The dough is pretty stiff, so I stand on a little foot stool to give myself some extra leverage. This develops the gluten so you get a nice chewy noodle.
The dough will get smooth and shiny by the end of the 10 minutes.

Smooth, well-kneaded Udon noodle dough.
Place on the counter and cover with your mixing bowl turned upside down. Let rest 3-4 hours.
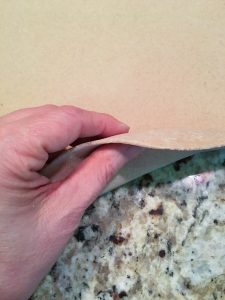
After resting, you’ll roll out the dough. Sprinkle more tapioca starch on the counter and roll out until it’s 1/8 to 1/4 inch thick. It’s really a gorgeous dough!
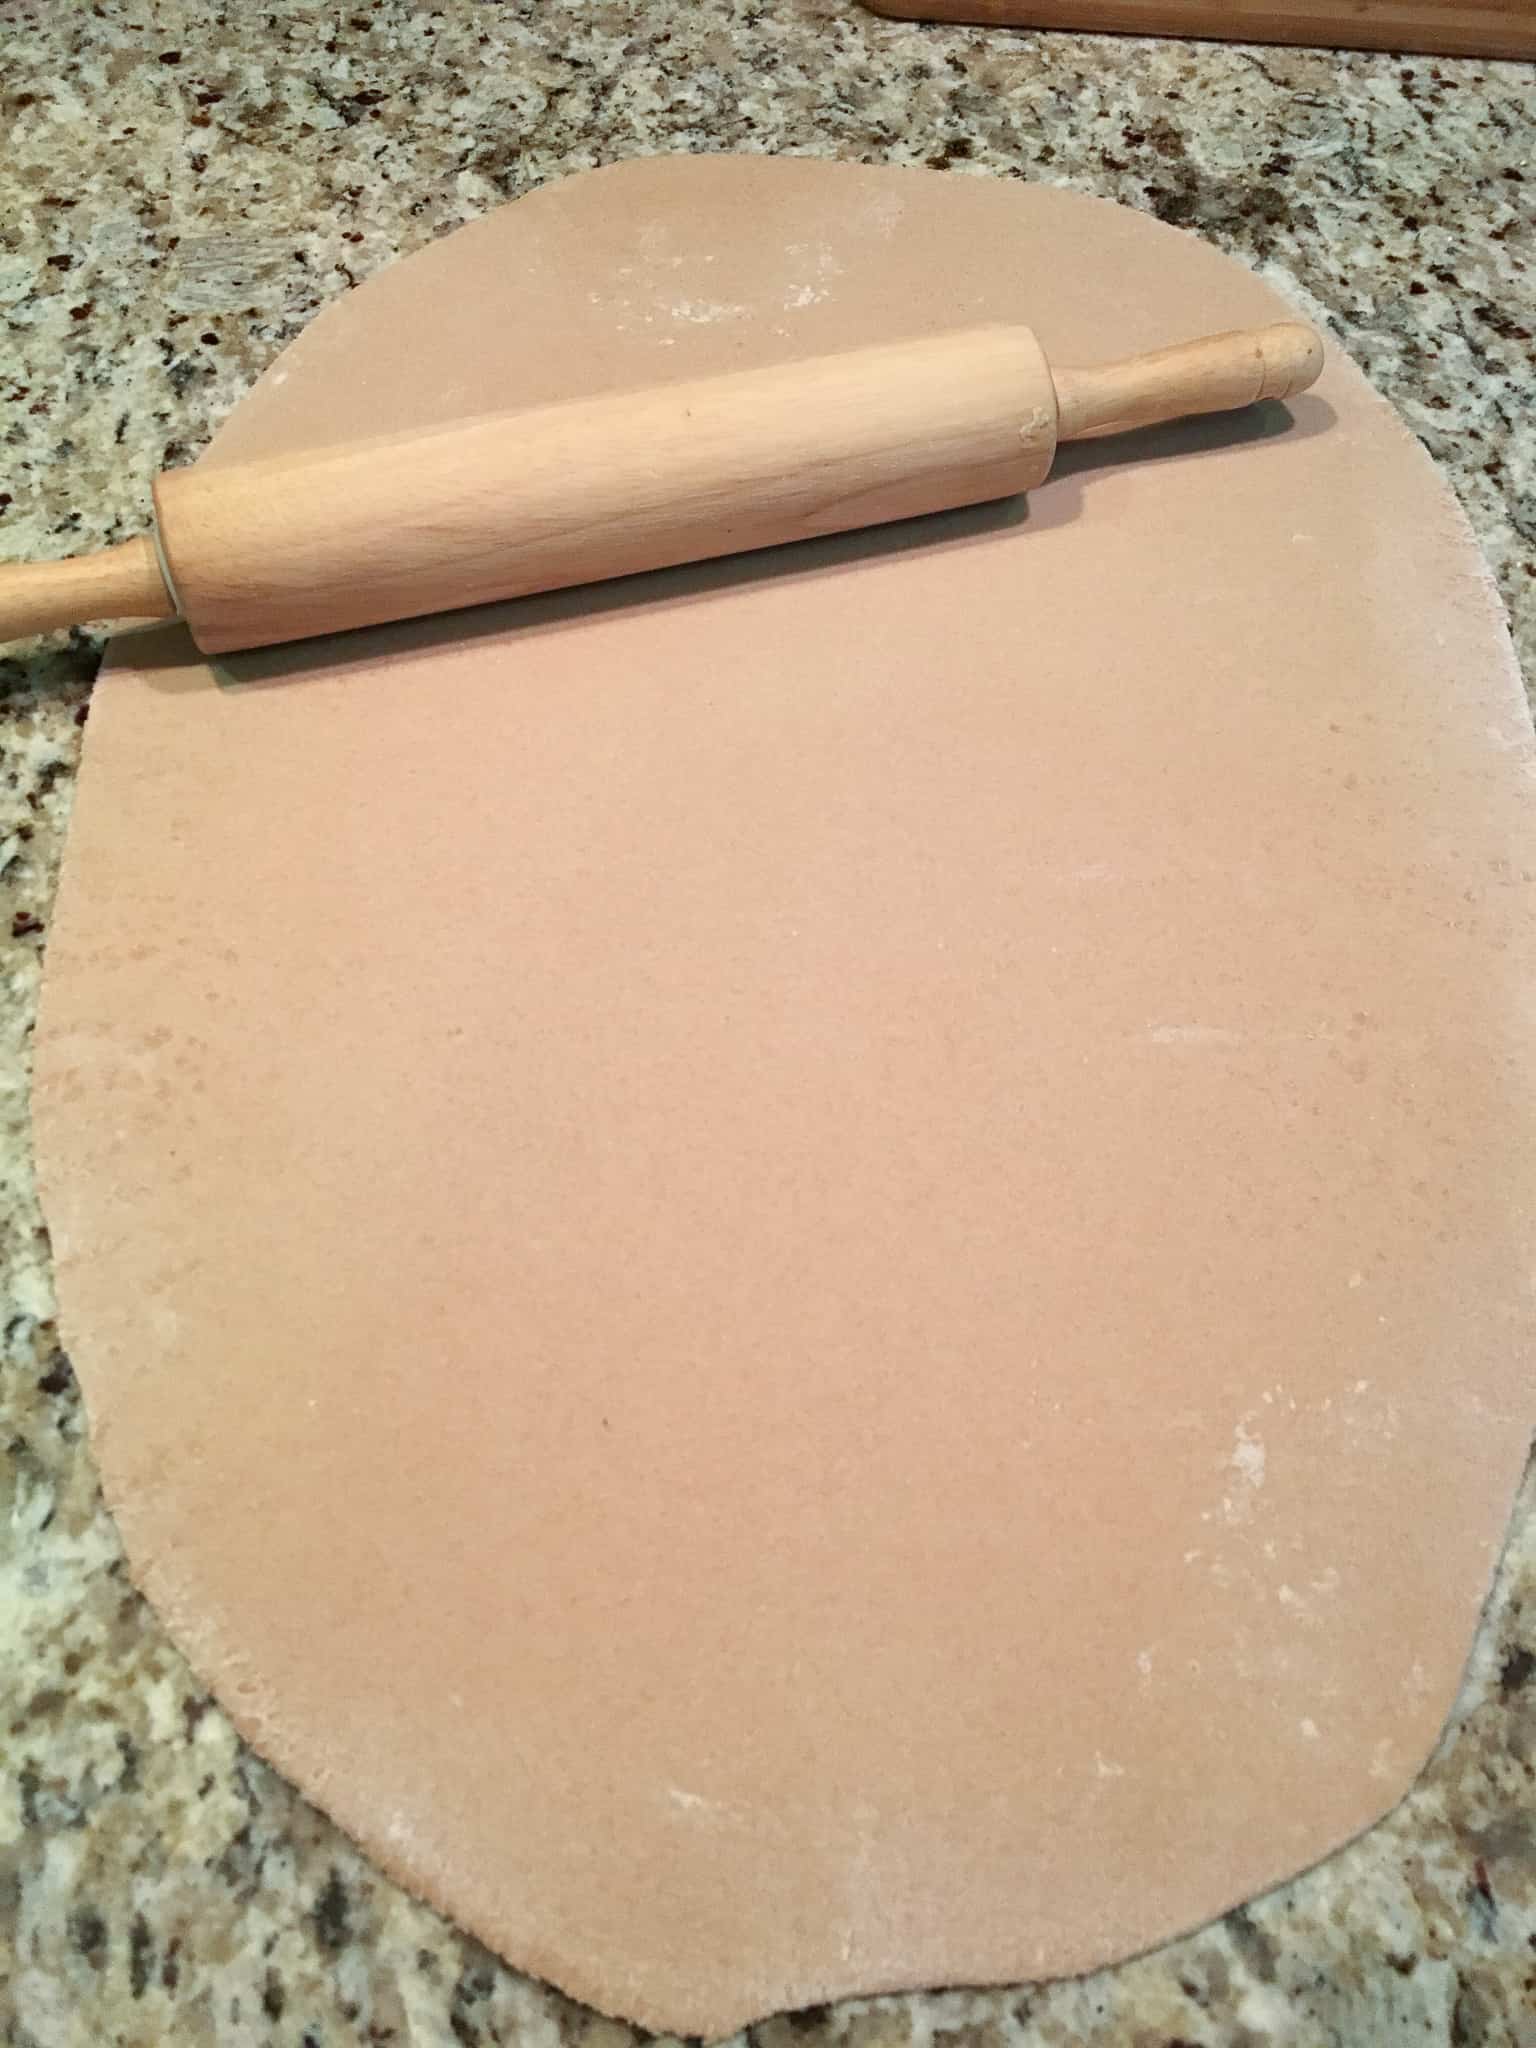
Rolled out dough.
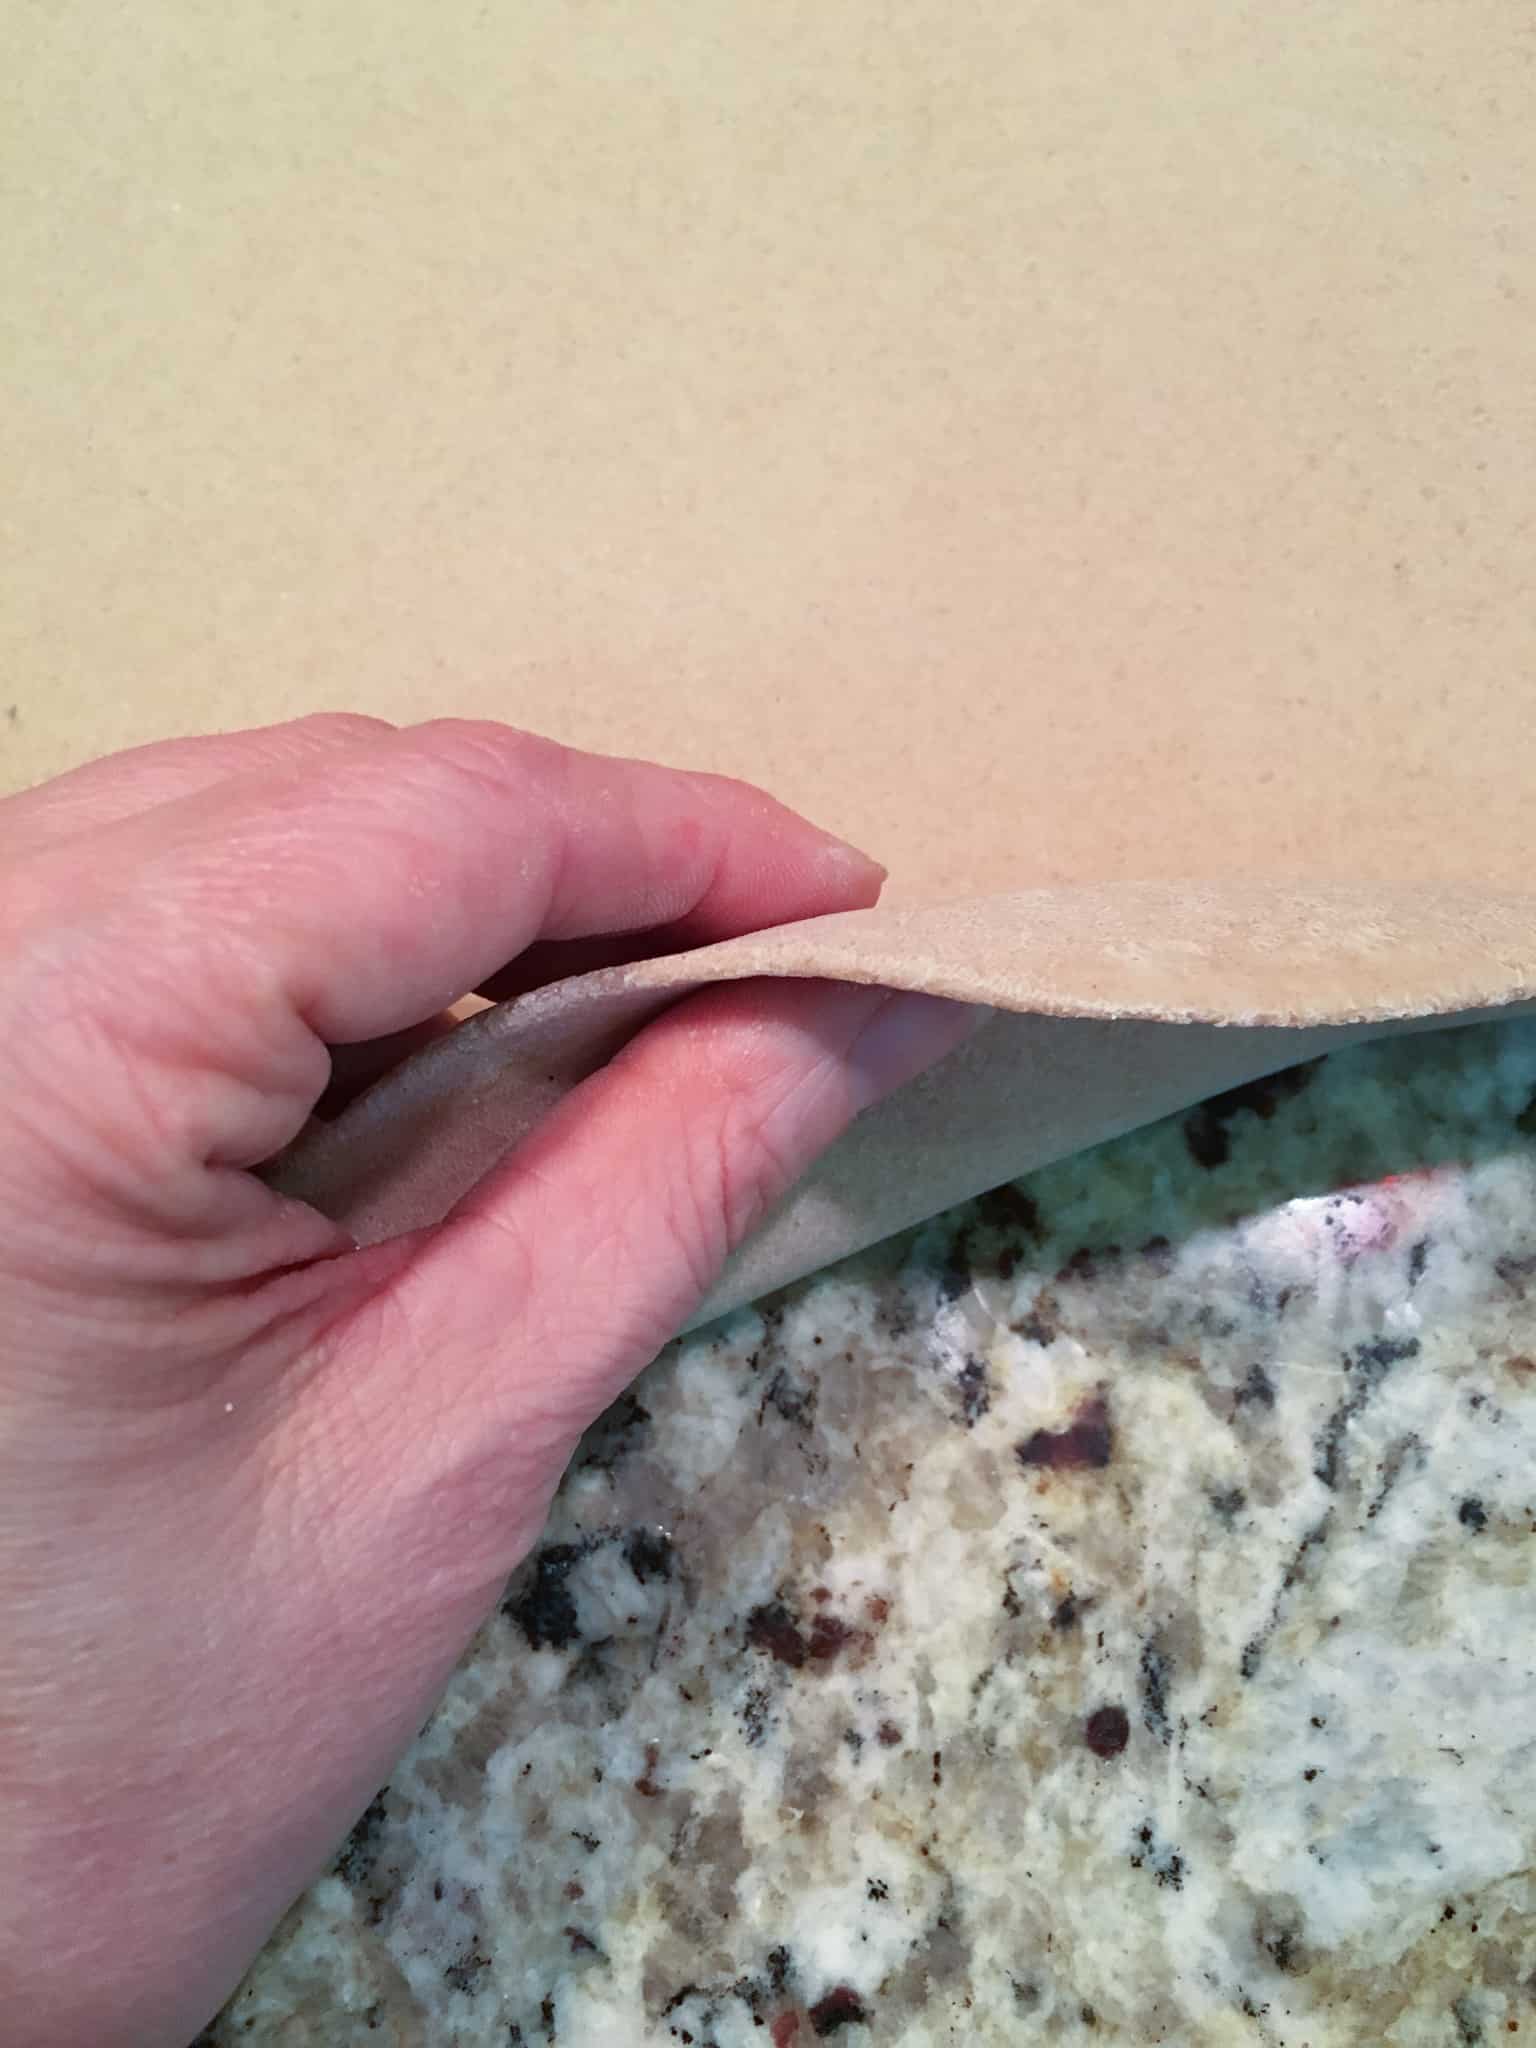
Nice and thin. This is 1/8 inch thick, which makes a great noodle!
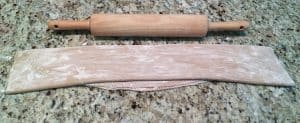
Fairly liberally sprinkle the top with more tapioca starch and spread over the entire surface. Roll the dough in half toward you. Dust again, fold in half again. Spread more tapioca starch over the top, lightly smooth it over the surface without compressing the folded dough, and let it rest for 30 minutes.
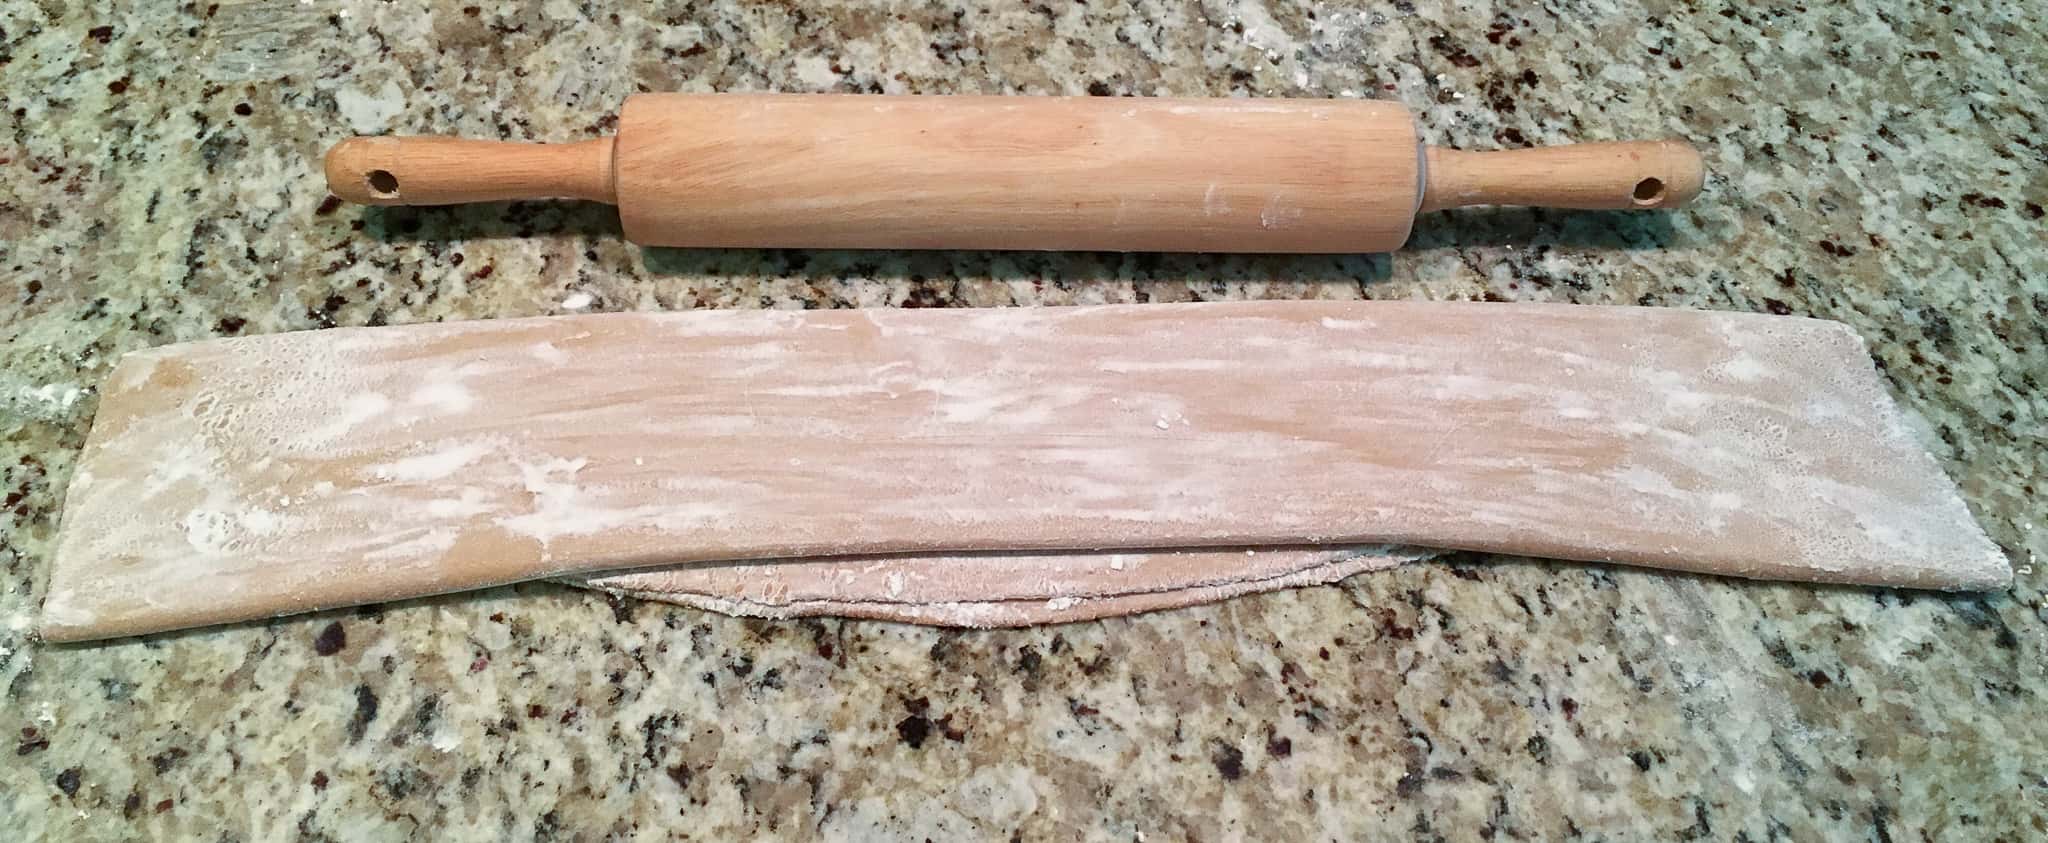
Folded, dusted Udon noodle dough ready for resting.
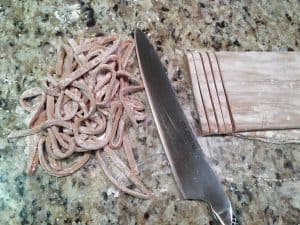
After resting, dust the dough again with more tapioca starch and a little heavier amount on the counter. Use a sharp chef’s knife to cut the noodles into 1/8 to 1/4 inch wide strips. Sprinkle with a little tapioca starch and lightly toss the noodles with your fingertips to unfold the noodle strands and coat with starch.
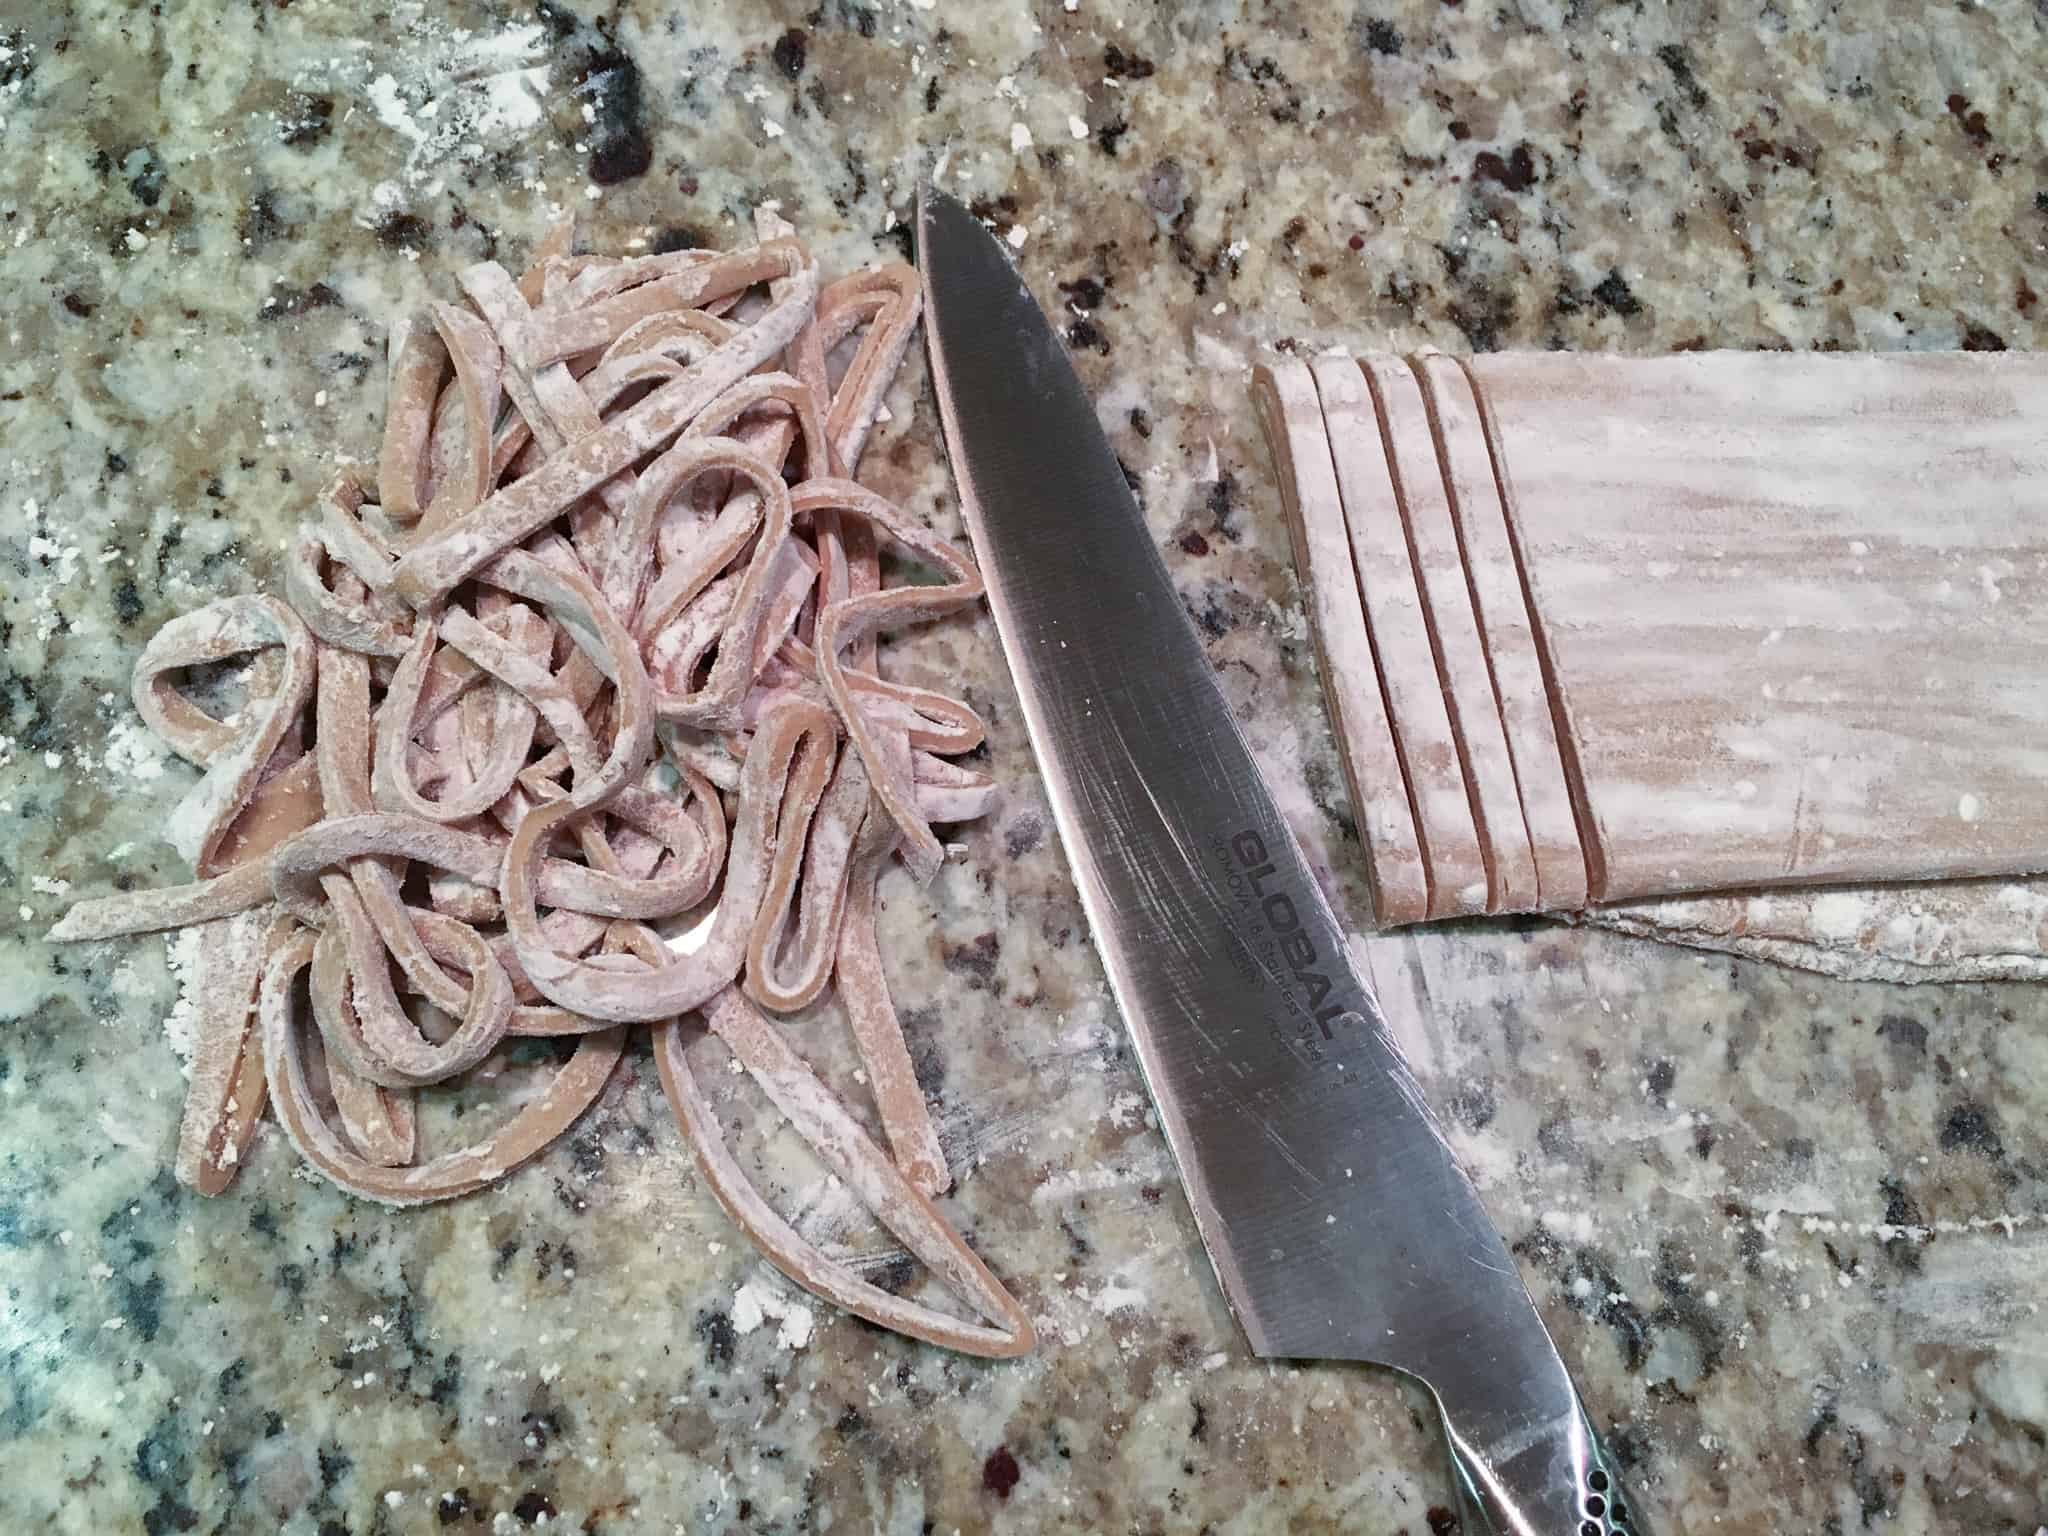
Cutting the noodles and tossing them to unfold and coat with tapioca starch.
Bring a large pot of salted water to boil and prepare an ice bath.
Cook the noodles in boiling water, approximately 5 minutes. The noodles will float after about 3 minutes, then cook 2 minutes longer before immediately pulling them out and plunging into the ice water to stop the cooking.
Drain well after they are cooled.
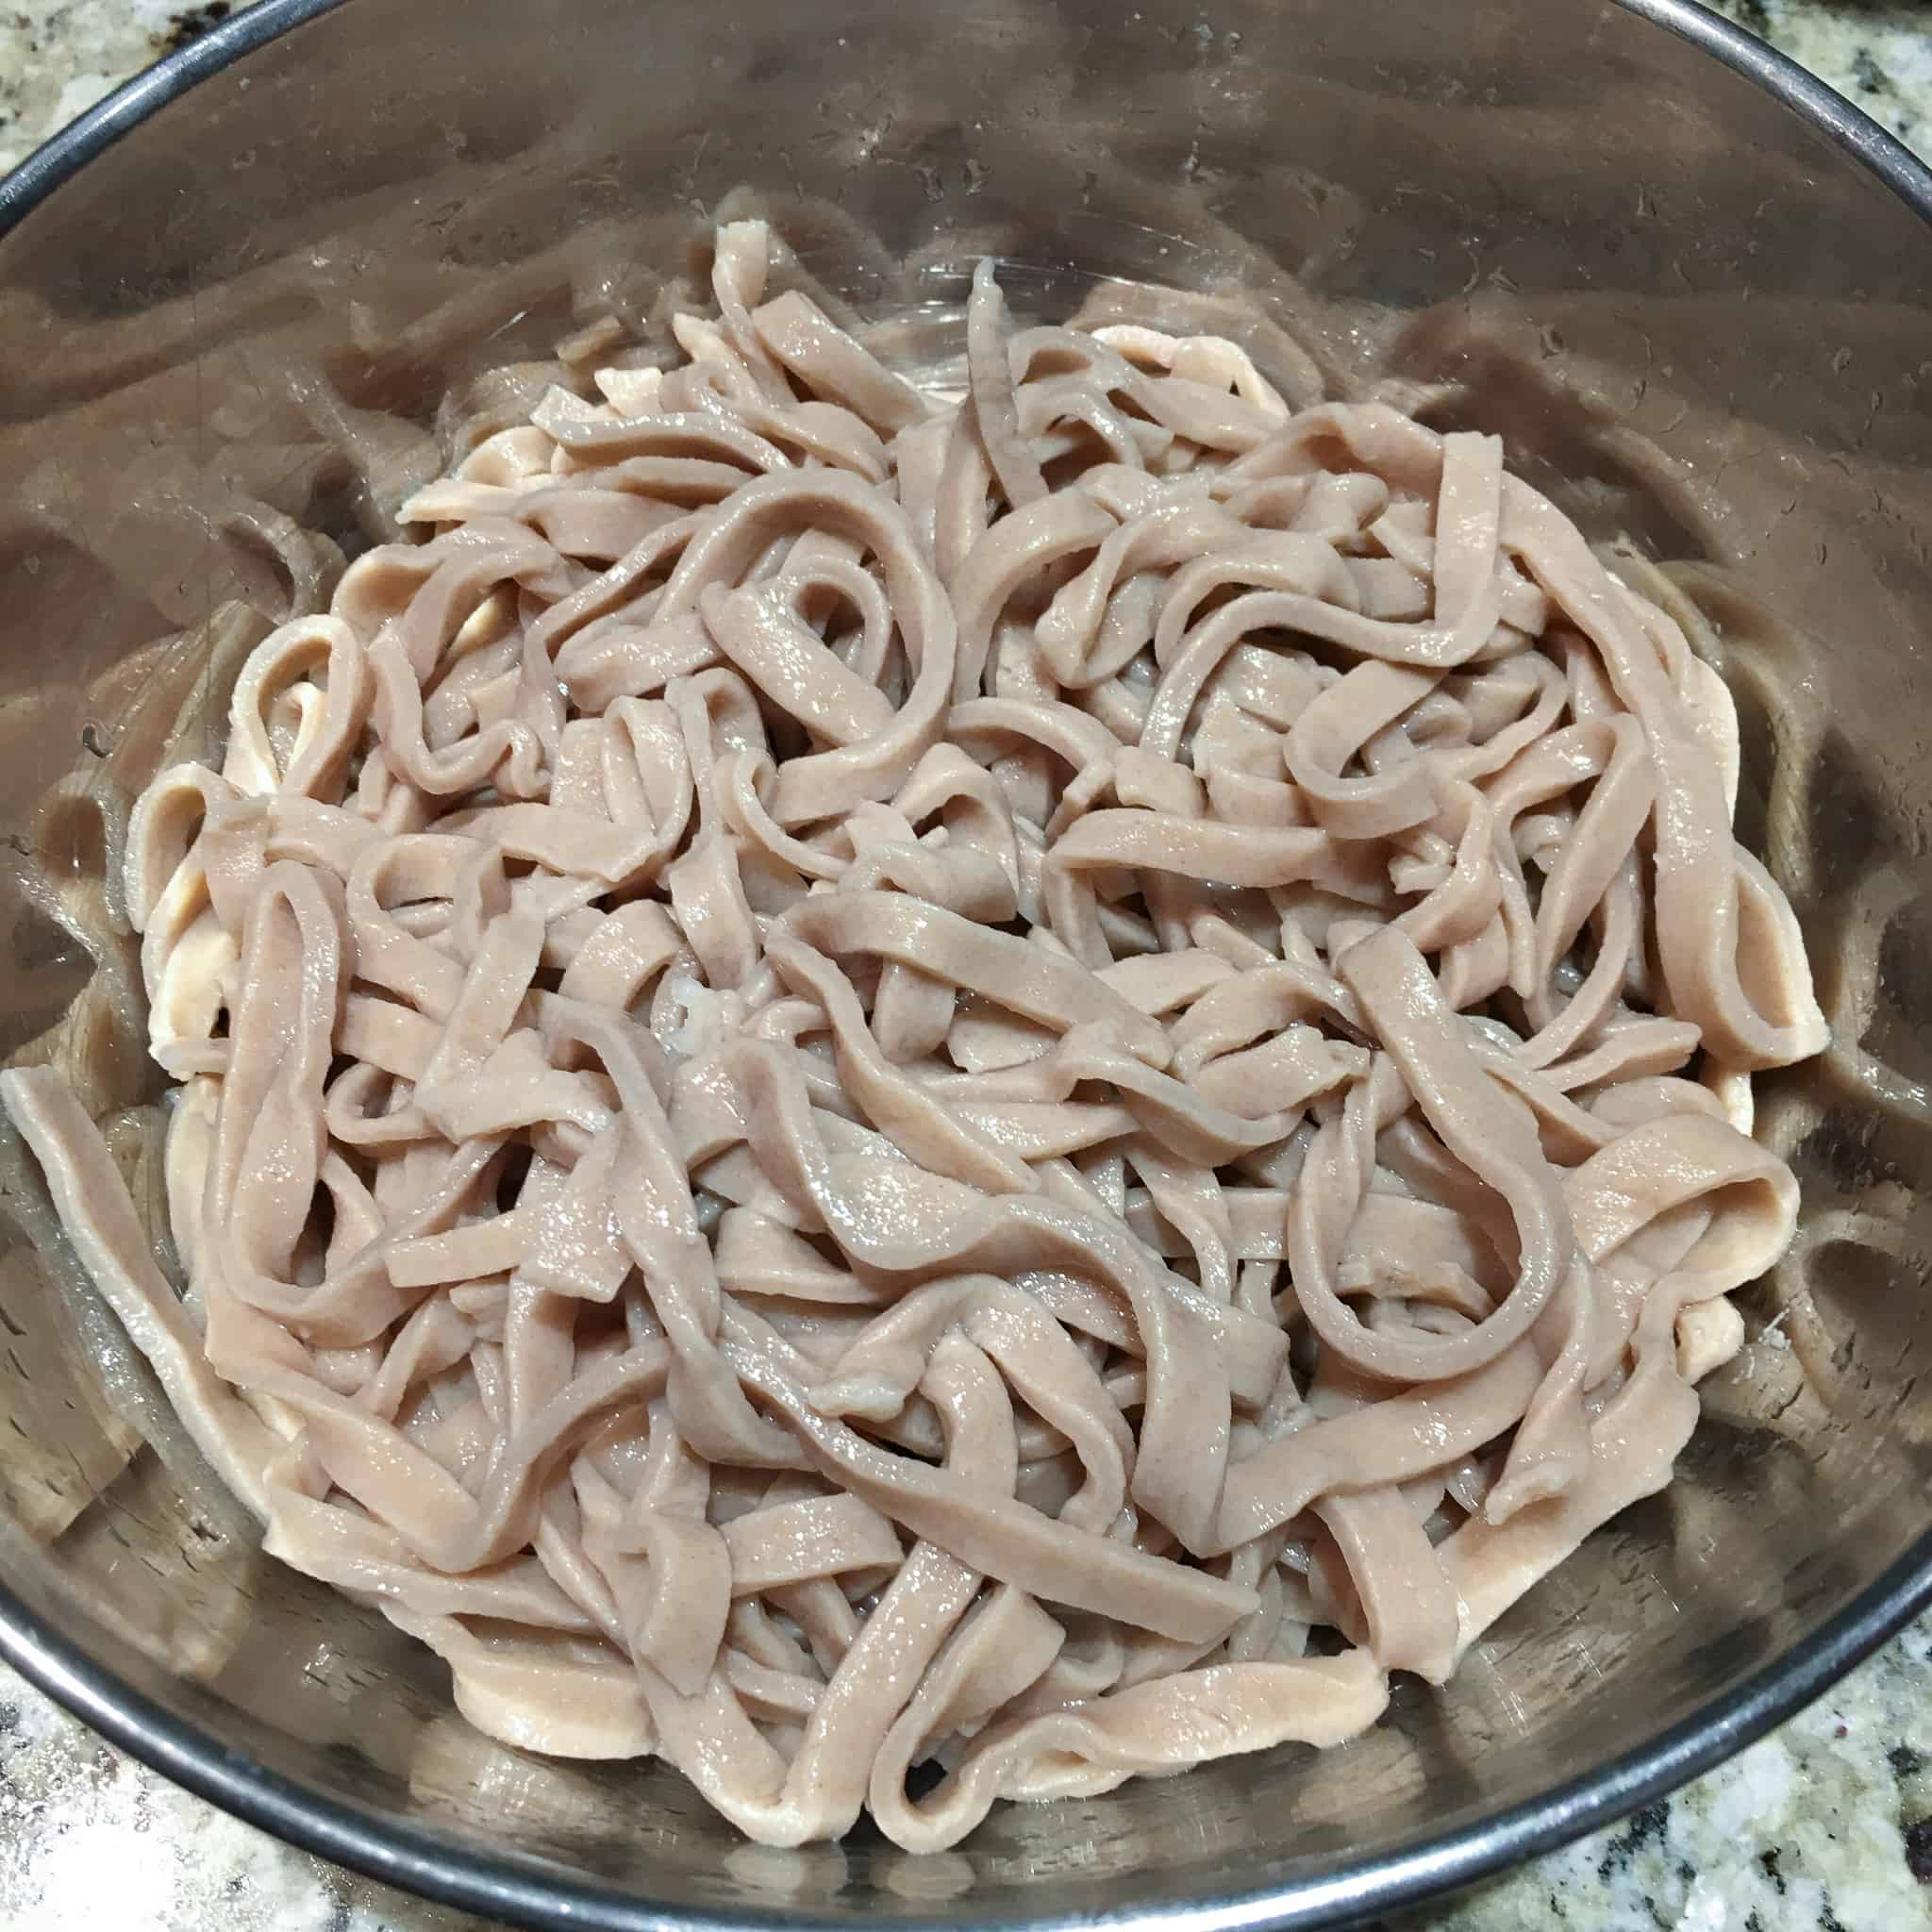
Drained cooked udon.
At this point, you can add the cooked noodles to hot broth or stir fry them.
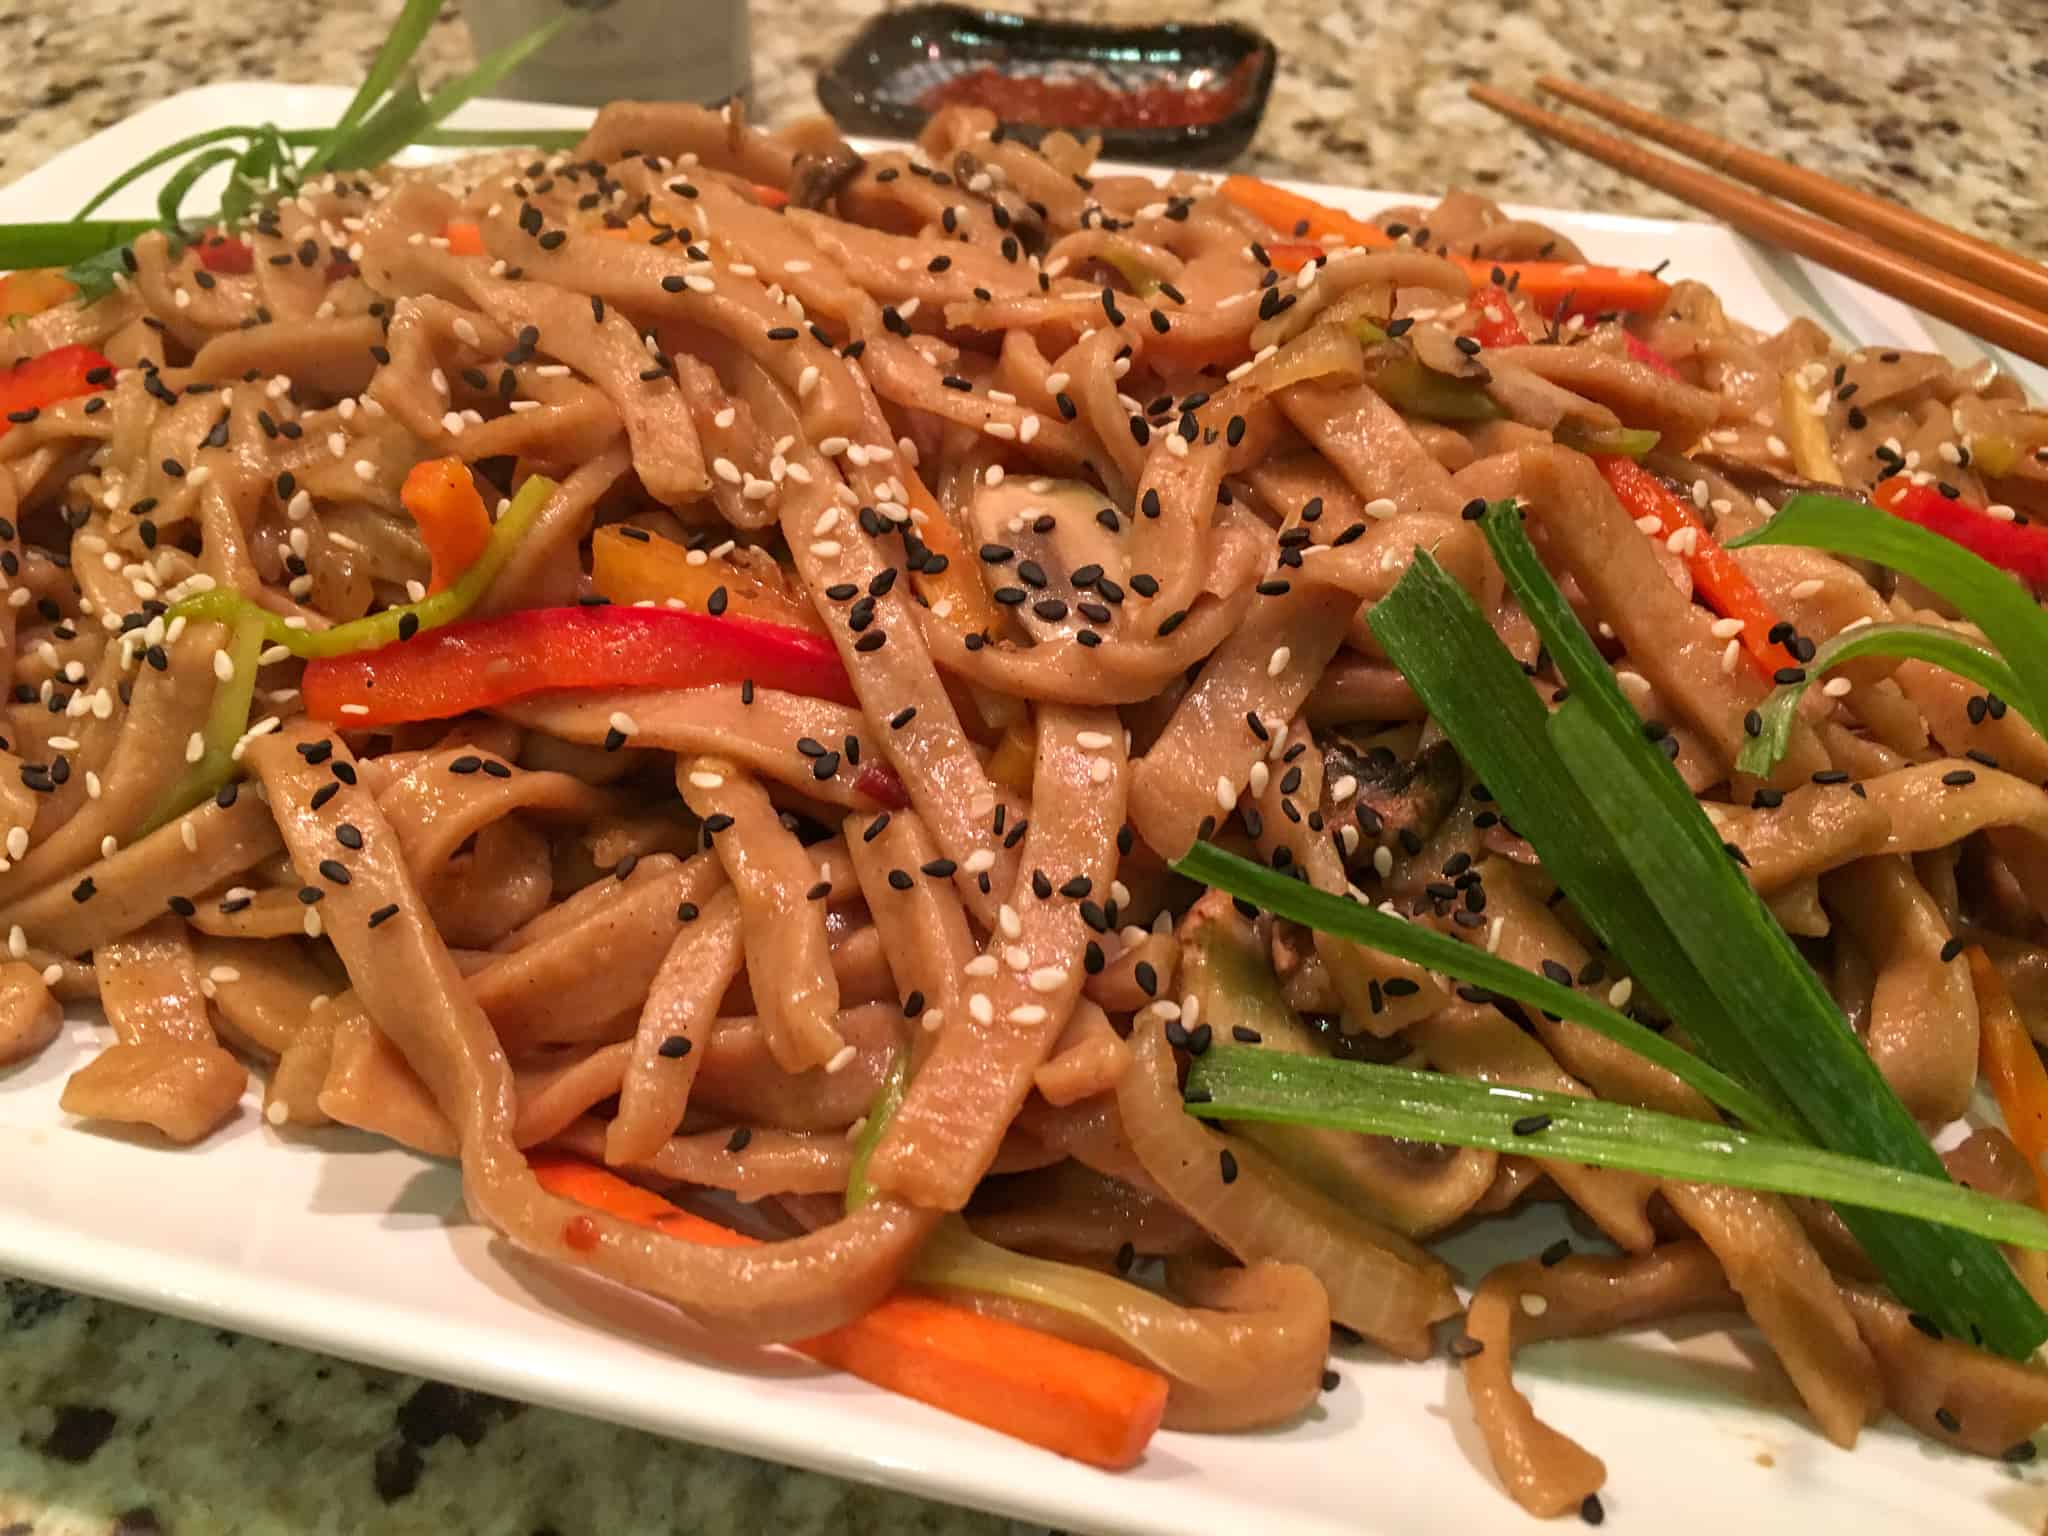
Stir-fried Yaki-Udon noodles! Find the recipe at Rouxbe. These are really delicious!
Freezing Udon Noodles
You can freeze cooked Udon noodles so you have them any time you want! Place the drained, cooked noodles into six separate piles on a silicone baking mat and freeze. Once frozen, remove the noodle pile from the silicone mat and put into a sealed freezer container until you want to use them. To use later, simply add frozen noodles directly to boiling water or broth (do not thaw them) until they are heated through, about 60 seconds. Use as desired.
We are so happy to have Udon back in our lives after going plastic-free! It was really mind-blowing, like a Big Bang, to learn really just how simple they are to make. And because these freeze well, you can have Udon any time you want if you’ve got some prepared and ready in your freezer. We love having a quick meal option like this. I usually keep some in containers with a handful of frozen veggies, like green beans, carrots, summer squash, and broccoli so Alan can make a quick noodle bowl with some water and miso for a healthy quick lunch or snack. Give it a try!
And don’t forget to enter to win my giveaway cookbook for more fast and easy recipes from my friend, JL Fields!
Fast & Easy Vegan Cookbook Giveaway
 I’ll draw one winner August 21, 2019 for JL Fields’ new , before you can even buy it online or in stores!
You want this cookbook! It brings a new selection of fresh meals to your table, pronto! From one-pot to pressure cooker, choose your favorite cooking method―without being held hostage for hours in your kitchen. It includes 100 quick and tasty vegan recipes, plus tips for ingredient substitution and other easy customizations, and handy labels for gluten-free, nut-free, oil-free, or soy-free diets.
So hurry and enter by August 20th. Open to U.S. residents only.
JL Fields Fast and Easy Cookbook Giveaway
Homemade Whole Wheat Udon Noodles
Ingredients
- 2 ¾ cups Whole Wheat Pastry Flour
- ⅓ cup tapioca starch plus more for dusting
- 1 cup warm water divided (less if you use white bread flour)
- 1 ½ tsp salt
Instructions
- In a small bowl, dissolve the salt in warm water.
- Mix together the flour and tapioca starch another larger bowl.
- Make a well in the flour/tapioca starch and pour about half of the water into it. Mix with your hands, scraping the bottom of the bowl to incorporate all the water.

- Add half of the water that left, continuing to mix. The dough starts to separate into strands. Add some of the remaining water, mixing and squeezing the dough until it forms a ball. Add a little more if it seems too dry. It won't be smooth, kind of "shaggy," but will be somewhat elastic. Put the dough ball into the bowl and let rest for 30 minutes.

- Sprinkle some tapioca starch on the counter, just enough so that the dough won't stick and begin to knead the dough for 10 minutes until it's smooth and shiny. The dough is very stiff, so you may need to stand on a step stool for leverage if you are short or your counters are high.
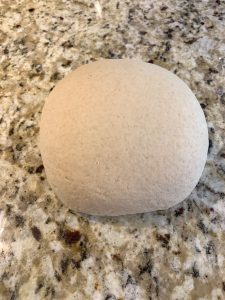
- Form the dough into a tight ball, put into a clean bowl, cover with a cloth, and let rest 3-4 hours.
- Sprinkle tapioca starch on the counter and roll the dough out until very thin (1/8 to ¼ inch thick).
- Sprinkle the dough lightly with more tapioca starch, spreading it over the entire surface. Fold the dough in half toward you, sprinkle and spread again with tapioca starch, and fold in half toward you again. Sprinkle and spread tapioca starch on top again and let the dough rest for 30 minutes.
- After resting, spread top again with more tapioca starch and some sprinkle more on the counter so that the noodles do not stick together when you cut them.
- Cutting the dough crosswise with a sharp knife into 1/8 to ¼ inch wide noodles. Sprinkle the cut noodles with a little more tapioca starch and gently toss the noodles to unroll them. The extra starch will help keep them from sticking together. Keep them on a tapioca starch dusted counter or plate until ready to cook.
- Bring a large pot of salted water to boil. Cook the noodles, stirring occasionally to keep from sticking, until they float to the surface, about 3 minutes, and continue to cook for 2 more minutes. Do not overcook as they will become rubbery.
- Removing from the boiling water and place them immediately into an ice bath to stop the cooking.

- Drain well before adding to hot broth or stir frying.
Notes
Nutrition
Do you like this post? Please share....
[mashshare]
If you liked this post, you might like one of these:
Categories:

[Trī-māz-ing]
Cindy wants you to be Trimazing—three times better than amazing! After improving her health and fitness through plant-based nutrition, losing 60 pounds and becoming an adult-onset athlete, she retired from her 20-year firefighting career to help people just like you. She works with people and organizations so they can reach their health and wellness goals.
Cindy Thompson is a national board-certified Health and Wellness Coach, Lifestyle Medicine Coach, Master Vegan Lifestyle Coach and Educator, Fitness Nutrition Specialist, Behavior Change Specialist, and Fit2Thrive Firefighter Peer Fitness Trainer. She is a Food for Life Instructor with the Physicians Committee for Responsible Medicine, Rouxbe Plant-Based Professional, and Harvard Medical School Culinary Coach, teaching people how to prepare delicious, satisfying, and health-promoting meals.
She provides health and lifestyle coaching at Trimazing! Health & Lifestyle Coaching. Cindy can be reached at info@trimazing.com.
Subscribe to the Trimazing Blog
Receive occasional blog posts in your email inbox.
Subscribe to the Trimazing Blog
Receive occasional blog posts in your email inbox.

