Oh Those Nooks and Crannies! Vegan Zero Waste Sourdough English Muffins
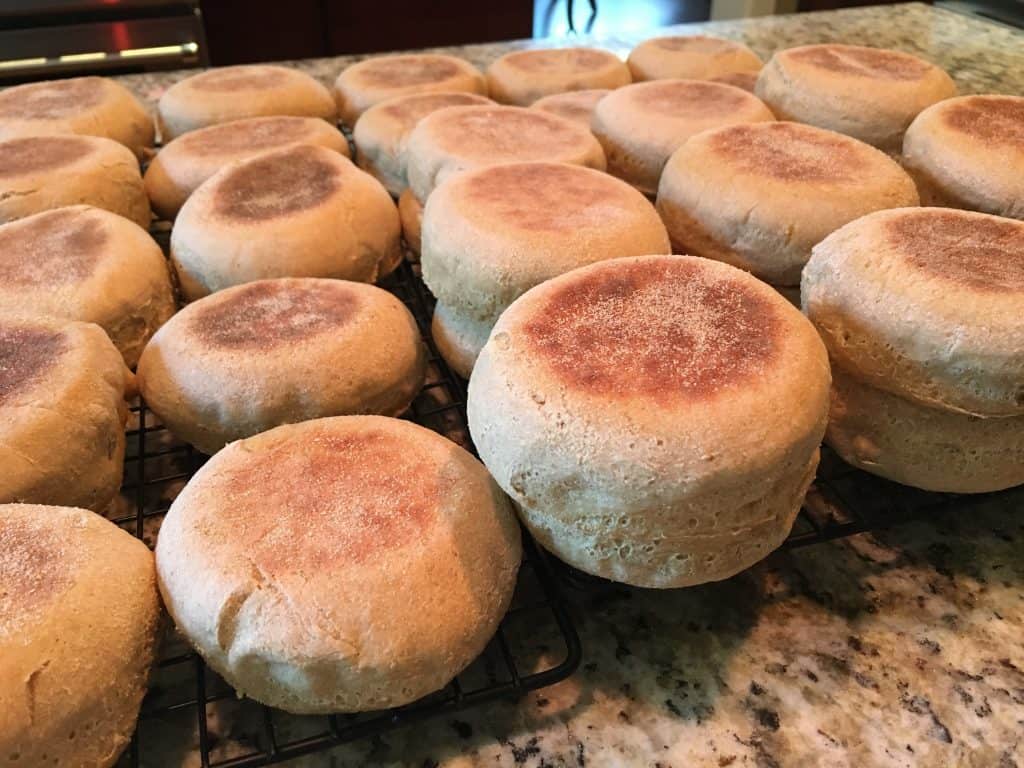
My partner Alan’s favorite thing is a sourdough English muffin. He used to buy huge plastic sleeves of them at our local grocery store. Even then, it was often hard to find vegan or oil-free options. We live in a small town east of Seattle, and when we went zero waste, I could find bread, rolls, and bagels at stores and bakeries that I could buy in my own packaging, but we couldn’t find English muffins at all. I realized I needed to find an alternative so Alan could still enjoy his favorite thing, that English muffins were going to be key to getting Alan on board with zero waste!

Larry, my sourdough starter in his hijab!
Last fall I took an online sourdough starter workshop with Anne-Marie Bonneau, the Zero Waste Chef. It was fantastic and I just loved getting to know Anne-Marie! From that process came Larry, my sourdough starter. Larry is his nickname, short for Lawrence. When I first started Larry, I covered the top of his jar with a piece of cheesecloth and a rubber band, making him look like he was wearing a hijab, an Arabian headdress like Lawrence of Arabia! I use a regular canning jar lid and ring now as the sourdough starter made the cheesecloth stick to the jar like glue, but the name, Larry, also stuck!
You’ll need a sourdough starter for these muffins, and it’s really quite simple to make, it just takes a few days to get it going. After that, it’s just a few minutes of daily maintenance and you’ve got starter forever!
- Start with 100 grams of flour (I use a mix of whole wheat and rye, but you can any combination of flours you’d like) in a glass jar.
- Add 100 grams of warm water, 100-110˚F, and mix well.
- Cover with a cloth or lid and then let it set in a warm spot (I keep next to my stove top). Stir every once and a while.
- After a couple of days or up to a week, your starter will suddenly get all bubbly and double in size. Now it’s ready for daily feedings and discards!
- To feed, remove all but about a tablespoon of starter into a new jar (this is your discard, put it in your refrigerator). Add 50 grams of flour (whatever combination you want) and 50 grams of warm water and stir. Replace the lid, set in a warm place.
- You’ll repeat this feeding process (removing all but a tablespoon of starter, adding flour and water) every day (I do every other day to slow down my accumulation of discard).

Sourdough Discard Gold in my Refrigerator!
For illustrated instructions on making your starter, check out Anne-Marie’s blog post, Happy Birthday, Eleanor (How to Make a Sourdough Starter).
The discard starts to really build up! Soon you’ll have a whole jar, or more, in your refrigerator. It keeps indefinitely in the refrigerator, at least so far for me. I haven’t mastered the art of making bread with my active starter, but I have been really successful at using the discard to make crackers, pasta, and English muffins. To me, the discard is the gold!
If making a starter sounds too complicated, see if anyone you know on your local Buy Nothing Group has an active starter they can share to get you going! You can also buy sourdough starters on Amazon, believe it or not. If you’re in my local area, I can share some of mine, just let me know.
Now you’re ready to make English muffins any time you want!
Making Sourdough English Muffins
English muffins are basically a fried yeasted biscuit! Interestingly enough, they are of American origin, according to Wikipedia. They were developed and first sold by English immigrant, Samuel Bath Thomas, in the 1880s in New York City.
I was excited to find a recipe for sourdough English Muffins using sourdough discard on the King Arthur Flour website. However, it was not vegan as it contained powdered milk and butter. But, thinking back to how well my Sweet Potato Tortillas performed using sweet potatoes or winter squash instead of lard or refined oil, I decided to try replacing the butter with starchy vegetable puree. I also had powdered coconut and soy milks in my emergency supplies. To my utter delight, it worked!! Here is my vegan, oil-free adaptation of the King Arthur Flour’s Sourdough English Muffin recipe.
Ingredients

Ingredients for Sourdough English Muffins
25 g sugar (I use coconut sugar, but you can use whatever sugar you like)
454 g warm water (110-115˚F)
227 g sourdough starter discard, or ripe starter (ripe will give a more vigorous rise)
57 g winter squash puree or mashed sweet potato
43 g plant-milk powder (I use coconut or soy)
1 Tbsp active dry yeast
422 g Whole Wheat Pastry Flour
421 g All Purpose Flour
18 g salt
Course semolina for coating trays when muffins are rising
Making the Dough
Combine the sugar, water, sourdough starter discard, winter squash or sweet potato puree, and plant-milk powder in your mixer fitted with a dough hook and mix to blend. I really prefer to use my stand mixer because it makes the process go so much faster and is cleaner for me, but you can certainly mix and knead by hand. If your sourdough discard and squash/potato puree is cold, you’ll want the water you add to be warmer than 115˚F so the combined liquid is within the desired temperature range for blooming the yeast.

Blooming the yeast in the wet ingredients
Sprinkle with dry yeast and mix to combine. Allow yeast to bloom onto the surface, about 5 minutes. The yeast will bubble and pop up to the surface, giving it a frothy appearance when ready.
Combine flours and salt in a separate bowl. I use half whole wheat pastry and half all-purpose flours. I’ve experimented with whole wheat bread flour, but the muffins turn out much too dense. I do like to have some whole wheat for the nutrition and the whole wheat pastry flour mixed with all-purpose flour yields the best texture in my testing. You can use other combinations you like, even 100% all-purpose flour.
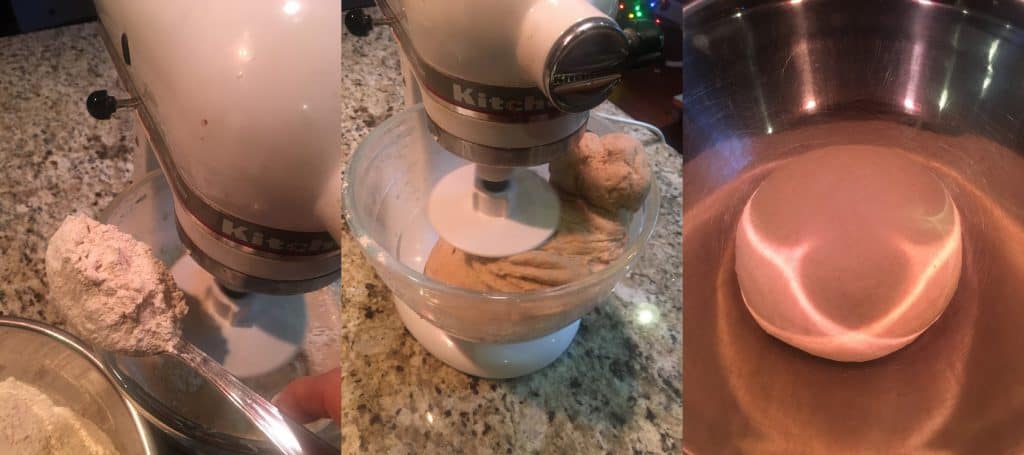
Adding flour (left), Kneading with the mixer (center), and finished dough (right)
Slowly add flour to wet ingredients in the mixer bowl and mix and knead. You can also do this by hand. The dough should be soft and elastic but not sticky. Add more flour if needed. I do a final knead and shape by hand before putting it into the bowl to rise.
Place the dough into a large ungreased bowl and cover with a towel. I’ve not had any problem with it rising without being in a greased pan, and since we don’t eat refined oil, I really didn’t want to introduce that from a greased bowl. The dough turns out just beautifully and the small amount that sticks to the bowl is easily wiped out with my fingers to go back with the rest of the dough.
Next you’ll want to set the dough in a warm place to rise. I simply put the covered bowl in my oven with the oven light turned on. The heat from the oven light makes the perfect temperature for incubating dough! Let rise until it’s puffy, about 1-1/2 hours.

First rise
At this point you can cover the bowl and put into the refrigerator for 24 hours to develop the sourdough flavor, or continue on. I generally do NOT refrigerate and just continue on to make muffins. I’m too impatient!
Making the English Muffins
Gently deflate the dough and turn out onto a lightly floured work surface. Scrape whatever dough that’s stuck to the bowl out with your fingers and put it in the blob of dough. You want to let the dough relax for a few minutes to develop the gluten, so I simply set the bowl upside down over the dough to cover while it rests.

Turning out the raised dough
While the dough is resting, prepare two baking sheets with coarse semolina. Coarse semolina is grainy, a cross between cornmeal and flour, has a texture similar to table salt. I’ve tried using fine semolina, but it is too fine and floury, clumps onto the muffin, and doesn’t give the desired effect. Cornmeal grains are too big and dense. Coarse semolina is just right! Put down a silicone baking sheet first and then sprinkle with the semolina. The semolina allows you to remove the muffins from the trays without deflating them when it’s time to cook them. Don’t be stingy with the semolina, the more you use the easier the raised muffins are to remove to the griddle later!

Tray with silicone sheet sprinkled with semolina
Divide the rested dough in half and pat or roll out 1/2-inch thick. I use a wide mouth canning jar ring to cut the dough into 3-inch rounds, it’s the perfect size! In fact, the canning jar ring is the right height too, so it’s an excellent guide for how thick to roll out the dough. Place the muffins on the prepared baking sheets, allowing room for them to rise. You don’t want them to stick together or to the sides of your baking tray when raised because pulling them apart will cause them to deflate. I can get 12 muffins on a standard baking tray. Re-roll and cut the remaining dough. Repeat with the other half of the dough.

Rolling out and cutting the muffins

Trays of cut out muffins ready to rise
Sprinkle more coarse semolina on the tops of your cut muffins. Cover with a towel and return the trays to your oven with the oven light on. Let them rise until puffy, about 45-60 minutes if you used non-refrigerated dough, 2 hours if you are working with dough that had been refrigerated overnight.
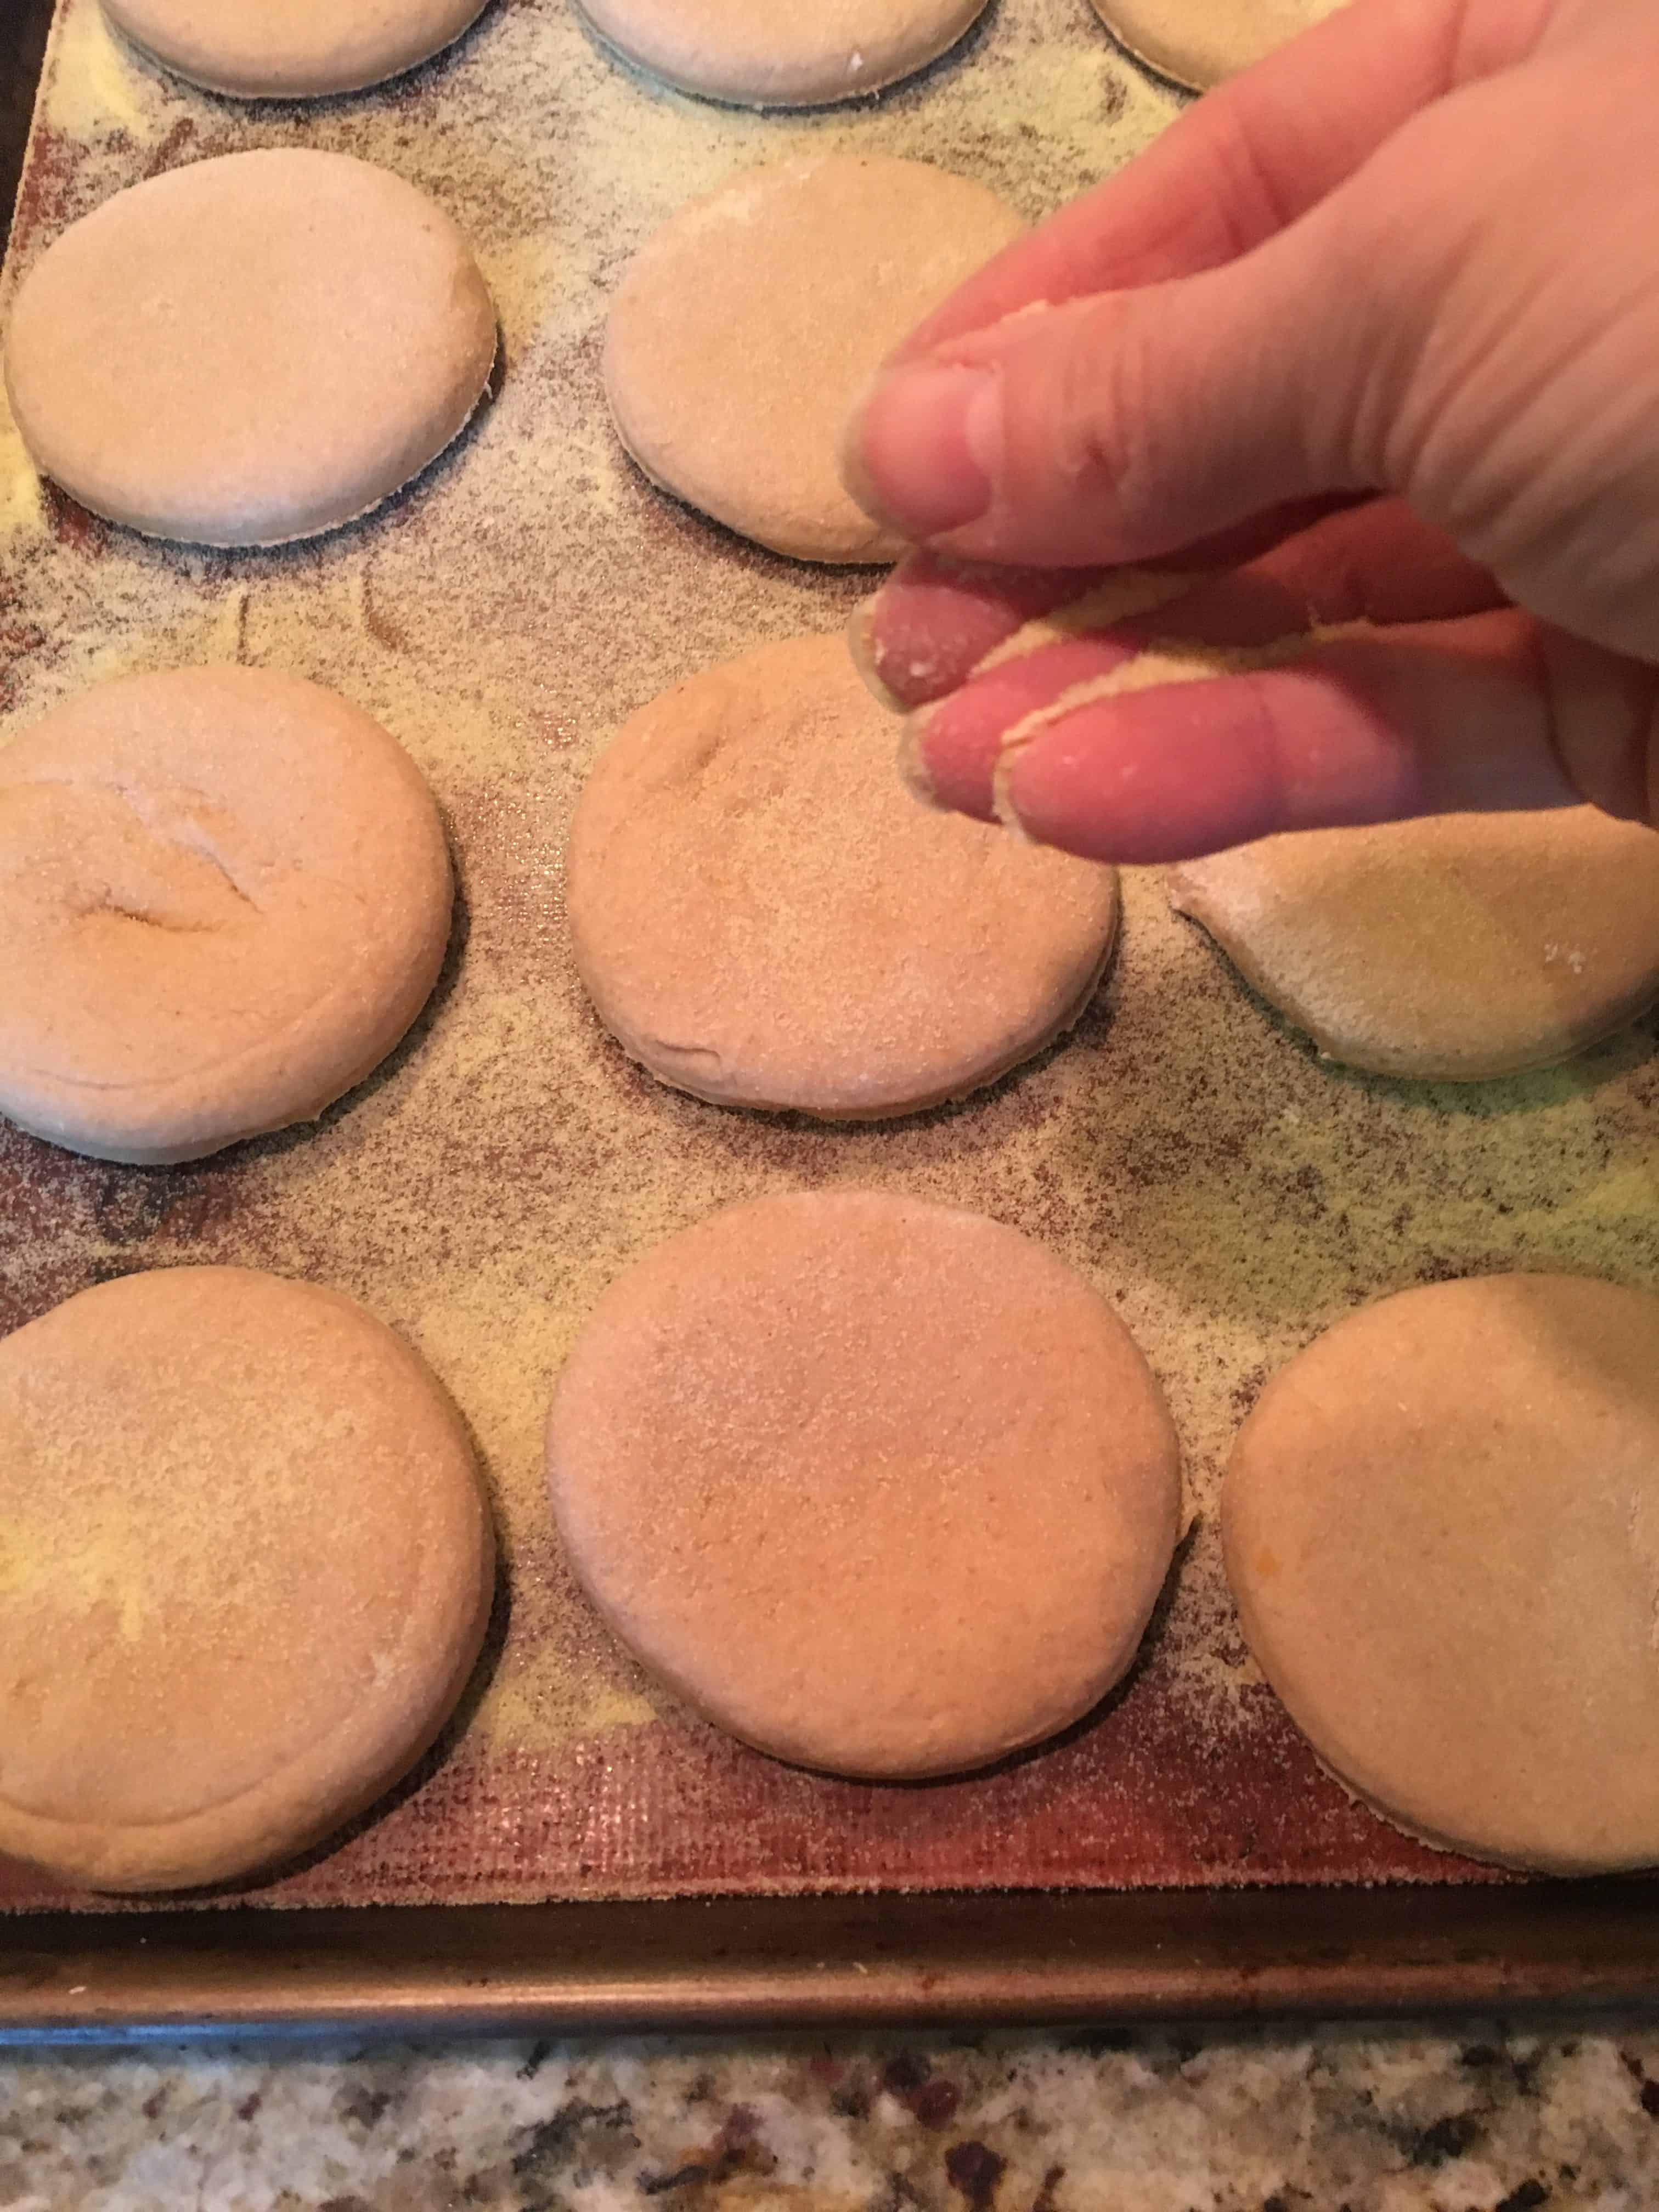
Sprinkling with semolina
Cooking the Muffins
Once your muffins have risen, heat a griddle or skillet to 350˚F, or on low-heat on the stovetop. Do NOT grease the griddle or skillet. I use a Scanpan griddle, which I love. I researched griddles when I decided the old nonstick griddle had to go due to our worries about Teflon and Perfluorooctanoic Acid (PFOA). Scanpan is PFOA- and Perfluorooctanesulfonic acid (PFOS)-free and manufactured in Denmark under the more strict European Union chemical guidelines, so I feel safe using this griddle.
Carefully transfer the muffins off the semolina-coated tray with a spatula onto the heated griddle. You’ll pull a bit of the semolina off as you do this, don’t worry, it doesn’t hurt the process. The semolina bakes into the muffin and gives them their characteristic texture. Do as many as you can fit without overcrowding the pan, I do 6 at a time.

Transferring raised muffins to the griddle
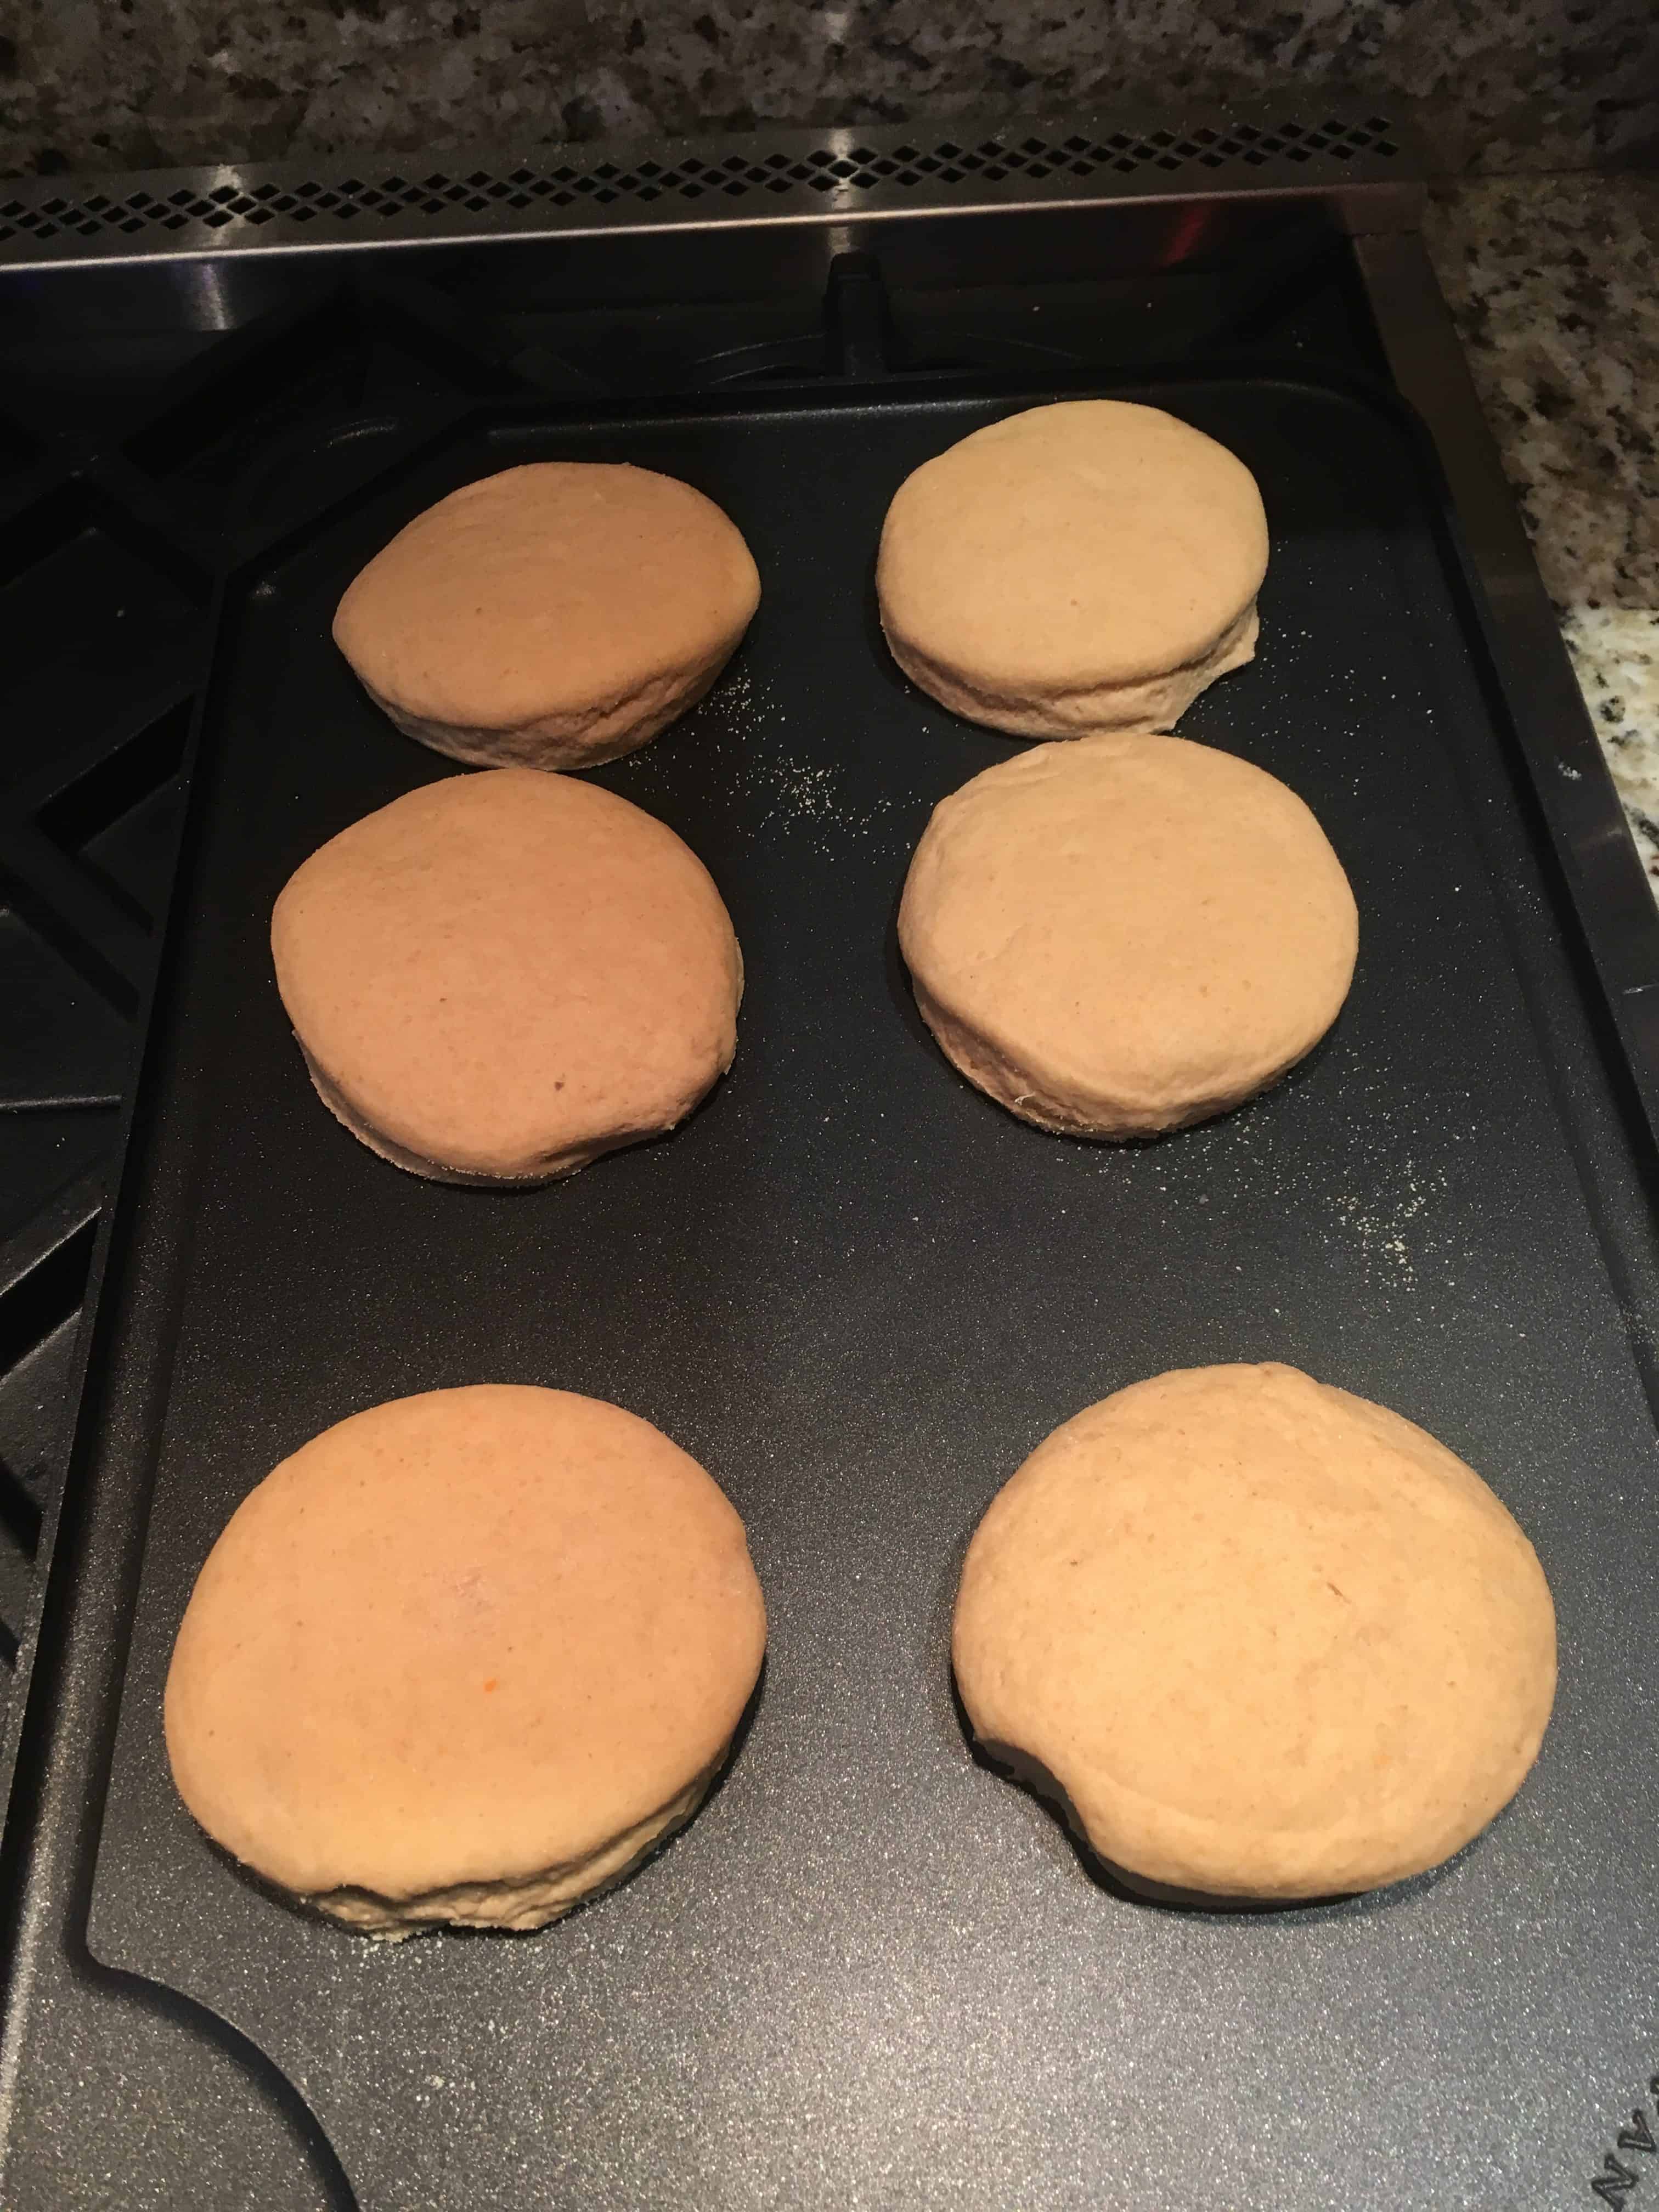
Cooking the muffins
Here comes the only scary part, the one you won’t believe works, but does! And it’s completely optional, if you don’t want to do it. After the muffins have been on the griddle for about 5 minutes, place a light cookie sheet directly on top of the cooking muffins and continue cooking about 3-5 more minutes. I know, it feels like you’re going to collapse and ruin them, but it doesn’t, trust me! Putting the sheet on top helps keep the muffins flat on top, otherwise they’re domed on one side. Don’t worry about it if you don’t want to do this, it doesn’t change the muffin other than making it flat on both sides, like commercial muffins are.

Don’t be afraid! Cookie sheet placed cooking muffins to flatten the tops
When the bottoms are golden, lift off the light cookie sheet, if using, with hot pads and carefully flip the muffins and cook for another 8-10 minutes, until golden. An instant-read thermometer should read 190˚F when done, while the edges may feel a bit soft. If you can’t get them to cook through on the griddle before getting too dark on the bottoms, you can transfer to a preheated 350˚F oven and bake about 10 minutes until the centers are cooked through.
Remove muffins from griddle (or oven) and cool on a rack. Its important to let them cool completely, as like other breads, they continue to cook after removed from the heat while they cool.
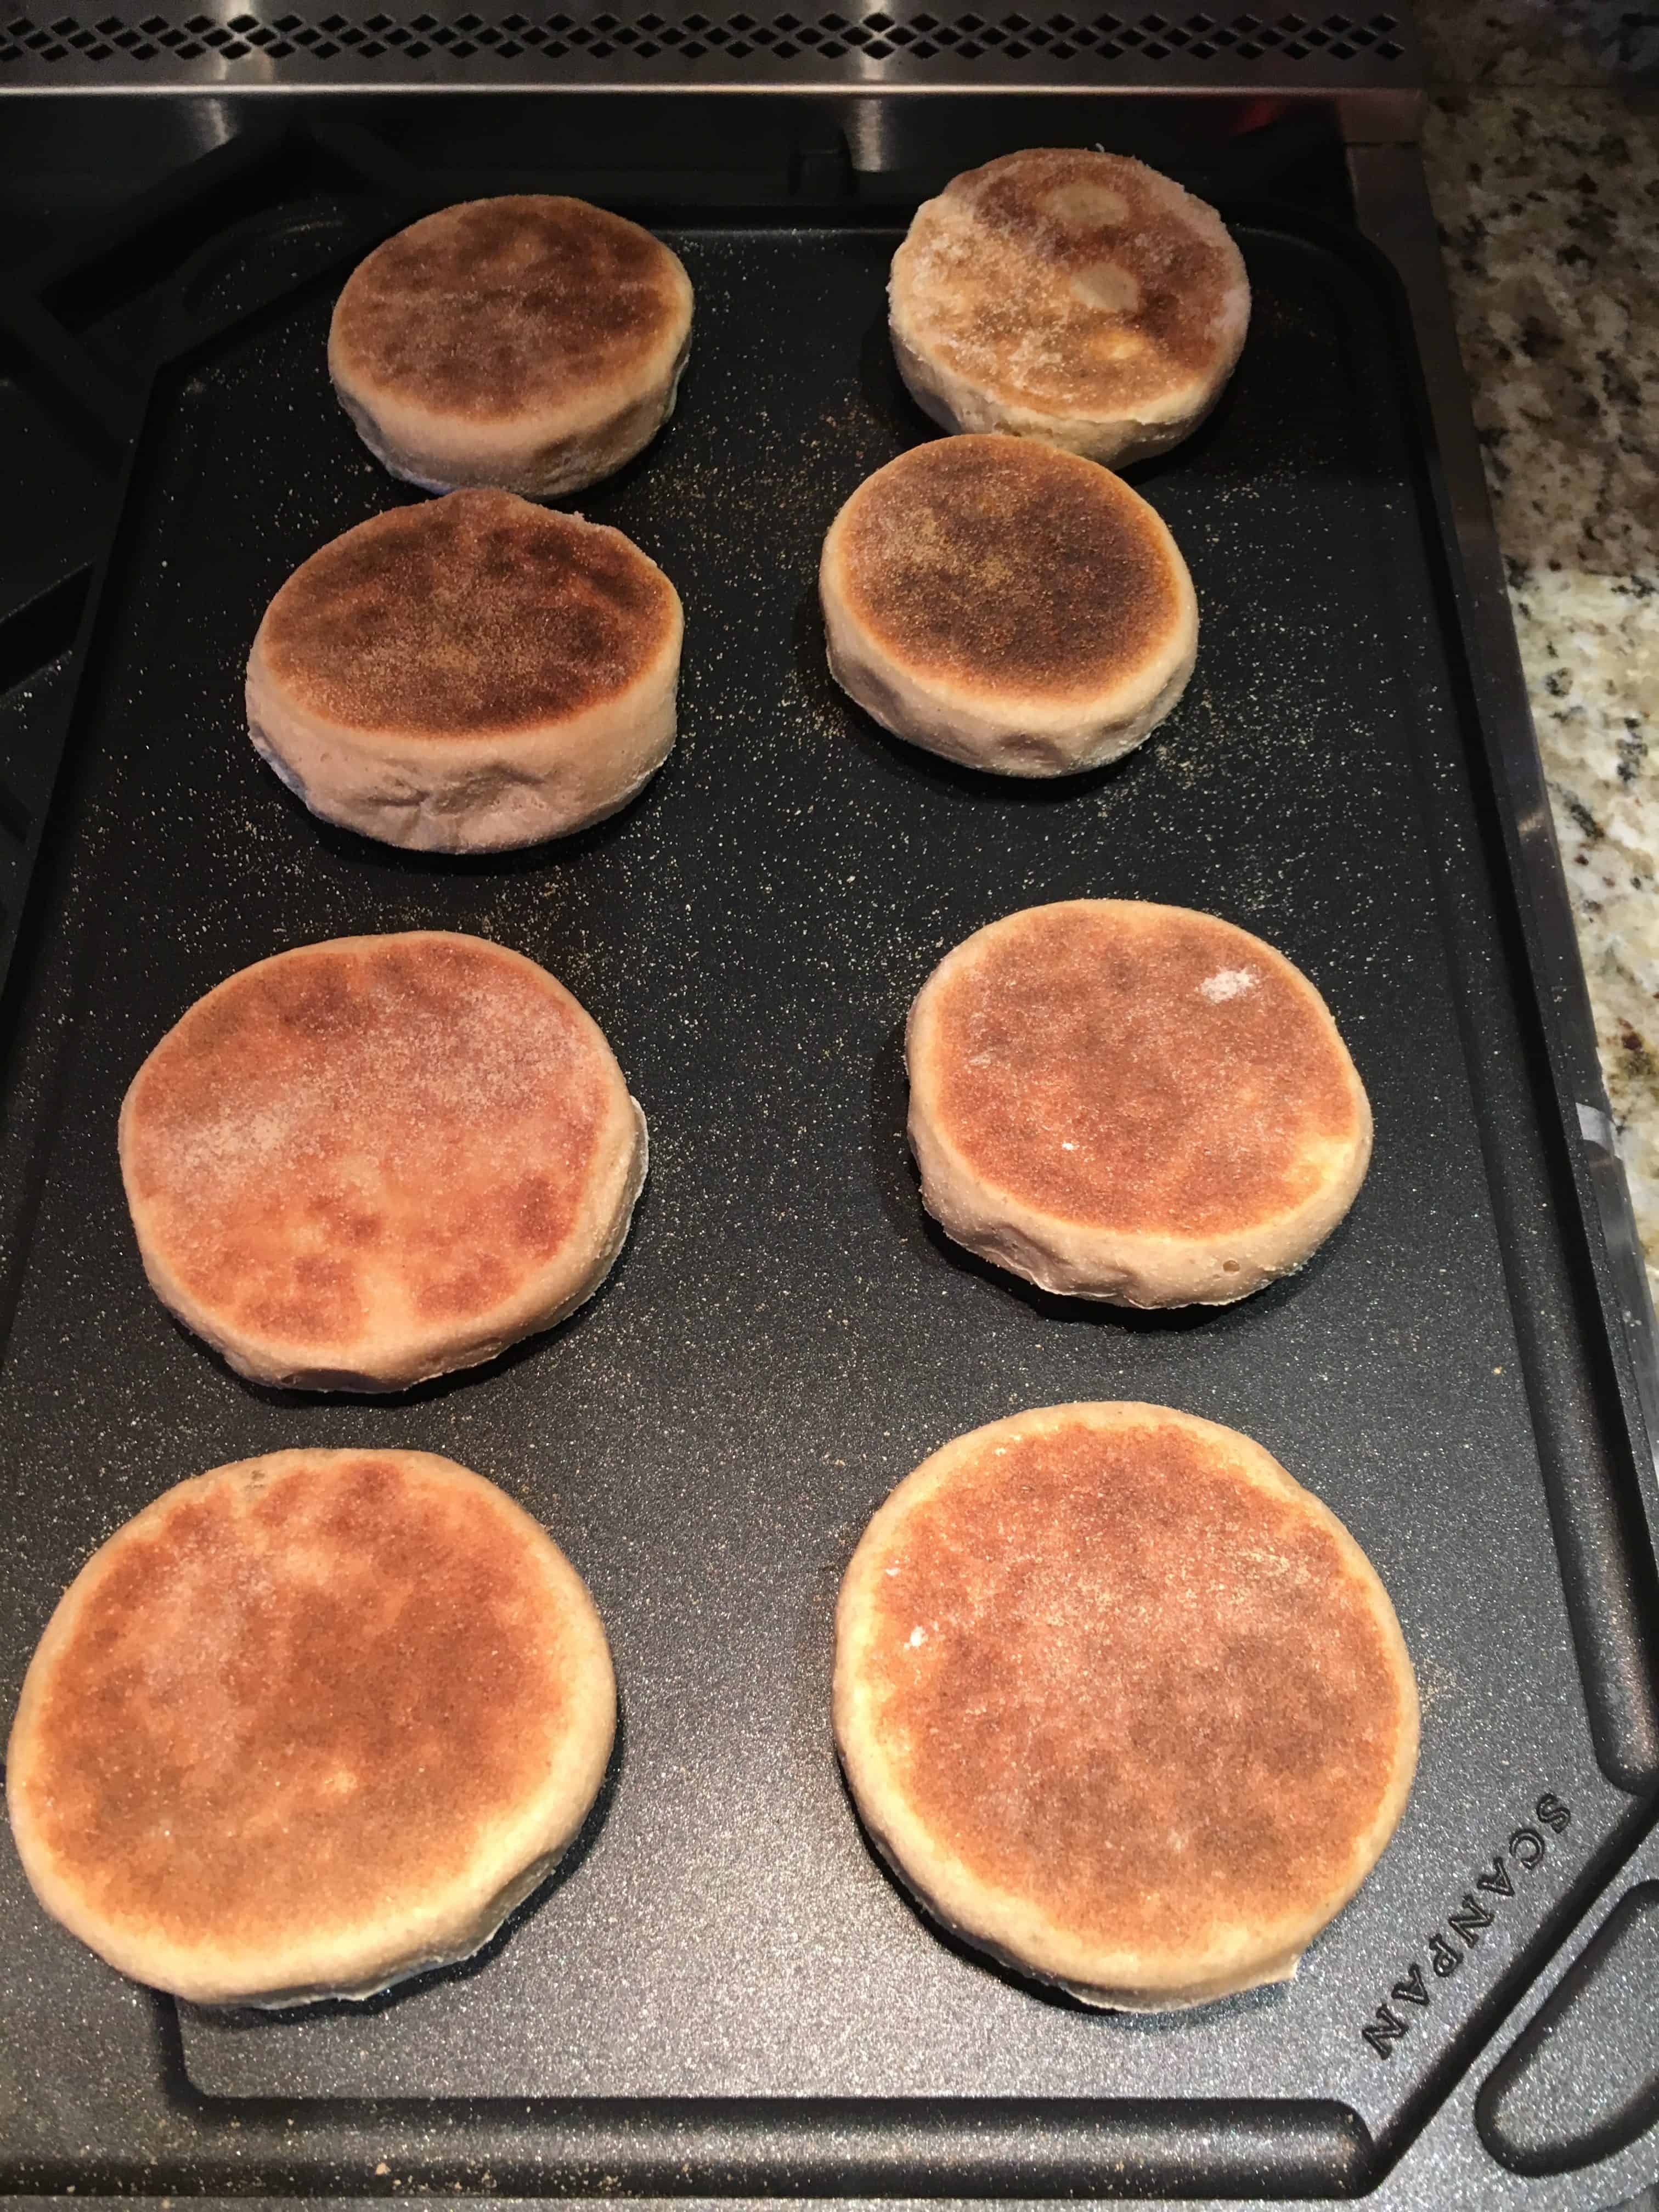
Flipped muffins
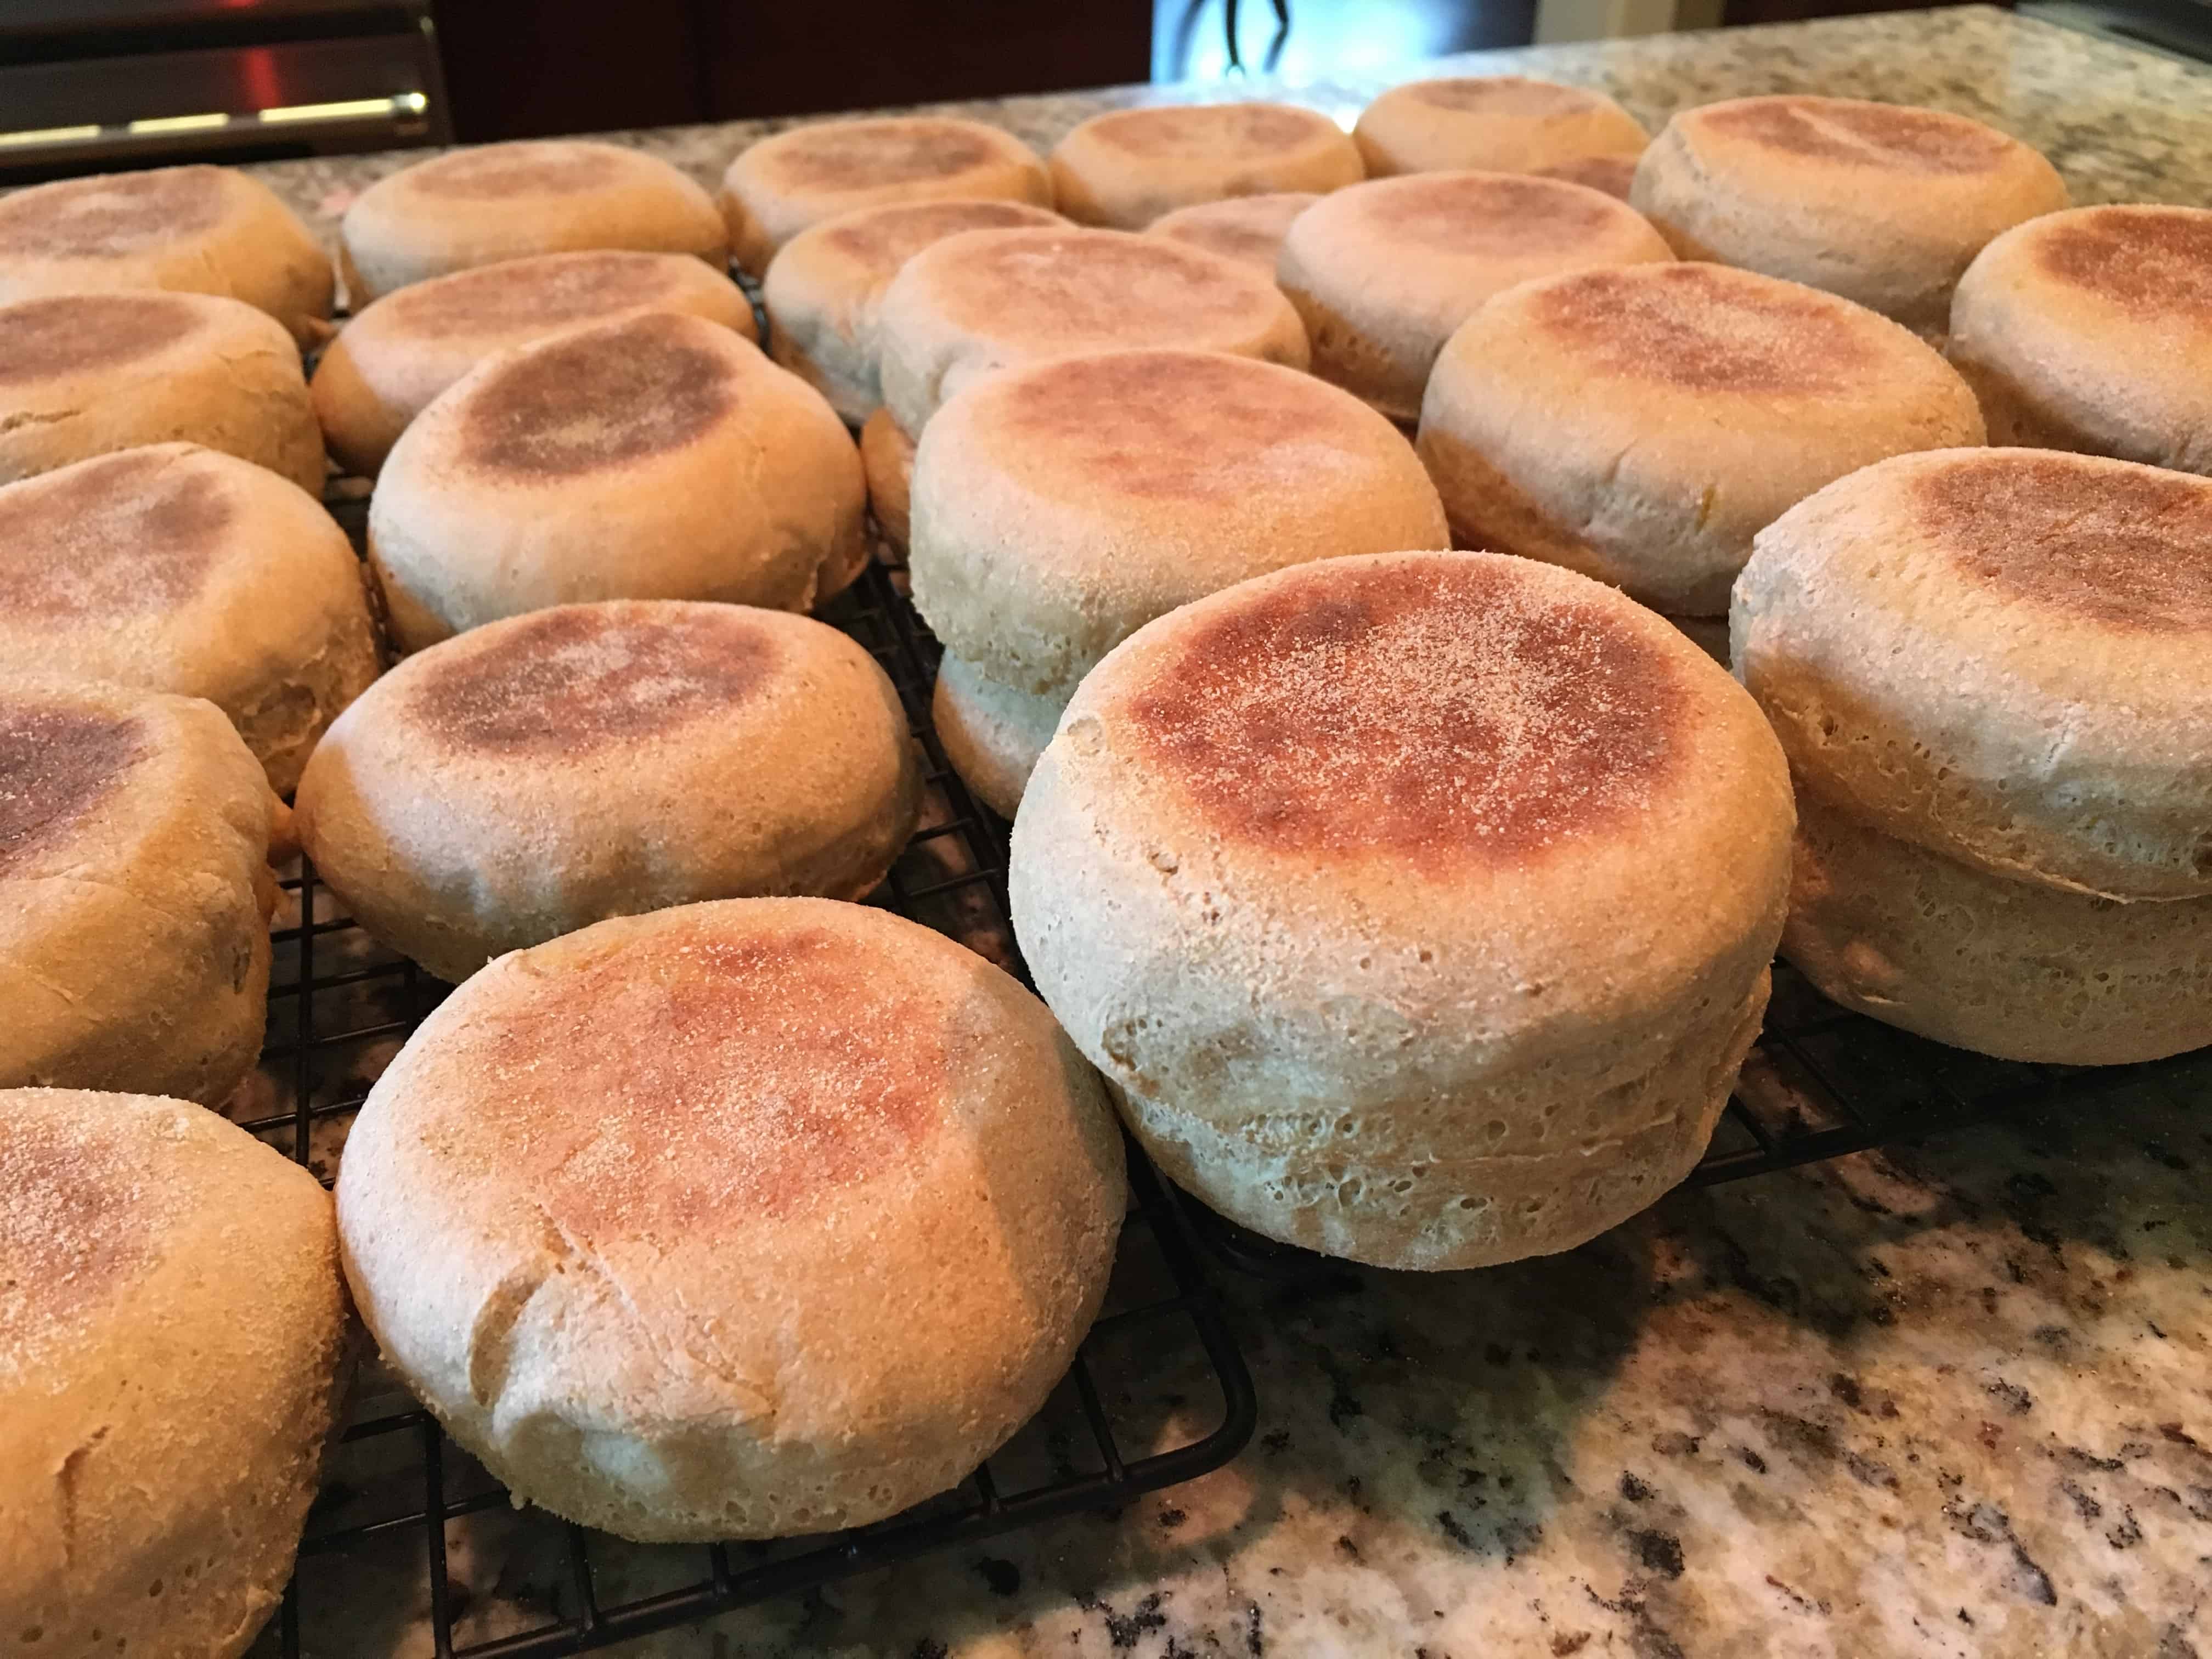
Store at room temperature for 4-5 days in a sealed container or freeze. I keep them in cookie tins and freeze them in the tins as well. You don’t even have to put parchment or wax paper in between, they freeze beautifully in the tins and don’t stick together.
I make a double batch each time I make these and freeze the bulk of them. This way we always have English muffins on hand. Make two separate batches, however, as it is a lot of contents to work with into a dough, too much for a single mixer bowl. I find you get a better outcome if you mix the dough batches separately, one after another.

Nooks and crannies!
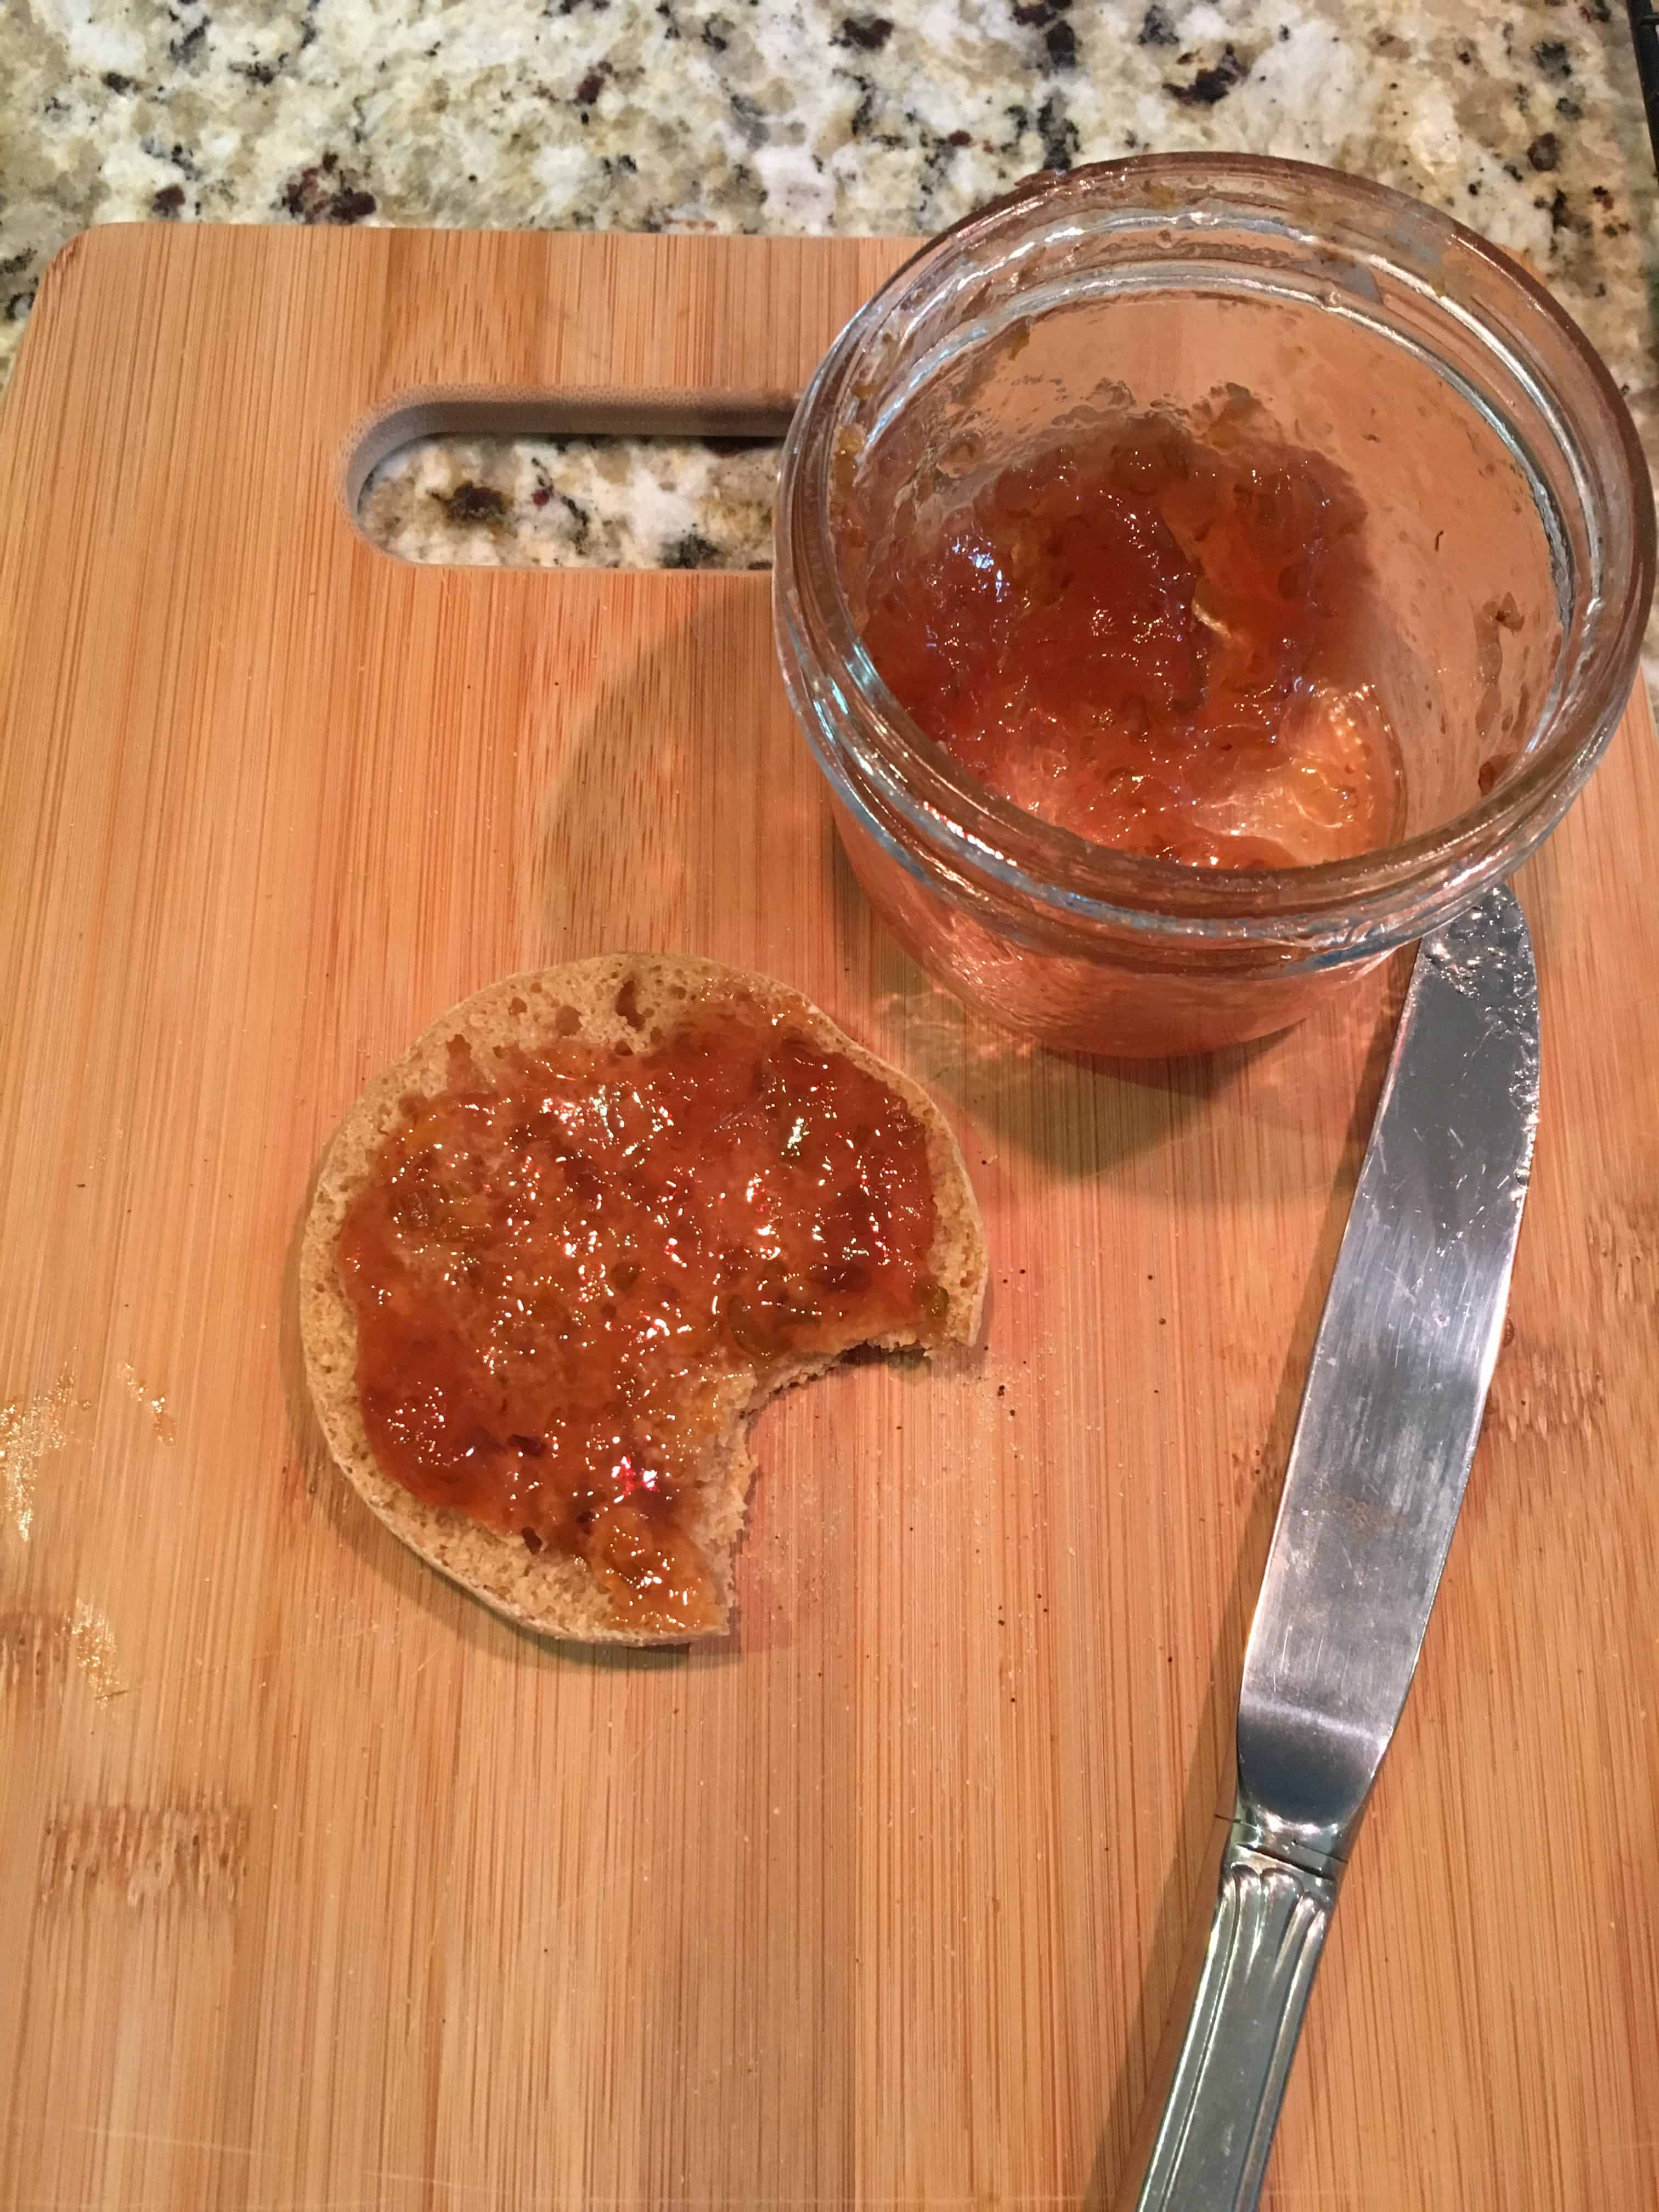
Super delicious toasted and slathered with homemade plum jam!!
I promise you, you’ll NEVER buy English muffins again after you make these! I’m actually thankful I couldn’t find English muffins in a bakery or store so I could learn how to make them. English muffins seemed so elusive, looked like they’d be complicated, but they couldn’t be easier. I think it’s way easier than making a loaf of bread! And the added bonus is having something we love being plant-based, whole food and oil-free. They say the way to a man’s heart is through his stomach…well, it’s also the way to zero waste!
Give them a try! And let me know how this recipe works for you.
Vegan, Oil-Free Sourdough English Muffins
Ingredients
- 25 g sugar I use coconut sugar, but you can use any sugar you'd like
- 454 g warm water (110-115˚F)
- 227 g sourdough starter discard or ripe (ripe will give a more vigorous rise)
- 57 g winter squash puree or mashed sweet potato
- 43 g plant-milk powder coconut or soy
- 1 tbsp active dry yeast
- 422 g Whole Wheat Pastry Flour
- 421 g All Purpose Flour
- 18 g salt
- course semolina for coating trays
Instructions
Making the Dough
- Combine the sugar, water, sourdough starter discard, winter squash or sweet potato puree, and plant-milk powder in your mixer fitted with a dough hook and mix to blend.
- Sprinkle with dry yeast and mix to combine. Allow yeast to bloom onto the surface, about 5 minutes.
- Combine flours (I use half whole wheat pastry and half all-purpose flours, but you can use other combinations you like) and salt in a separate bowl.
- Slowly add flour to wet ingredients in the mixer bowl and mix and knead. You can also do this by hand. Dough should be soft and elastic but not sticky. Add more flour if needed.
- Place the dough into a large ungreased bowl and cover with a towel. Set in a warm place (I put in my oven with the oven light on only) and let rise until it's puffy, about 1-1/2 hours.
- At this point you can cover the bowl and put into the refrigerator for 24 hours to develop the sourdough flavor, or continue on. I generally do NOT refrigerate and just continue on to make muffins.
Making the English Muffins
- Gently deflate the dough and turn out onto a lightly floured work surface. Set your bowl upside down to cover and let the dough relax for a few minutes to develop the gluten.
- While the dough is resting, prepare two baking sheets. Sprinkle coarse semolina onto two baking sheets. I put down a silicone baking sheet first and then sprinkle with semolina. The semolina will allow you to remove the muffins from the trays without deflating them when it's time to cook them.
- Divide the dough in half and pat or roll out 1/2-inch thick. Cut into 3-inch rounds (I use a wide mouth canning jar ring). Place the muffins on the prepared baking sheets, allowing room for them to rise. I put 12 muffins on a standard baking tray. Reroll and cut the remaining dough. Repeat with the other half of the dough.
- Sprinkle more coarse semolina on the tops of your cut muffins. Cover with a towel and return the trays to your oven with the oven light on. Let them rise until puffy, about 45-60 minutes if you used non-refrigerated dough, 2 hours if you refrigerated the dough overnight.
Cooking the Muffins
- Heat a griddle or skillet to 350˚F, or on low-heat on the stovetop. Do NOT grease the griddle or skillet.
- Carefully transfer the muffins with a spatula off the semolina-coated tray onto the heated griddle. Do as many as you can fit without overcrowding the pan.
- After about 5 minutes, place a light cookie sheet on top of the cooking muffins and continue cooking about 3-5 more minutes. This helps keep the tops flat on top.
- When the bottom is golden, carefully flip the muffins and cook for another 8-10 minutes, until golden. An instant-read thermometer should read 190˚F when done while the edges may feel a bit soft. If you can't get them to cook through on the griddle before getting too dark on the bottoms, you can transfer to a preheated 350˚F oven and bake about 10 minutes until the centers are cooked through.
- Remove muffins from griddle (or oven) and cool on a rack. Store at room temperature for 4-5 days in a sealed container or freeze.
Notes
Nutrition
Do you like this post? Please share....
[mashshare]
8 Comments
Leave a Comment
If you liked this post, you might like one of these:
Categories:
Tags:

[Trī-māz-ing]
Cindy wants you to be Trimazing—three times better than amazing! After improving her health and fitness through plant-based nutrition, losing 60 pounds and becoming an adult-onset athlete, she retired from her 20-year firefighting career to help people just like you. She works with people and organizations so they can reach their health and wellness goals.
Cindy Thompson is a national board-certified Health and Wellness Coach, Lifestyle Medicine Coach, Master Vegan Lifestyle Coach and Educator, Fitness Nutrition Specialist, Behavior Change Specialist, and Fit2Thrive Firefighter Peer Fitness Trainer. She is a Food for Life Instructor with the Physicians Committee for Responsible Medicine, Rouxbe Plant-Based Professional, and Harvard Medical School Culinary Coach, teaching people how to prepare delicious, satisfying, and health-promoting meals.
She provides health and lifestyle coaching at Trimazing! Health & Lifestyle Coaching. Cindy can be reached at info@trimazing.com.
Subscribe to the Trimazing Blog
Receive occasional blog posts in your email inbox.
Subscribe to the Trimazing Blog
Receive occasional blog posts in your email inbox.







Hi, I stumbled on your website, Zero Waste caught my eye. I’m retiring in a couple weeks and have a farmette where I live off grid as much as possible. One of my biggest goals was to have, what I call a “green Kitchen ” meaning no packaged goods, and hopefully get rid of garbage pick-up and recyclables. When I couldn’t find yeast in the store, I started my own starter “Herman “, he’s doing awesome and my family are the appreciative recipients of discard breads. Can’t bring myself to throw it out. I’m excited to get your emails. Thank you, Dorie Kosche
Welcome, Dorie! I’m so excited to hear your story and plan. Changing to less waste can feel very overwhelming, so doing things a step at a time, like you’re describing, is a great practice. My post on Going Zero Waste may be helpful, as is my series on how to reduce garbage and recycling through an audit process, which starts with What’s in Your Garbage? Again, welcome, and feel free to reach out. I also have more content on our Facebook group and Instagram, so make sure to follow us there too.
Hello we dont have plant milk powder where I live. What can I use to replace it? I would love to try this recipe. Thanks.
I would use 43 grams of any liquid plant milk and combine it with 411 grams of warm water in lieu of 43 grams of plant milk powder and 454 grams of warm water in the recipe. That should work just fine!
This looks so yummy, I can’t wait to try it but . . . .I don’t have dry yeast. How can these be made with just the yeast from the sourdough?
Thanks – Lisa
I’ve not tried it using sourdough starter (it’s on my list to do), but it should work. I’d add 150 grams (about a cup) of active sourdough starter and reduce water in the recipe by 75 grams and whole wheat pastry flour in the recipe by 75 grams. Still use the sourdough discard as described–the active sourdough starter will just substitute for the yeast. Let me know how this works for you.
I notice step 3 says to combine the flours and salt but I don’t see salt on the ingredients list?
Thank you for noting that. I’ve corrected the post.