A Berry Good Vinegar
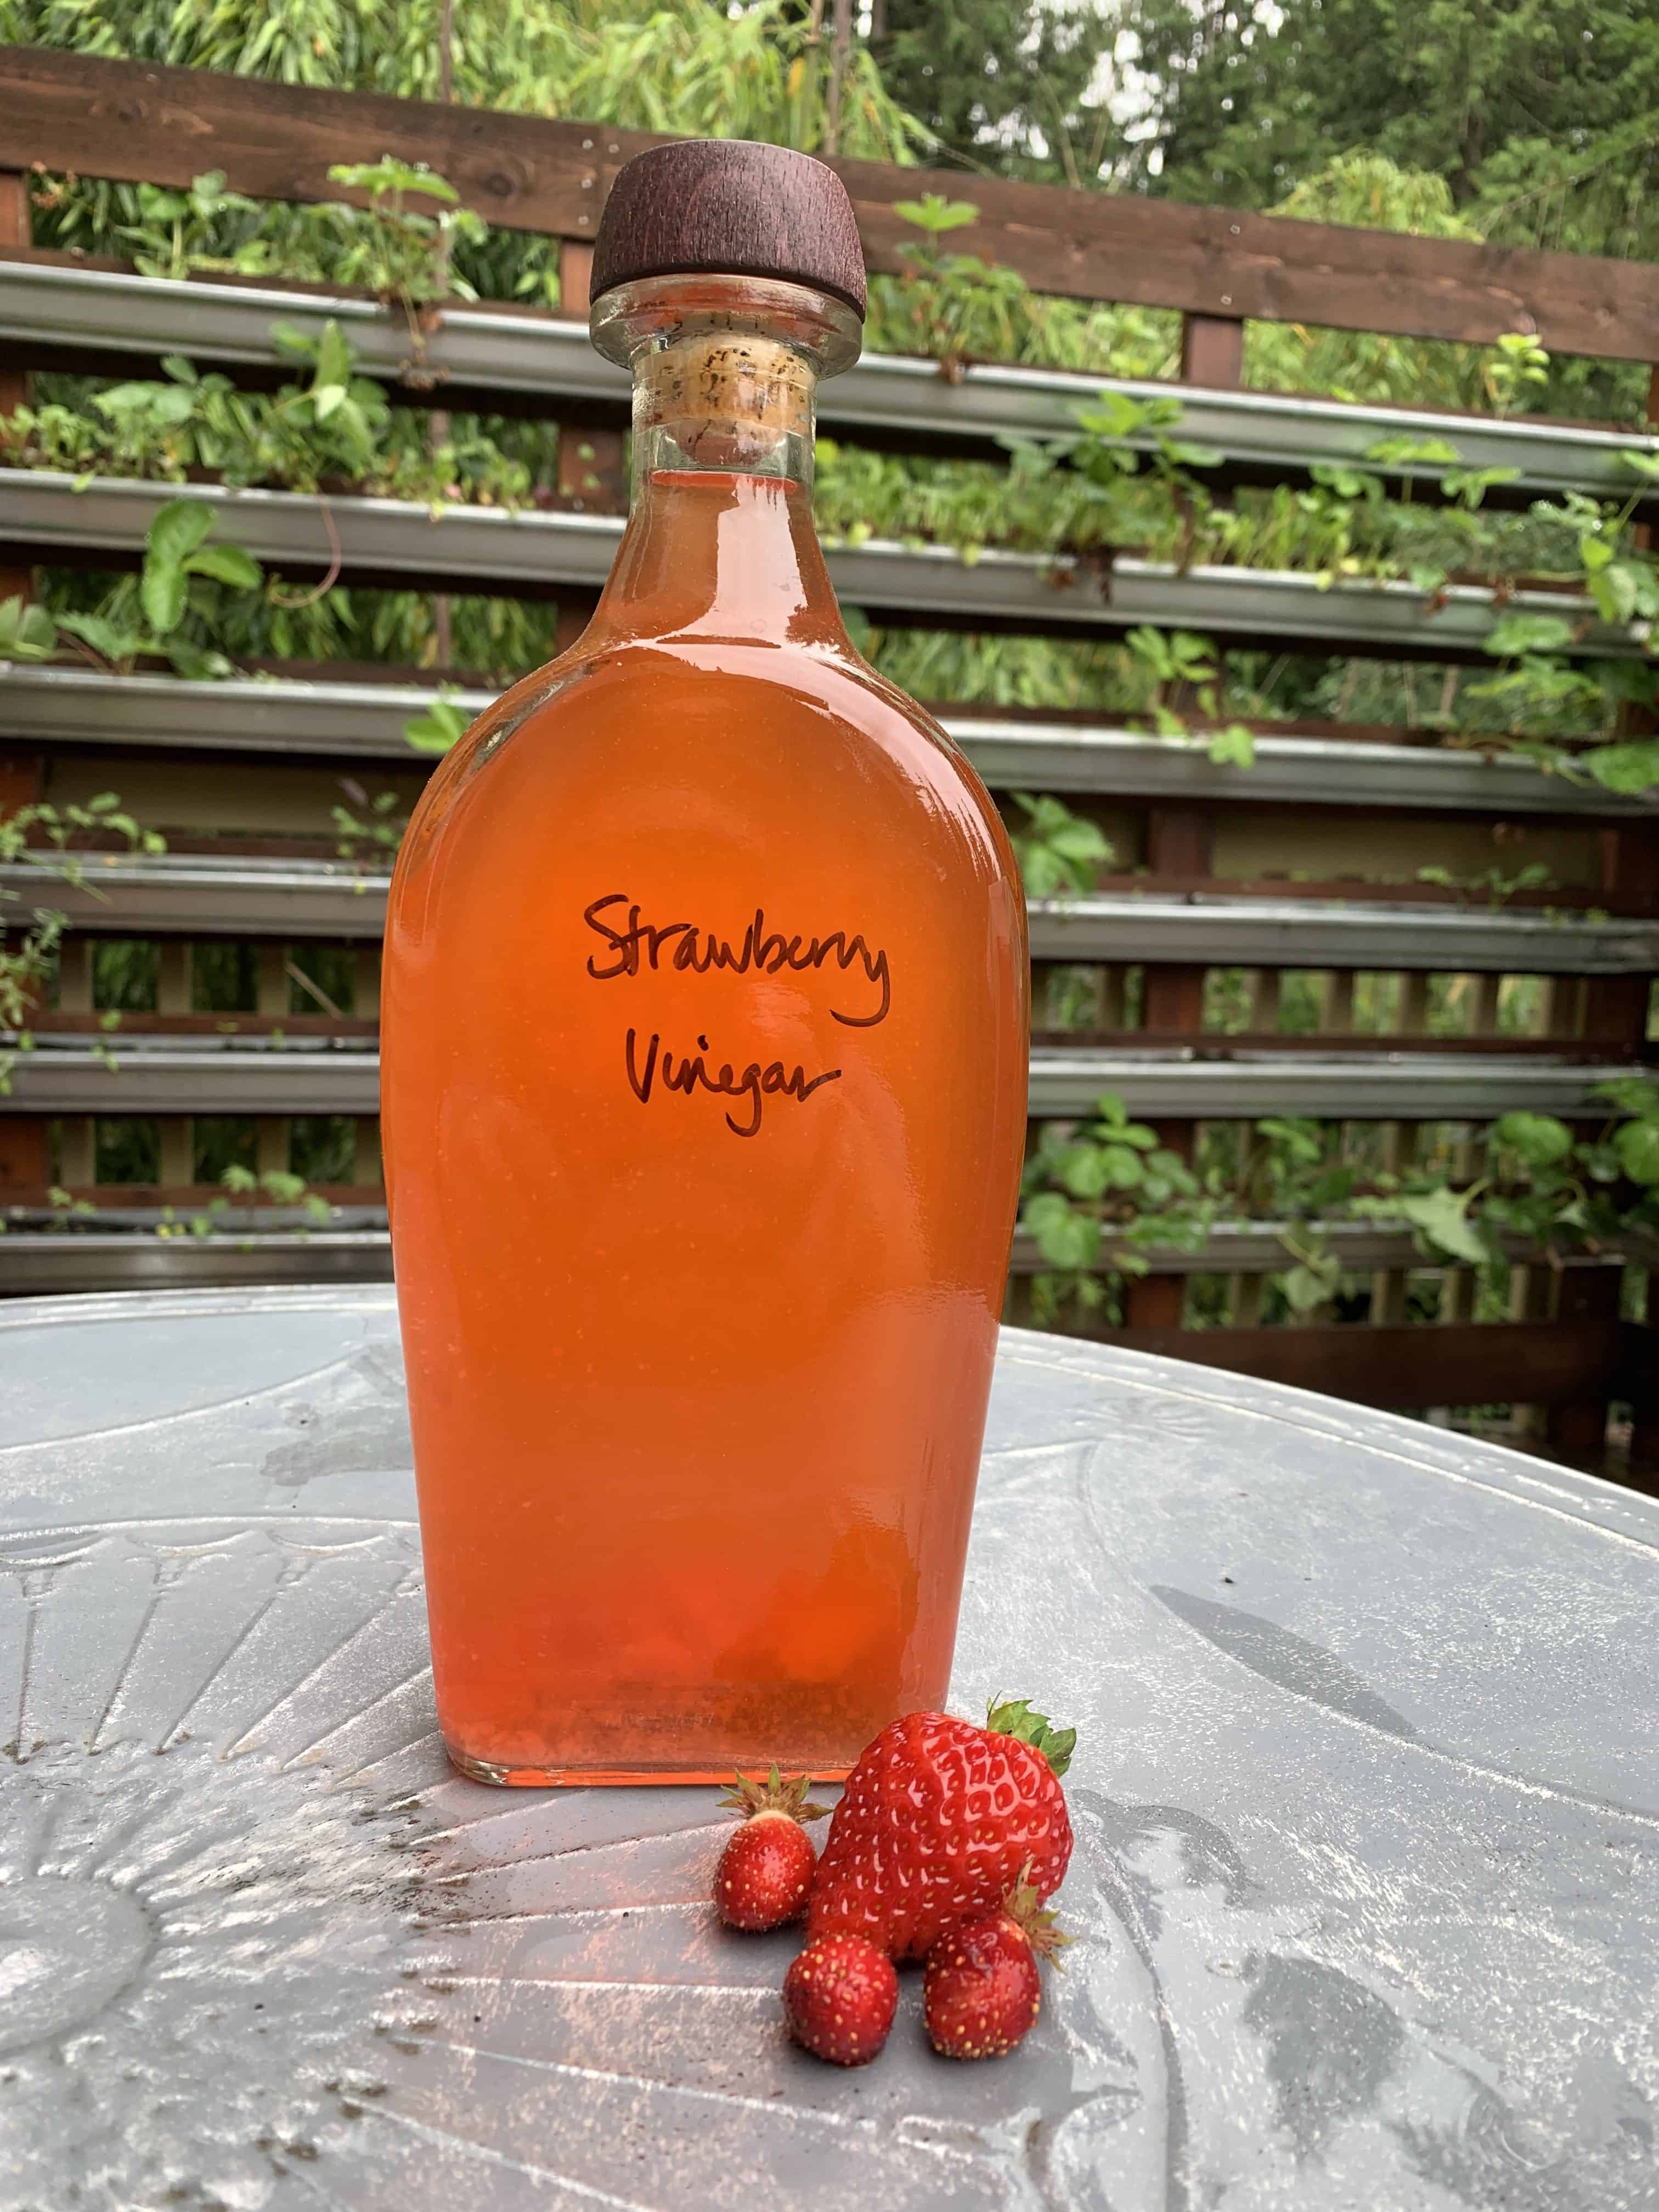
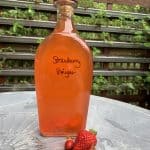
Strawberry Vinegar made from scraps of strawberries grown in my Gutter Garden (pictured behind)
Here’s a personal warning from me to you…beware of getting into food fermentation…it’s completely addicting! What started out with attempting kimchi and apple cider vinegar has grown into making vinegars from wine and beer, all kinds of fruit scraps, including pineapple, ginger beer, shrubs, pickles, krauts, sourdough starter, and I’m looking to get into making tempeh and miso too! I. Can’t. Stop. It’s just so fun and satisfying!
Alan calls me the Mad Scientist with my fermentation corner in our walk-in pantry threatening to overtake the entire space!
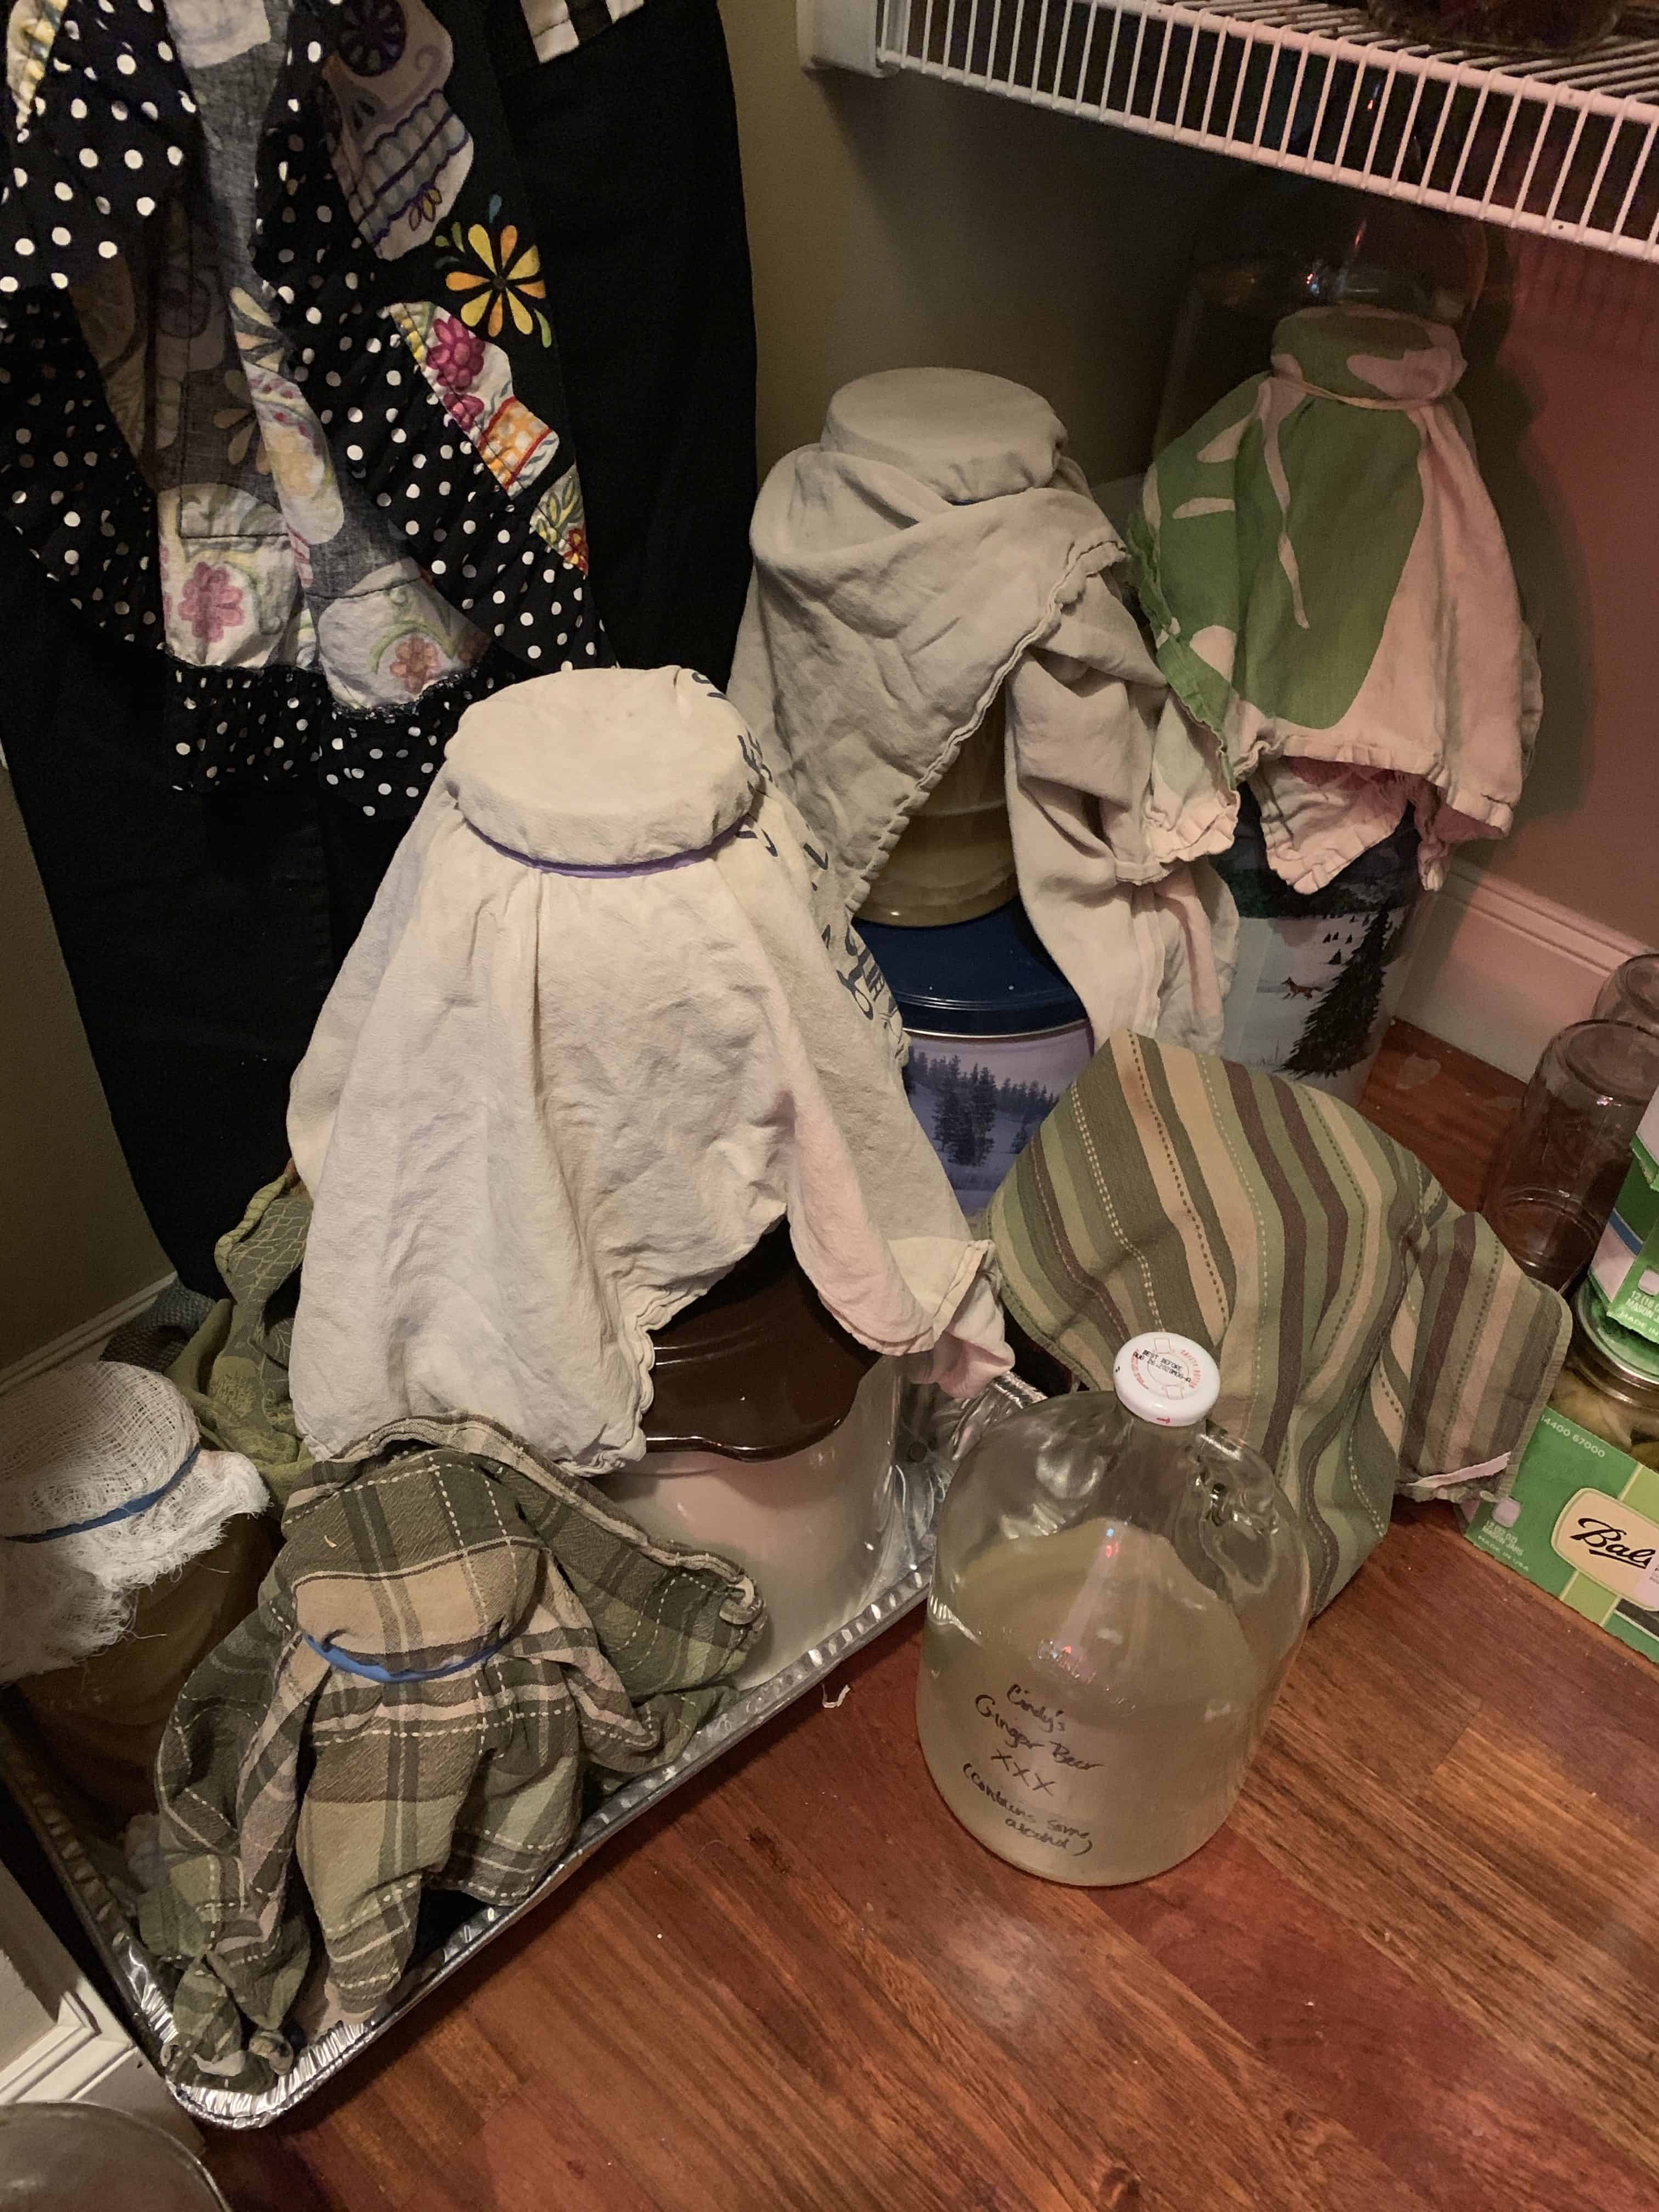
It’s not pretty, but an honest picture of my fermentation corner in our pantry!
We’re just finishing up strawberry season here in the Pacific Northwest, so I’ve been busy doing a lot of cooking, freezing, and jam-making with our delicious fresh berries. Not only do we have conventional strawberries, but our property is covered with mounds and mounds of Wood Strawberries, a Northwest Native wild strawberry. The Wood Strawberries are super fragrant, but very dry, seedy, and not super sweet, but they have great strawberry flavor. I’ve been adding these to other strawberry dishes to supplement.
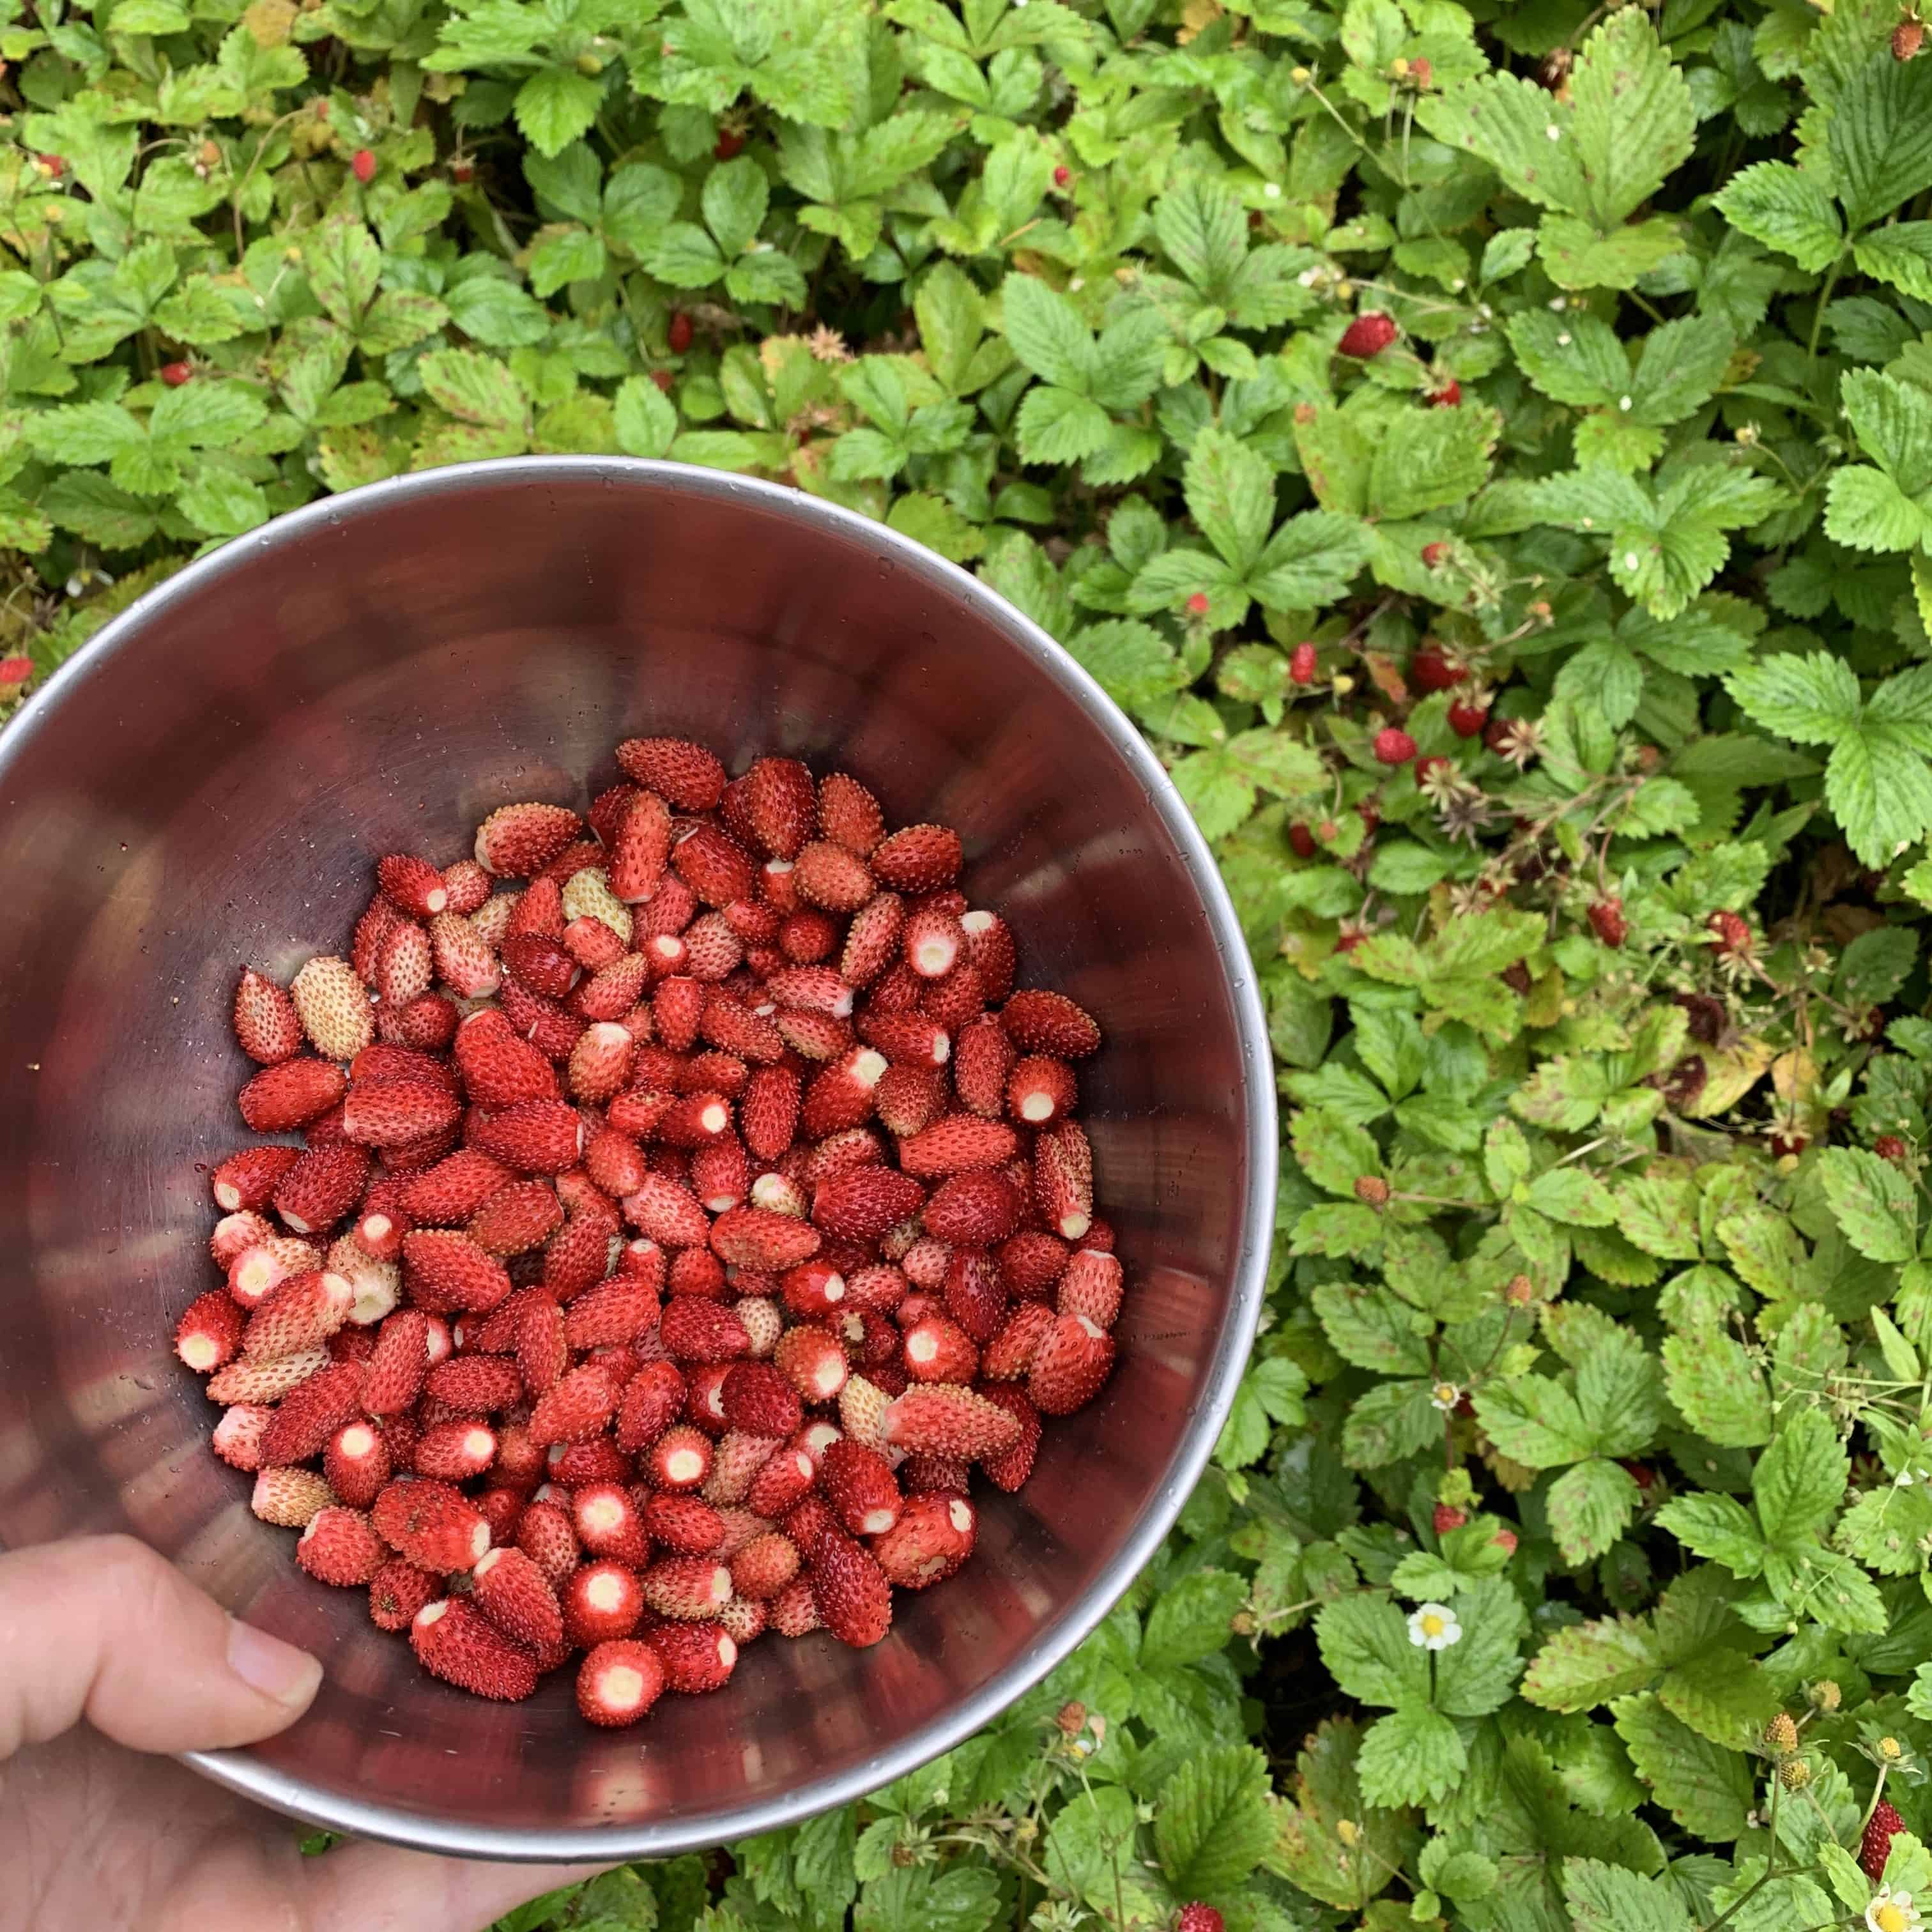
Wild Wood Strawberries picked in my backyard.
As I was preparing the berries, I couldn’t get myself to compost the berry tops or berries that were overripe, smashed, or had bites taken out of them by the illustrious Pacific Northwest slug and robins (yes, the robins that nested in the gutter garden have returned to eat strawberries!). I kept thinking I should be able to do something with them. And then it struck me…what about vinegar?
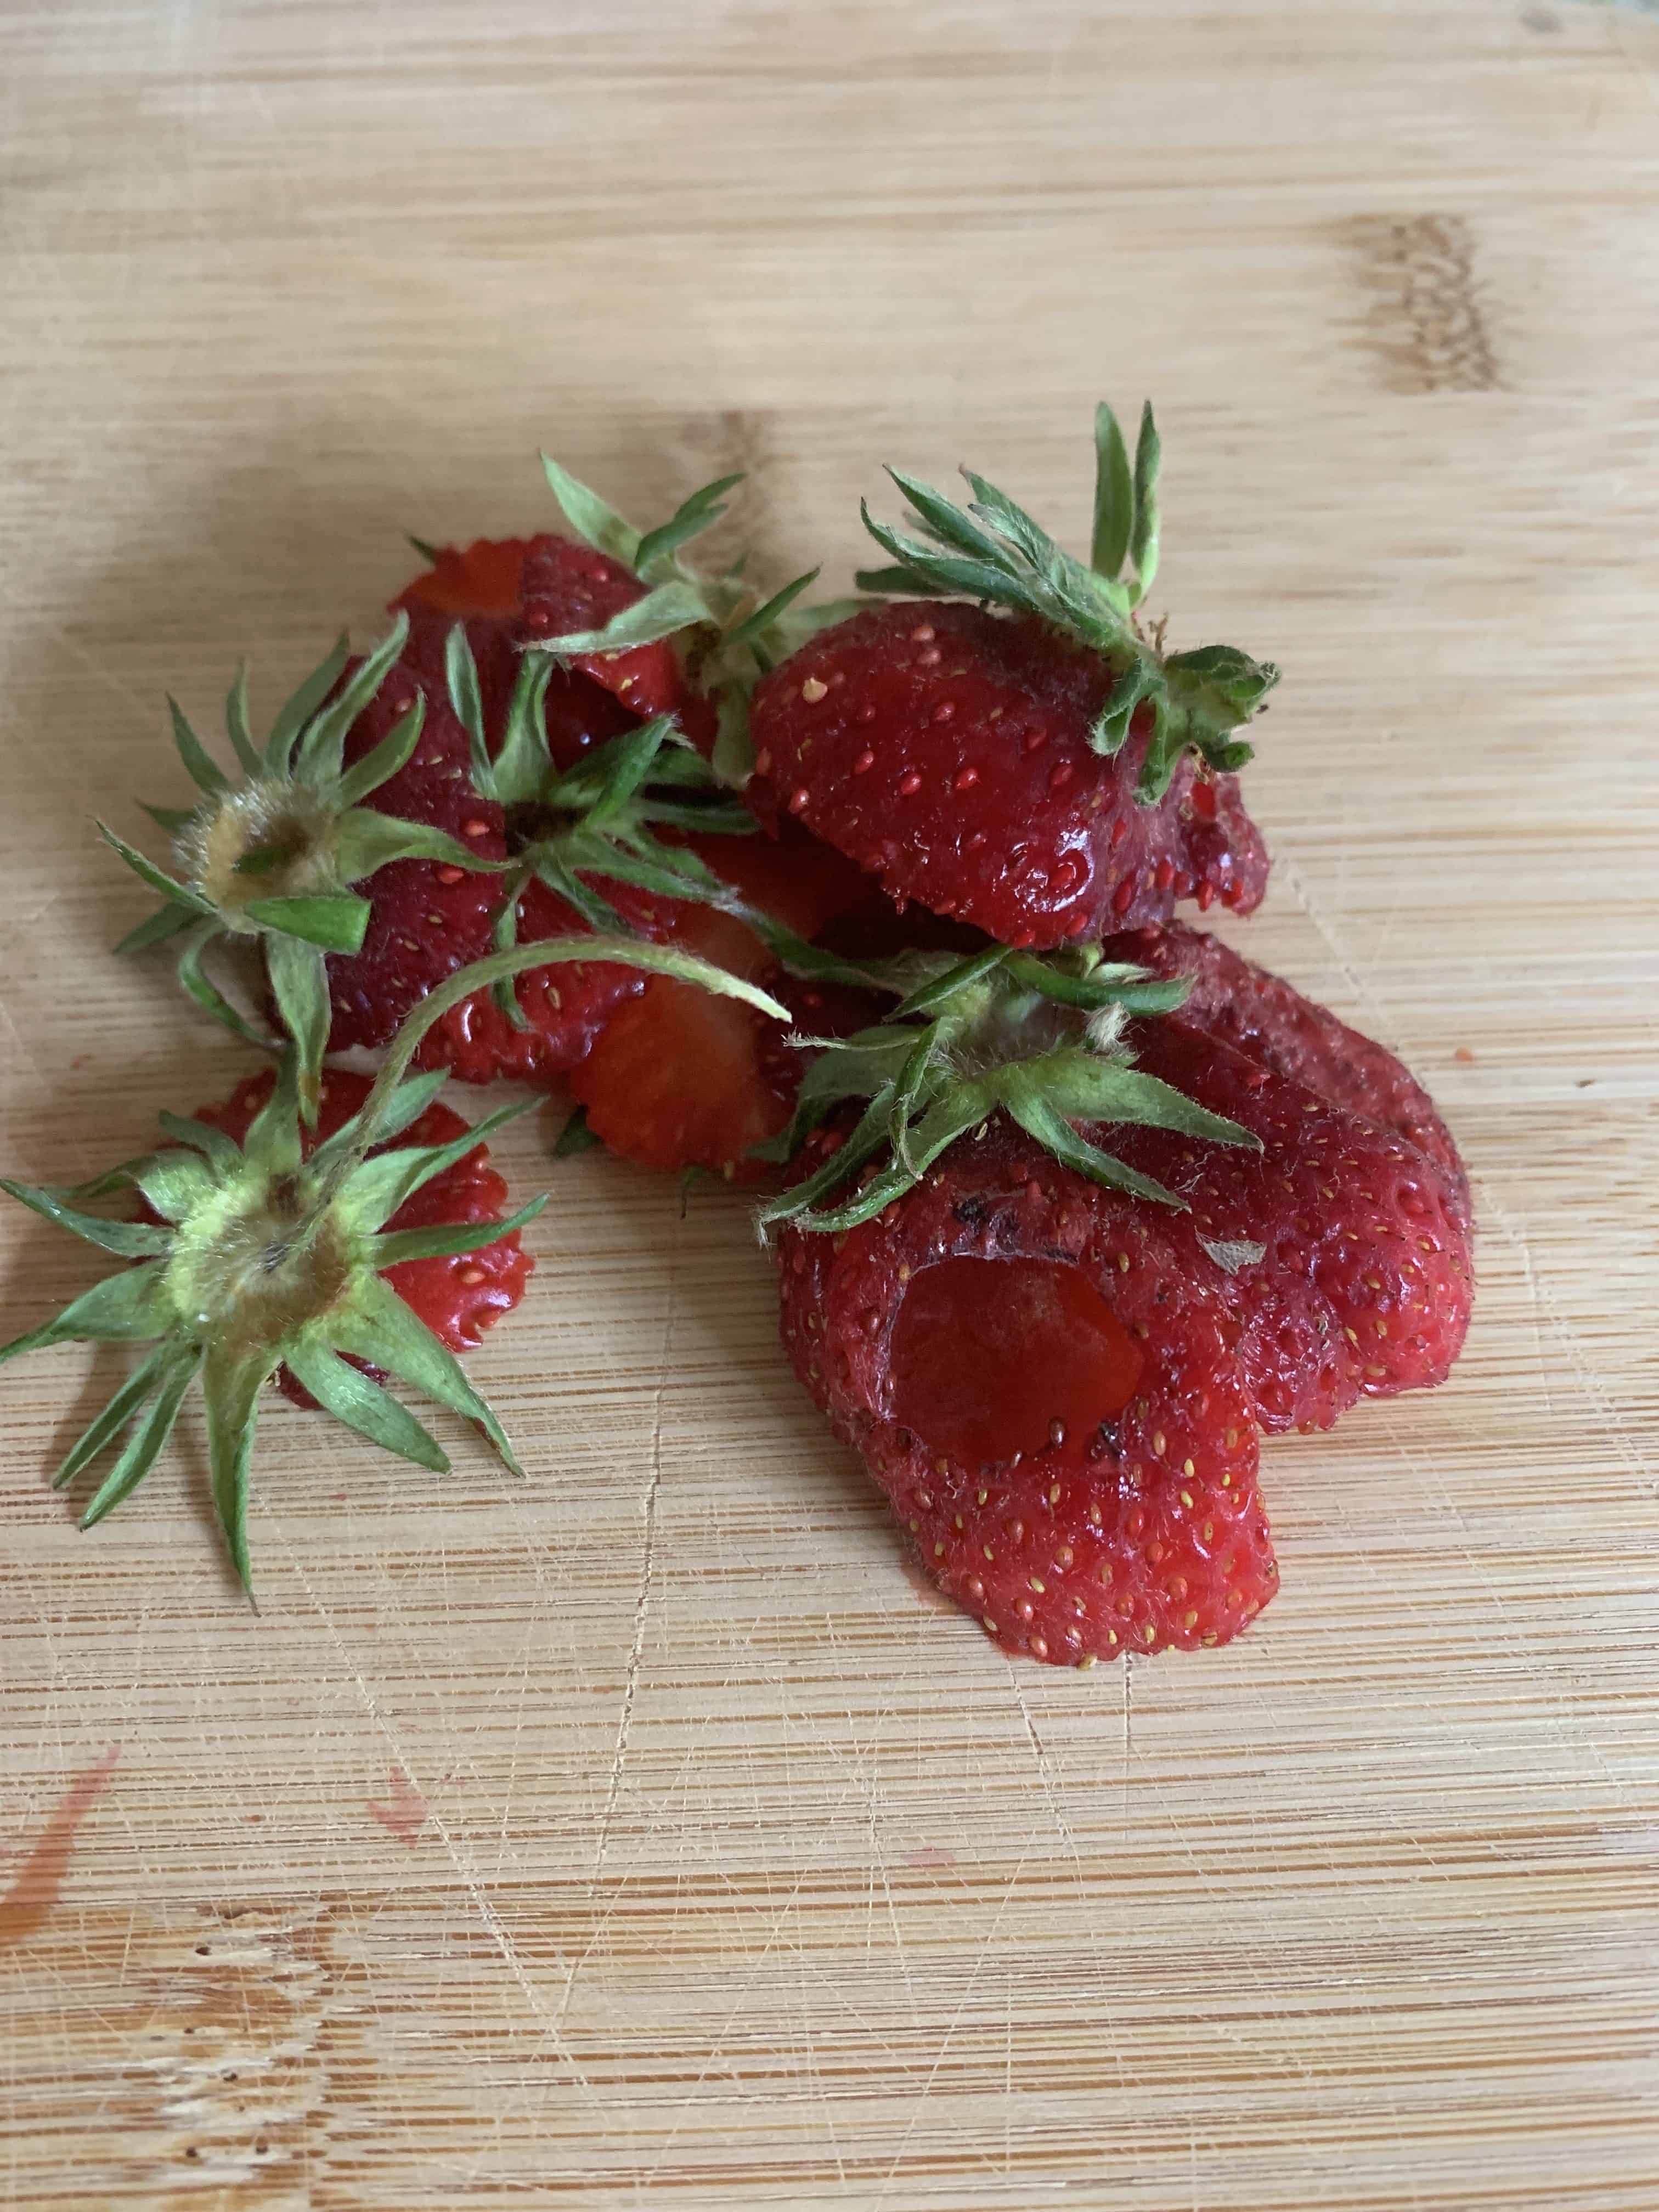
Strawberry tops and berries sampled by slugs and robins!
Well it turned out fabulously! Here’s the process:
Put your strawberry scraps, bruised, slug- or bird-bitten berries, and tops into a large jar. Just make sure your scraps aren’t moldy, you don’t want to use those. If you’re prepping berries over several days or weeks, you can store the berry scraps in the freezer until you’re ready to make vinegar.
Make a sugar solution with a ratio of 1/2 cup of sugar to 1 quart of water and when it is at room temperature, pour it over the berry scraps. Make sure the solution covers the berries but only comes 1/2 to 3/4 of the way to the top of the jar so it doesn’t overflow when you weigh down the scraps.
To weigh down the scraps, I simply cover the surface of the scraps with several canning jar lids before adding a lidded jar full of water on top. You want to contain the scraps to prevent them from floating to the surface where they will get exposed to the air and mold, and I find that the canning jar lids, particularly old, clean, used ones, work great for this. You can also use a fermentation weight made specifically for this purpose.
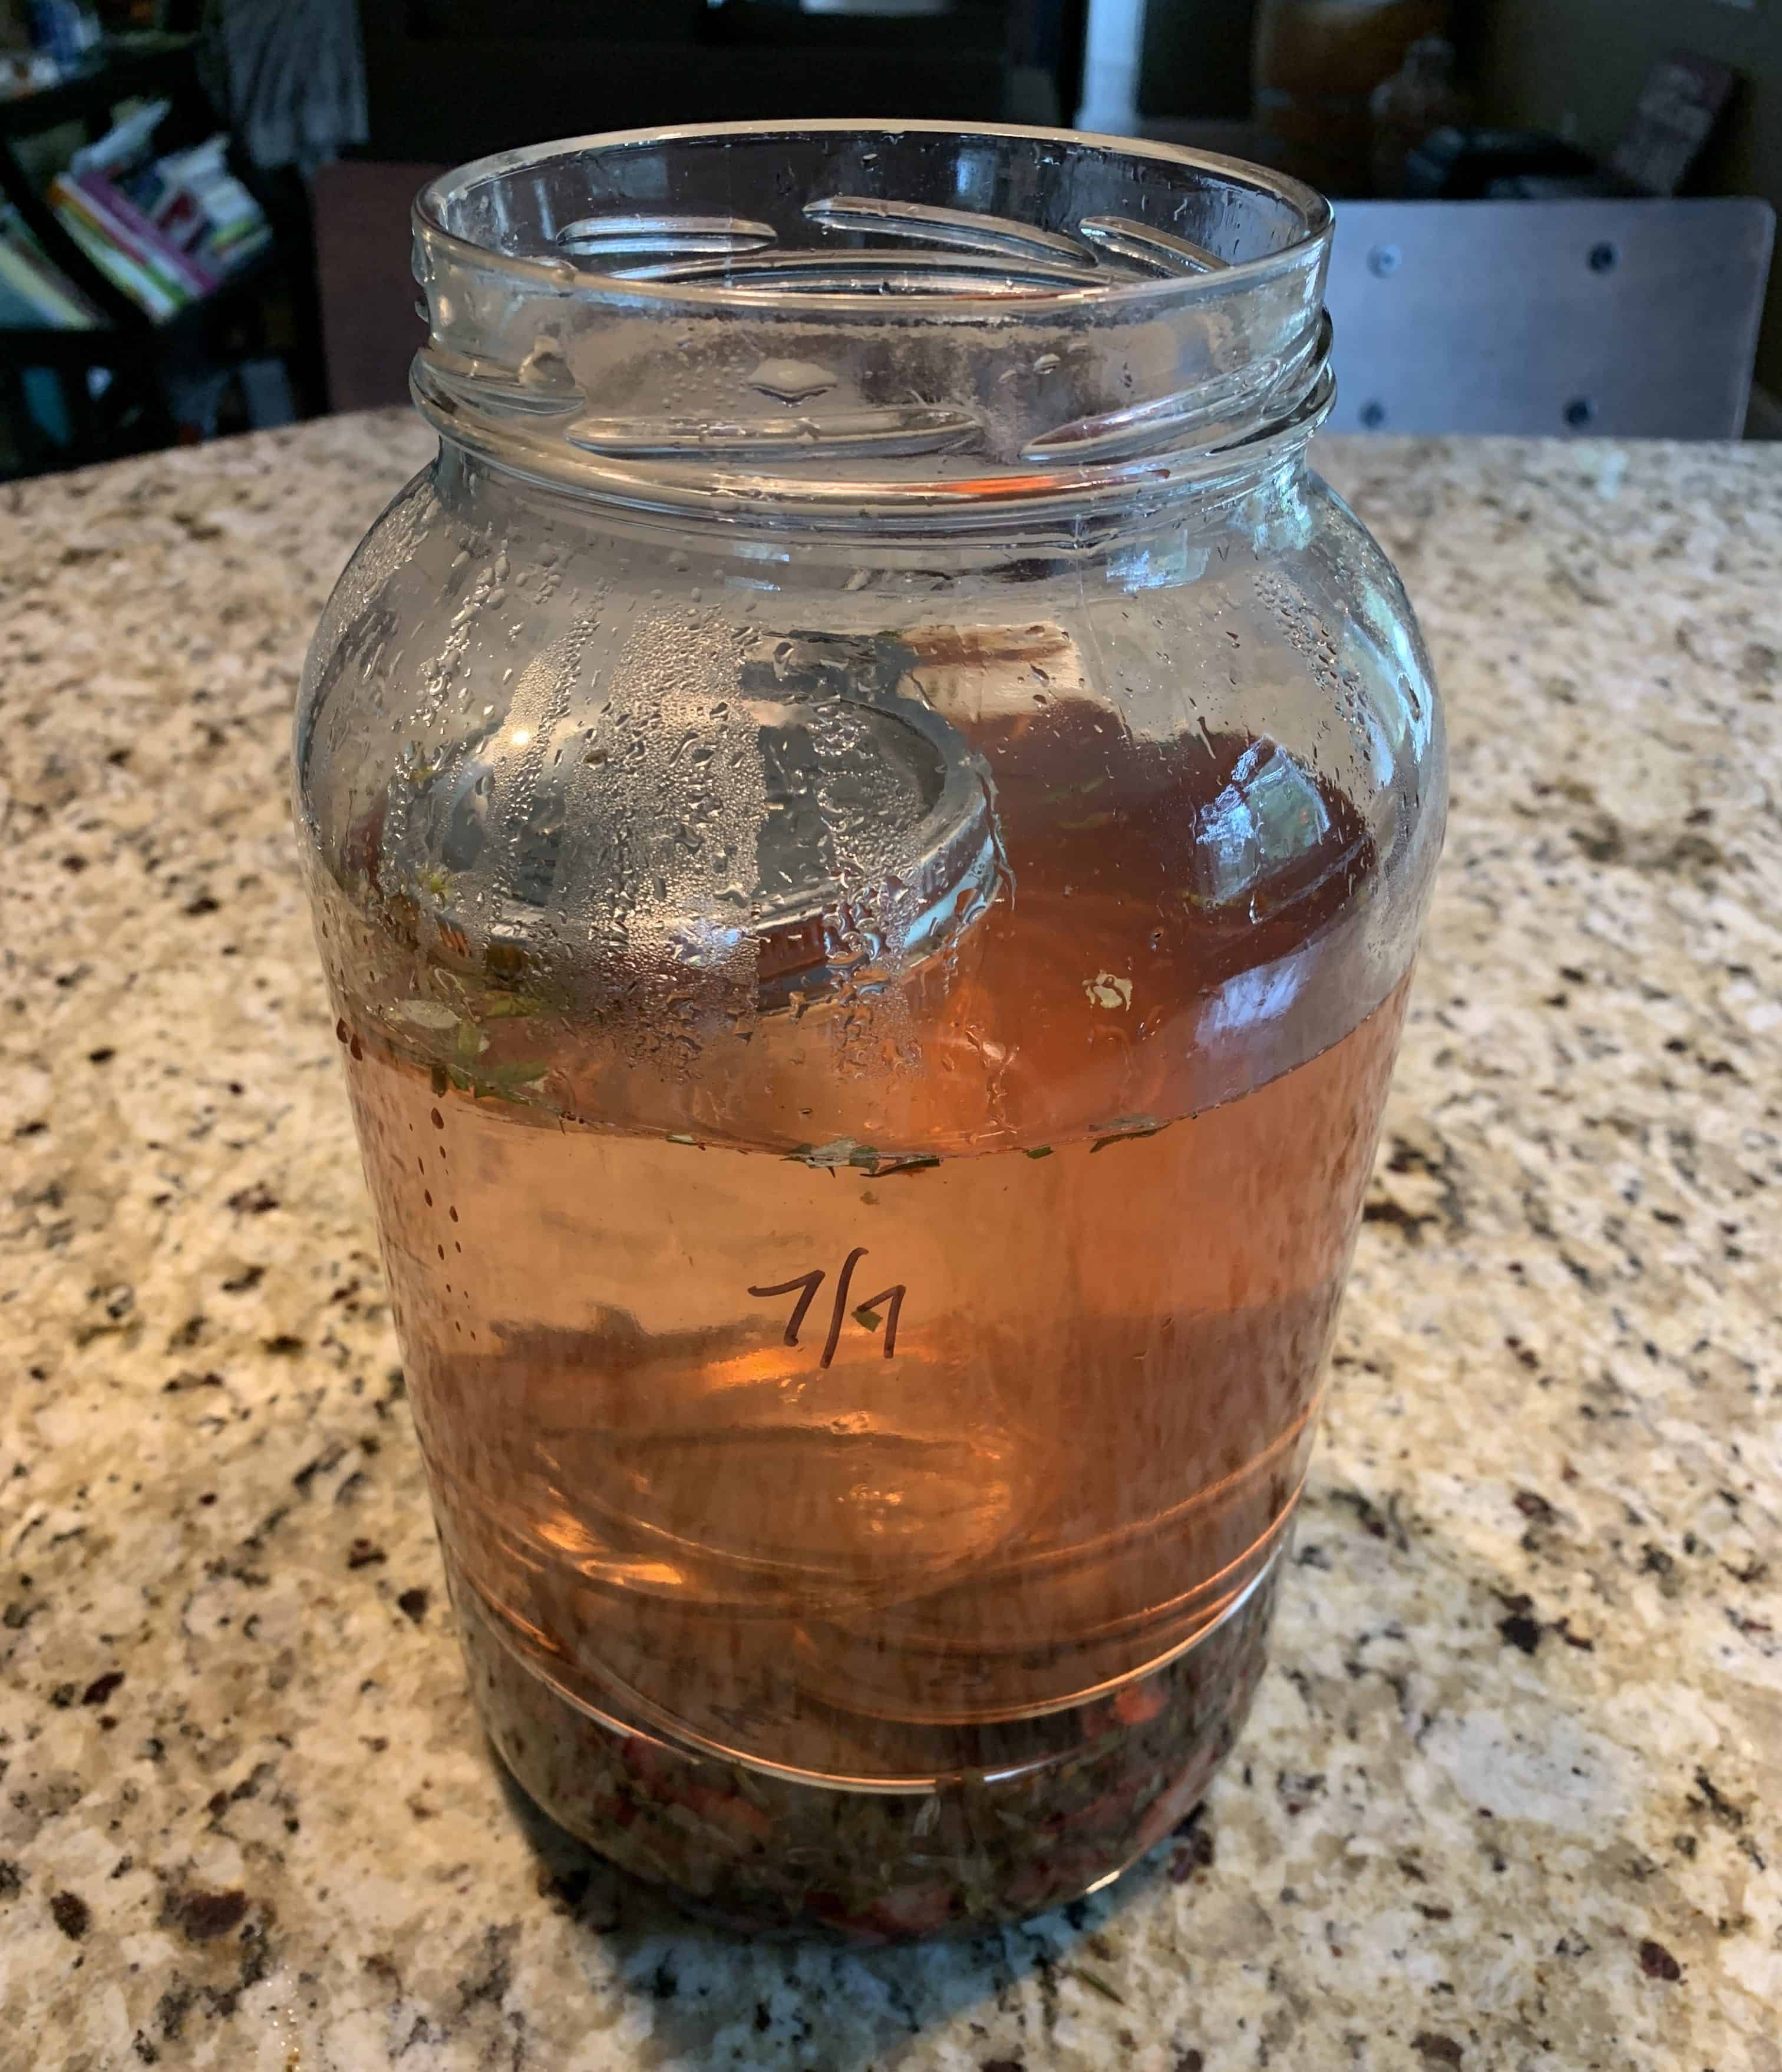
Sugar water solution added to scrap berries and berry tops, weighted down with canning jar lids and a pint jar full of water.
Next cover your jar opening with cheesecloth or a towel and secure with a rubberband. This keeps fruit flies out. I like using a towel because it’s reusable and also works to keep light off the contents. Put into a dark, room temperature location, like a pantry, cupboard, or closet, covered with a towel to keep out any light.
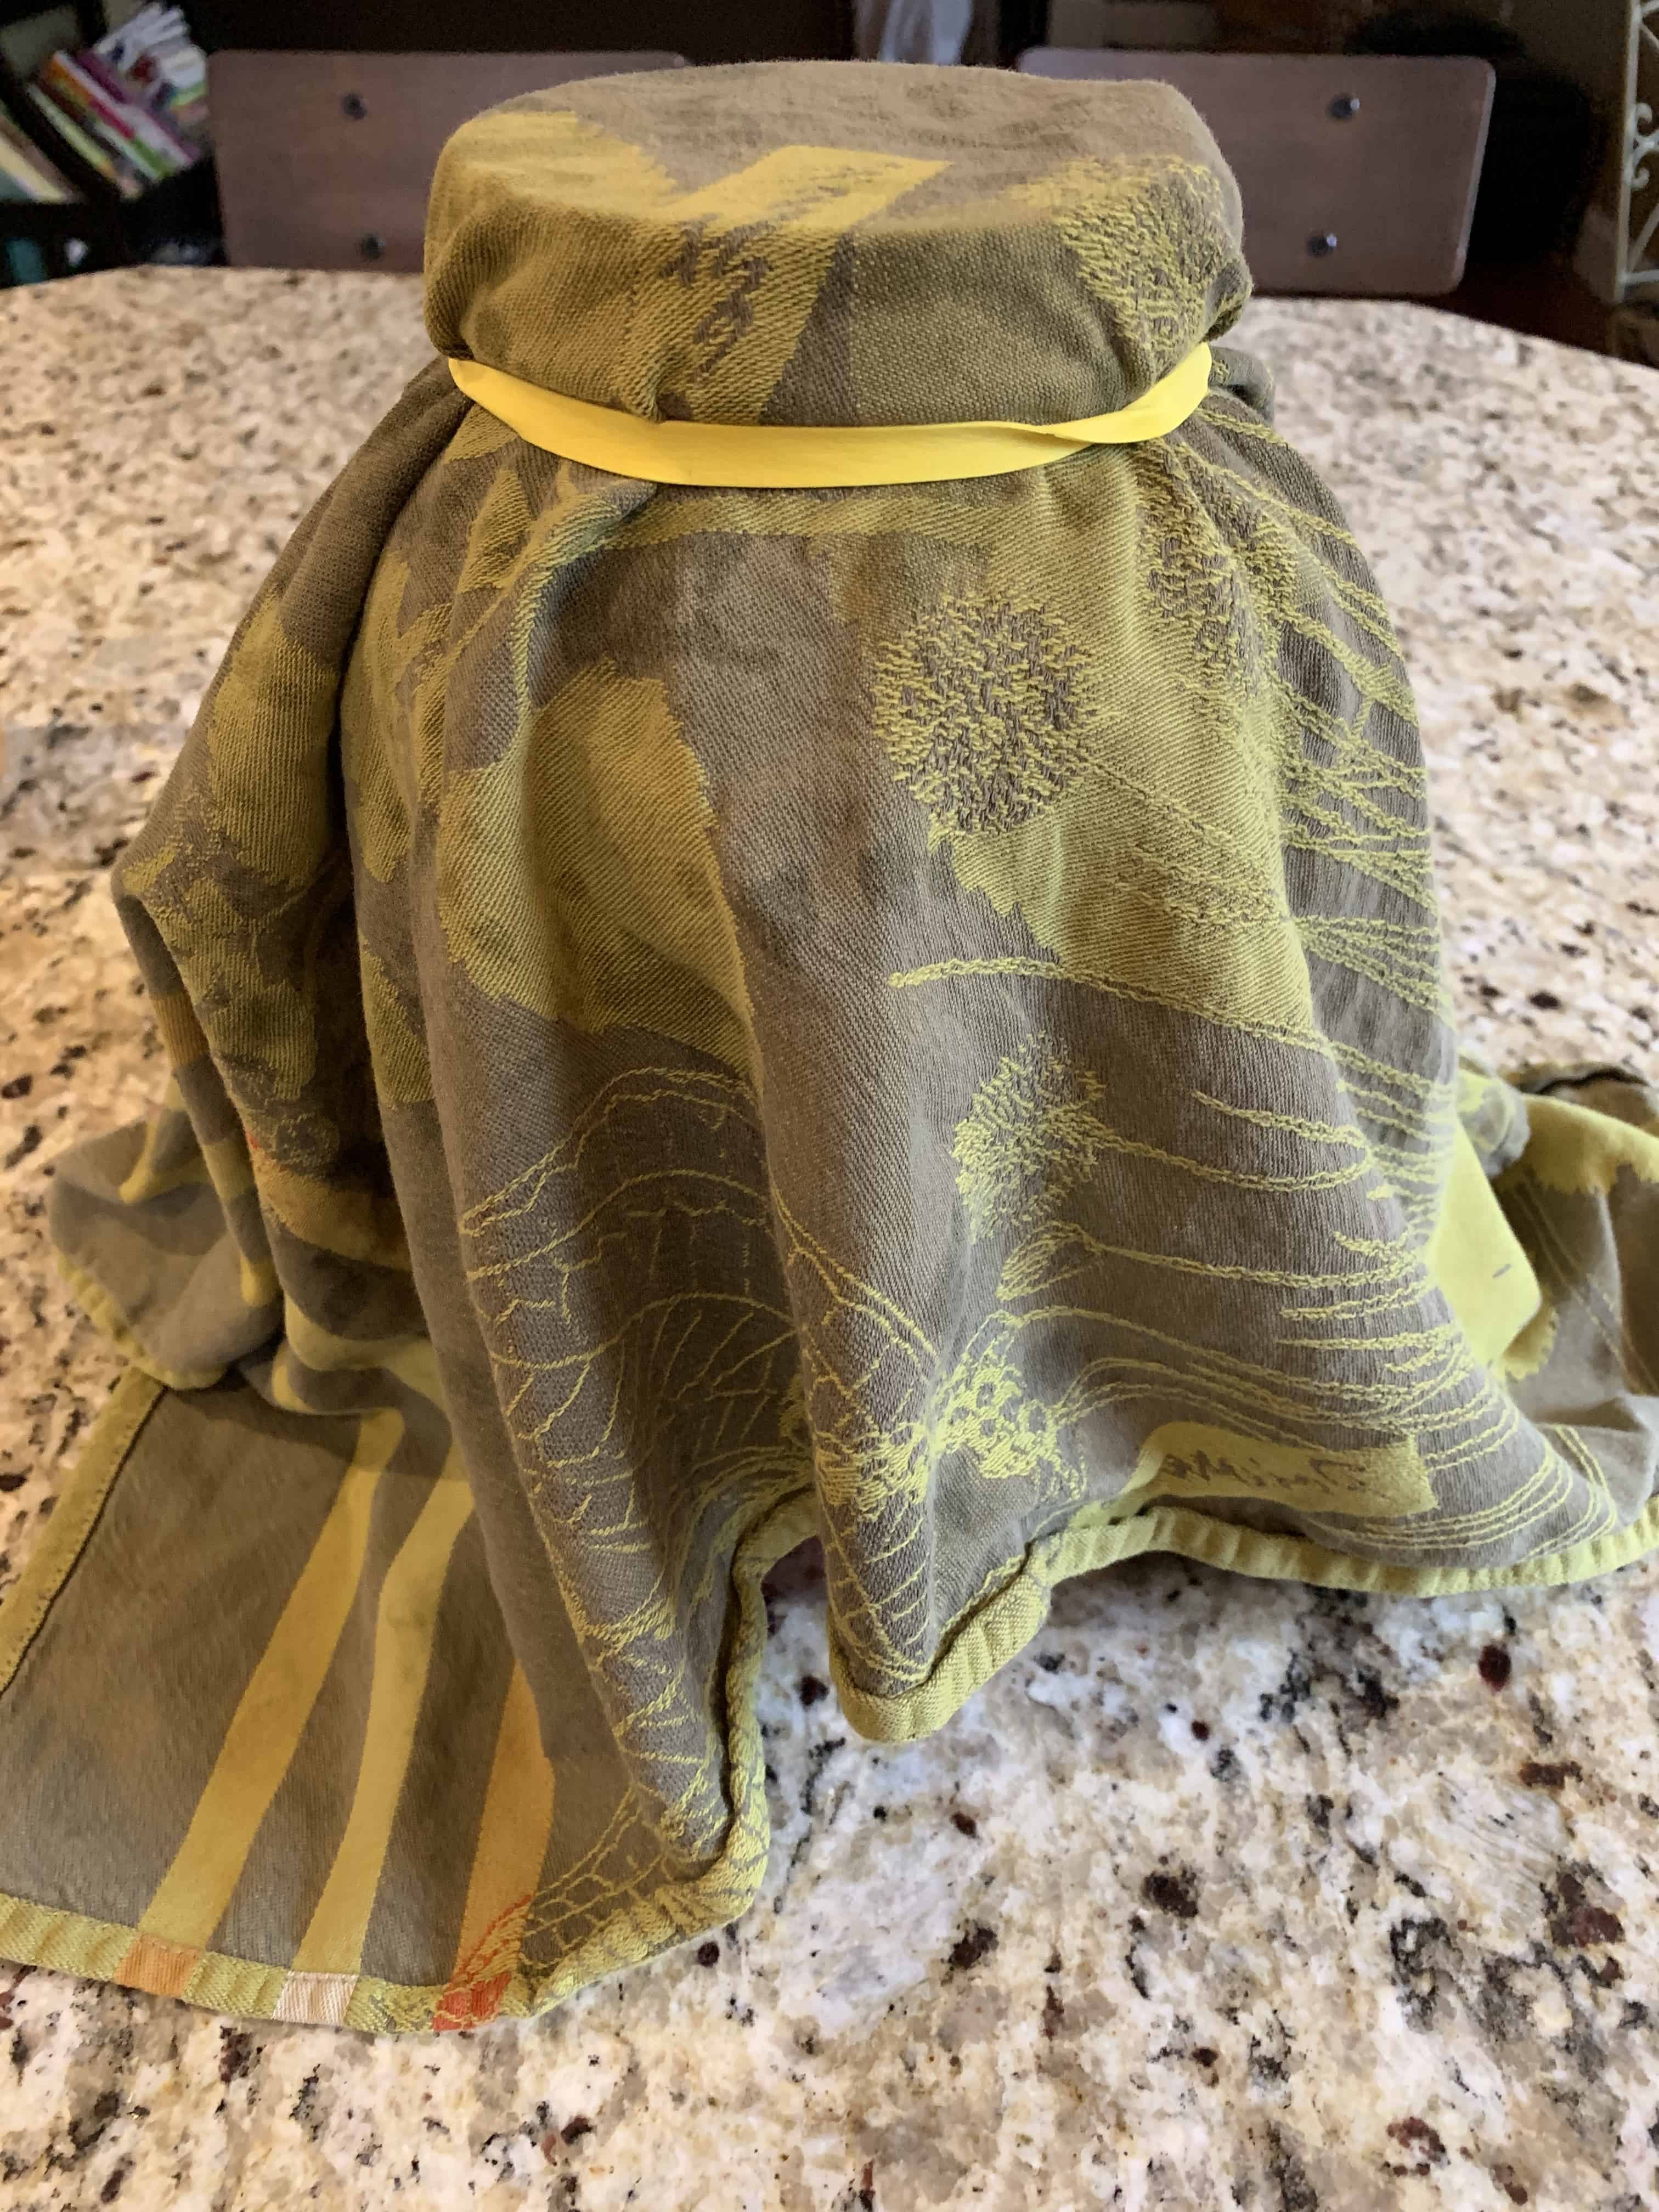
Using a towel to cover the top of the jar.
Check your jar every day for the next several weeks. Pull off any scraps that float to the surface and give the solution a taste. You’ll notice that the solution gets more red and strawberry-flavored (it’s like the best strawberry soda!), then turns a bit fizzy, then alcohol-y. It’s basically a strawberry cider.
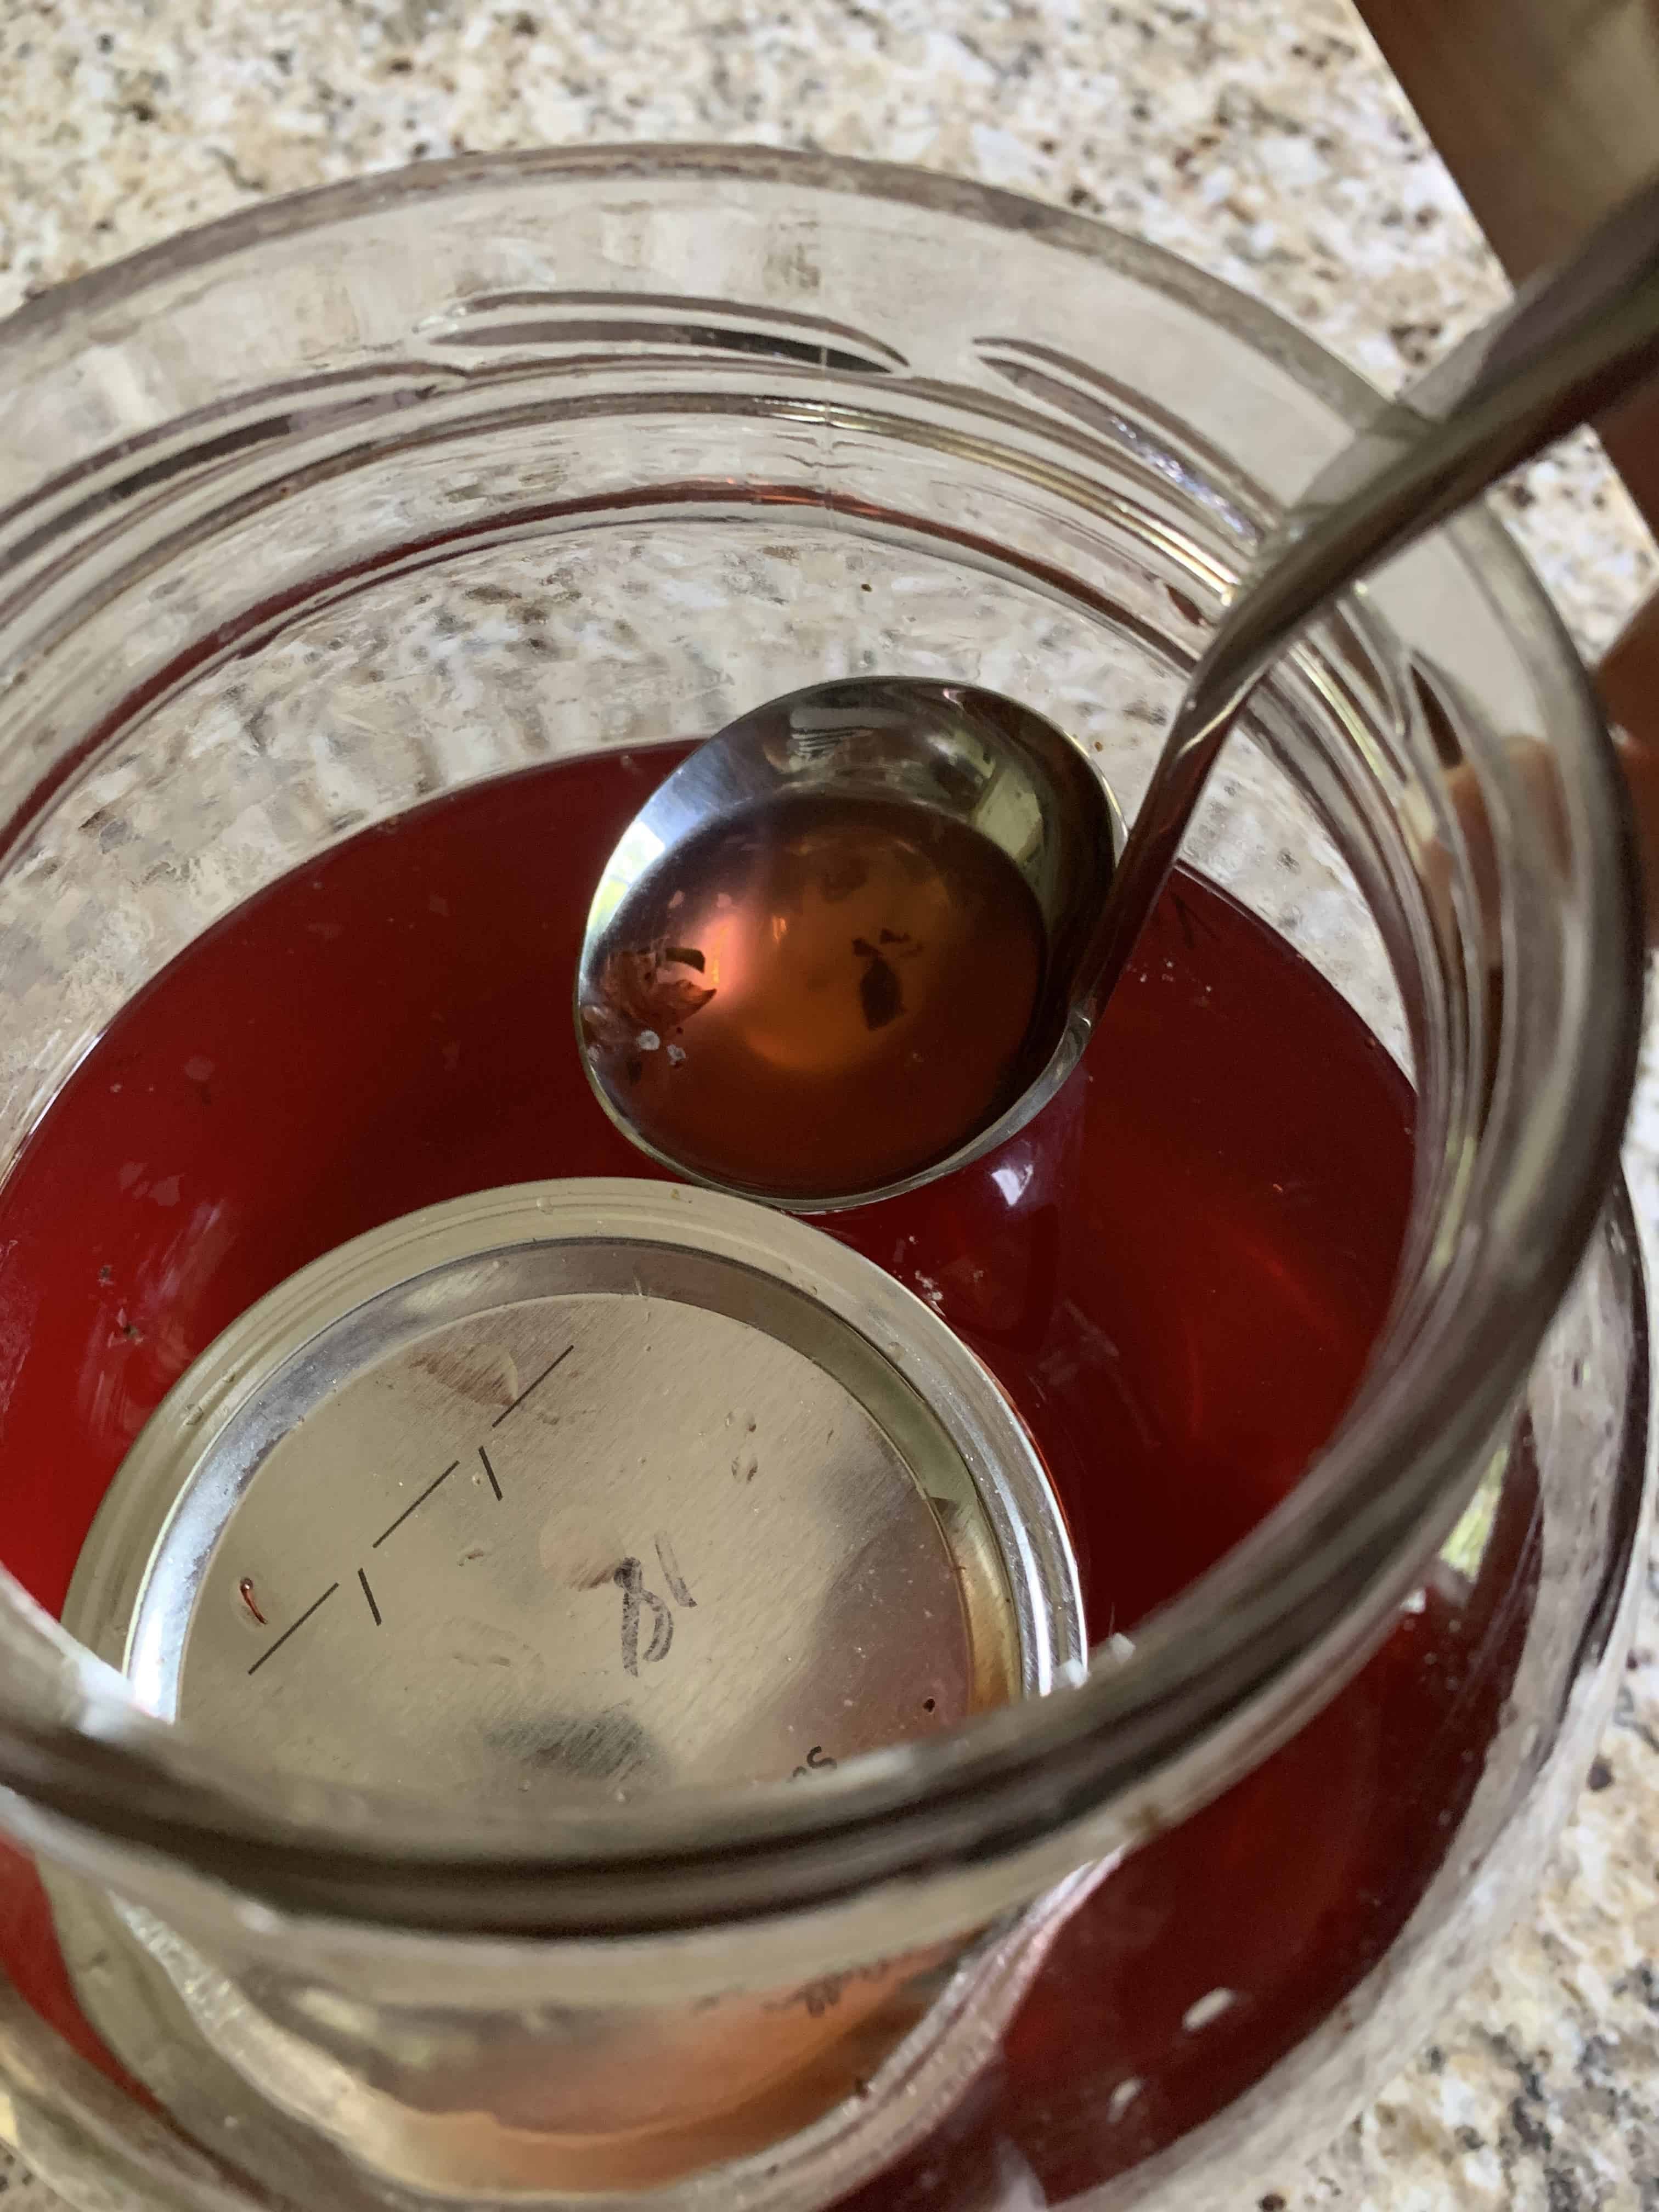
Skimming off scraps that have escaped to the surface. Notice how red the sugar solution became after a few days.
Once you’ve reached this point, in about three weeks, strain off the solids and put the solution into a clean jar. You’ll notice that the solution is rather cloudy, that’s ok. It’s full of microorganisms that will transform the solution to vinegar and will get strained off later. The strained berries can be fed to composting worms or go into your compost pile/bin.
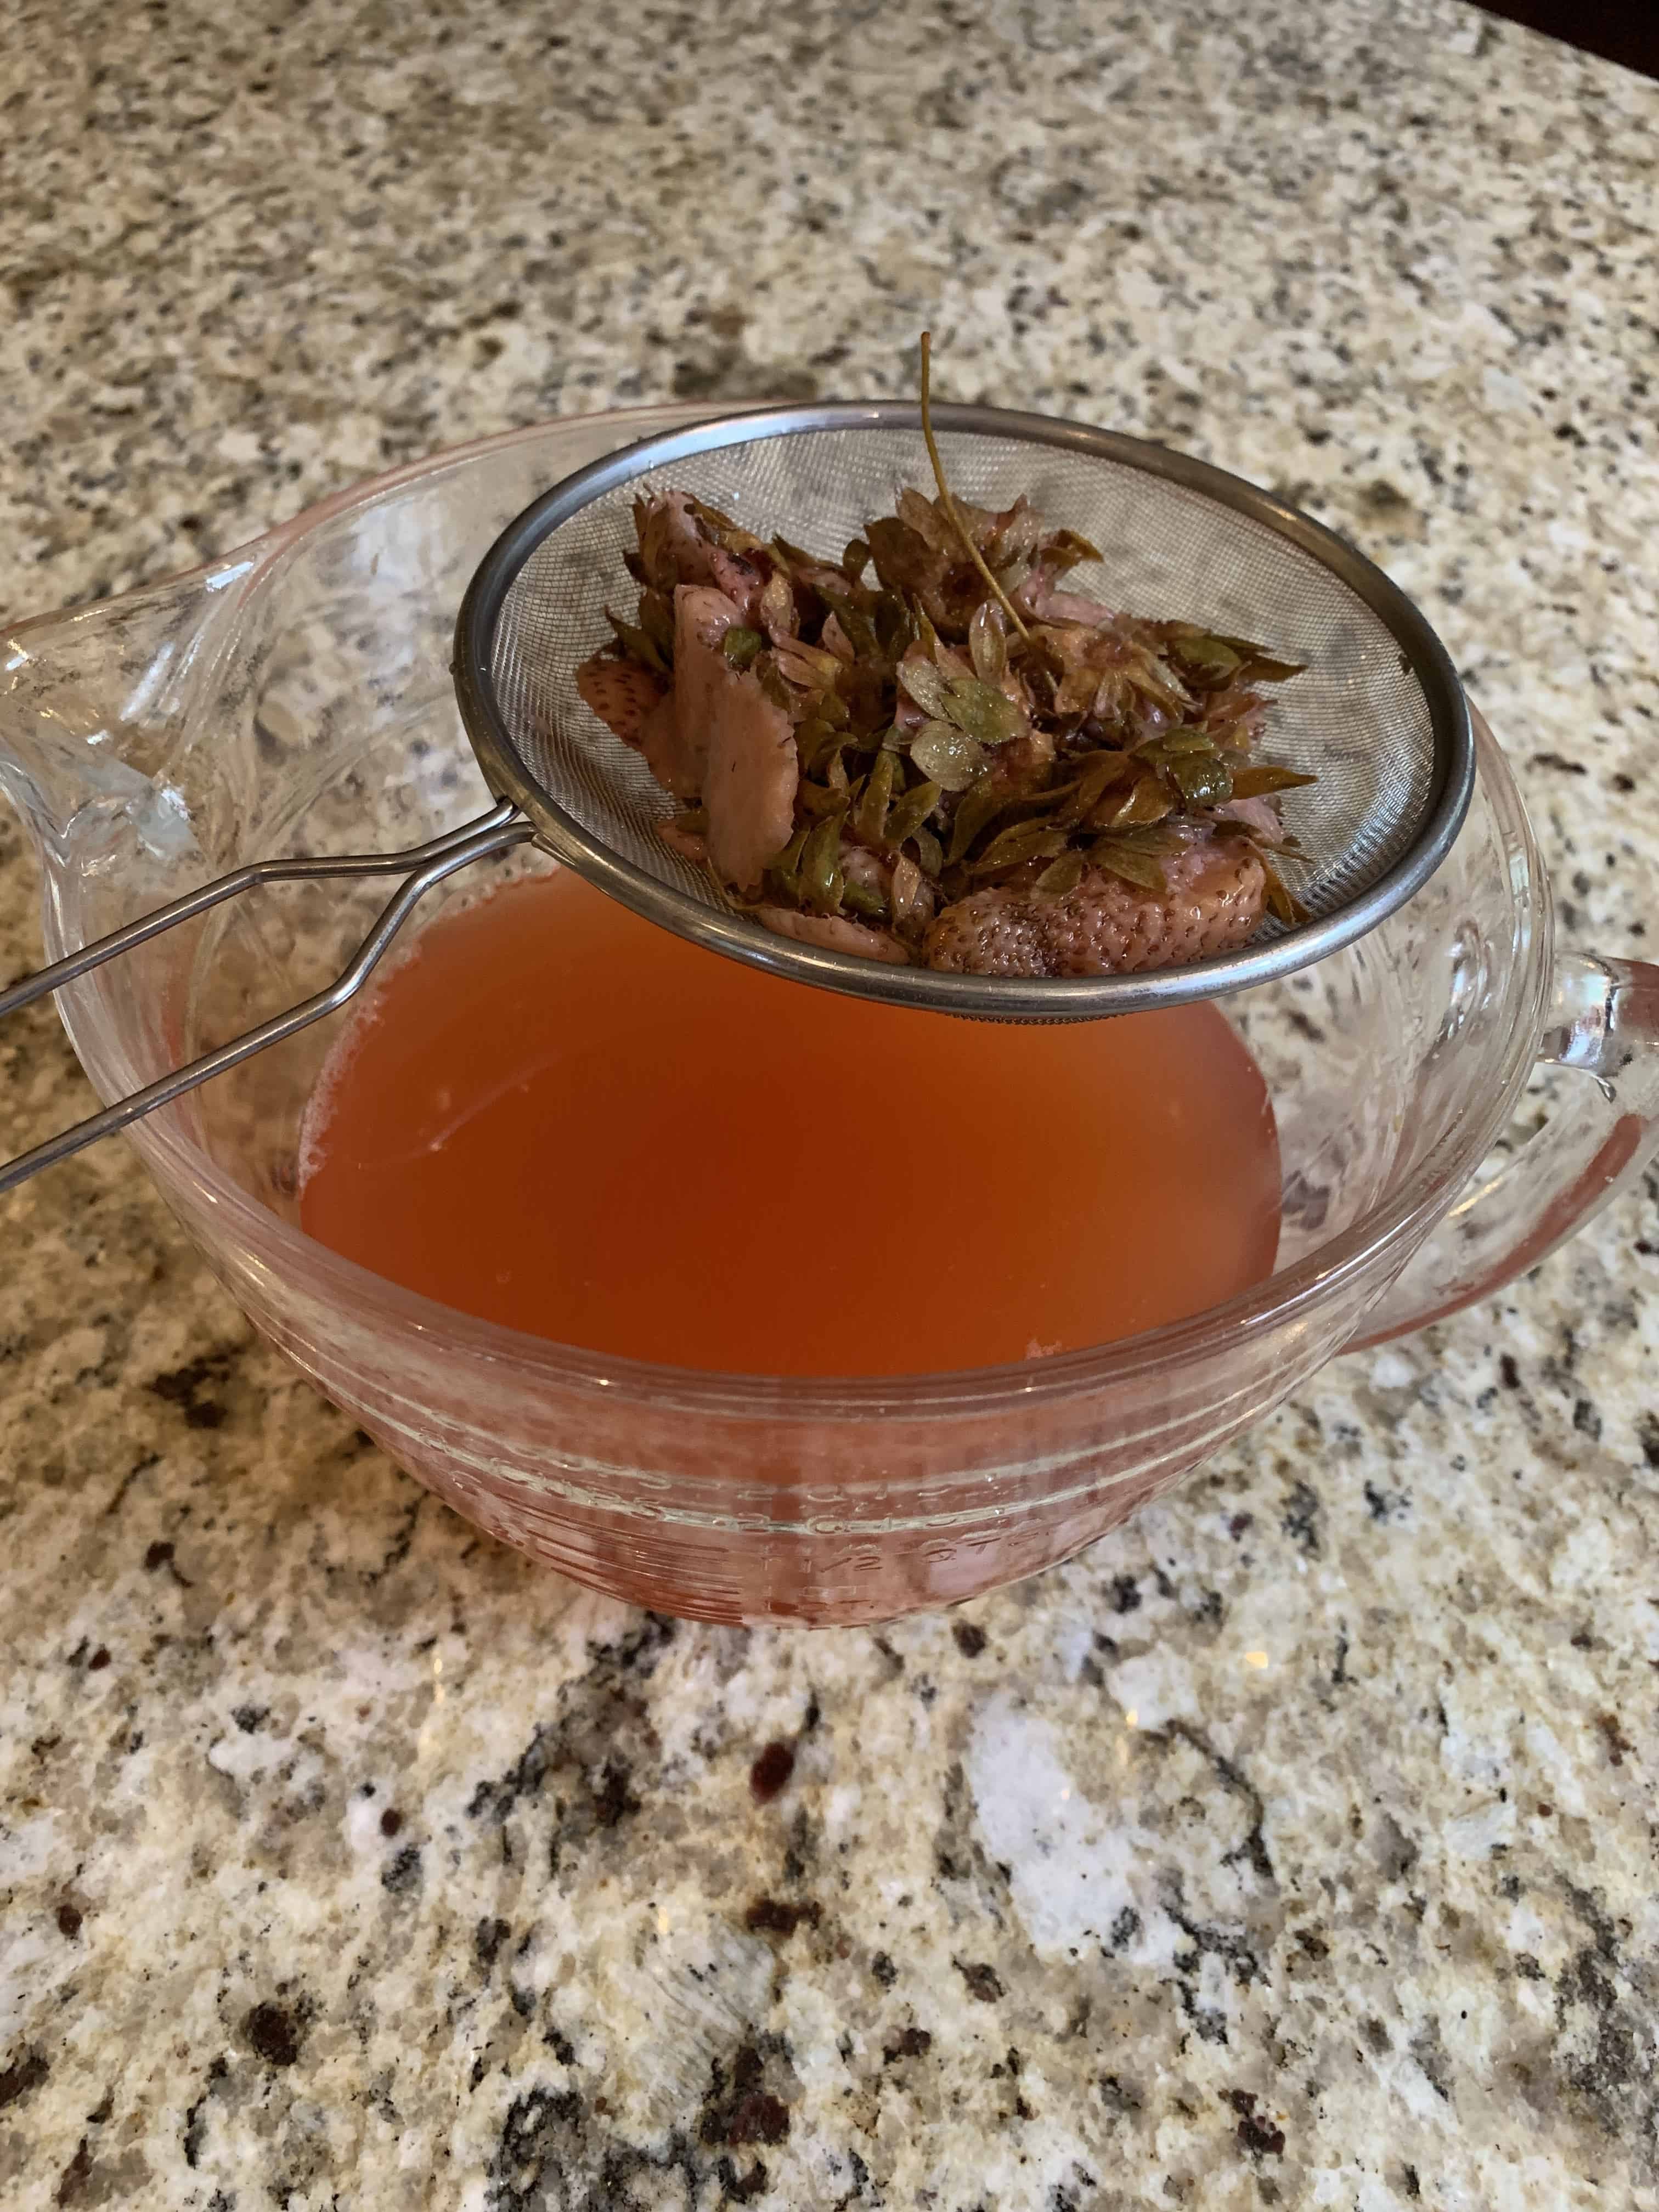
Straining off the solids.
If you have a vinegar mother from making a previous batch of vinegar (always save your vinegar mothers in a jar to use again), add it to the strained solution, it makes the process go faster. If you don’t have a vinegar mother, you can use the mother from a commercial vinegar that has the mother in it, like Bragg’s Apple Cider Vinegar.
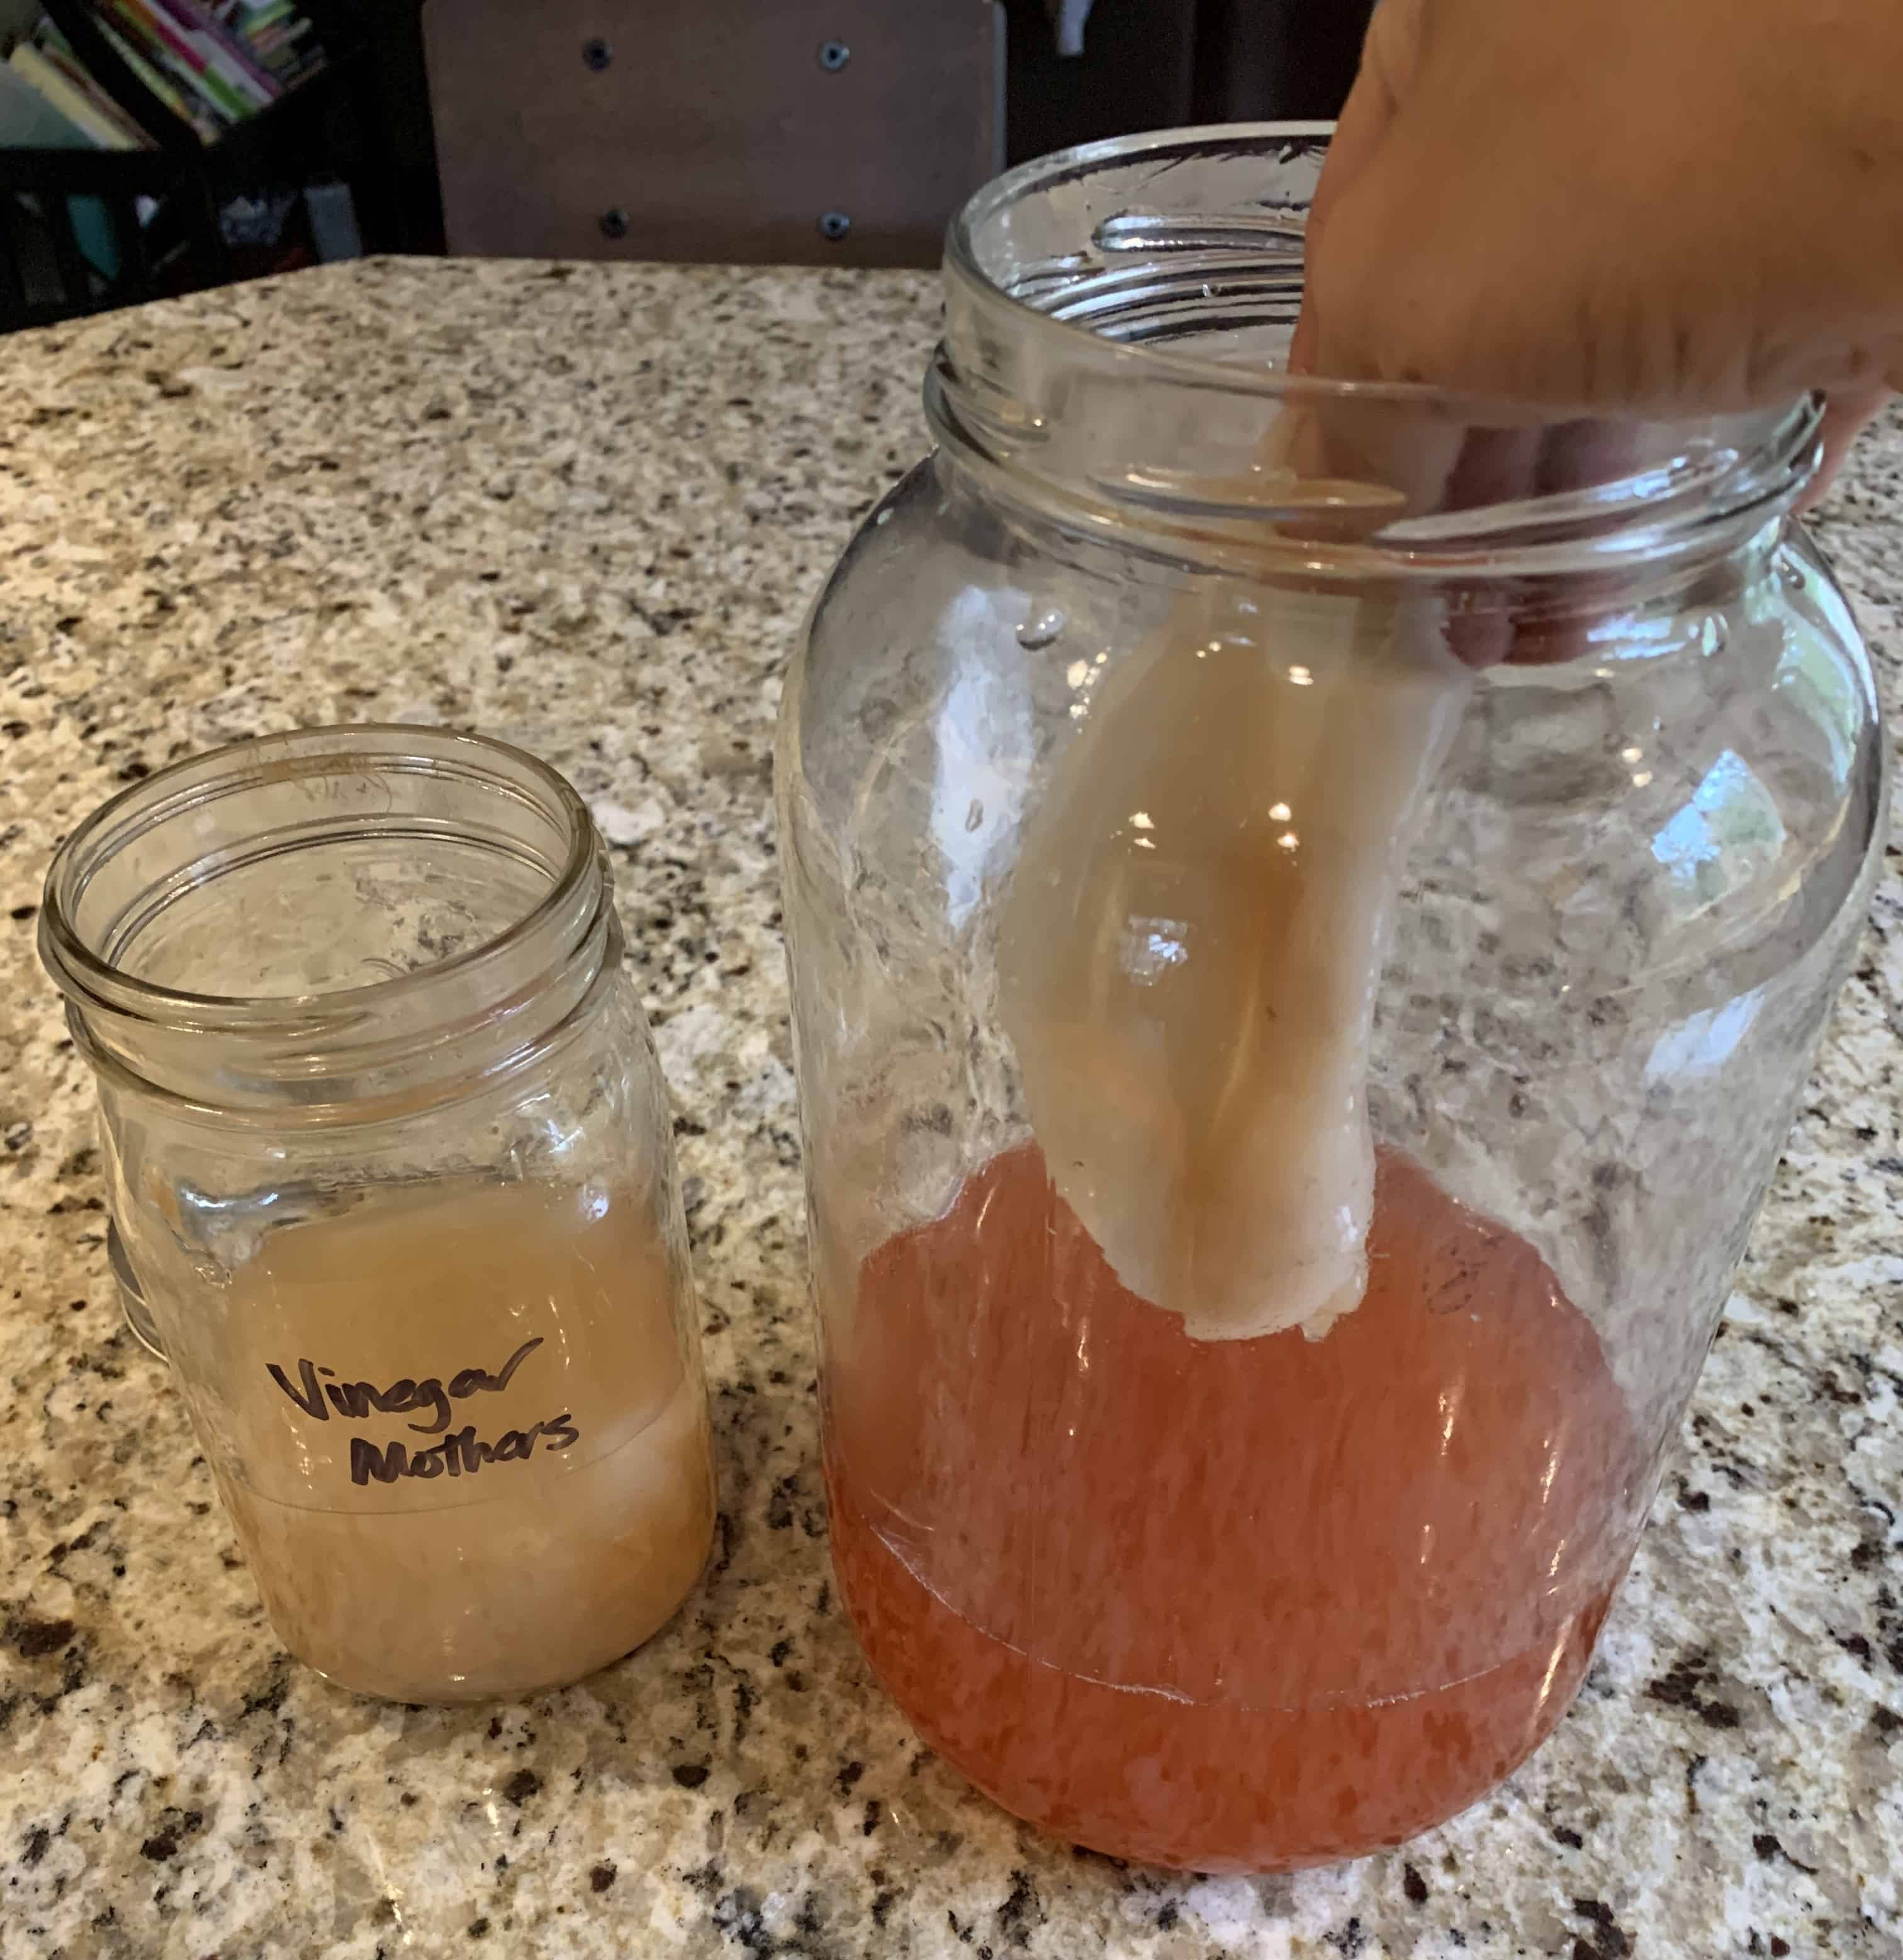
Adding a vinegar mother to the strained solution. Note, this photo is from a different batch of strawberry vinegar—the solution did not naturally lose that much volume).
Cover the jar as you did earlier and return it to where you kept the jar before. Check on it every week or so. Give it a taste and see how the vinegar is progressing. You’ll notice that the alcohol taste and smell starts to diminish and the sour, vinegar grows stronger. Once it’s reached your liking, pour through a fine-mesh strainer to remove the mother and get as many of the infiltrates out as possible, then pour the vinegar into a lidded bottle. Save the mother for another batch. Your vinegar will be a bit cloudy at first, but that will settle.

Berry Good Strawberry Vinegar!
Store your vinegar in a cupboard or pantry. Use this strawberry-sweet vinegar in dressings, especially on fruit salads or green salads with fruit or berries. It’s also great as a shrub for making cocktails or mocktails, adding it to champagne, spirits, or sparkling water. Strawberry vinegar also makes a beautiful and unique gift! If you don’t use it very frequently, you may want to go and open the bottle every once in a while to release any pressure buildup from any latent fermentation going on.
I hope you give this a try. It’s wonderful!
Strawberry Vinegar
Ingredients
- 4 cups Strawberry scraps tops, hulls, bruised, but not moldy
- 1 quarts water
- ½ cup sugar
Instructions
- Add your scraps to a clean, wide-mouthed, non-metallic vessel, filling it 1/2 to 3/4 full.
- Make a sugar solution with a ratio of 1/2 cup of sugar to 1 quart water. Bring to a boil to dissolve the sugar. Let cool to at least room temperature.
- Pour the sugar solution over the scraps to completely cover them, but don't fill the jar, you'll need the room for solution displaced when you add weight to hold down the scraps.
- Make more solution with the 1/2 cup sugar to 1 quart water ratio if you need more to cover.
- Use a fermentation weight or make something to weigh down the scraps in the solution, such as a lidded jar full of water. Push down on the weight so that the scraps are fully submerged by the solution. Add more solution or water if you have space left in your jar. Pull out any scraps that float to the surface as they will mold, being exposed to air.
- Cover the top of the vessel with cheesecloth, coffee filter, or flour sack towel and use a rubberband to hold it in place.
- Put your jars in a dark, room temperature location, in something to catch any liquid that might overflow out during the fermentation process. Cover with a towel to keep out the light.
- Check your jars every couple of days, making sure scraps are staying under the solution. Pull out any moldy scraps on the surface and gently push on the weights to circulate the solution.
- Continue this for 3 weeks to let it ferment and then strain your mixture.
- Pour the solution into a clean, non-metallic jar. Add a vinegar mother from another batch of vinegar you've made or from a commercial vinegar with the mother in it. Put your covering back on top, secure with a rubberband, and return to the spot you were fermenting in. Stir every few days.
- It will take another few weeks for the mixture to turn into vinegar. Smell and taste the solution to determine when it’s the tartness you want and that no alcohol remains.
- Transfer to a smaller, narrow neck bottle and seal tightly to keep from oxidizing.
Do you like this post? Please share....
[mashshare]
1 Comment
Leave a Comment
If you liked this post, you might like one of these:
Categories:
Tags:

[Trī-māz-ing]
Cindy wants you to be Trimazing—three times better than amazing! After improving her health and fitness through plant-based nutrition, losing 60 pounds and becoming an adult-onset athlete, she retired from her 20-year firefighting career to help people just like you. She works with people and organizations so they can reach their health and wellness goals.
Cindy Thompson is a national board-certified Health and Wellness Coach, Lifestyle Medicine Coach, Master Vegan Lifestyle Coach and Educator, Fitness Nutrition Specialist, Behavior Change Specialist, and Fit2Thrive Firefighter Peer Fitness Trainer. She is a Food for Life Instructor with the Physicians Committee for Responsible Medicine, Rouxbe Plant-Based Professional, and Harvard Medical School Culinary Coach, teaching people how to prepare delicious, satisfying, and health-promoting meals.
She provides health and lifestyle coaching at Trimazing! Health & Lifestyle Coaching. Cindy can be reached at info@trimazing.com.
Subscribe to the Trimazing Blog
Receive occasional blog posts in your email inbox.
Subscribe to the Trimazing Blog
Receive occasional blog posts in your email inbox.







Enjoyed your vinegar articles! I too am getting hooked on making all different kinds of vinegars! I feel like a mad scientist. I like how you put the mothers all together in one jar, that’s a great idea! I have been wondering if you can use any mother for any vinegar or if it’s better to use a specific kind of mother for the same kind of vinegar that the mother is. But you basically answer my question so thank you!!