Canning Vegetable Stock

Home canned vegetable stock
I really enjoy canning. It’s an old-fashioned thing and I love old-fashioned stuff. Canning makes me think of my grandmother who canned pickles and fruit and all kinds of other things. It’s also a great zero-waste activity and I know exactly what’s in my food as well!
I’ve been making my own vegetable stock from veggie scraps for years, well, nearly 10 years, in fact, as I started shortly after I became vegan. I bought vegetable stock at first, as I only knew how to make animal-based stocks. But I didn’t really like the vegetable stocks I bought—they were too salty, tasted metallic from the can, and tetra pak boxes weren’t available then. So I learned how to make my own and then decided to use scraps instead of full veggies as I was putting so many scraps in my compost bin. At that time I simply froze the stock I made in ziplock bags or into cubes from old ice cube trays that I stored in bags. But my freezer quickly filled up with scraps and frozen stock. Why can’t I can this, I wondered?

Veggie Scraps in Water to Make Stock
So I researched it and discovered that you can home can vegetable stock. Both the Ball Canning Book and the National Center for Home Food Preservation of the USDA have safe guidelines for canning vegetable stock. An important note here. Always, always, always refer to updated safe canning guidelines when home canning. Fruits and vegetables are not the same as they were when our grandparents or even parents canned. Acid and sugar contents of fruits and veggies have changed dramatically through hybridization, genetic modification, soil depletion, etc. (a fascinating book to read all about this is Eating on the Wild Side by Jo Robinson) to the point that old canning recipes are no longer safe to use. Using out-dated recipes can lead to food poisoning, botulism, and even death, so it’s not just a little problem, it can be a serious, serious problem, so just don’t do it. I recommend that you use the most current canning guides from Ball, Kerr, etc. and even better, go to the National Center for Home Food Preservation‘s online guides, they’re free and always up to date. As a friend on another Facebook group says, “We don’t want you to die.” And that’s the TRUTH!
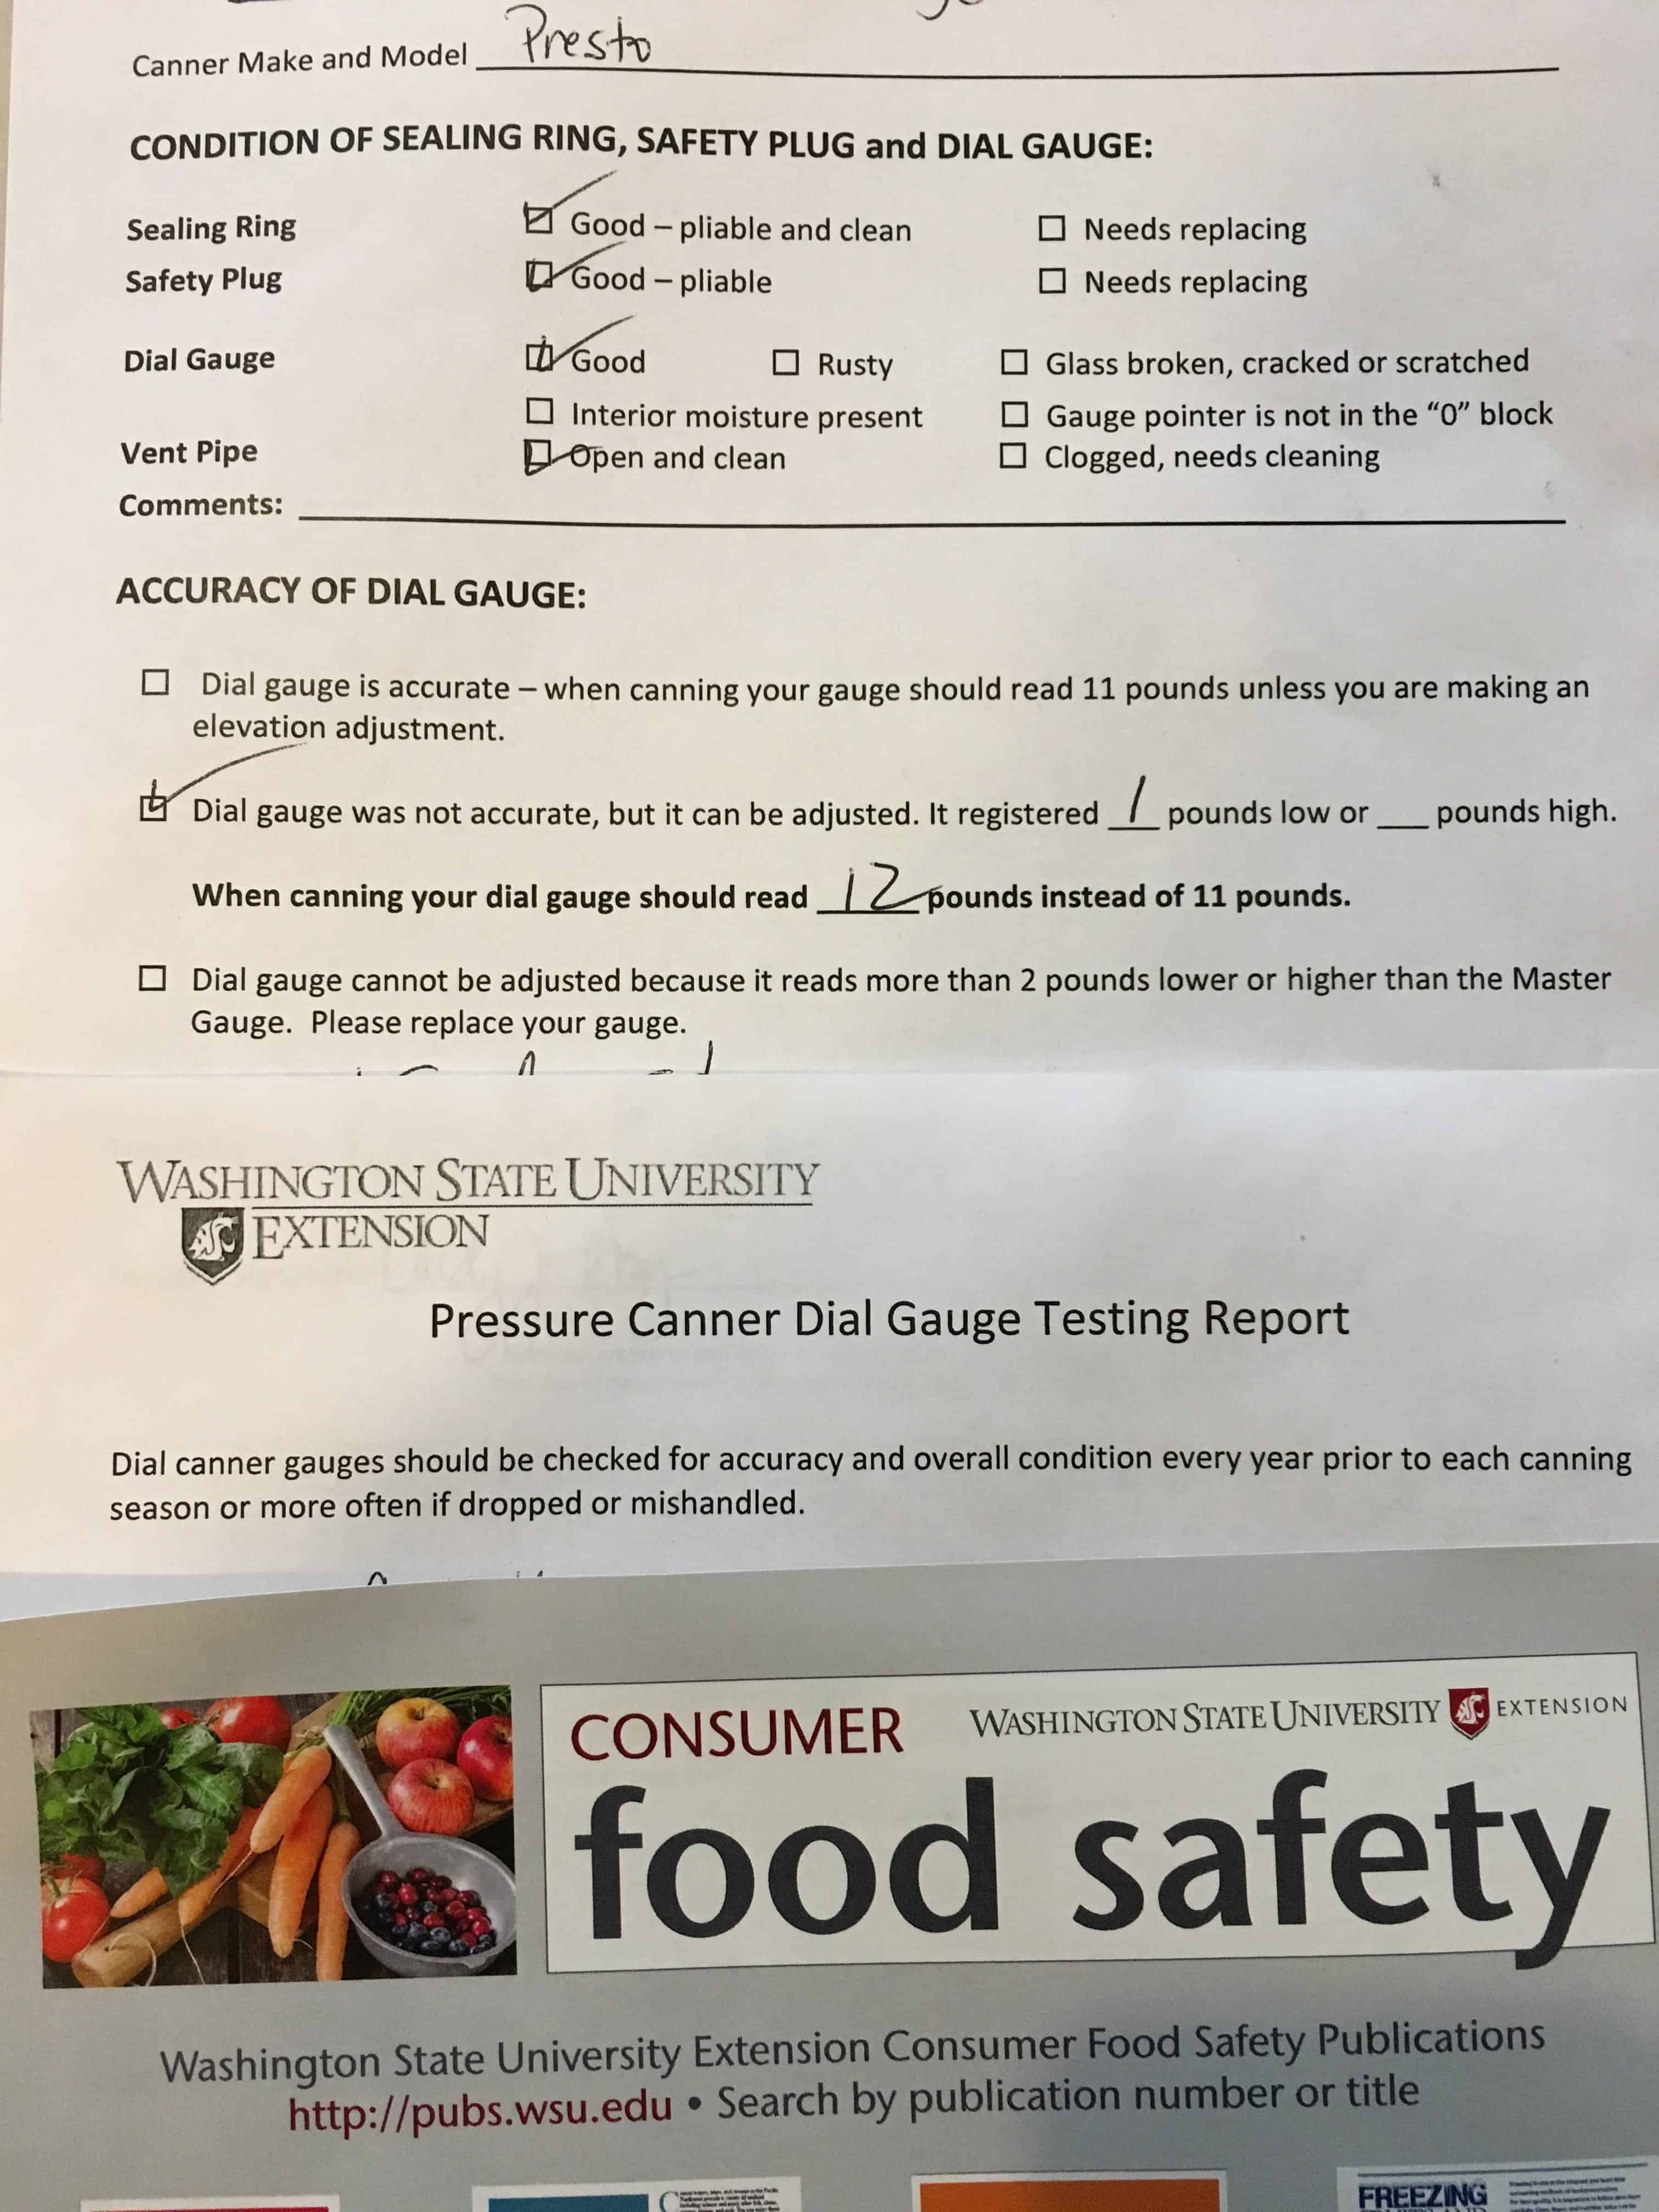
And while I’m on the subject of safe canning…get your pressure canner tested annually as well! Most University Extension offices have pressure canner testing services–Washington State University Extension does this for Washington State. You can also contact your local Health Department to find out who does them in your area. I get both pressure canners done every year. They give you a form that lets you know what your gauge readings actually are. Mine are both 1 pound low–important information to have!

Results from Pressure Canner Test from WSU
Back to vegetable stock. I keep all scraps that are edible, clean, and not spoiled. I scrub carrots and save the peels and I also wash and save the carrot greens too! Same with potato peels, winter squash rinds, stem ends of tomatoes, green beans, garlic and onion skins, and stems from kale, collards, and other greens. Mushroom stems and woody ends of asparagus are great too! I put them in reusable containers or bags and freeze them until I have amassed enough to make a big batch.
Now I don’t always can it… I still do freeze some or make it on the fly if I want. For this I simply use the Instant Pot and it’s fantastic! I dump the frozen scraps into the Instant Pot, top with hot water to below the Max fill line, put on the top and use Manual pressure for 10 minutes and then natural pressure release when it’s done. All in all, it takes about 30-45 minutes, depending on how solid the mass of veggie scraps are. Then I strain and use or freeze.

Strained Veggie Stock
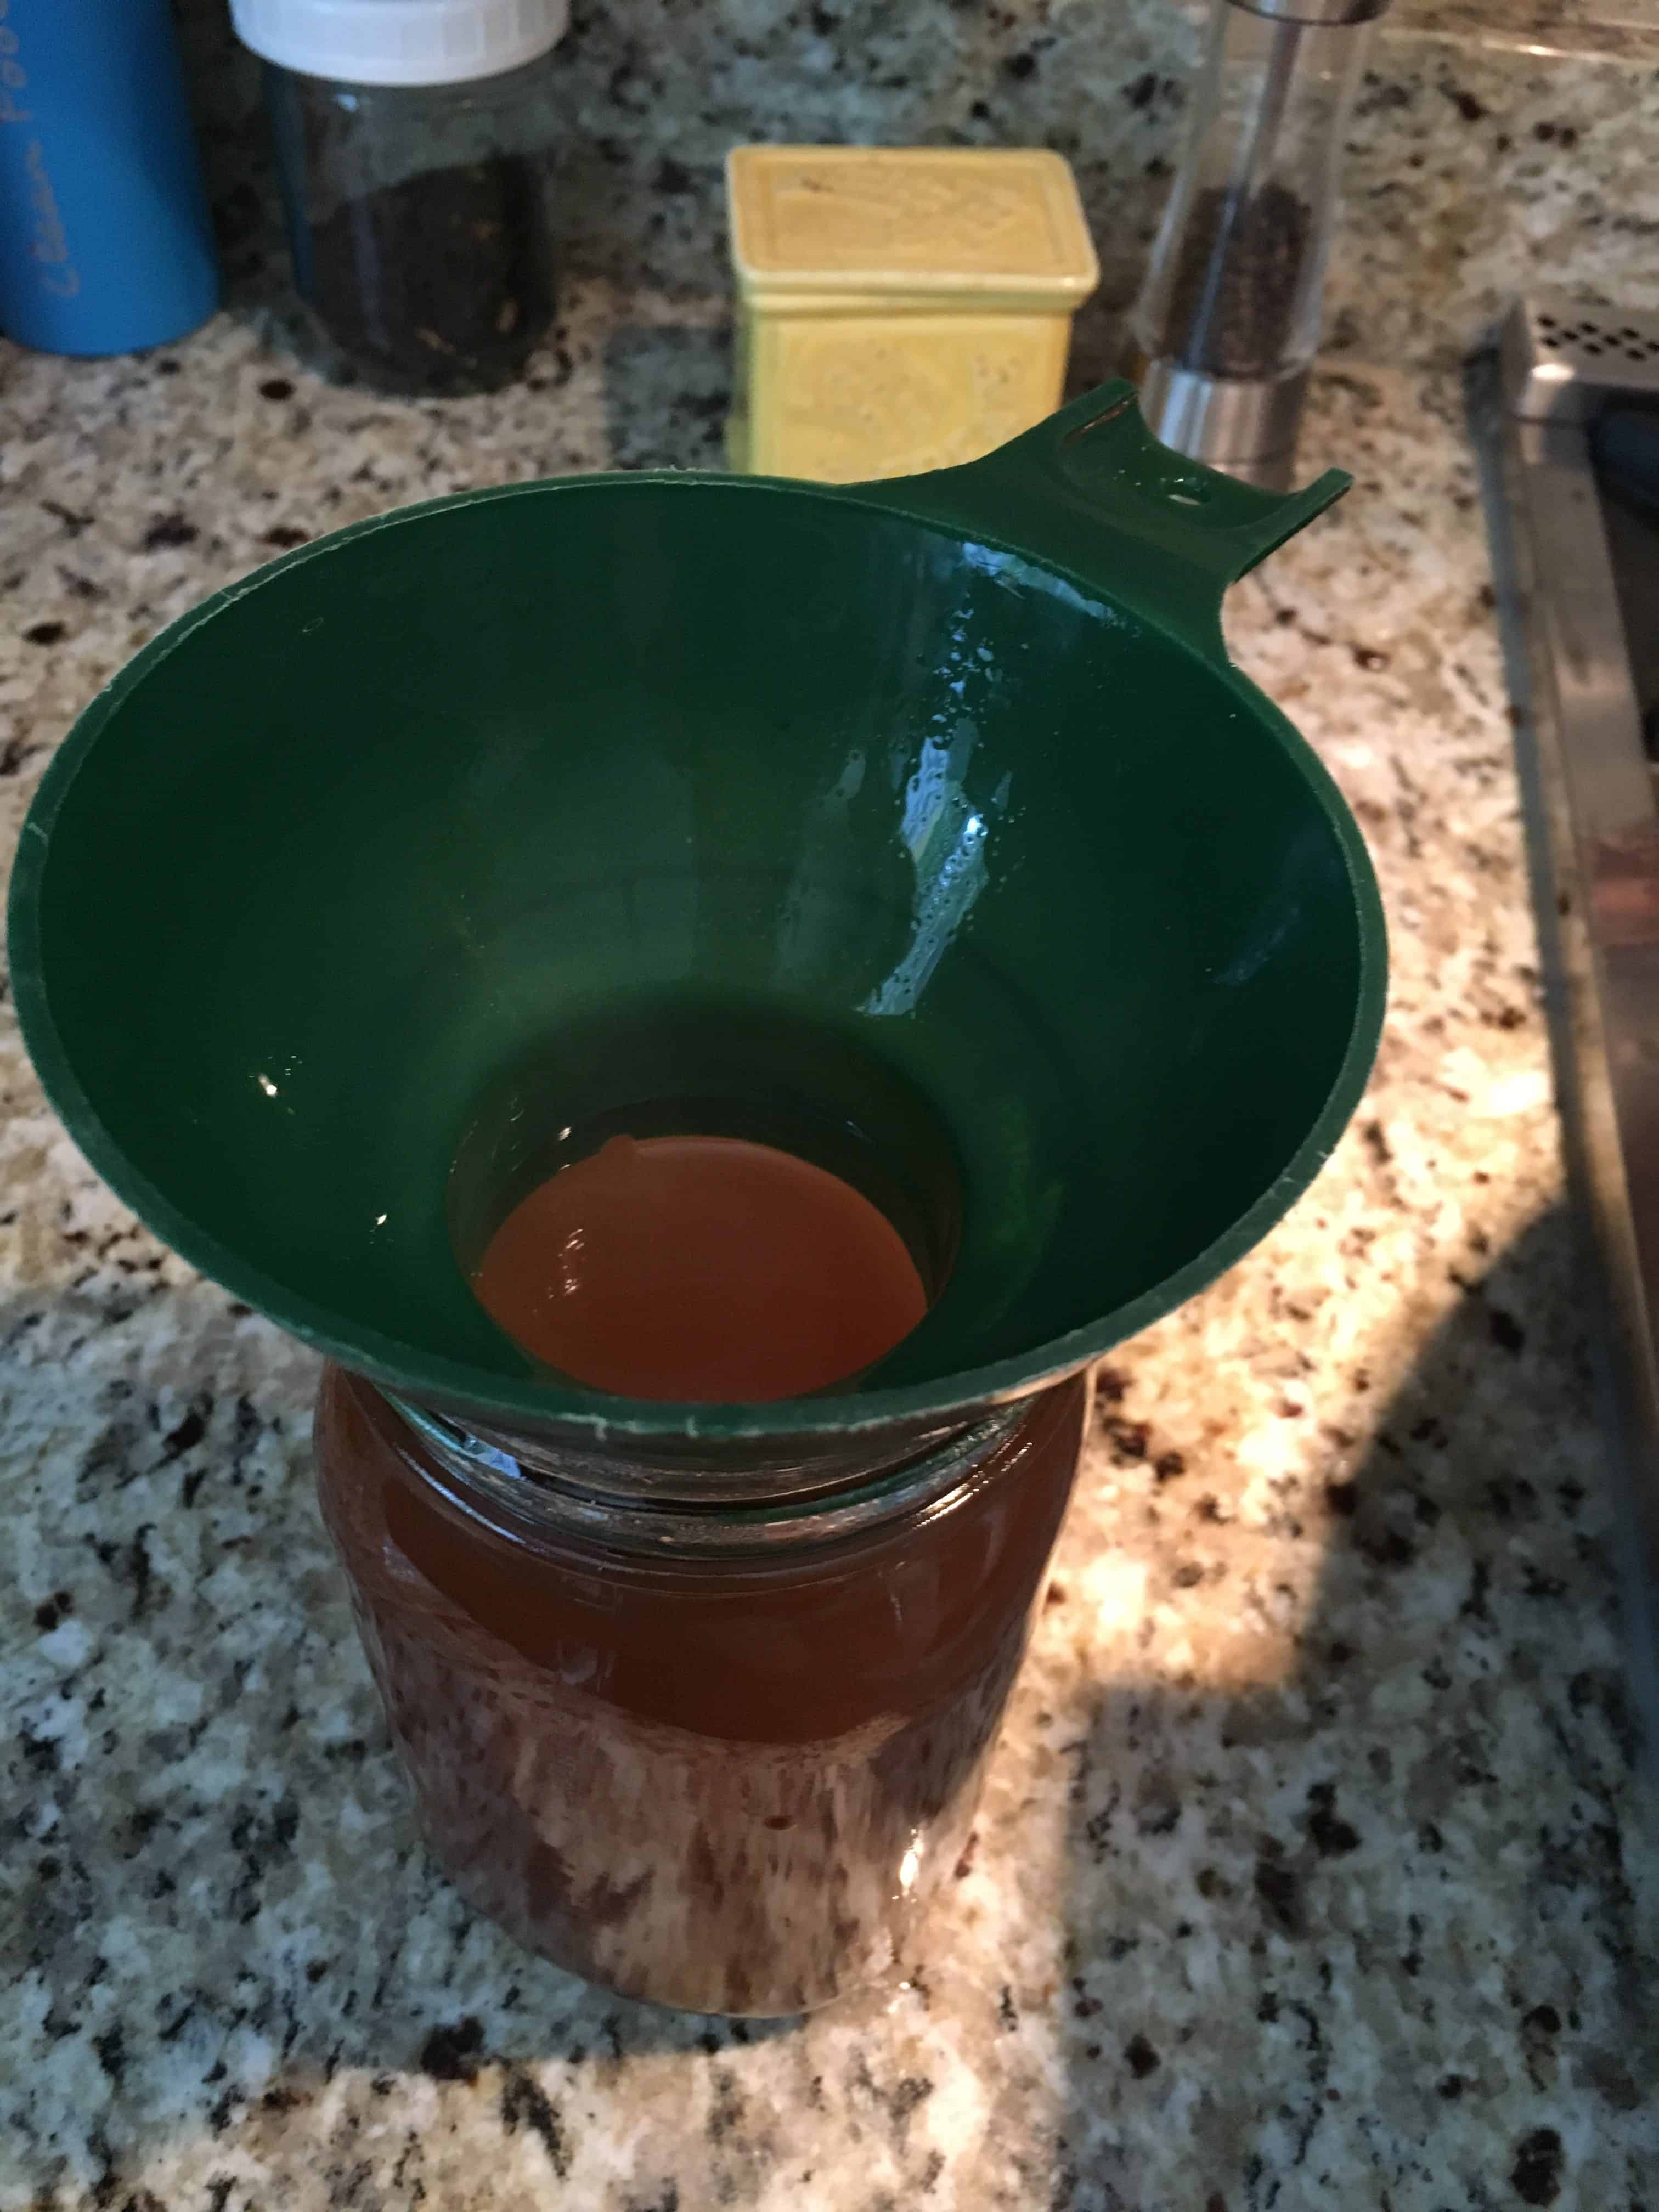
For canning, I fill my big enamel water canning pot with frozen veggie scraps, top with hot water, bring to a boil, and simmer about an hour. I don’t use salt as I’ll add that to whatever dish I’m cooking when using the stock later. Then I strain, fill into hot, sterilized quart jars leaving 1-inch headspace, and put on my lid and ring as per manufacturer’s instructions. Then I follow my pressure canner manufacturer’s instructions for pressure canning and the instructions from the USDA on how long and at what pressure to can my stock. Important note: You Must Pressure Can Vegetable Stock, it is a low-acid food and CANNOT be water-bathed canned. What vegetables you use in your stock determines how long you’ll pressure can, as you’ll keep at pressure for the vegetable with the longest time requirement. For me, that means 90 minutes at 11 psi as I always have stalks from greens and sweet potato skins in my veggie scraps and those take the longest of all vegetables. Granted, this is just the broth from these vegetables and the guidelines are based upon using the actual vegetables, but I’m not willing to risk botulism or death by skimping on these times. You’ll need to refer to the USDA or other up-to-date guidelines for the veggies you use, the sizes of jars, and altitude you are canning at for the times and pressures you need. I happily babysit the pressure canner and use the time to read, blog, etc.

Funnel Marks 1-inch Headspace
Then after following my manufacturer’s guidelines, I get the pressure down to zero, let the canner cool, remove the jars, and let them cool for 8 hours before removing the bands and checking the seals per USDA. And voila! Canned vegetable stock!
I cool my strained, cooked veggie scraps and feed them to my red wriggler worms in the giant worm
bin we built for them—they love that and make wonderful compost for my garden from it. A completely zero waste process!

Cooled Cooked Veggie Scraps for my Worms!
Do you like this post? Please share....
[mashshare]
If you liked this post, you might like one of these:
Tags:

[Trī-māz-ing]
Cindy wants you to be Trimazing—three times better than amazing! After improving her health and fitness through plant-based nutrition, losing 60 pounds and becoming an adult-onset athlete, she retired from her 20-year firefighting career to help people just like you. She works with people and organizations so they can reach their health and wellness goals.
Cindy Thompson is a national board-certified Health and Wellness Coach, Lifestyle Medicine Coach, Master Vegan Lifestyle Coach and Educator, Fitness Nutrition Specialist, Behavior Change Specialist, and Fit2Thrive Firefighter Peer Fitness Trainer. She is a Food for Life Instructor with the Physicians Committee for Responsible Medicine, Rouxbe Plant-Based Professional, and Harvard Medical School Culinary Coach, teaching people how to prepare delicious, satisfying, and health-promoting meals.
She provides health and lifestyle coaching at Trimazing! Health & Lifestyle Coaching. Cindy can be reached at info@trimazing.com.
Subscribe to the Trimazing Blog
Receive occasional blog posts in your email inbox.
Subscribe to the Trimazing Blog
Receive occasional blog posts in your email inbox.


