Canning Dried Beans

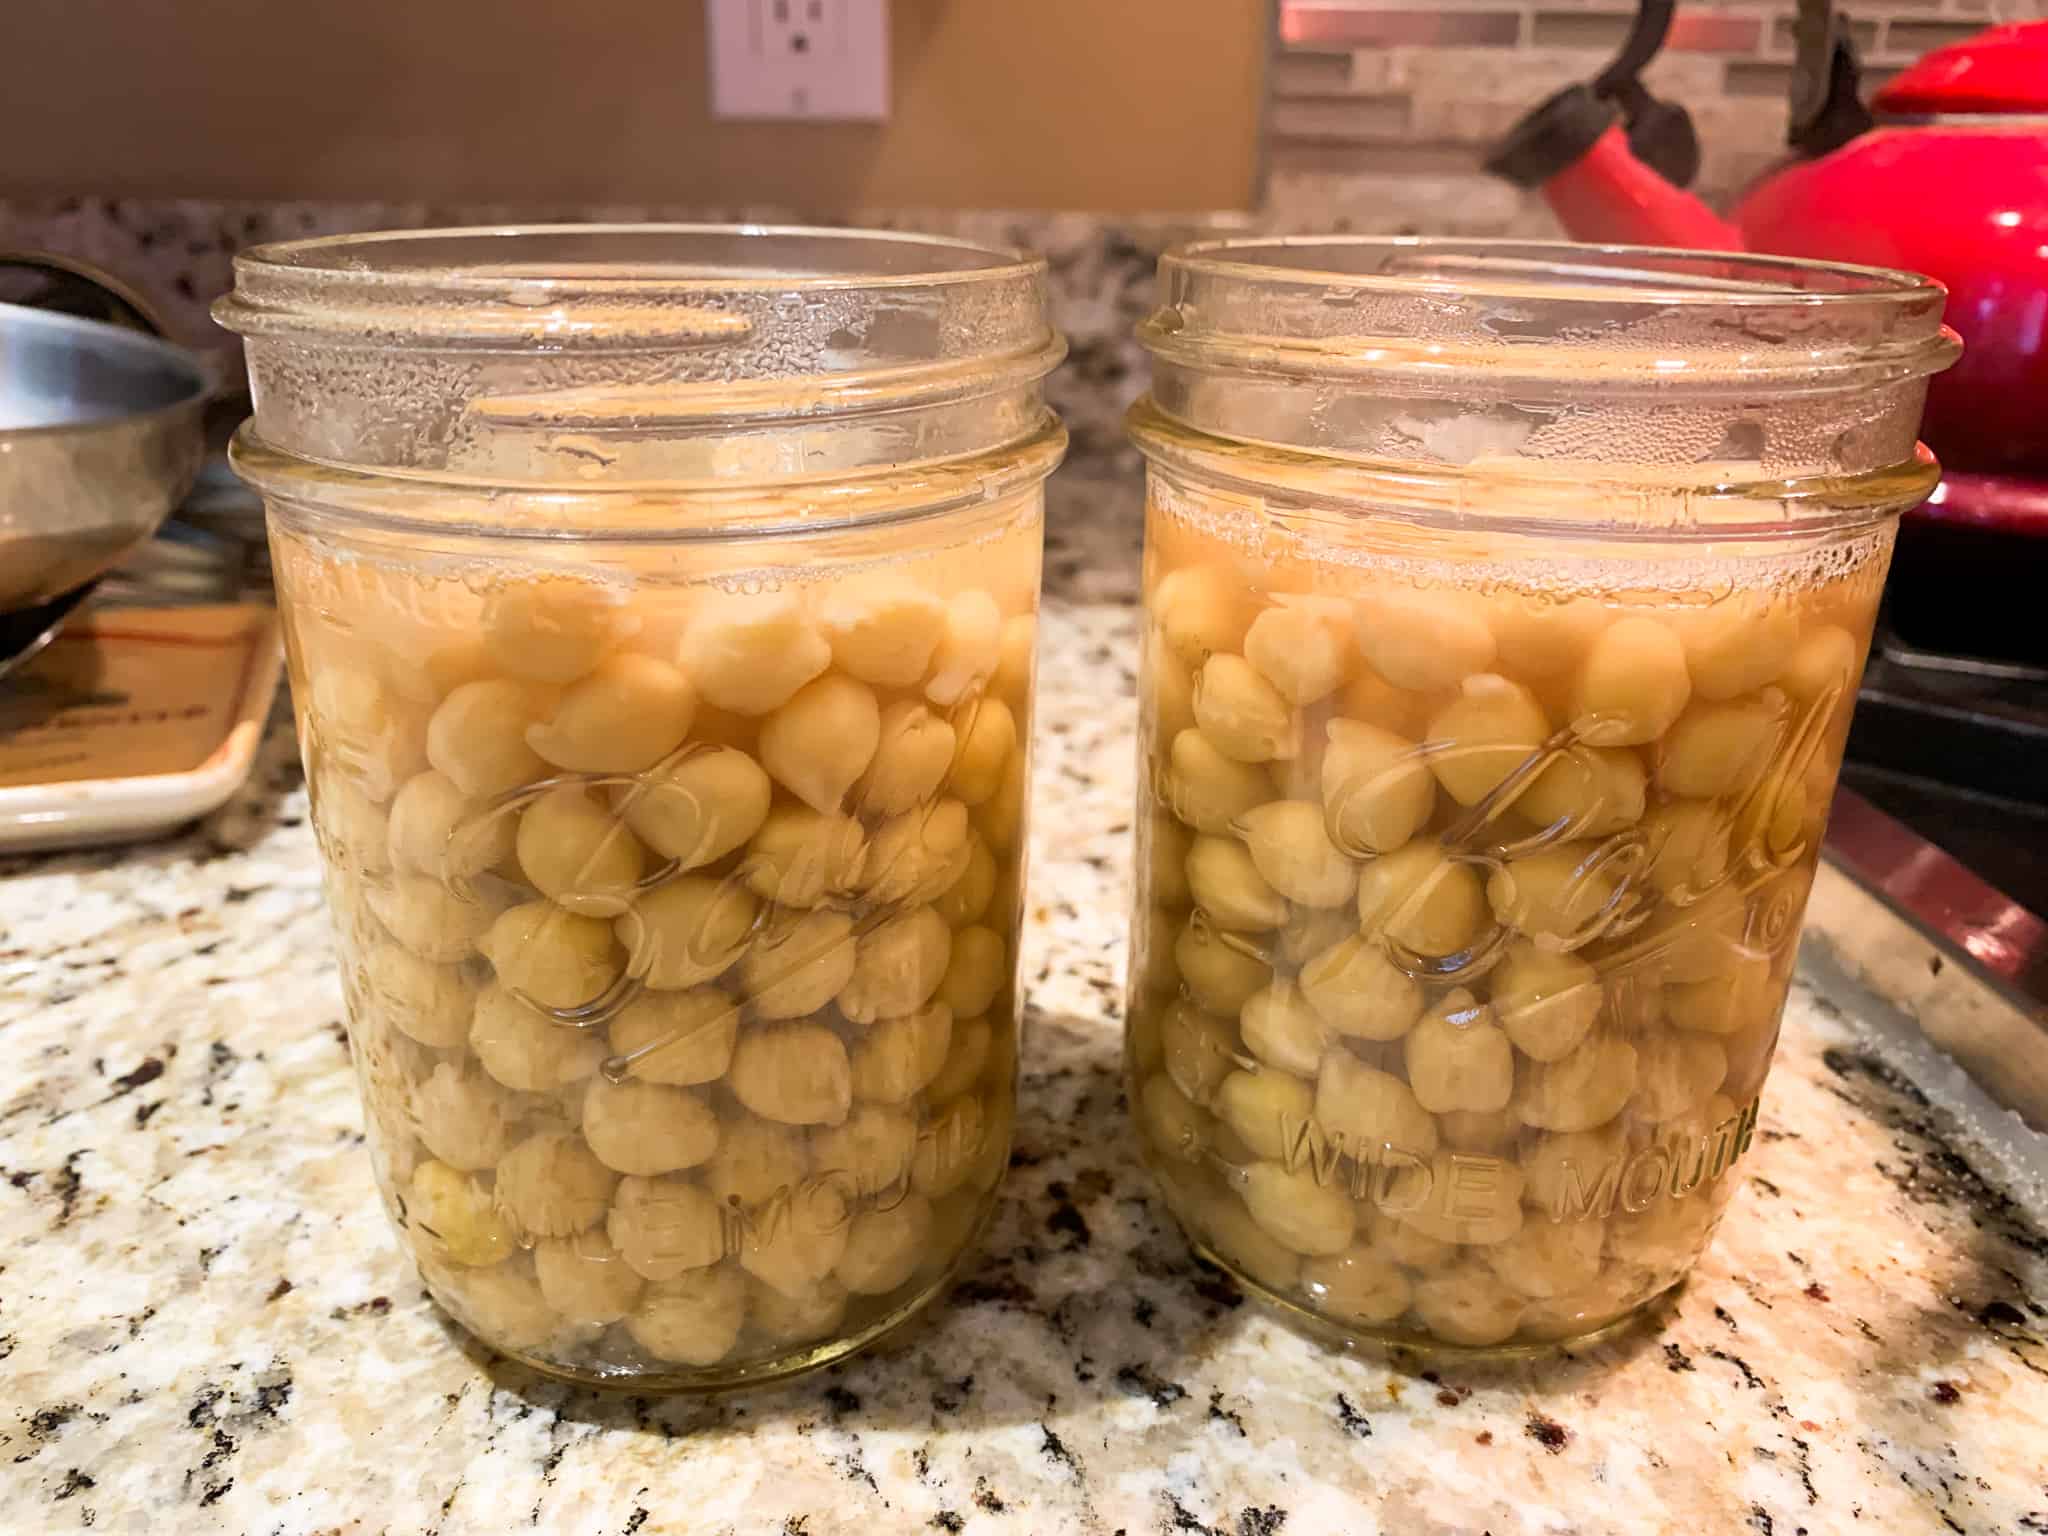
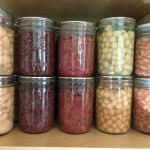
Variety of canned beans in my pantry
Beans are a mainstay in the Trimazing! household. Not only are they delicious, but they contain a lot of protein and beneficial phytonutrients. Dried beans are terrific for promoting a zero waste household too. This post covers information on dried beans, including how to can them at home.
Beans, Wonderful Beans!
Beans really pack a punch of nutrition. A 1/2 cup serving of cooked beans (from chickpea, black, scarlet runner, etc.) contains, on average:
- 117 calories
- 7.8 g protein
- 4 g fat
- 18 g carbohydrates
- 7 g dietary fiber
- 2 mg sodium (with no salt added to the preparation)
- 292 mg potassium
They are also high in:
- copper
- phosphorus
- manganese
- magnesium
- iron
- thiamine
- folic acid
- riboflavin
- vitamin B6
Beans are also very satiating, meaning they give you a feeling of fullness when you eat them. In fact, the University of Copenhagen studied satiety between legumes and meat and found that beans and other legumes provided more satiety than eating pork or veal. Beans and legumes are significantly lower in calories and contain no saturated fat, thus paired with high satiety, make them an excellent choice for achieving and maintaining a healthy weight.
But What About Those Lectins?
You may have heard that beans and legumes are dangerous to eat because of something called lectins. Lectins are proteins found in ALL plant foods, not just beans (its even in animal protein, as animals consume active lectins when they eat uncooked plants). They are a potent phytochemical used to protect plants from disease and other damage. When consumed in their active state, lectins can cause digestive issues, from mild to severe, including bloating, gas, upset stomach, nausea, diarrhea, and vomiting. Being water-soluable, lectins are inactivated by soaking, sprouting, cooking, and fermentation. Kidney beans have the highest level of lectins, but these, too, are deactivated by soaking and cooking at least 30 minutes. Never eat raw or undercooked dried beans—soaking and pressure canning dried beans adequately deactivates lectins, making them safe to eat (note, cooking unsoaked beans for at least an hour will also deactivate lectins).
How to Avoid Lectin Poisoning
How to properly cook beans. Thankfully, even the lectins that are toxic-like those found in kidney beans-are utterly destroyed by proper cooking. New subscribers to our e-newsletter always receive a free gift. Get yours here: https://nutritionfacts.org/subscribe/ Support NutritionFacts.org with a donation at http://www.NutritionFacts.org/donate. Plant paradox?
Lectins aren’t all bad, however. These proteins may be the thing that makes eating plant-based foods so health-promoting. It is suggested that beans and legumes aid in reducing blood pressure, weight and cholesterol reduction, and cancer reduction.
Here’s a great podcast on beans and lectins from Michael Greger, MD. Please give it a listen.
Canning Dried Beans
While canning dried beans may sound daunting, it really is quite simple! In fact, I think it takes much less preparation than most other things I can.
Because beans are a low-acid food, they must be pressure canned. You CANNOT water bath can beans. So you’ll need a pressure-canner. While you can cook beans in an Instant Pot or other pressure cooker, you cannot can items in pressure cookers—you must use a pressure canner. While Instant Pot did come out with their Instant Pot Max, it has not been approved by the National Center for Home Food Preservation (NCHFP). The NCHFP has approved some electric canners for water-bath canning acid foods, but none for low-acid foods, including multi-function pressure cookers, even if the manufacturer state they achieve high pressures. Read the NCHFP’s official statement on Canning in Electric Multi-Cookers.
The first step is to select and measure out your beans. Any type of dried bean or pea can be canned at home. We use a lot of garbanzo beans, so I tend to can a lot of those, and I show those in the photos, but the steps are the same with any dried bean.
I’ve found that 3 pounds of dried beans equates to 16-19 pints of canned cooked beans. My pressure canner, a Presto 01780 22-quart (the company replaced this model with a Presto 01781 23-quart, which I recommend) holds 18 wide-mouth pints, so that’s perfect. If I have less than 18 pints, I fill the leftover jars with aquafaba (bean juice) or water when I’m canning so jars don’t tip over during the canning process. If there are more than 18 pints, I simply cook those extras on the stove and pop them in the freezer or use within 3-4 days.
Pick through your dried beans and pull out any rocks or shriveled beans. Rinse well and then cover with fresh water in a large bowl or pot. My Le Creuset 9-Quart Enameled Cast Iron Dutch Oven is perfect for this. The beans will absorb a lot of water, so make sure there is at least twice as much water than beans. Let this sit 12-18 hours (I leave them overnight and can in the morning). This starts the lectin deactivation process.
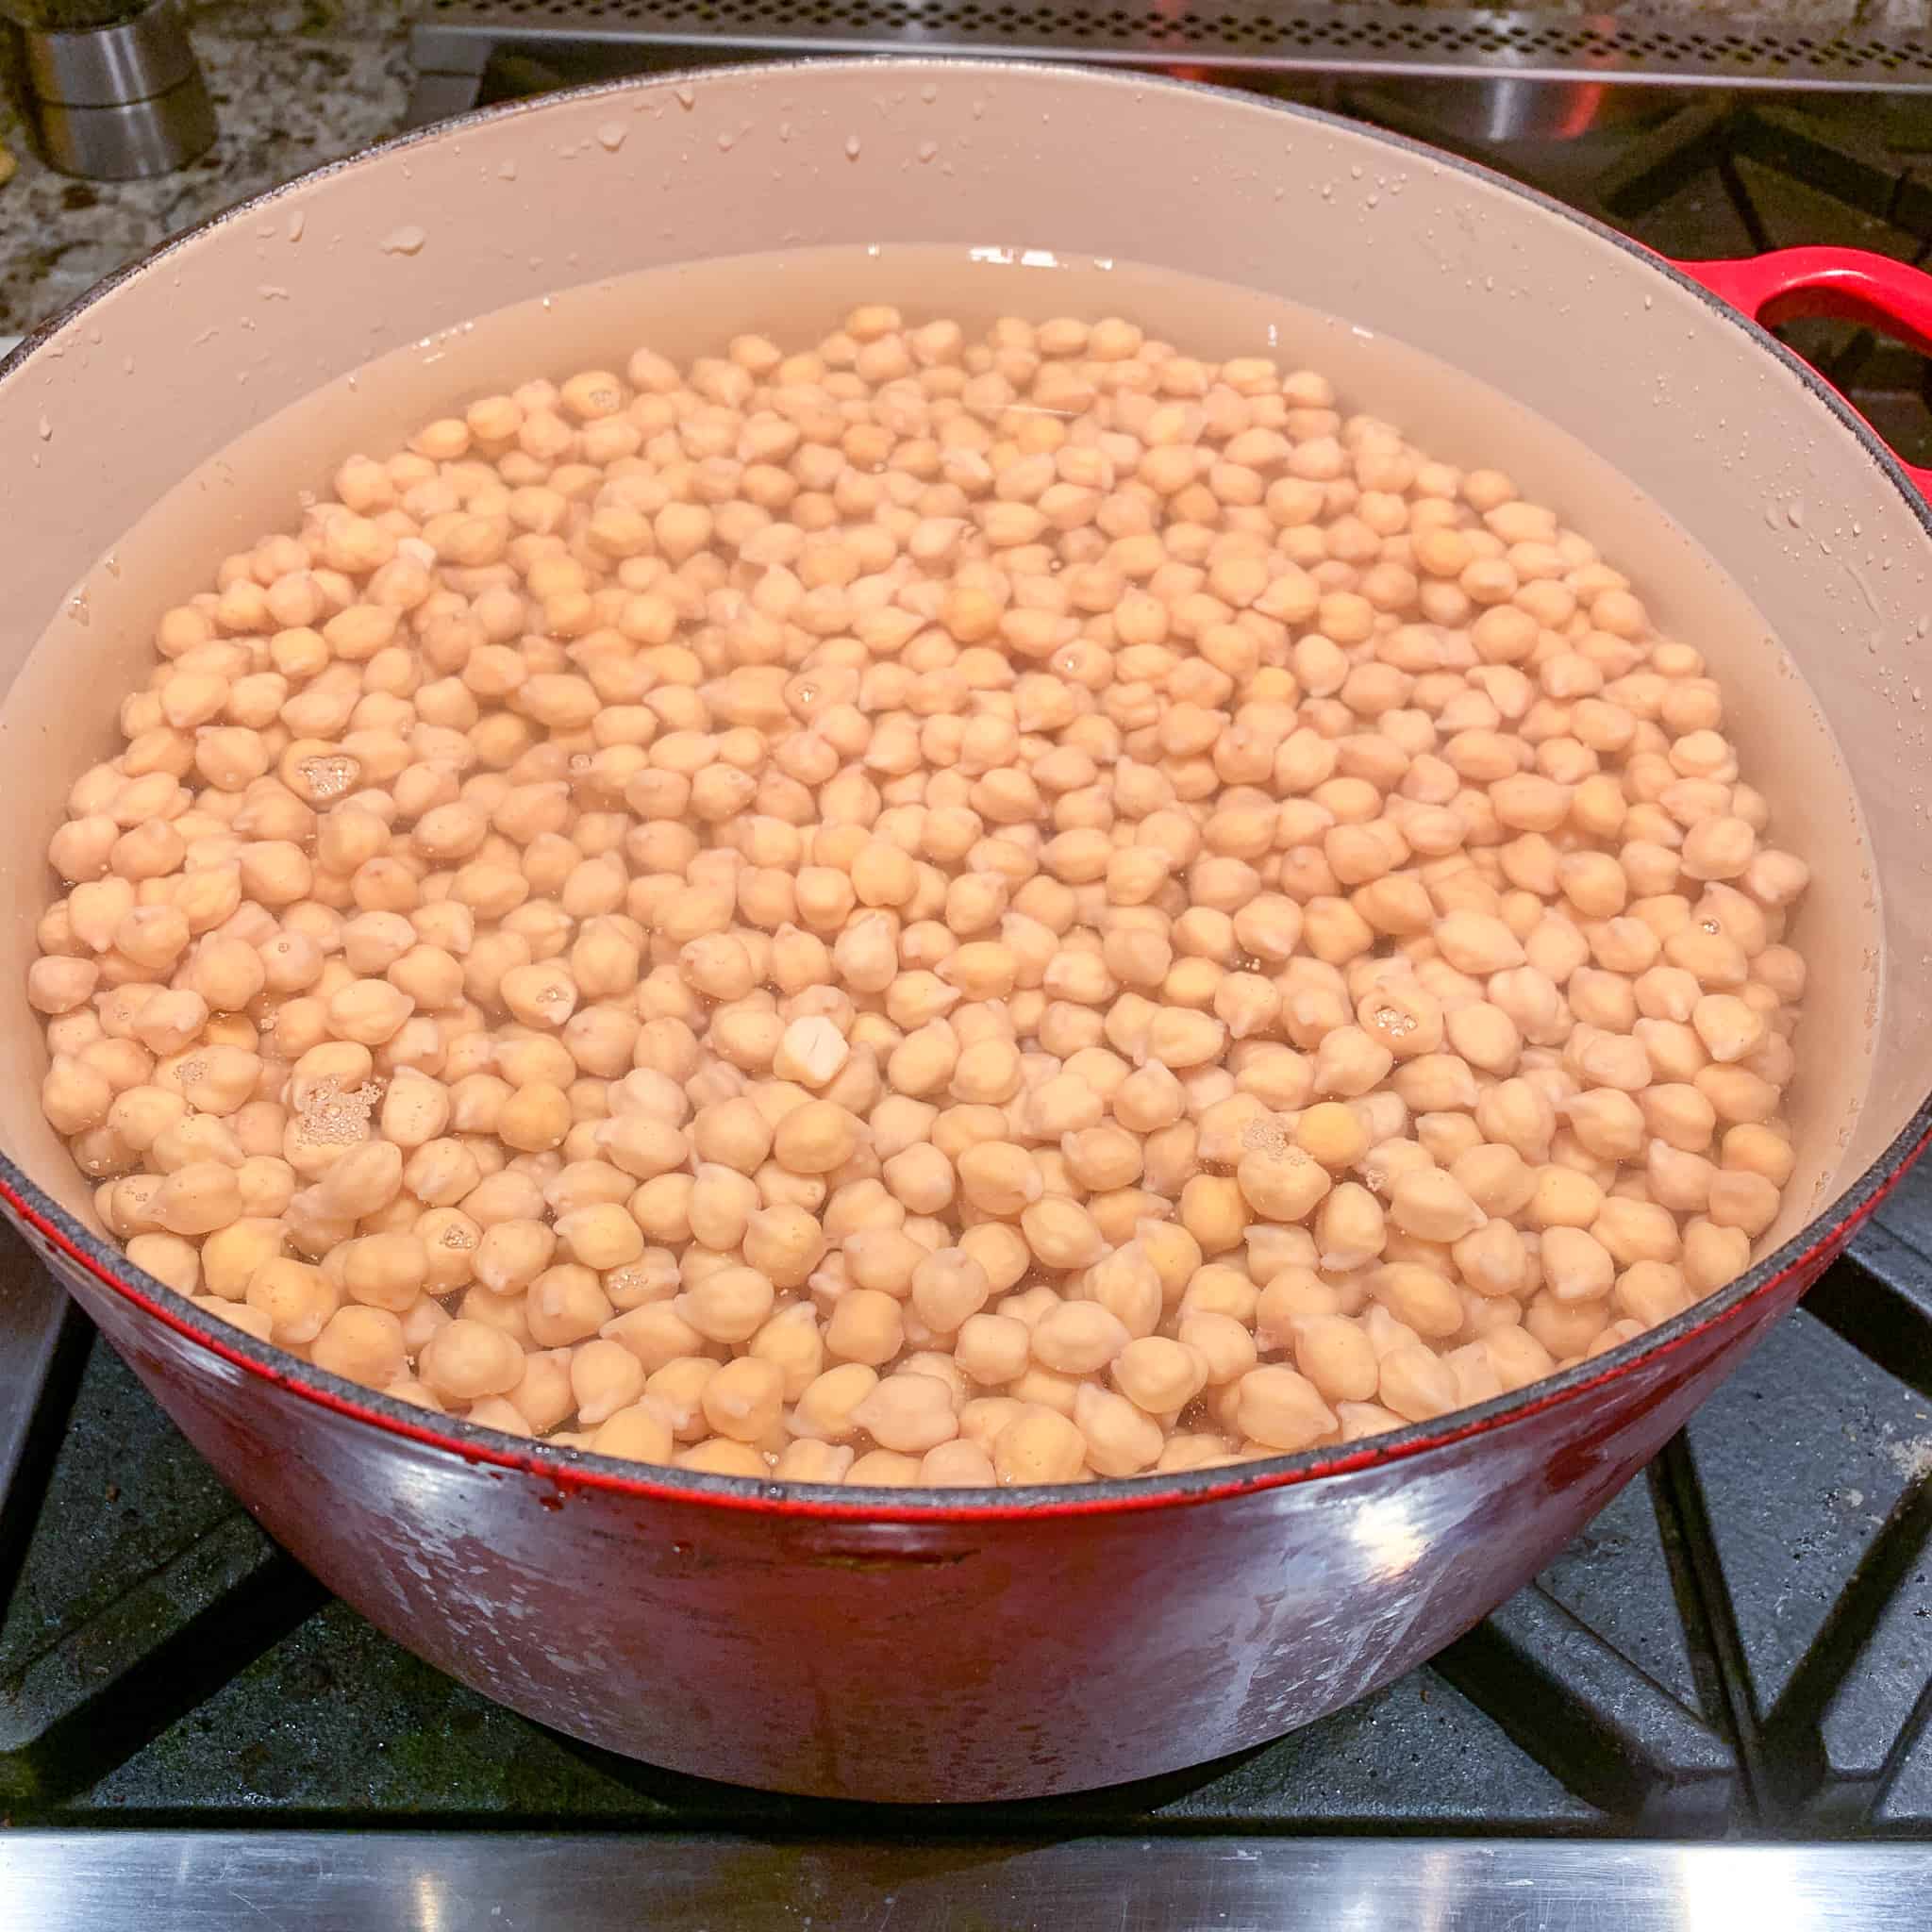
Rehydrated beans after soaking 12 hours
Drain the soaking water, rinse the beans, and then put into a large pot (again, my Le Creuset 9-Quart Enameled Cast Iron Dutch Oven). Cover with fresh water. Bring this to a boil and boil for 30 minutes.
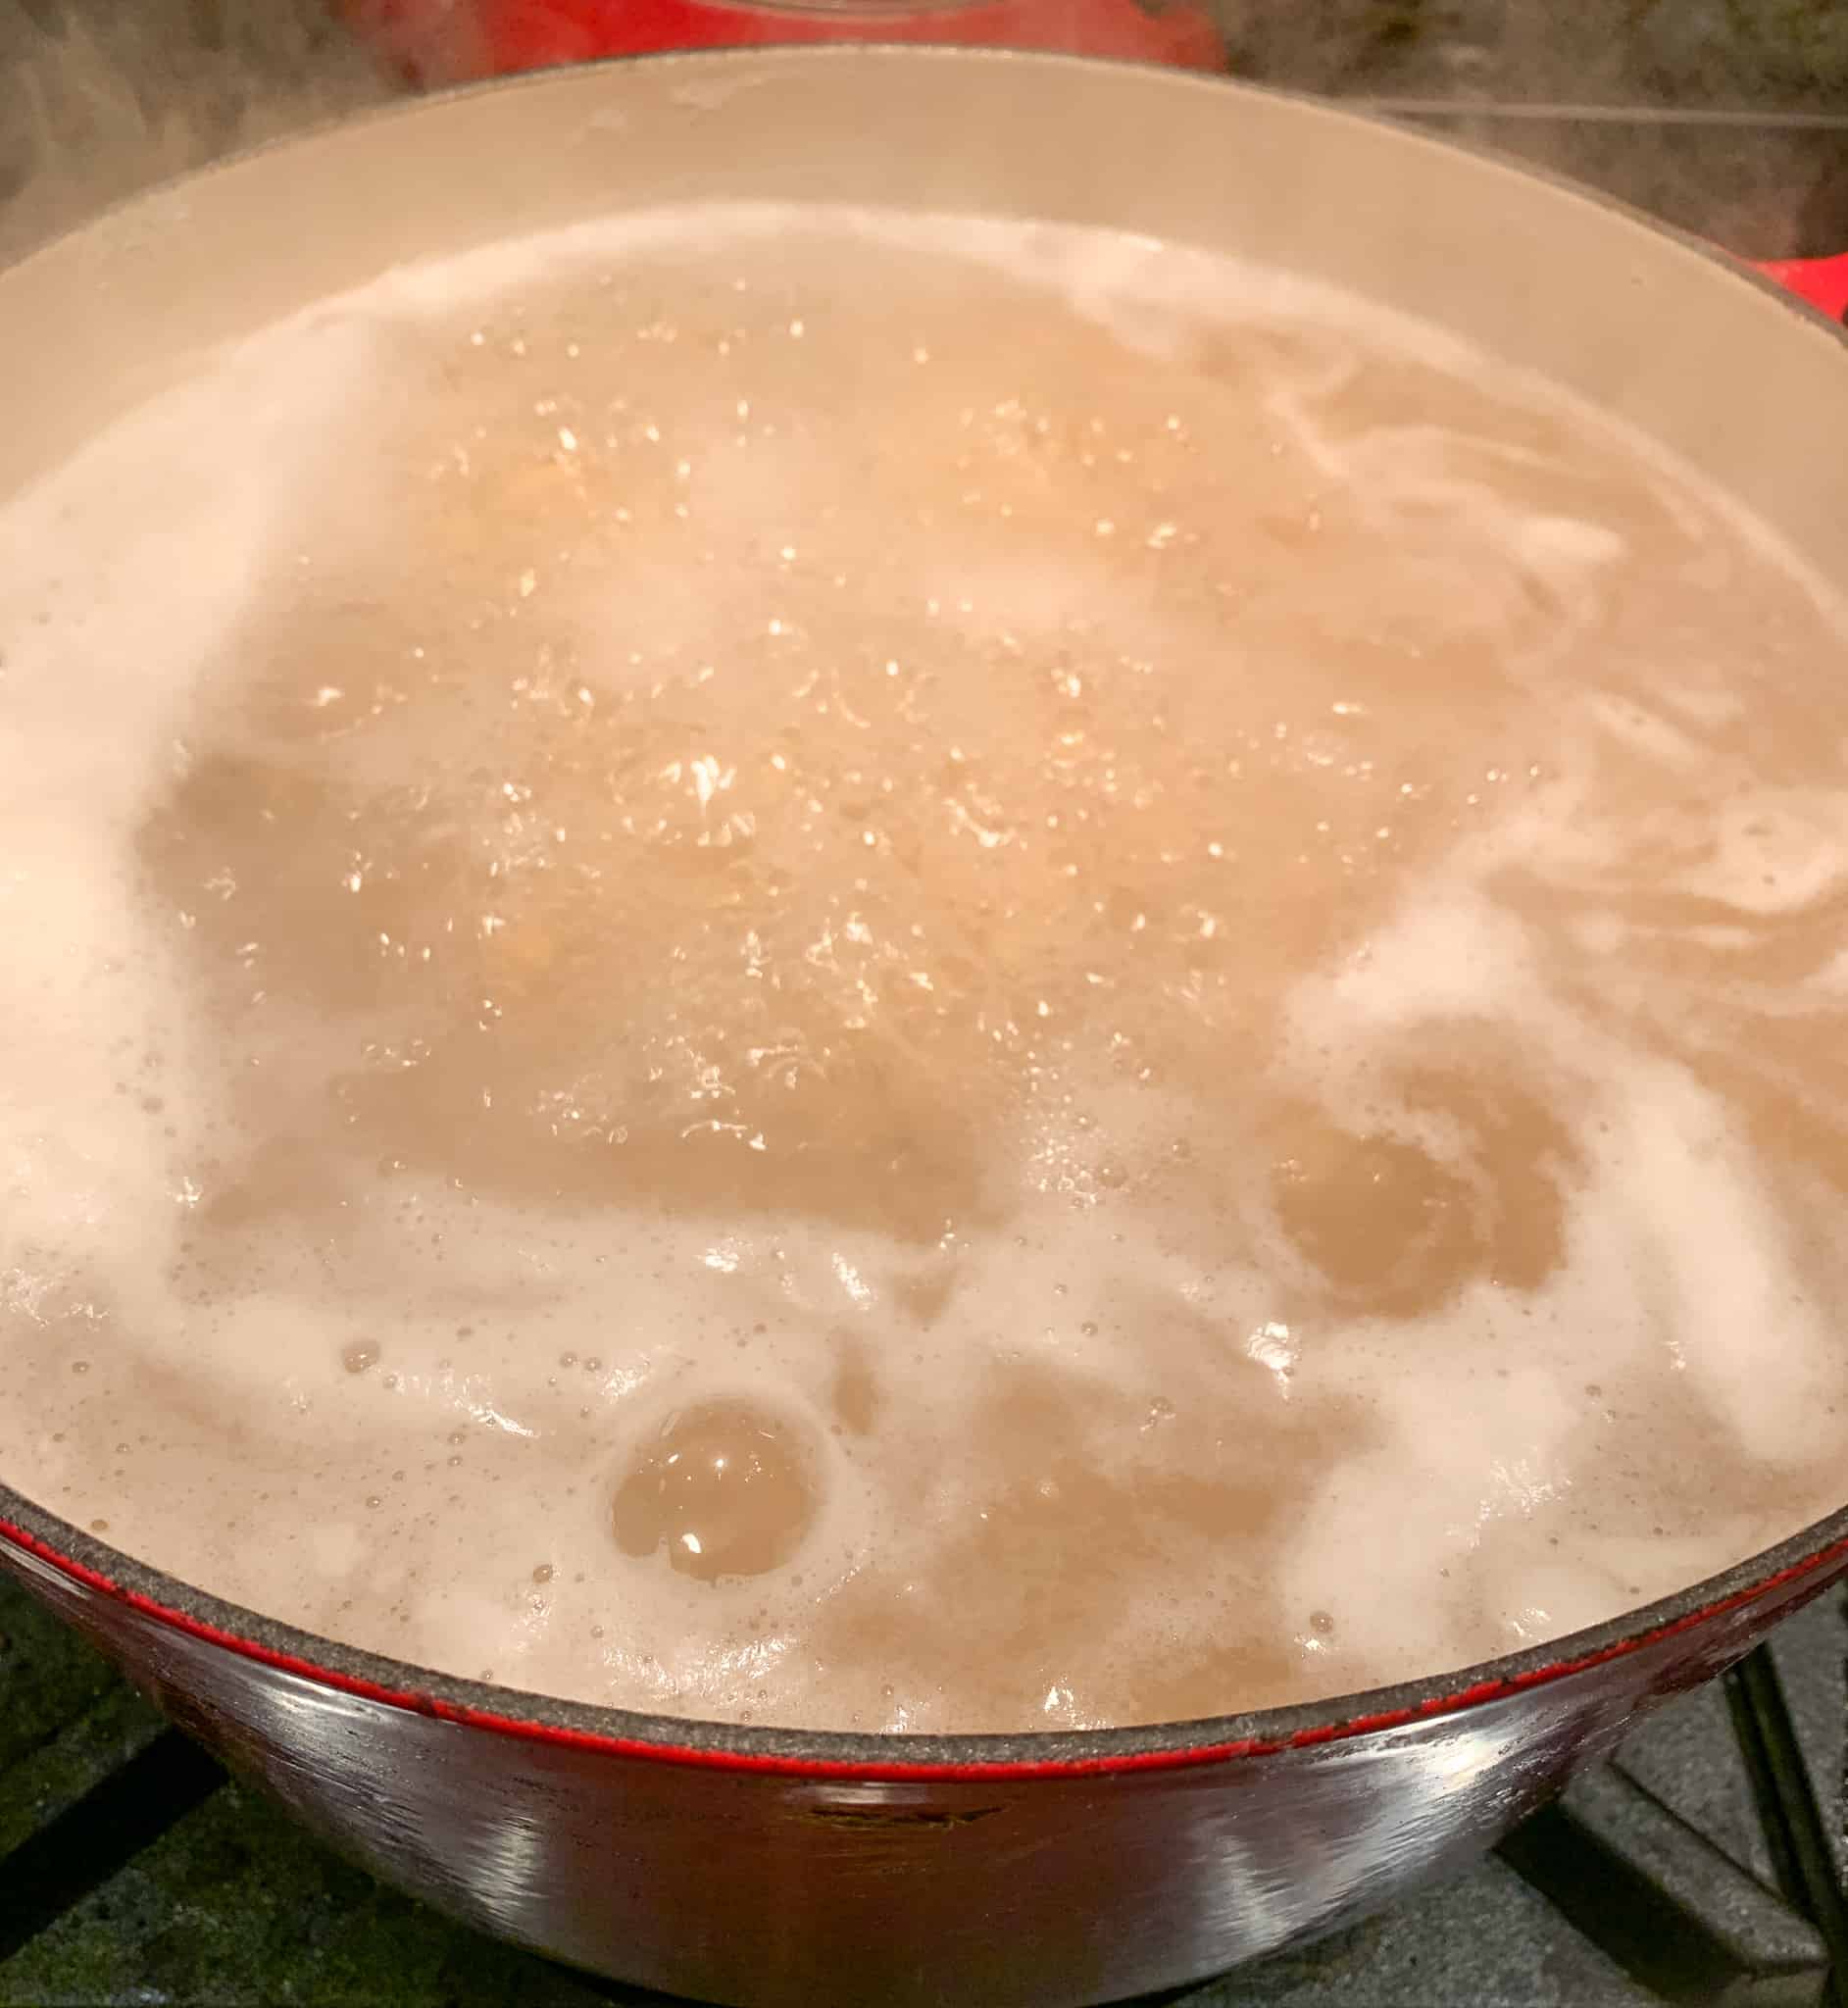
Boiling beans
You may get some foam develop during boiling, which you can simply pull off. It doesn’t hurt anything and usually doesn’t make too much.
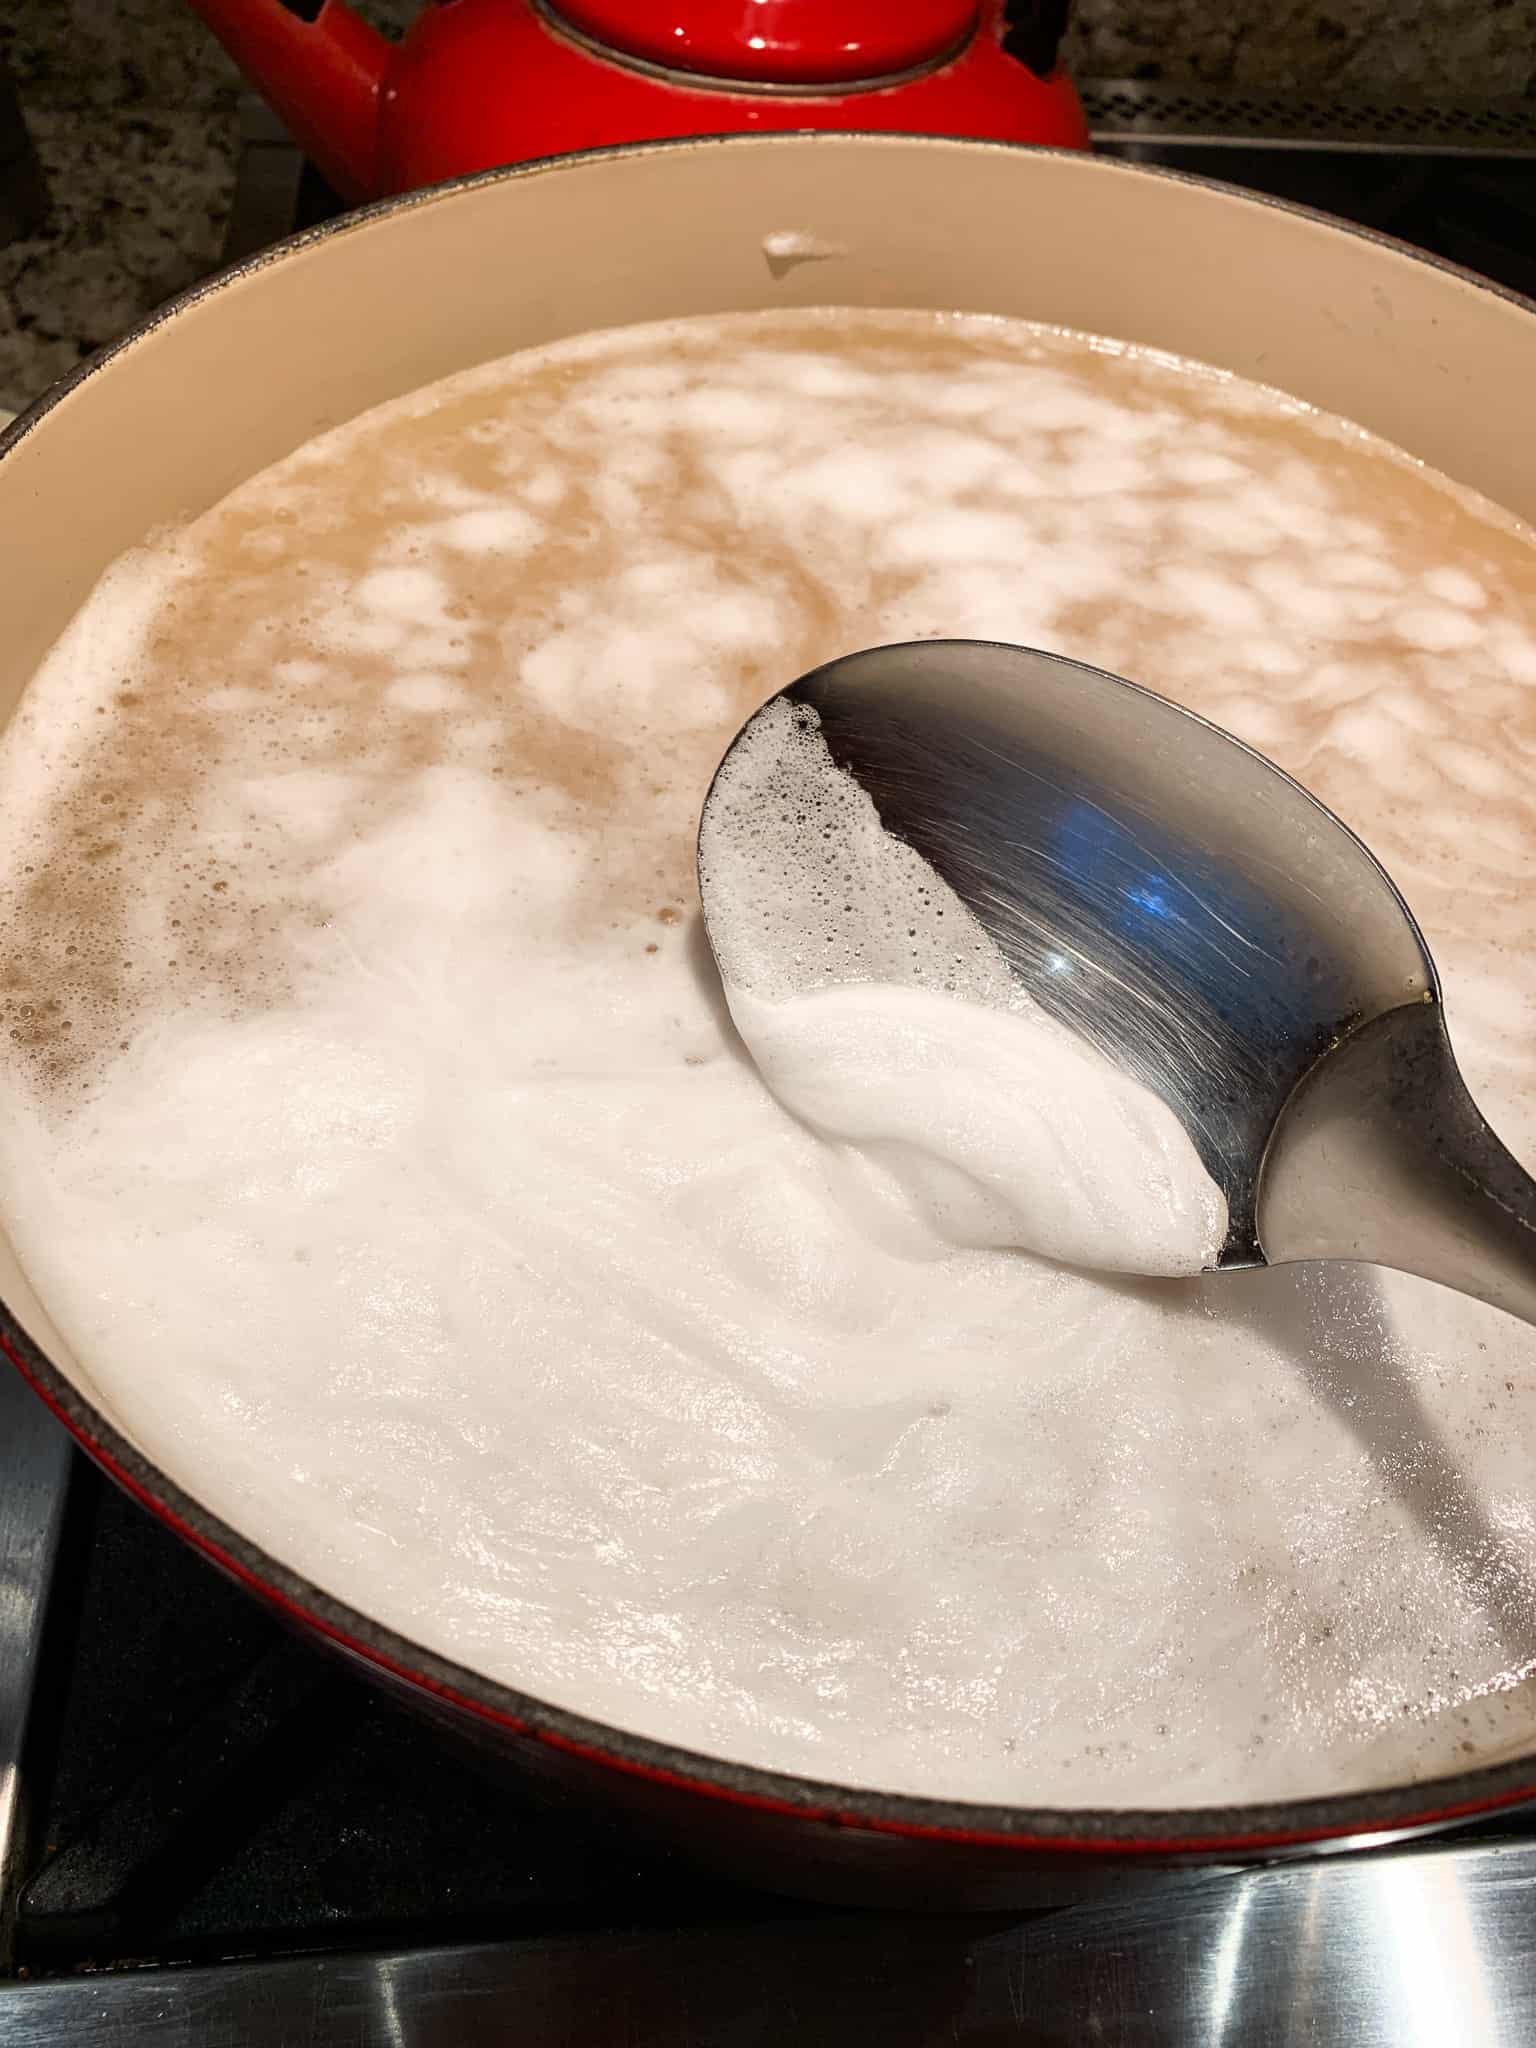
Pulling foam off the top
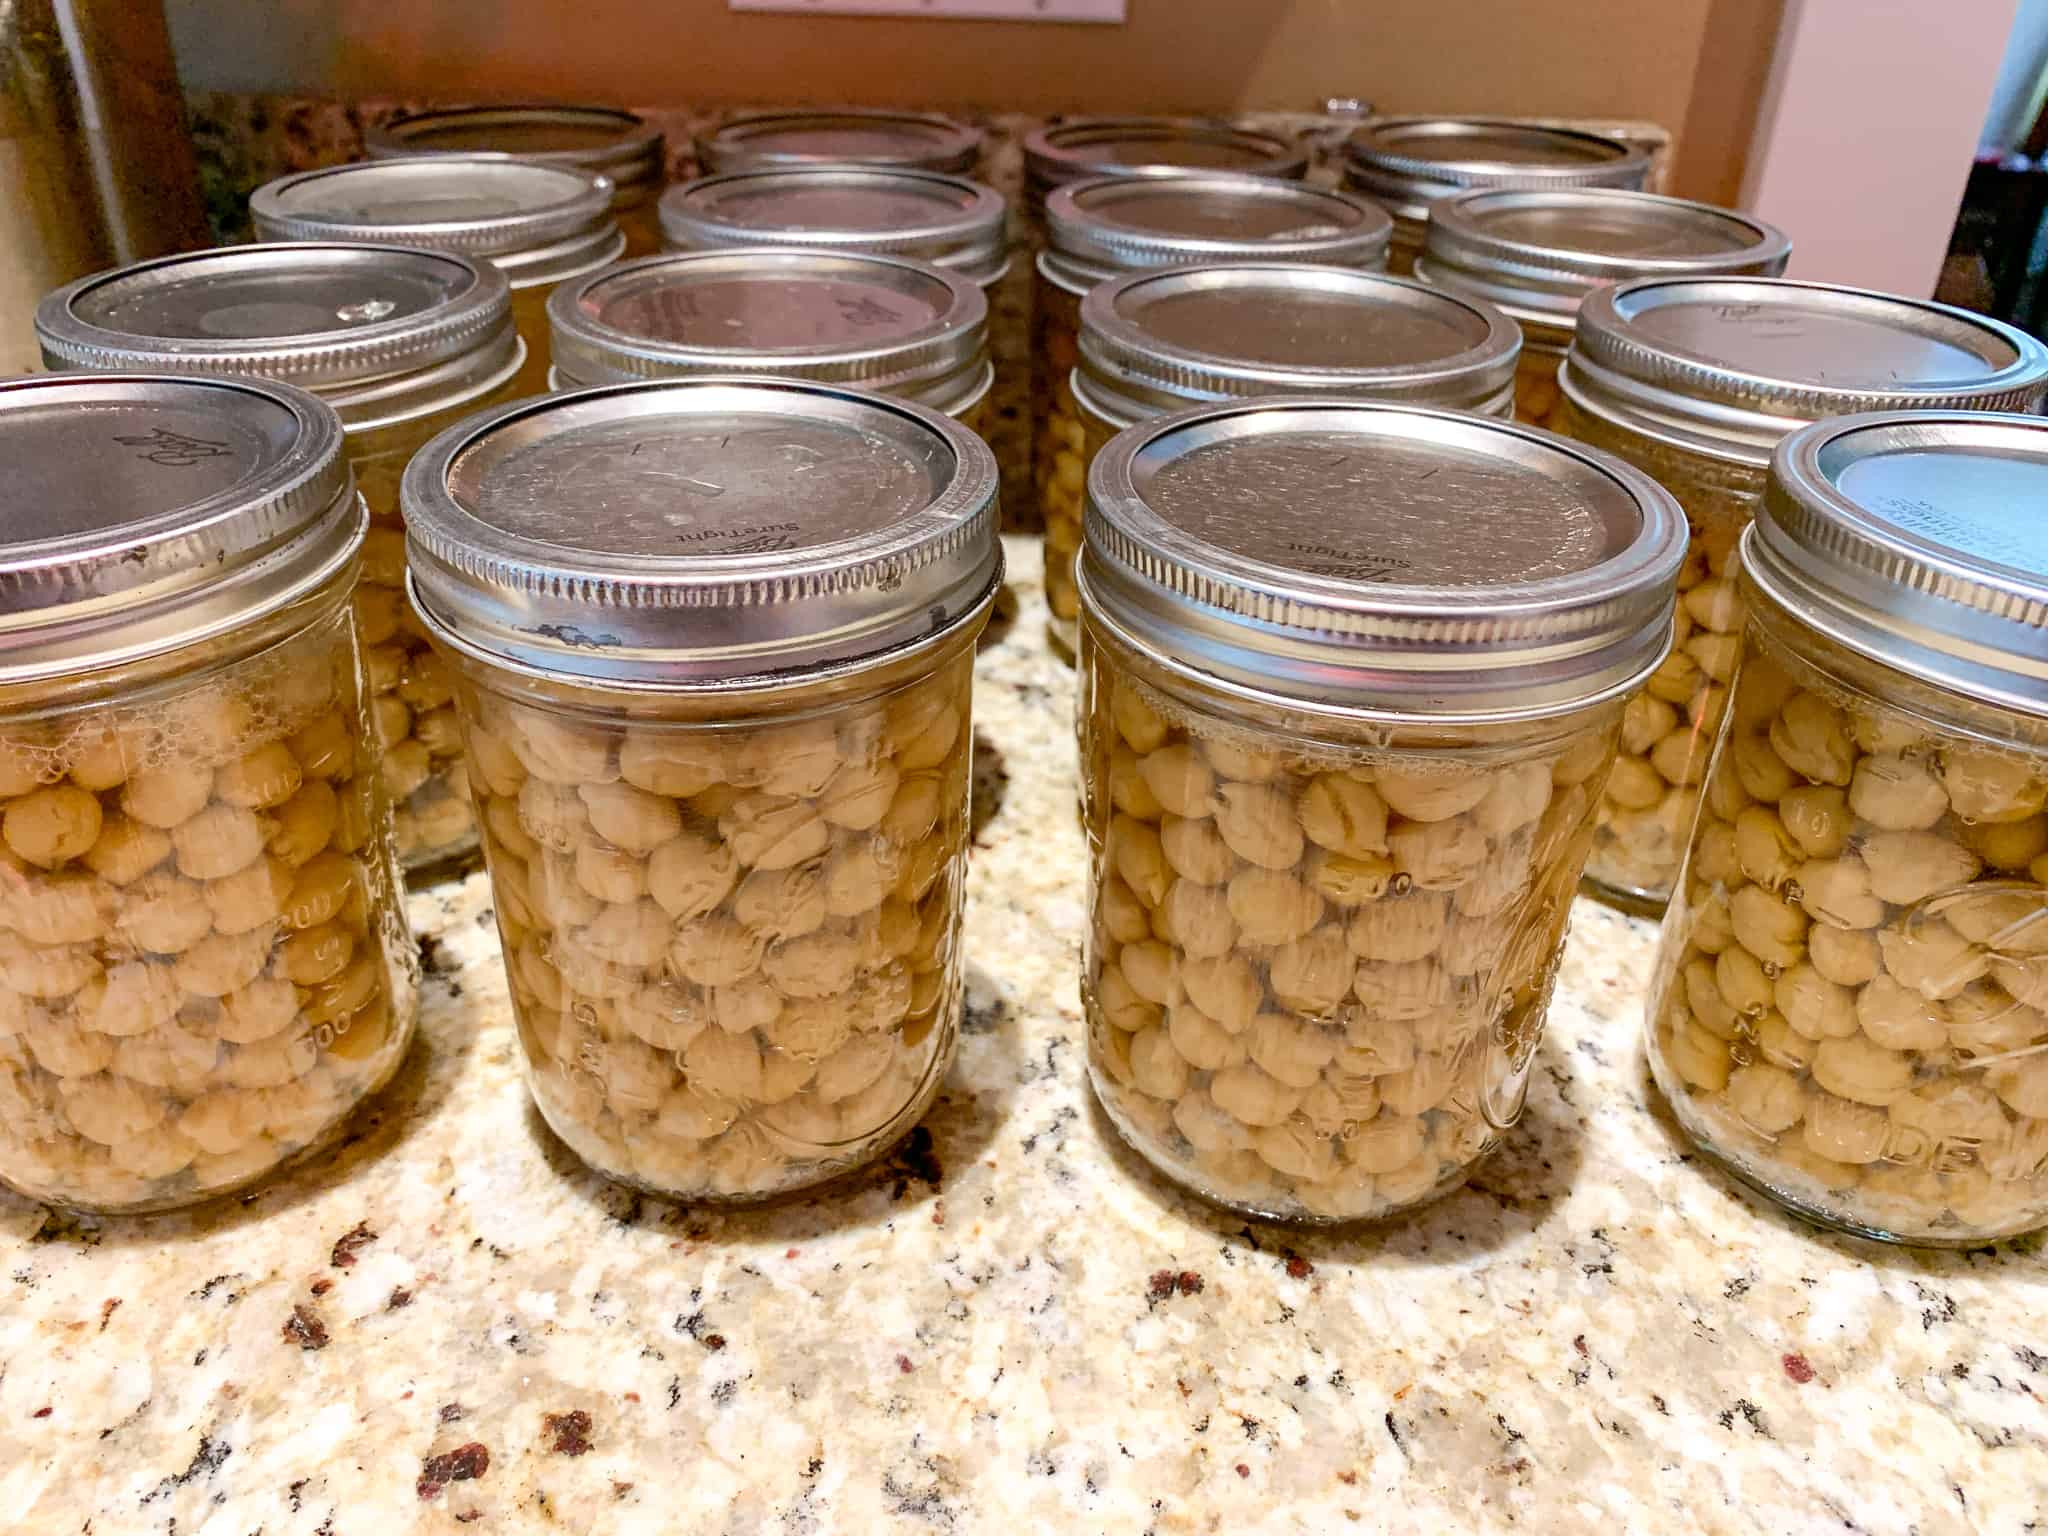
At the end of 30 minutes, pack into hot jars. Because you are going to process these more than 10 minutes, you can simply wash your jars in the dishwasher prior to filling. Time it so the jars are clean and hot when you’re ready to fill them.
Fill the jars with 1-inch headspace—this is important. On my wide-mouth pint jars, 1 inch is just below the bottom ridge. Some of the jars have a line here that indicates “For Freezing-Fill Here” at this level. I fill first with beans, using a slotted spoon, and then ladle in cooking liquid (aquafaba) to the 1 inch line. If you wish to salt your beans, add 1/2 teaspoon of canning salt for pints and 1 teaspoon to each quart jar. I don’t salt my beans, it’s not necessary for the canning process; I simply add salt when using the cooked beans later if they need it.
Pint jars with 1-inch headspace
Run a chopstick through the filled jars to remove any trapped air and add more liquid if needed. If you run out of cooking liquid, simply add boiling water.
Wipe the rim, put on your lids and rings, and place into your pressure canner.
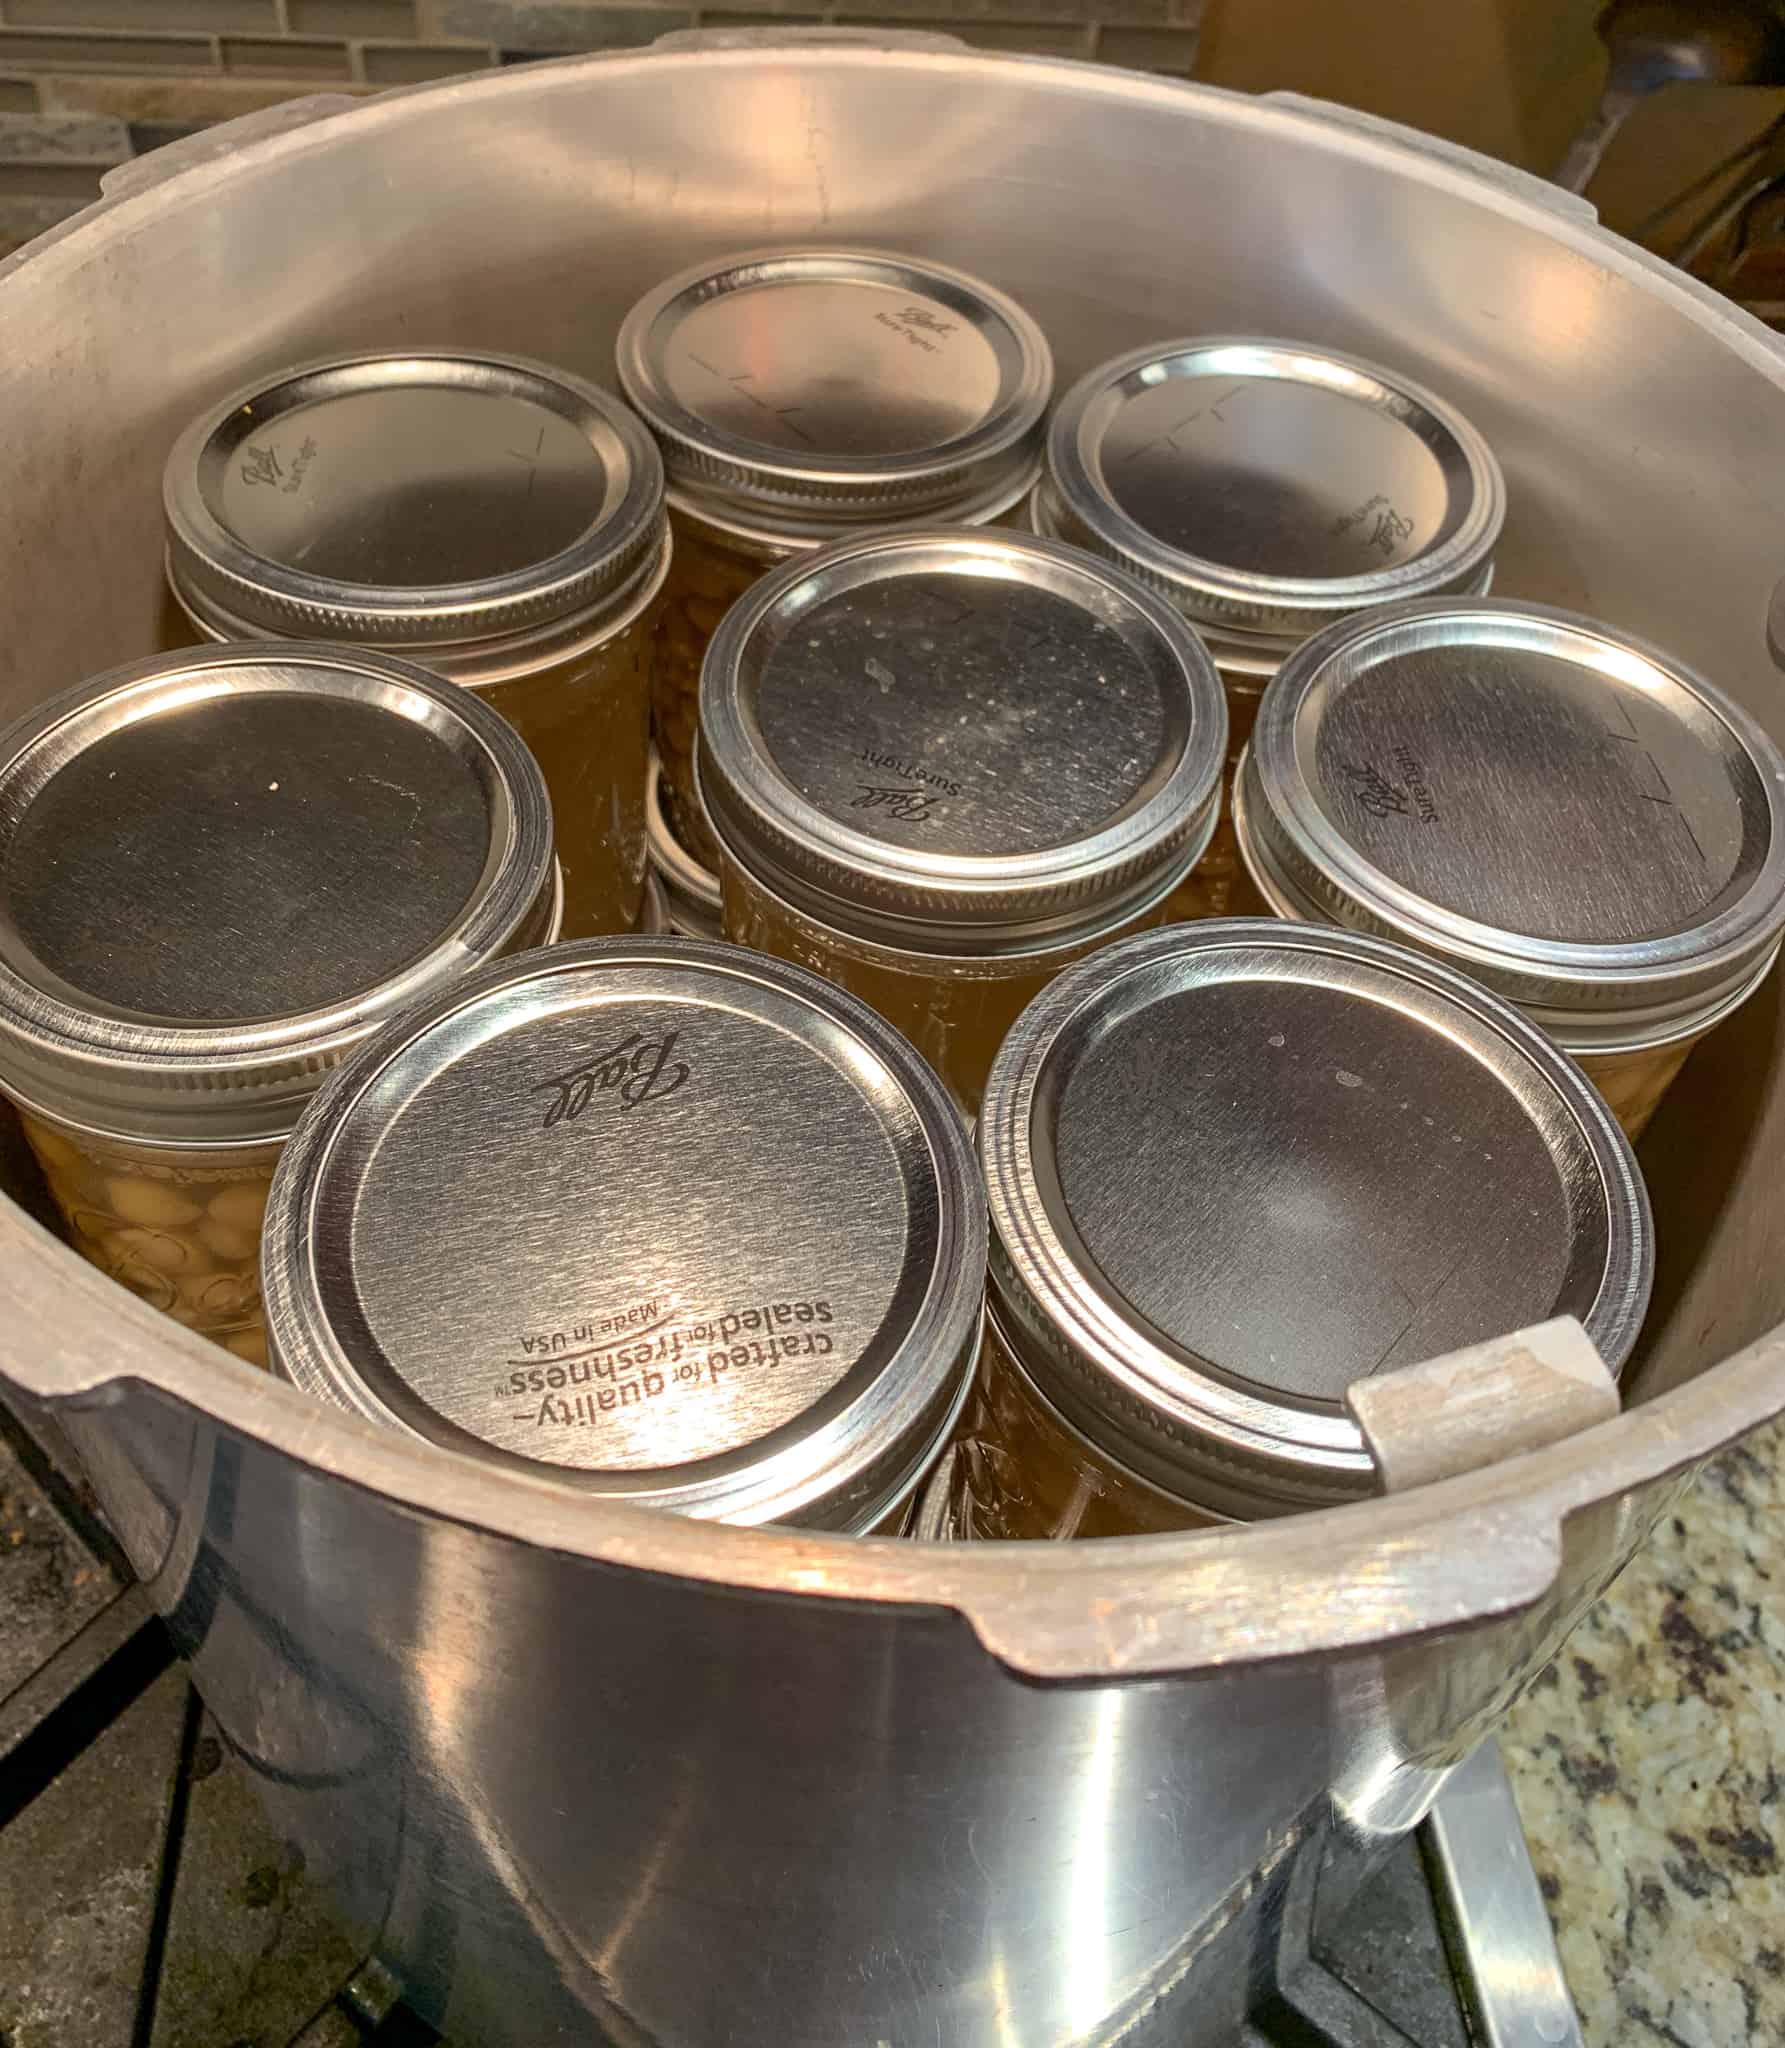
Pressure canner full of beans to can
Processing time for canning beans:
Pints: 1 hour 15 minutes at 10 pounds pressure
Quarts: 1 hour 30 minutes at 10 pounds pressure
You may need to adjust pressure based on altitude or the calibration of your pressure canner. Check this guide for more information on pressure canning at altitudes greater than 1,000 feet. Make any adjustments needed if your pressure gauge has tested out of calibration (read more about how to determine the calibration of your pressure gauge in this previous post on canning).
Follow the directions for your specific pressure canner.
Cooling pressure canned beans
Voila! Home-canned beans!
Dry Method
There are some directions for home-canning beans circulating out there that suggest simply adding dried, unsoaked beans to jars, topping off with boiling water, and then pressure canning. This method has not been tested safe or verified by the NCHFP, so not an approved NCHFP canning method. I don’t recommend canning processes/methods outside of those the NCHFP has approved—the risk to the health of me, my family, and friends is just not worth it. Besides, beans soak while you sleep and it only takes 30 minutes of boiling to prep these beans, not a lot of work for safety! Plus I like to drain off the soaking liquid and cook my beans in fresh water, which this method doesn’t allow.
Why I Can Beans
It may seem like I happily spend hours and hours in my kitchen preparing foods from scratch every day, but I actually do have a life and lots of other things demanding my time and attention. While I can cook beans in my Instant Pot when I need them, and even use previously cooked beans I’ve frozen, sometimes I need prepared beans FAST, and don’t have time to pressure cook or even thaw them. The cans of commercially-canned foods, while recyclable, are often lined with plastic, even bisphenol A (BPA) or bisphenol S (BPS), which we try to avoid due to the potential for endocrine disruption and other reported adverse health effects. And quite frankly, we think beans canned in glass taste better than those canned in metal. In addition, my freezer fills up with prepped veggies, fruit, nuts, pasta, soups, leftovers, etc. and canned beans are shelf-stable. Canned beans are also a staple in our emergency food supply (learn more about preparing your household for emergencies in my free Be Your Own Hero program).
Storing Your Canned Beans
Once the jars have cooled, remove the metal ring from your jars, for three reasons. First, you want to make sure the lid is sealed. To check the seal when the jar is cool, remove the ring and pick up the jar with your fingers holding onto just the side edges of the lid. If the jar is sealed, you’ll be able to lift the jar by the lid. If not, the lid will come off. Second, over time, the ring can rust or get stuck on the jar with any aquafaba that escaped or residual water from the pressure canning process. I’ve even had jars break when trying to remove stuck-on rings. Third, if lids aren’t sealed or if they lose seal during storage, the metal ring can actually create a false seal by tightly holding the lid down onto the jar rim. You want to know if the jar isn’t sealed, to prevent eating spoiled food!
Store your jars in a cool, dark place that’s not susceptible to freezing. According to the All New Ball Book of Canning and Preserving, canned foods can technically keep indefinitely, but the contents can start to lose nutrients after a year. Ball and Kerr suggests their SureTight lids will stay sealed for up to 18 months and recommend using canned products within one year. In any case, always label your jars with the date canned and use the oldest product first. Note, don’t stack your jars, as the weight of one jar sitting on top of the lid of another jar will act just like a metal ring and possibly create a false seal during storage.
Variety of canned beans in my pantry (stacked for photo display purposes, otherwise store unstacked!)
So there you have it—home canned beans! It took longer for me to write this post than to actually can the beans… Give it a try, it’s really not that difficult and the results are so worth it. In no time you’ll have beans ready to use at a moment’s notice, zero waste, and additive-free. Keep these in your emergency supplies and rotate them out to use them while they are at their best.
Join my My Vegan and Whole Food Plant-Based Canning Facebook Group and show us what beans you can! I can’t wait to hear how it goes for you!
Resources
There are some great resources available for home canning. Internet resources are fantastic as they are generally most up to date. There are some old standby books, but remember to get new ones every few years to be current with updated guidelines. The acidity levels and nutrients of fruits and vegetables have changed over the years so old recipes, including those old family favorites, may no longer be safe to use.
Ball® Blue Book® Guide to Preserving
National Center for Home Food Preservation
Washington State University Extension Food Preservation
Iowa State University Preserve the Taste of Summer Online Canning Class
Ball® and Kerr® Fresh Preserving Website
Canning Dried Beans
Ingredients
- 3 pounds dry beans of choice
- 2 ¼ tbsp canning salt optional
Instructions
Prepare Beans
-
Pick through beans to remove any rocks or shriveled beans and discard.
-
Rinse rest of beans, strain. Add to a large bowl or pot and cover with cool water, at least two times as much water than beans. Let set 12-18 hours.
Precook Beans
-
Prepare jars and lids. You may wash the jars in the dishwasher and time it so they are clean and hot by the end of the 30 minute boil.
-
Drain soaking liquid and rinse beans through a colander. Return hydrated beans to stockpot and cover with cool water. Bring to a boil and boil 30 minutes.
Fill Jars
-
If using, add ½ tsp salt to each pint jar or 1 tsp salt to each quart jar. Using a slotted spoon, fill hot jars with boiled beans, leaving 1-inch headspace. Top with liquid from boiling beans or hot water, keeping 1-inch headspace. Remove bubbles.
-
Wipe rim with damp towel. Top with lid and ring.
Pressure Can
-
Process pints 1 hour 15 minutes, quarts 1 hour 30 minutes at 10 pounds pressure per your pressure canner instructions. Adjust for elevation.
Notes
Do you like this post? Please share....
[mashshare]
If you liked this post, you might like one of these:


")
")


Categories:
Tags:

[Trī-māz-ing]
Cindy wants you to be Trimazing—three times better than amazing! After improving her health and fitness through plant-based nutrition, losing 60 pounds and becoming an adult-onset athlete, she retired from her 20-year firefighting career to help people just like you. She works with people and organizations so they can reach their health and wellness goals.
Cindy Thompson is a national board-certified Health and Wellness Coach, Lifestyle Medicine Coach, Master Vegan Lifestyle Coach and Educator, Fitness Nutrition Specialist, Behavior Change Specialist, and Fit2Thrive Firefighter Peer Fitness Trainer. She is a Food for Life Instructor with the Physicians Committee for Responsible Medicine, Rouxbe Plant-Based Professional, and Harvard Medical School Culinary Coach, teaching people how to prepare delicious, satisfying, and health-promoting meals.
She provides health and lifestyle coaching at Trimazing! Health & Lifestyle Coaching. Cindy can be reached at .
Subscribe to the Trimazing Blog
Receive occasional blog posts in your email inbox.
Subscribe to the Trimazing Blog
Receive occasional blog posts in your email inbox.