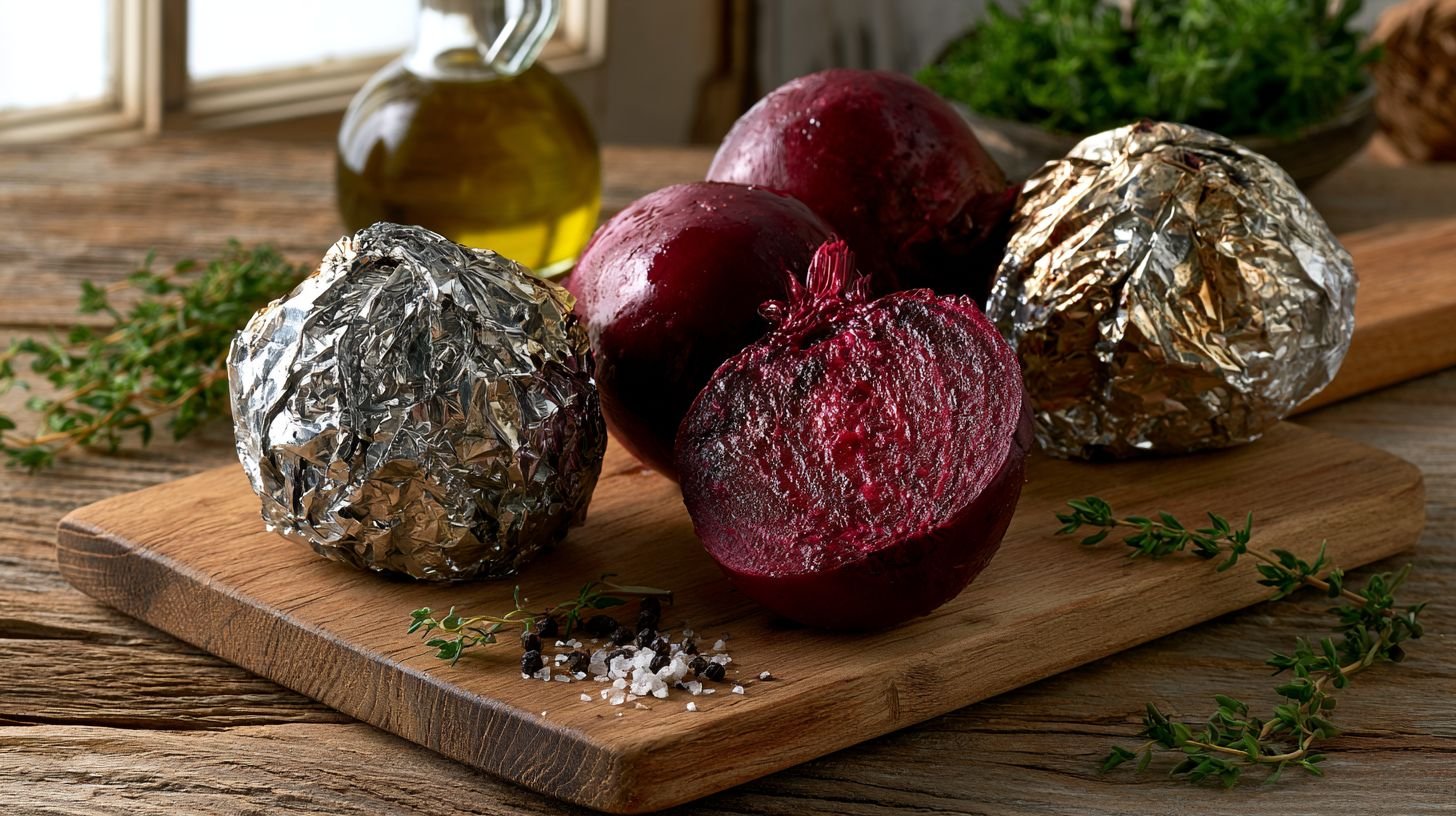
Wrap each beet in foil, roast at 400°F for 45 to 60 minutes, and you will have tender, sweet beets with almost no effort.
This method keeps the natural flavor locked inside the beet, makes cleanup easy, and works every time without any guesswork.
If you have ever boiled beets and ended up with a watery, flavorless result, the foil-roasting method fixes that entirely.
In this guide, you will learn how to pick and prep your beets, the best oven temperatures and cook times, and how to peel or skip the peel depending on what you are making.
Why Roast Whole Beets Instead of Boiling?
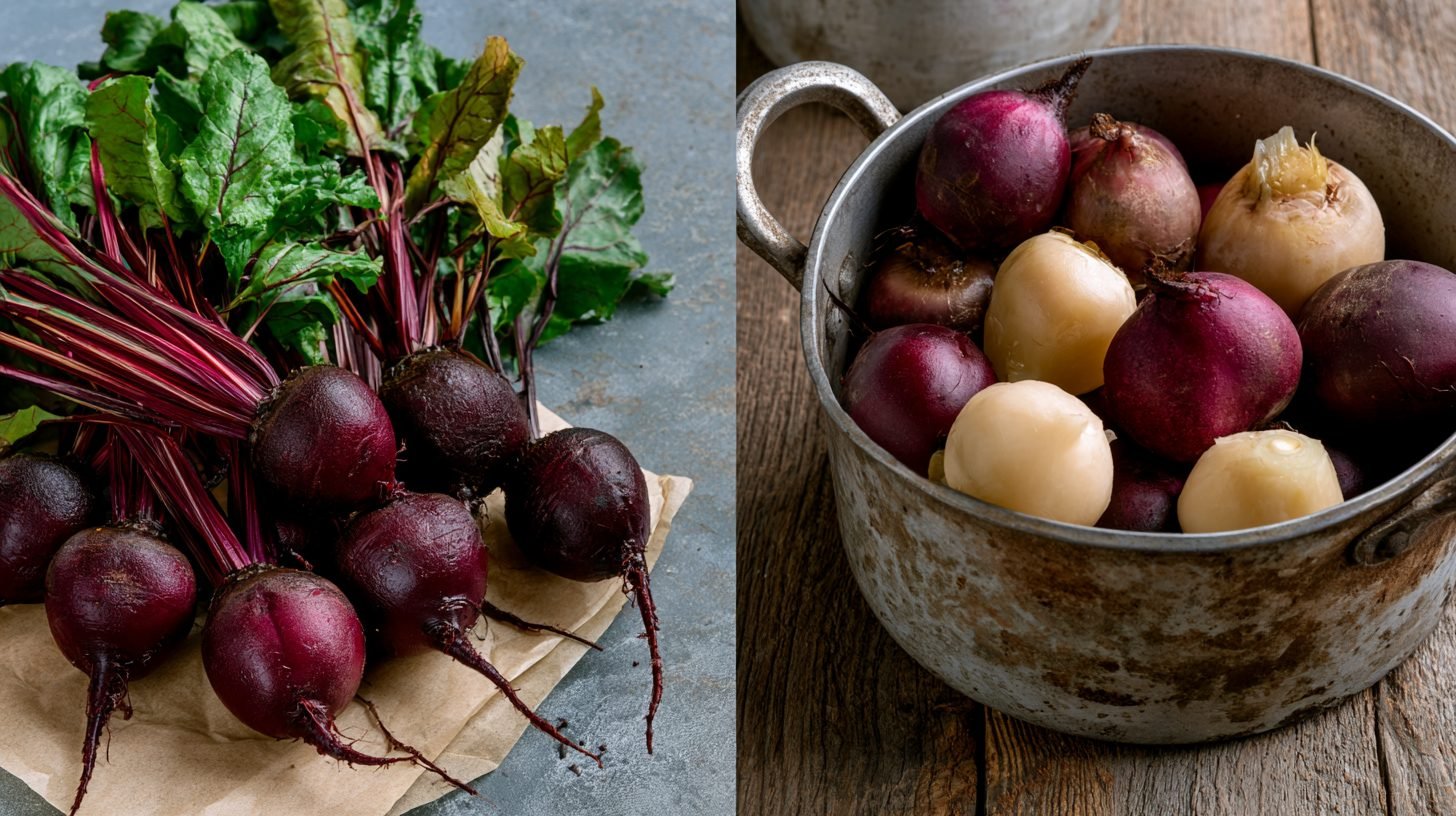
Boiling pulls flavor, color, and natural sugars out of the beet and into the water, which is why boiled beets often taste flat.
Roasting does the opposite: the foil traps steam and moisture inside, so the sugars concentrate and the flavor deepens.
The texture is better too: roasted beets stay firm and creamy, while boiled ones can turn soft and waterlogged. Skipping the boiling pot also means far less cleanup.
Ingredients You'll Need
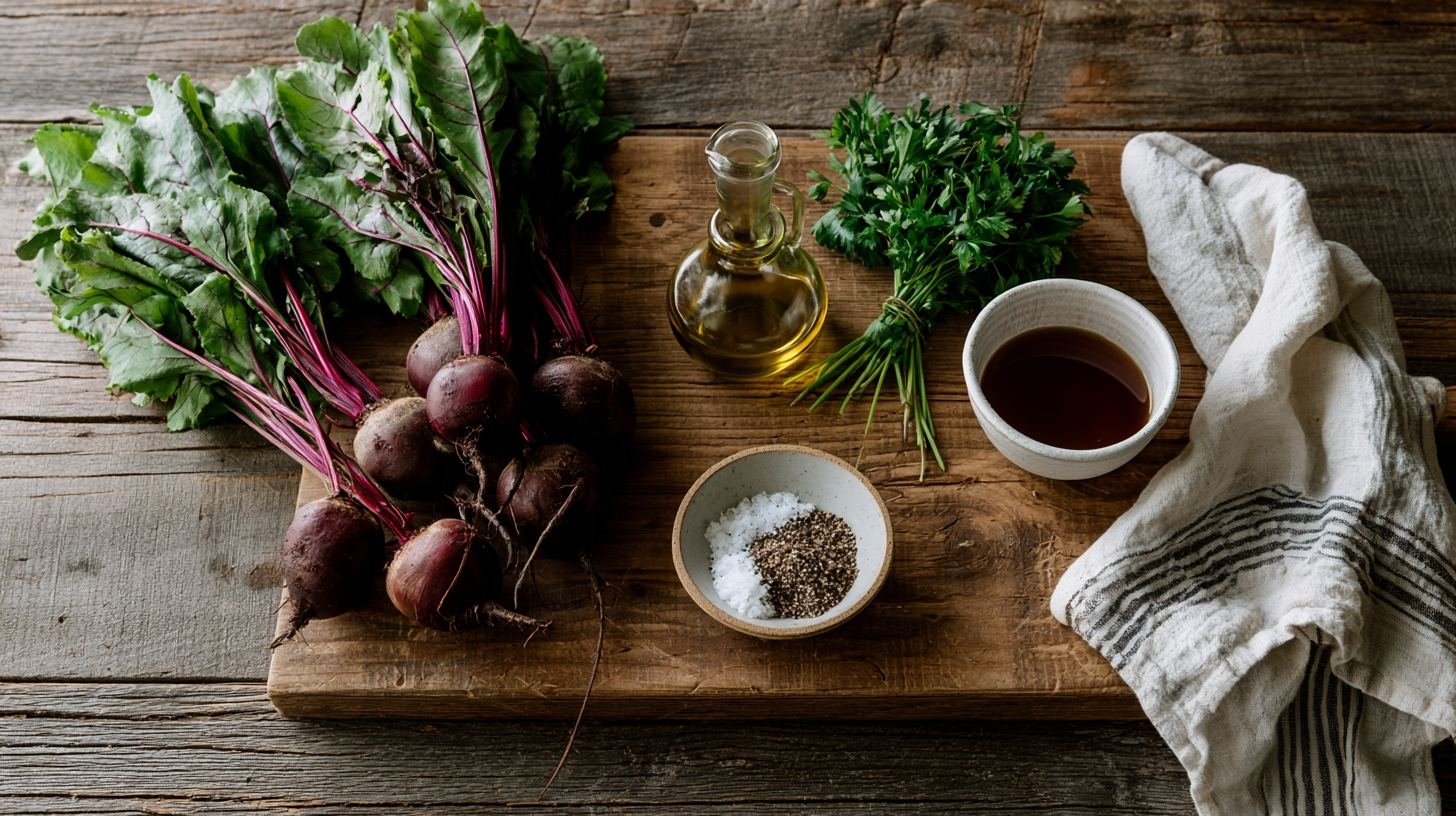
Just a few simple staples are all it takes to make this work.
1. Fresh whole beets2. Olive oil3. Salt and black pepper4. Optional additions (vinegar, fresh herbs, beet greens)
That's really it. You don't need a long list of ingredients to get great results, and you won't need any special equipment beyond a baking sheet and some foil.
A few simple things from your kitchen are enough to turn out a tender, flavorful batch every time.
How to Prepare Roasted Whole Beets
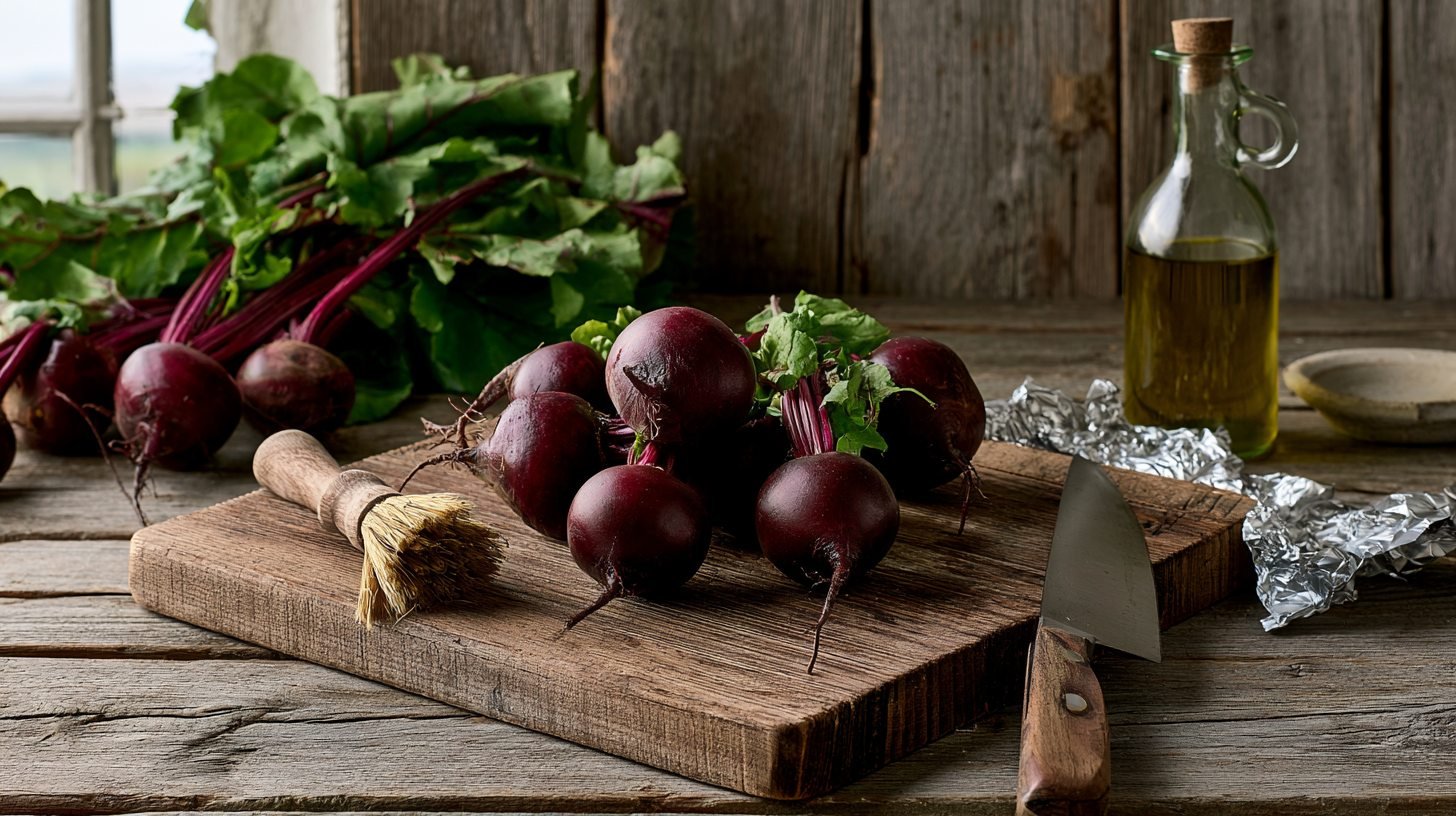
Before you wrap and roast, a little prep goes a long way toward how the finished beets turn out. Rushing this stage is one of the easiest ways to end up with gritty bites or beets that dry out unevenly in the oven. Here is what to do, broken into three quick steps.
Washing and Trimming the Beets
Rinse each beet under cool water and scrub off any dirt with your hands or a soft brush. Beets grow underground, so they can hold onto grit in small crevices near the top where the stems meet the body.
A good rinse now saves you from a gritty bite later, and it only takes a minute or two per beet if you do it right before wrapping them.
Removing Stems and Roots Properly
Cut the leafy stems down to about an inch from the top. Trim the thin root tail as well, but don't cut too close to the body of the beet, since cutting into the flesh itself lets more color and moisture escape during roasting.
Leaving a little stem and root helps keep the color and moisture locked in while roasting, which is part of what gives foil-roasted beets their deeper flavor compared to boiling.
Seasoning Before Roasting
Rub each beet lightly with olive oil, then sprinkle on salt and pepper. This coats the skin and helps it soften as it cooks, while also giving the outside a bit more flavor once you get to the peeling and slicing stage.
You can also add a splash of vinegar or fresh herbs directly onto the foil if you want extra flavor built right in from the start.
How to Roast Whole Beets in Foil
Once the beets are washed, trimmed, and seasoned, the actual roasting comes down to five simple steps.
Wrapping each beet in its own piece of foil is what makes this method so forgiving, since it traps steam and moisture without any risk of drying out.
Follow these steps for tender, foil-roasted beets every time.
Step 1: Preheat the Oven
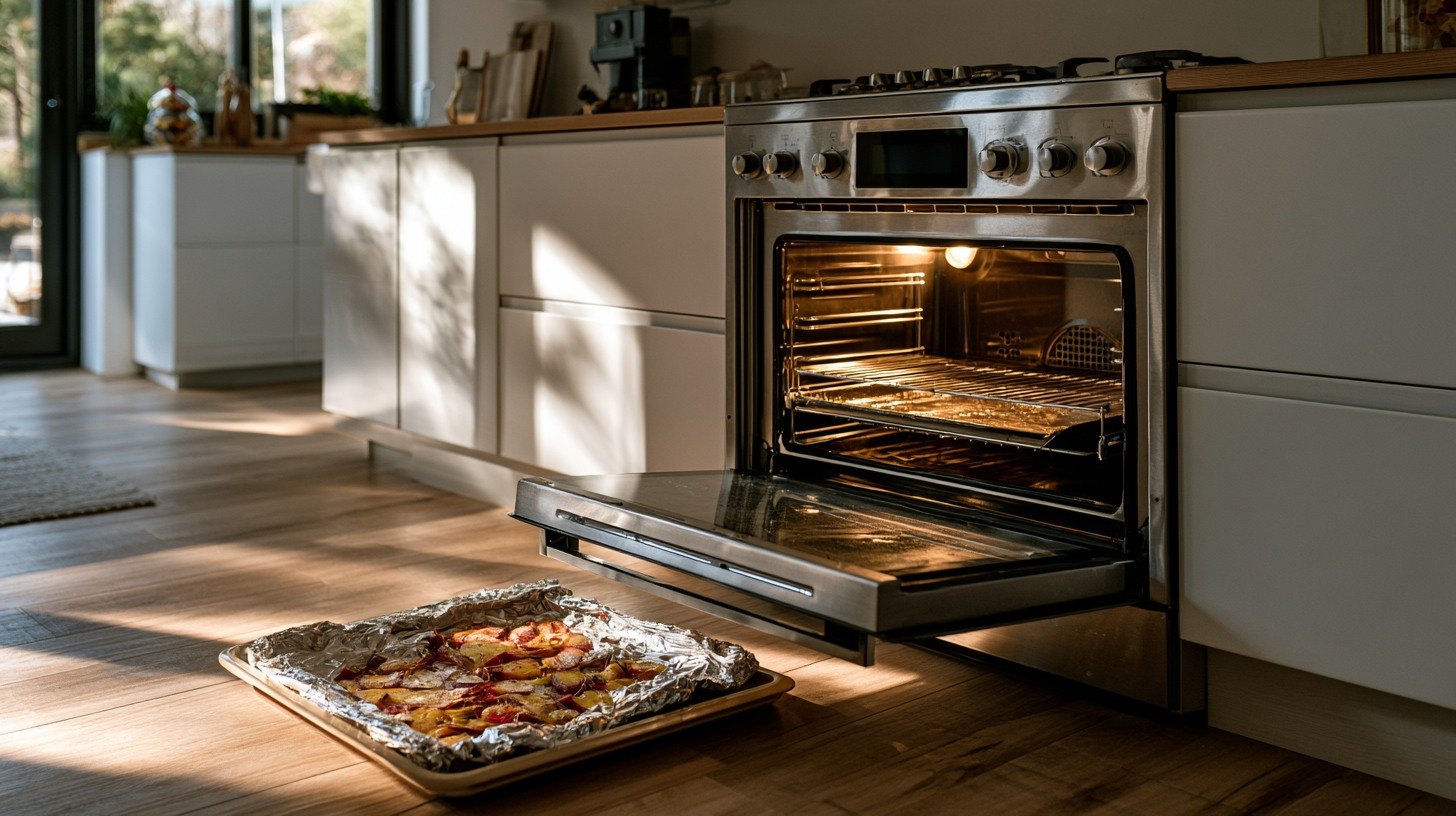
Set your oven to 400°F and let it fully heat before putting the beets in. Starting with a hot oven helps the beets cook evenly from the outside in.
A cold or partially heated oven can leave the outer layers overdone by the time the center finally softens, so do not skip this step even if you are short on time.
Step 2: Wrap Each Beet Individually
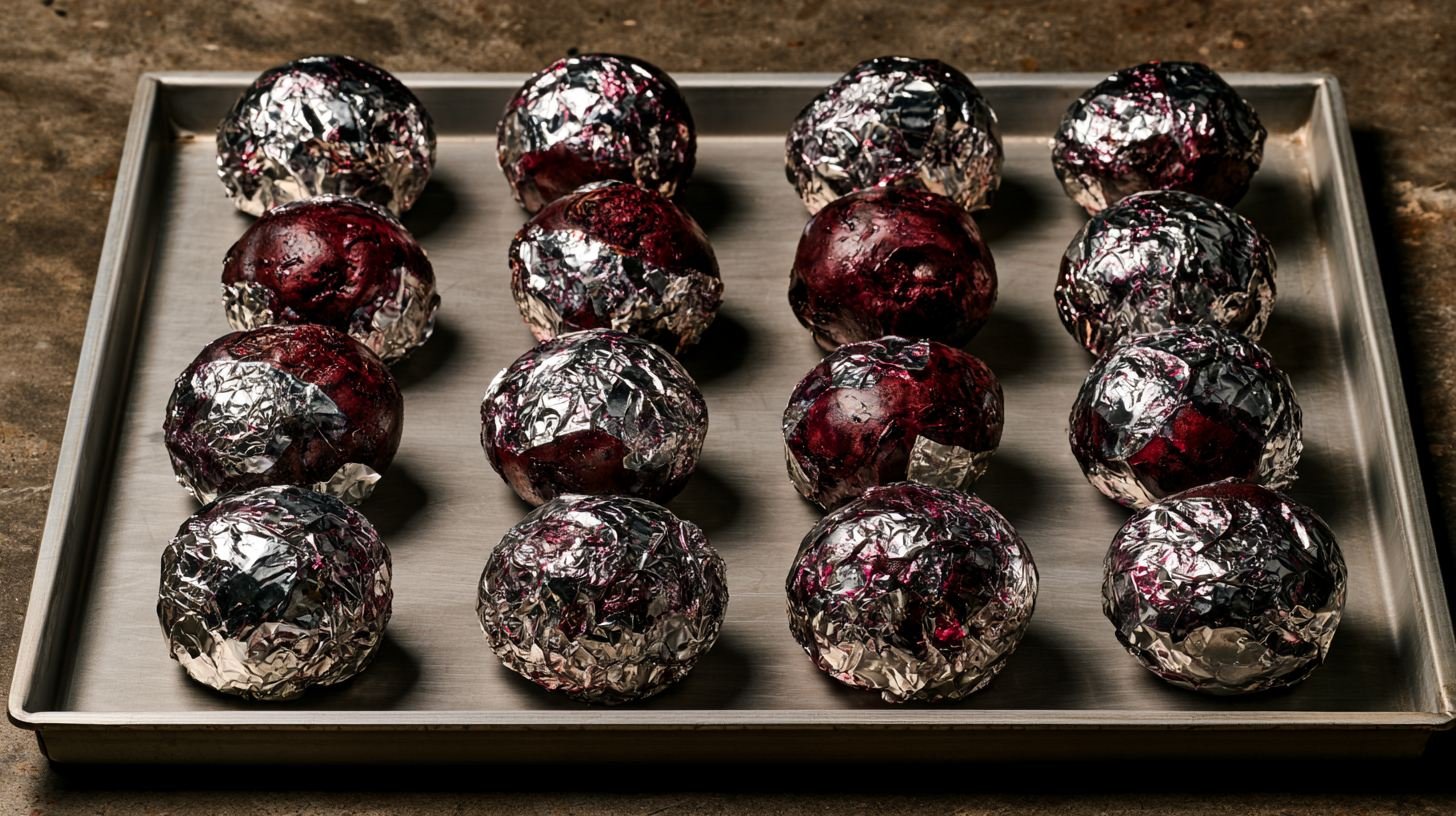
Place each beet on its own piece of foil and wrap it tightly so no steam escapes while it cooks. Wrapping them separately rather than bundling several together helps each one cook at a steady, even rate.
Grouping multiple beets in one packet traps uneven amounts of heat and moisture around each one, which leads to inconsistent results.
Step 3: Roast Until Fork Tender
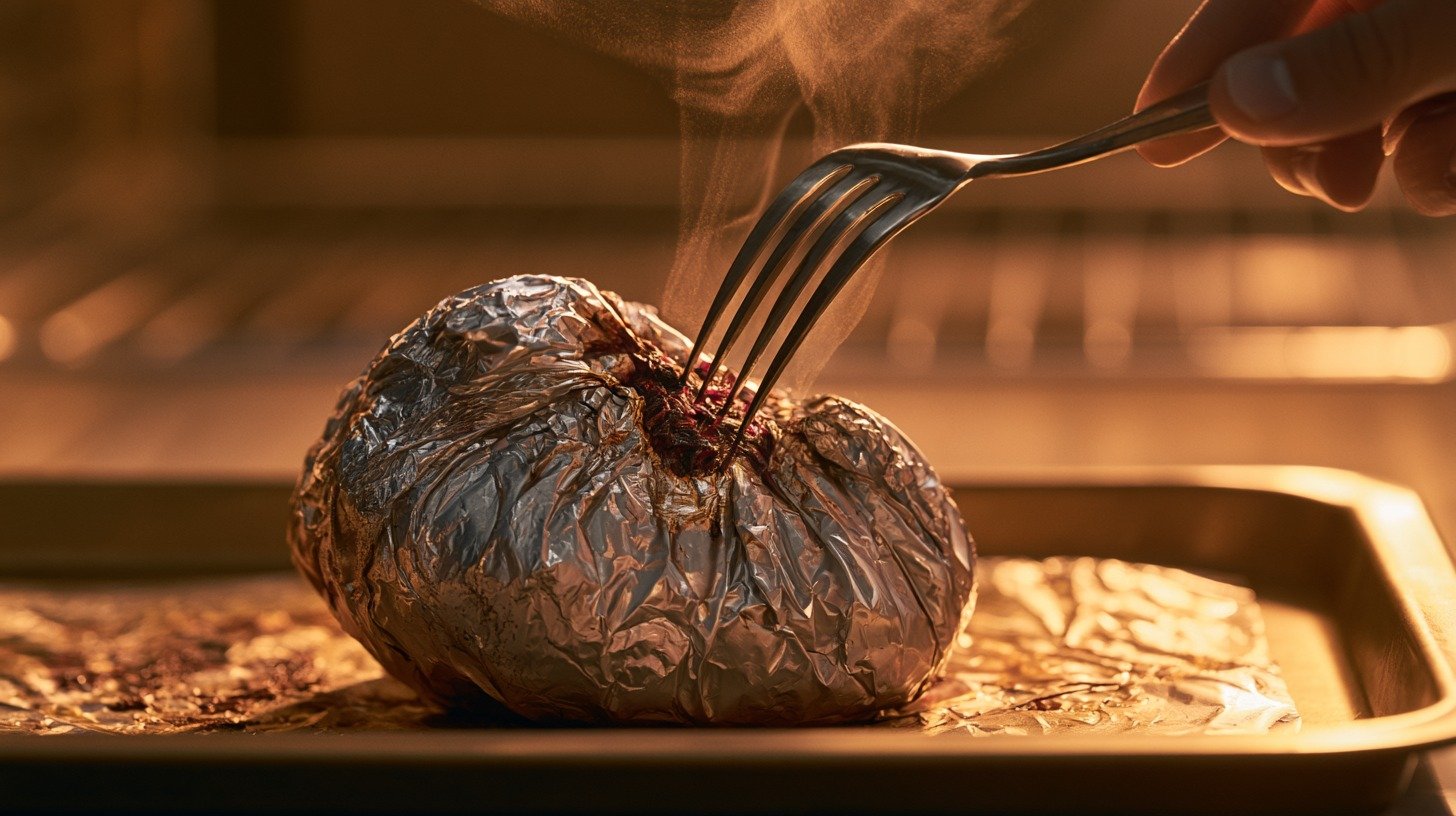
Place the wrapped beets on a baking sheet and roast for 45 to 60 minutes, depending on their size. Check doneness by inserting a fork through the foil and into the center of the beet.
If it slides in with almost no resistance, they are ready. If you feel any firmness, give them another 10 minutes and check again.
Step 4: Cool Before Handling
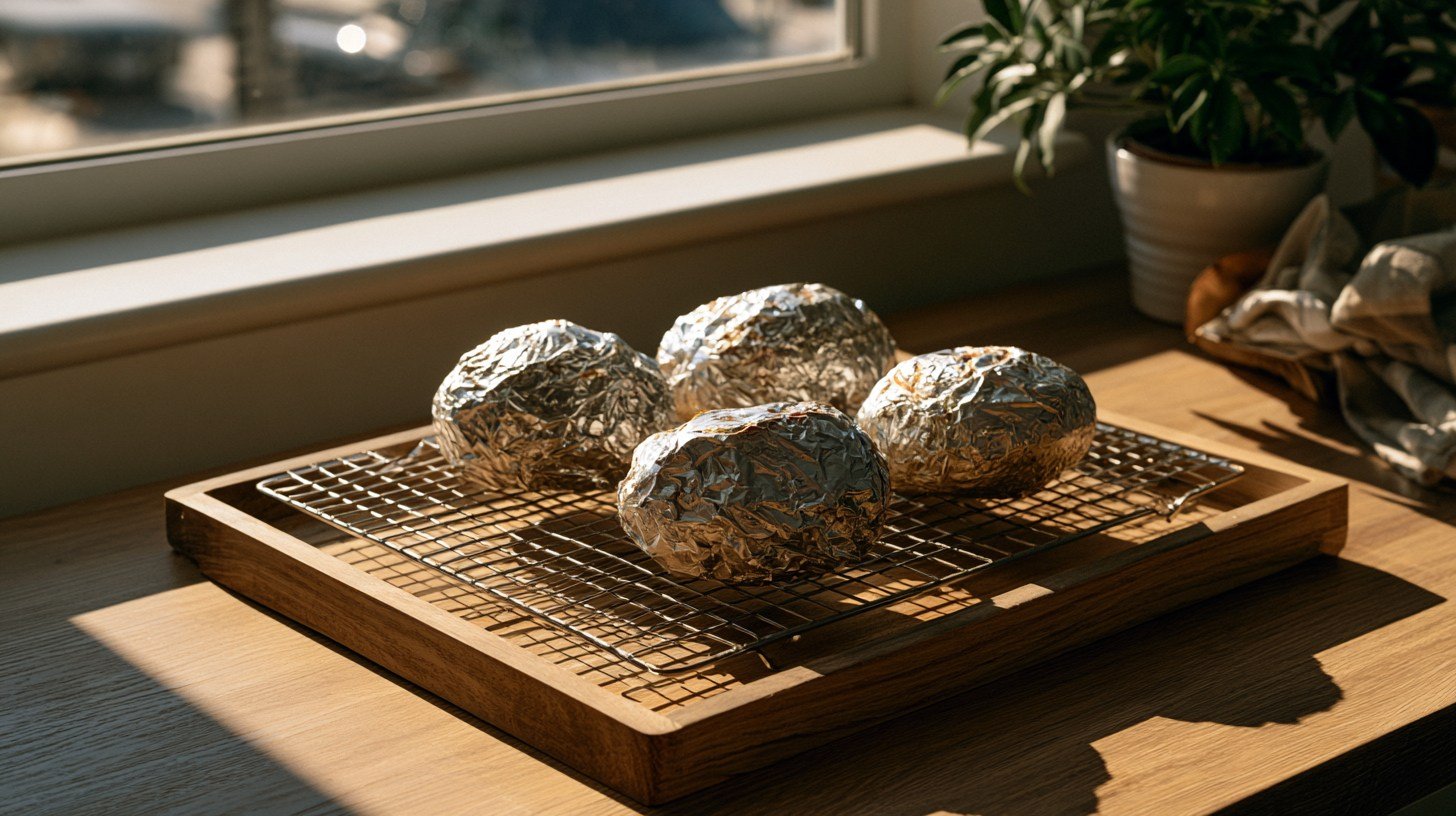
Let the beets sit wrapped in foil for about 10 minutes after you pull them from the oven. Opening them right away makes them harder to handle and the skins harder to remove.
The resting time also lets residual heat finish softening the center, which means you will not end up with a spot that is still slightly firm in the middle.
Step 5: Peel and Serve
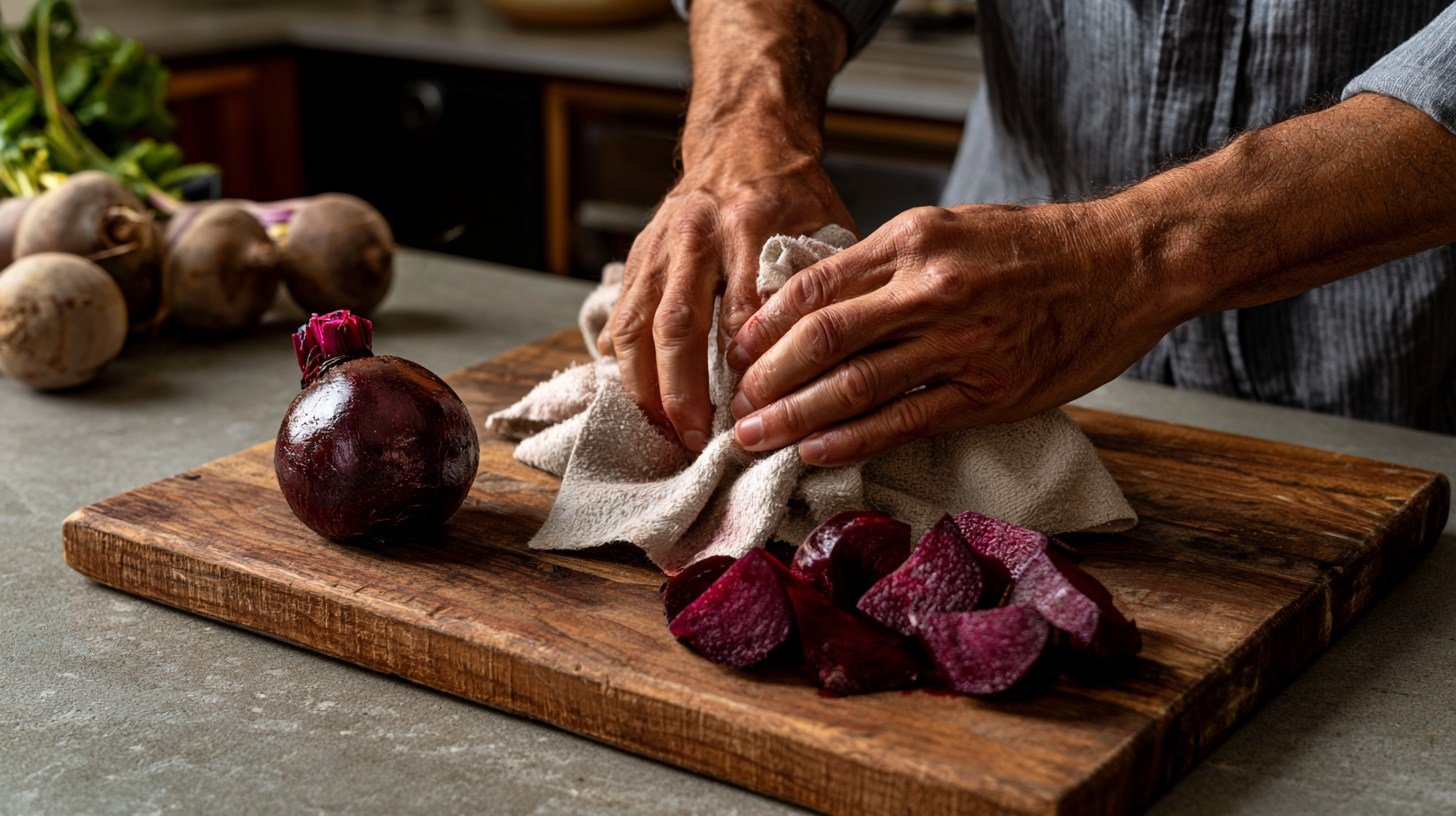
Once cooled, rub the skins off with a paper towel or your fingers, the skins should slip off without any knife work
Slice, cube, or serve the beets whole depending on what you are making. If you prefer to skip peeling altogether, the section directly below covers when that works best.
No-Peel Option: Do You Actually Have to Peel Roasted Beets?
You do not have to peel roasted beets. Beet skin is completely edible and turns thin and papery once it's fully roasted, instead of staying tough the way it is raw. As long as you scrub them well beforehand, the skin is safe to eat.
Baby and small beets are the best candidates for skipping the peel since their skin is naturally thin and nearly disappears into the flesh. Larger beets have a thicker, slightly chewier skin, so peeling is more worthwhile there.
For rustic dishes like grain bowls or salads with bold dressings, leaving the skin on is a perfectly reasonable shortcut.
The flavor is a touch earthier with the skin on, while peeling gives you a cleaner, milder bite.
Best Oven Temperature for Roasted Whole Beets
The right temperature depends on how much time you have and what else is in the oven.
| Temperature | Estimated Time | Best For |
| 375°F (190°C) | 70–90 minutes | Roasting alongside other dishes at a lower shared temp |
| 400°F (204°C) | 45–60 minutes | Most home cooks best balance of speed and tenderness |
| 425°F (218°C) | 40–50 minutes | When you need speed; watch smaller beets closely |
Regardless of temperature, always use the fork test rather than the timer alone. Beet size varies, and a small beet at 400°F may be done in 40 minutes while a large one needs the full hour.
How to Serve Roasted Whole Beets
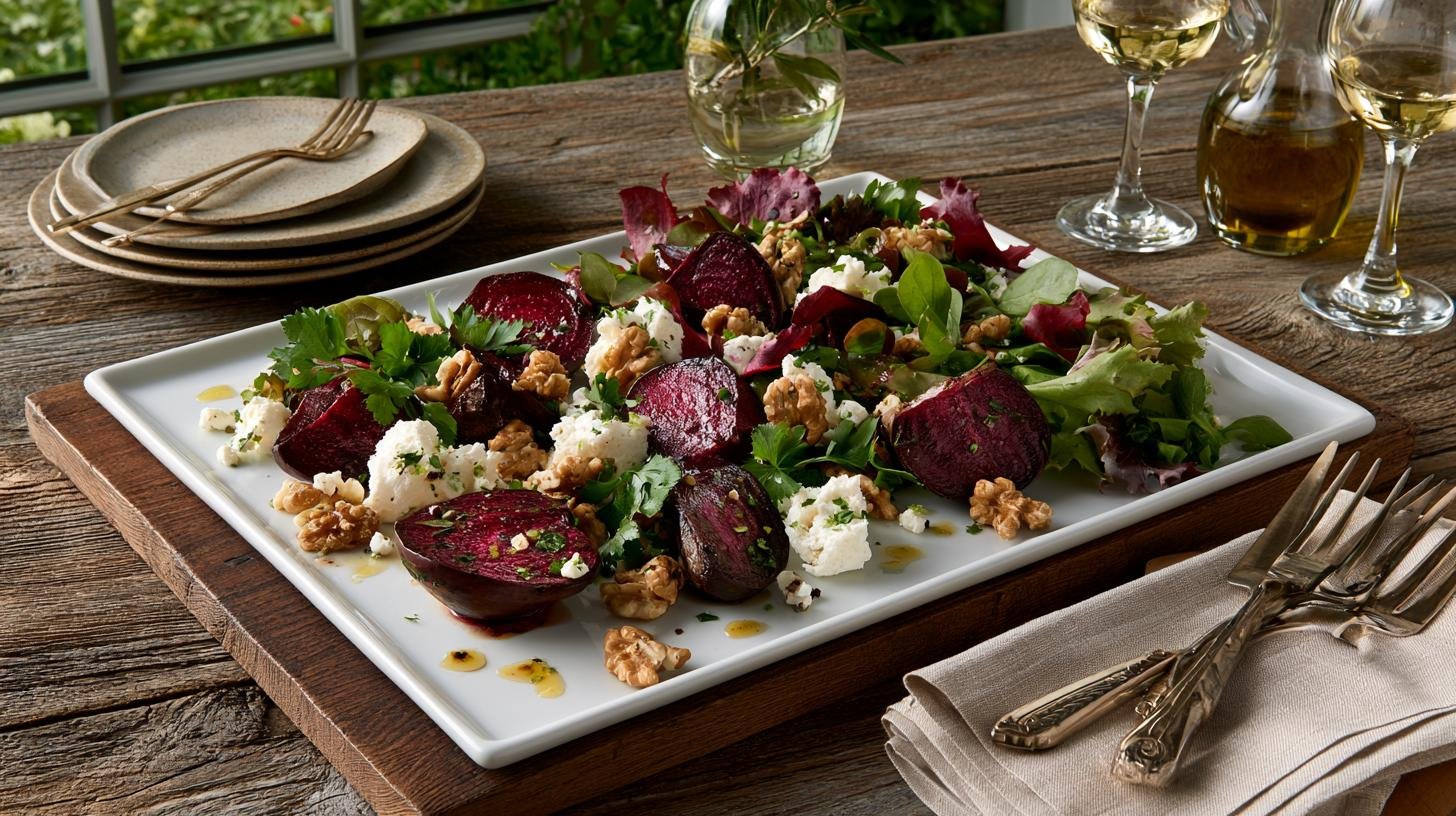
Once your beets are ready, there are plenty of ways to enjoy them, whether you want something light and simple or a full meal built around them.
Their natural sweetness makes them flexible enough to fit into salads, bowls, sandwiches, or as a straightforward side dish alongside almost any protein.
Simple Olive Oil and Vinegar Dressing
Toss sliced beets with olive oil, a splash of vinegar, salt, and pepper right before serving.
This light dressing lets the natural sweetness of the beets shine without covering it up, and it takes barely a minute to throw together once the beets are peeled and sliced.
It also works well as a make-ahead option for busy weeknights.
Roasted Beet Salad Ideas
Pair beets with goat cheese, walnuts, and greens for a classic salad that never really goes out of style.
The mix of creamy, crunchy, and earthy flavors works really well together and comes together in minutes, especially if you've already got roasted beets sitting in the fridge from earlier in the week.
Grain Bowls and Pasta Dishes
Add cubed beets to a grain bowl with quinoa or farro, or toss them into pasta with olive oil and herbs for something a little heartier.
They bring color and a subtle sweetness to both dishes, and they hold up well even after sitting in a bowl with warm grains or sauce for a few minutes.
Side Dishes for Chicken, Fish, and Steak
Roasted beets make a simple side for almost any protein, since their natural sweetness balances out richer, savory main dishes.
Their earthy flavor pairs especially well with grilled chicken, baked fish, or a seared steak, and they need little more than a drizzle of olive oil to round out the plate.
Sandwiches and Wraps
Thin beet slices add crunch and color to sandwiches and wraps, especially when layered alongside something creamy to balance their earthiness.
Try them with hummus, greens, and feta for a quick lunch that still feels put together, or tuck a few slices into a wrap with grilled chicken for something more filling.
Common Mistakes When Roasting Whole Beets
Avoid these missteps for consistently good results:
- Mixing very different beet sizes in one batch. Small beets finish much faster than large ones. If your beets vary significantly in size, check the smaller ones earlier or separate them onto different baking sheets.
- Not sealing the foil tightly enough. Loose foil lets steam escape, which dries out the beets and slows cooking. Wrap each beet snugly so the packet holds its shape in the oven.
- Pulling them out without testing. Timer estimates vary based on beet size. Always do the fork test before unwrapping the fork should glide in with almost no resistance.
- Peeling before roasting instead of after. Removing the skin before cooking causes the beet to lose moisture and color during roasting. Always peel after.
- Cutting stems and roots too close to the body. Trimming into the flesh opens the beet up and lets moisture and color escape during cooking. Leave a short stub on both ends.
Conclusion
I hope this makes roasting beets feel a lot less intimidating.
I remember my first try turned out chewy because I rushed the process, but once I slowed down and followed these steps, it became one of my go to side dishes.
Give this method a try the next time you have beets on hand. If it works for you, drop a comment and let me know how it turned out.
Feel free to share this post with anyone who could use a simple beet recipe, or check out more of my recipes for other easy ideas.
Frequently Asked Questions
Can I roast beets ahead of time?
Yes. Roasted beets keep well in the fridge for up to five days, which makes them a practical choice for meal prep.
Store them still wrapped in foil or in an airtight container, and peel them right before serving for the best texture and color.
Can I roast beets with the greens still on?
It is best to trim the greens before roasting. Leaving them attached causes uneven cooking and makes the beets harder to wrap tightly, since the greens get in the way of a snug foil seal.
Save the trimmed greens for a quick sauté rather than tossing them out, they cook down quickly with olive oil and garlic.
Do roasted beets taste different from boiled ones?
Yes, noticeably so. Roasting keeps the natural sugars inside the beet the entire time it cooks, which produces a sweeter, richer flavor.
Boiling washes both flavor and color out into the cooking water. Most people who try both side by side prefer roasted for that reason alone.
Can I freeze roasted beets?
Yes. Let them cool completely, then peel and slice or cube them before transferring to a freezer-safe bag. They keep for up to three months.
Thaw in the fridge before using freezing softens the texture slightly, so frozen beets work best in cooked dishes rather than fresh salads.
Do I have to peel roasted beets?
No. The skin turns thin and easy to eat once the beets are fully roasted, especially on baby or small beets where it is barely noticeable.
Larger beets have a slightly thicker skin, so peeling those comes down to personal preference. Either way, a thorough scrub before roasting is the only prep the skin needs.