Tomato Paste
Please note, this post is meant as an overview of canning tomato paste and does not replace or represent itself to be an official guide for proper canning at home. It is important to consult safe canning resources, which are listed at the end of this post.
It’s gotten to the end of the tomato season in my Pacific Northwest garden. The vines are getting dark and the tomatoes are slow to ripen and spotty. I’ve brought many inside the garage to finish ripening, but I don’t completely trust their condition, as some of them grow mold inside, so I cut them open before using to make sure they’re okay. Not really great tomatoes for canning whole, but perfect for making tomato paste.
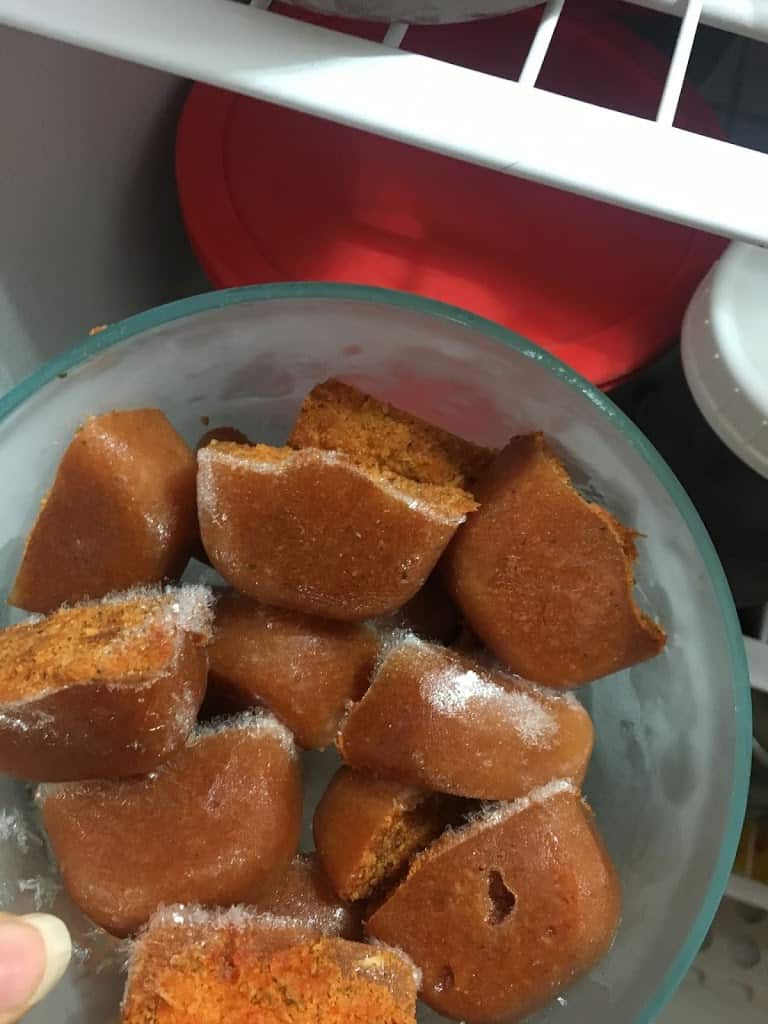
Frozen tomato paste cubes
Because I wanted to can the tomato paste, I used a recipe from the National Center for Home Food Preservation, but you can certainly freeze tomato paste. In fact, most of the time I only need a tablespoon or so of tomato paste, not a whole can or jar, and freeze the leftover paste in ice cube trays and store the frozen cubes in jars in my freezer. You can do the same with marinara sauce, pesto, guacamole, etc. If you want to just simply freeze your paste, follow the directions up until the point of canning, then put the paste into freezer-safe jars or ice cube trays and freeze.
Frozen tomato paste cubes
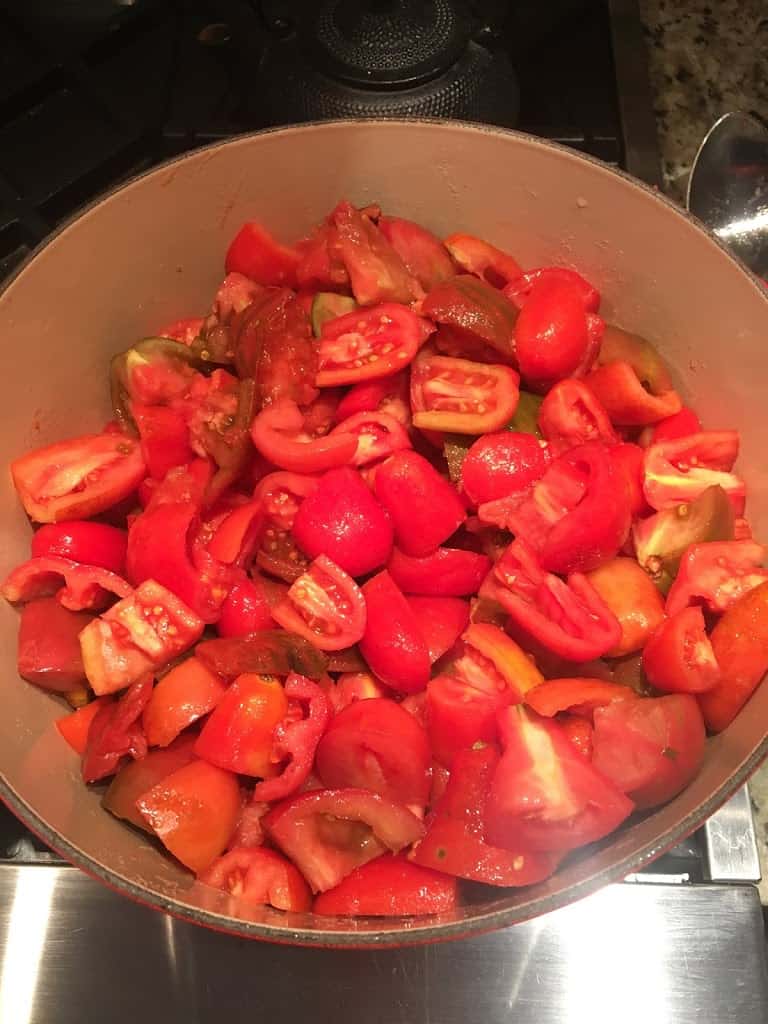
The first step is to cut up washed tomatoes and simmer them into a sauce. You don’t even have to peel them, which makes prep fast and easy! No water is necessary as the tomatoes will release their own liquid as they cook. Just stir often at the beginning so they don’t stick to the bottom of the pan and burn. Once they’ve come to a boil, turn the heat down to a simmer, put the lid on, and let them cook down an hour.
I used mostly paste tomatoes, which don’t have a lot of excess liquid in them to cook off. There were some unknown non-paste heirlooms in there that I got as freebies from a market vendor.
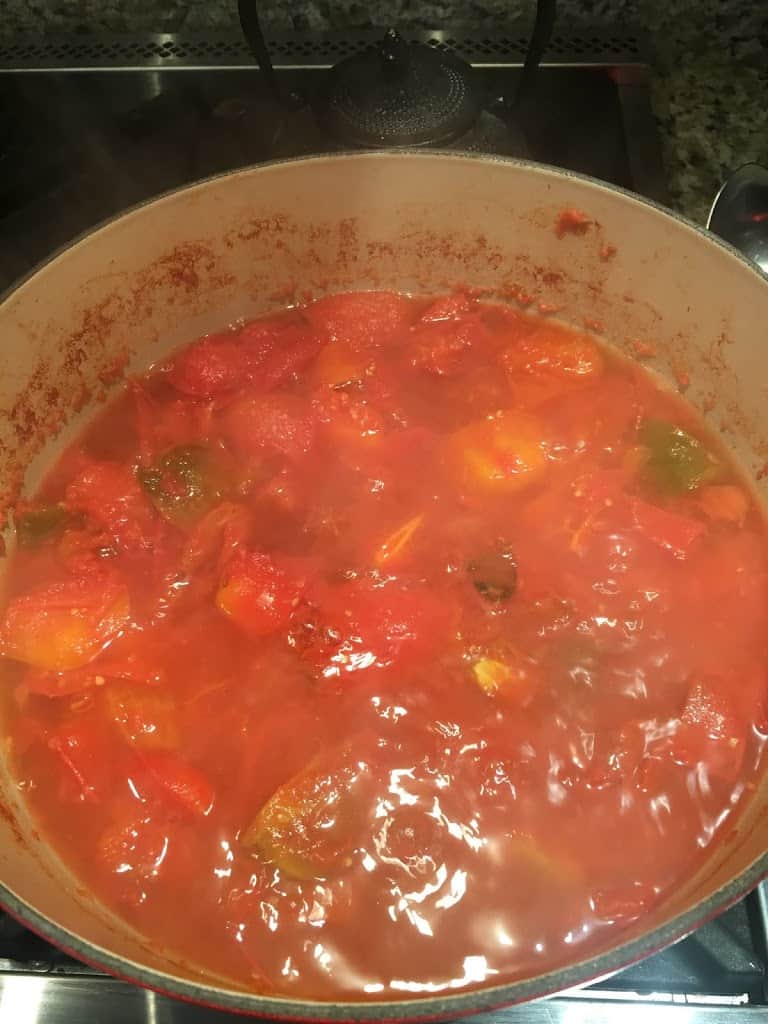
Cooked down tomatoes
Your tomatoes will look like this after they’ve cooked down.
See how juicy and soft they got? You want them really cooked down so you can get all the pulpy and juicy goodness out of the skins.
Note, I prefer to use stainless steel or lined pots when cooking down tomatoes. The acid in the tomatoes will react with aluminum or cast iron and give the finished product a metallic taste and often discolors it. I use a Le Creuset enameled cast iron pot for making tomato paste.
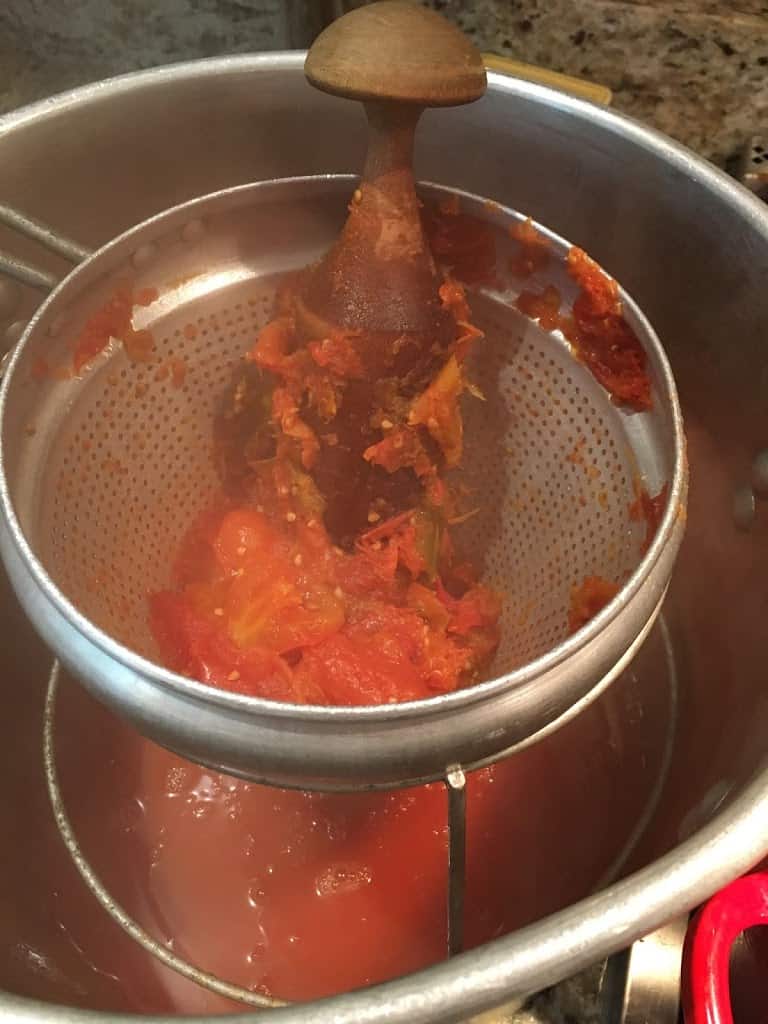
Pressing through cone sieve
Now you’ll run the cooked tomatoes through a food mill or press them through a sieve to separate the skins and seeds from the juice and pulp.
You can add the leftover skins and seeds to other vegetable scraps to make vegetable stock. There will be a lot of tomato essence still left. Or you can cool and give to composting worms! At the very least, add them to your compost pile or municipal compost collection bin.
Pressing through cone sieve
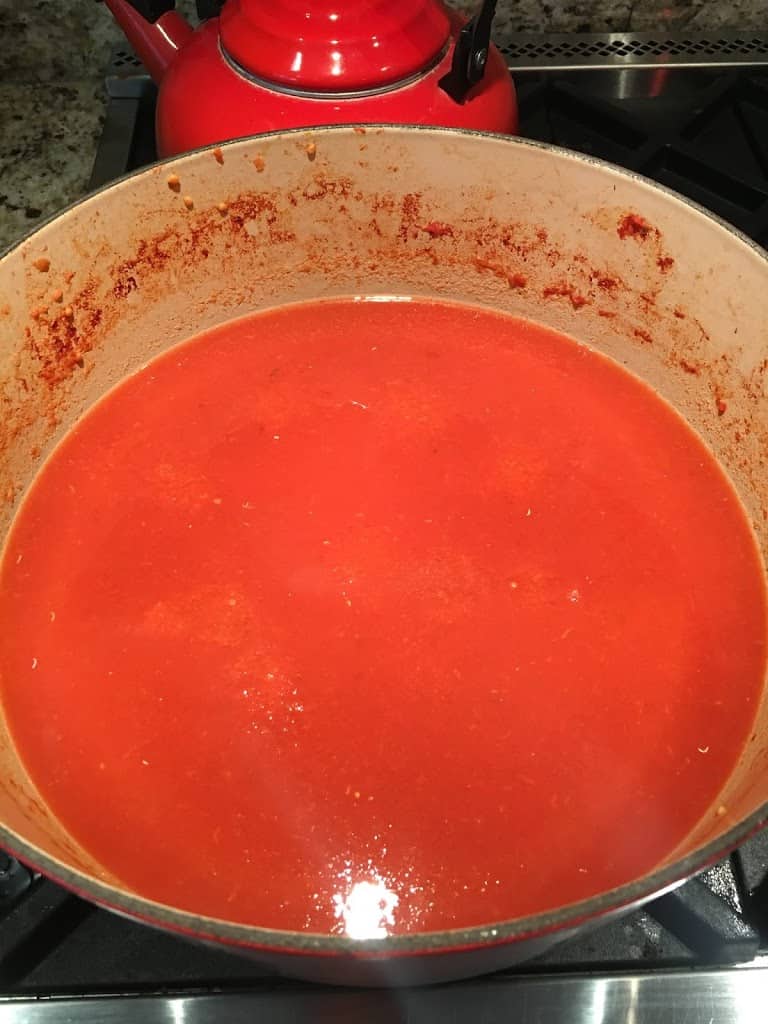
The juice is returned to the pot and simmered until it reduces by more than half and becomes a paste. It took about an hour for me, but I was doing a half recipe with paste tomatoes, so time will vary based upon the amount of tomatoes and type of tomatoes you use.
You can add bay leaf and garlic at this point, if you’d like, and also add citric acid. You’ll need citric acid if you are canning your paste so the mixture is acidified enough for safe canning. If you are not canning, just freezing, you can omit the citric acid.
Run your ventilation fan while this is cooking down to help pull off the moisture and help it cook down.
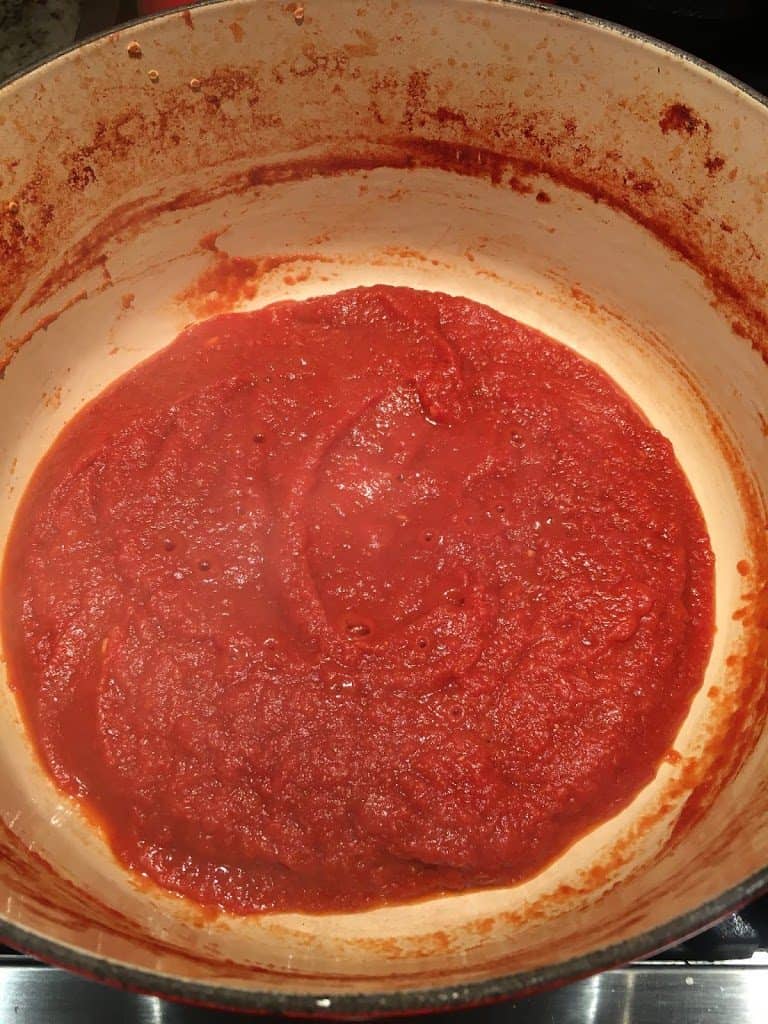
The paste will get thicker and denser little by little as the liquid cooks off:
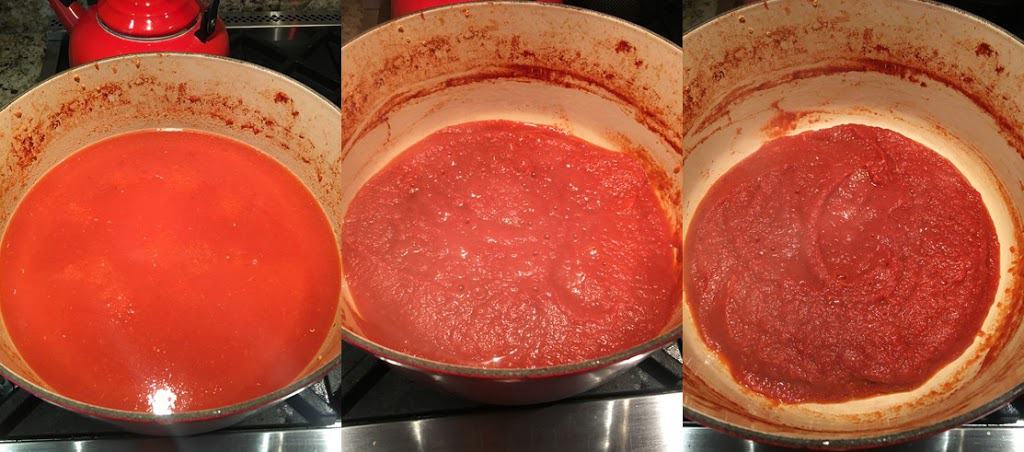
From juice (left) to sauce (middle) to paste (right)
You want to cook it down until it is reduced into a thick paste and holds its own. Here’s a little video of what it looks like when you run a spatula through it (I have my vent fan turned all the way up, so its a little loud!). See how slow it is to fill the space back in? This is where you want to take the paste to:
Tomato Paste Goal
This is where you want to cook tomato paste down to. You want to cook it down until it is reduced into a thick paste and holds its own. Here’s what it looks like when you run a spatula through it (I have my vent fan turned all the way up, so its a little loud!).
Now you can remove the garlic and bay leaf, if you used, and fill into hot half-pint or quarter-pint jars. I use quarter-pint (4-ounce jars) because I don’t use a lot of tomato paste at a time.
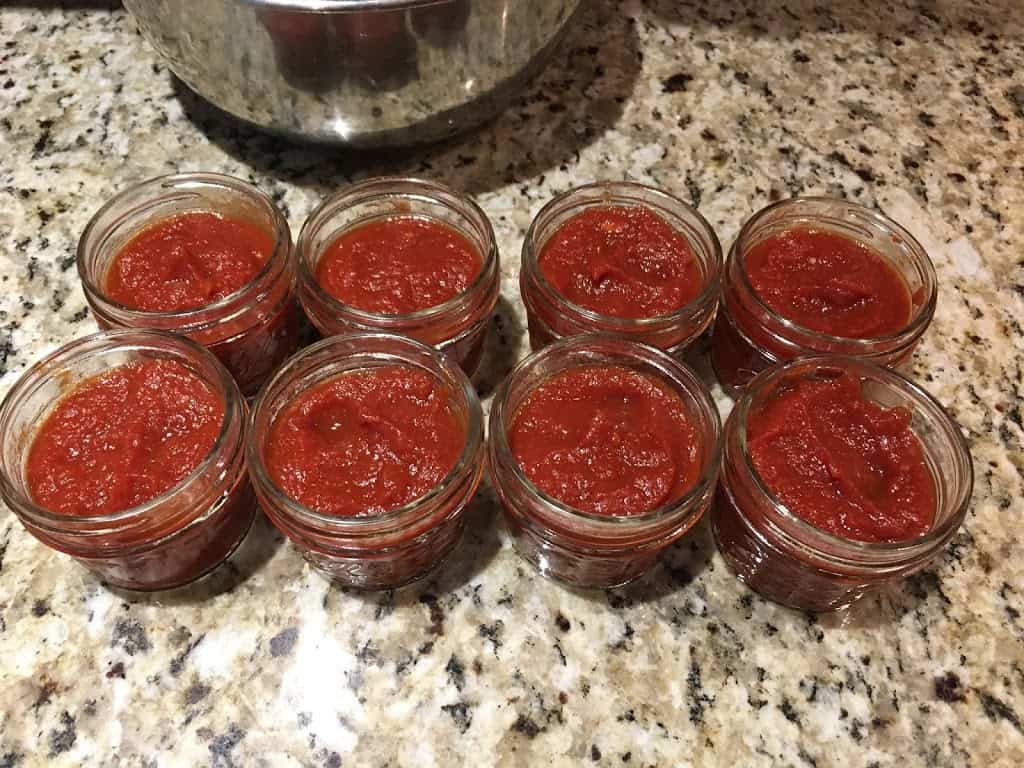
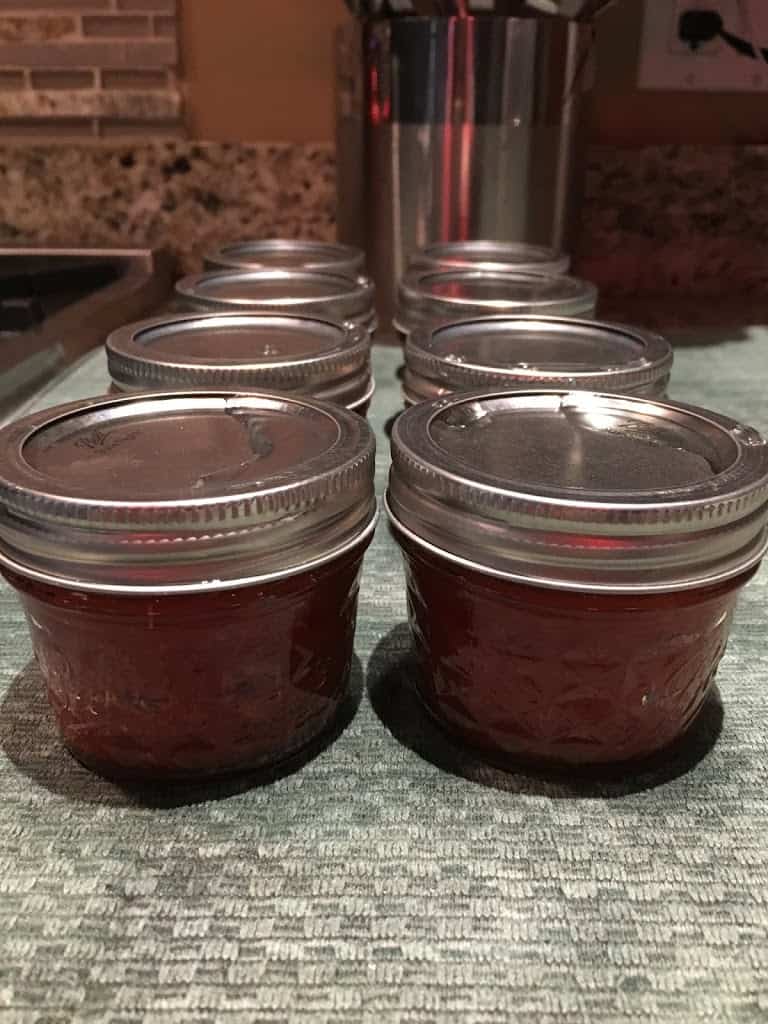
8 4-oz. jars of tomato paste
This is the amount of paste I got from 7 pounds of tomatoes. It is really concentrated tomato, each little jar is the flavor of about 1 pound of tomatoes! A lot of folks won’t find it worth it to make tomato paste, but I think it tastes better in glass than an aluminum can and I know it’s not lined with BPA or BPS plastic. Furthermore, it’s way easier to store after opening. I can scoop out what I want, replace the lid, and either refrigerate if I’m using again soon, or pop in the freezer.
Process these in a boiling water bath for 45 minutes for half- or quarter-pint jars, if at sea level. Check the recipe for other altitudes.
Canned jars of tomato paste cooling from water canner
Resources
There are some great resources available for home canning. Internet resources are fantastic as they are generally most up to date. There are some standby books, but remember to get new ones every few years to be current with updated guidelines.
Ball® Blue Book® Guide to Preserving
National Center for Home Food Preservation
North Dakota State University Extension Canning Publications
Washington State University Extension Food Preservation
Iowa State University Preserve the Taste of Summer Online Canning Class
Do you like this post? Please share....
[mashshare]
If you liked this post, you might like one of these:


")


")


")
Tags:

[Trī-māz-ing]
Cindy wants you to be Trimazing—three times better than amazing! After improving her health and fitness through plant-based nutrition, losing 60 pounds and becoming an adult-onset athlete, she retired from her 20-year firefighting career to help people just like you. She works with people and organizations so they can reach their health and wellness goals.
Cindy Thompson is a national board-certified Health and Wellness Coach, Lifestyle Medicine Coach, Master Vegan Lifestyle Coach and Educator, Fitness Nutrition Specialist, Behavior Change Specialist, and Fit2Thrive Firefighter Peer Fitness Trainer. She is a Food for Life Instructor with the Physicians Committee for Responsible Medicine, Rouxbe Plant-Based Professional, and Harvard Medical School Culinary Coach, teaching people how to prepare delicious, satisfying, and health-promoting meals.
She provides health and lifestyle coaching at Trimazing! Health & Lifestyle Coaching. Cindy can be reached at info@trimazing.com.
Subscribe to the Trimazing Blog
Receive occasional blog posts in your email inbox.
Subscribe to the Trimazing Blog
Receive occasional blog posts in your email inbox.