I Bastardized Our Soap—Make Your Own Liquid Castile (Bastille) Soap

Homemade Lavender Castile Soap
We use liquid castile soap for lots of things around our house—dishwashing liquid (we dilute 1:10), in our counter spray, in exterior window washing solution, hand and body soap, shampoo, etc. You can use it for washing your dog, veggie wash, and even toothpaste! I’ve been buying it in bulk, filling my own jars, but I got to wondering if it was something that I could make myself. I remember my dad talking about how they made their own soap when he was a kid, of course it was made from animal fat and fireplace ashes, not vegan and I don’t have fireplace ashes.
Turns out, you can make your own liquid castile soap! It just takes a few ingredients (no animal products or fireplace ashes required!), some equipment you may already have or can pick up at a thrift store, and some time. Making soap is fun, makes a ton, making it cheaper than buying it, even in bulk, and very satisfying. It’s a great family project too. And you can make any scent you’d like—I’ve even made it as gifts for family and friends, using their favorite scents, ones that aren’t available in commercially made castile soaps.
After posting pics of my finished castile soap on Instagram, a friend informed me that it is technically Bastille soap, not castile soap, because it contains coconut oil. Technically castile soap contains only olive oil for the oil base, so making it with other oils “bastardizes” it, thus the name Bastille. Dr. Bronner’s castile soap, which is what I’ve used for years and years, also contains other oils, so it too is technically a Bastille soap. Why does adding other oils make a difference? Pure castile soap, with only olive oil, does not lather. Some people prefer to have some bubbles with their soap, although the bubbles can pull oils from the skin, making it less moisturizing, so they choose castile. I’ve never noticed that Dr. Bronner’s castile soap was causing any dry skin, so I’m good with the Bastille soap.
To be honest, I was pretty nervous about making castile soap the first time due to the lye. All I could think about were the Little House on the Prairie The Wild Boy episodes with a boy who’d been kept in a cage and made mute by being forced to ingest lye solution as punishment. All these years later after watching that as a kid and I was STILL afraid of lye because of it! However, with safe handling and awareness, you’ll be fine.
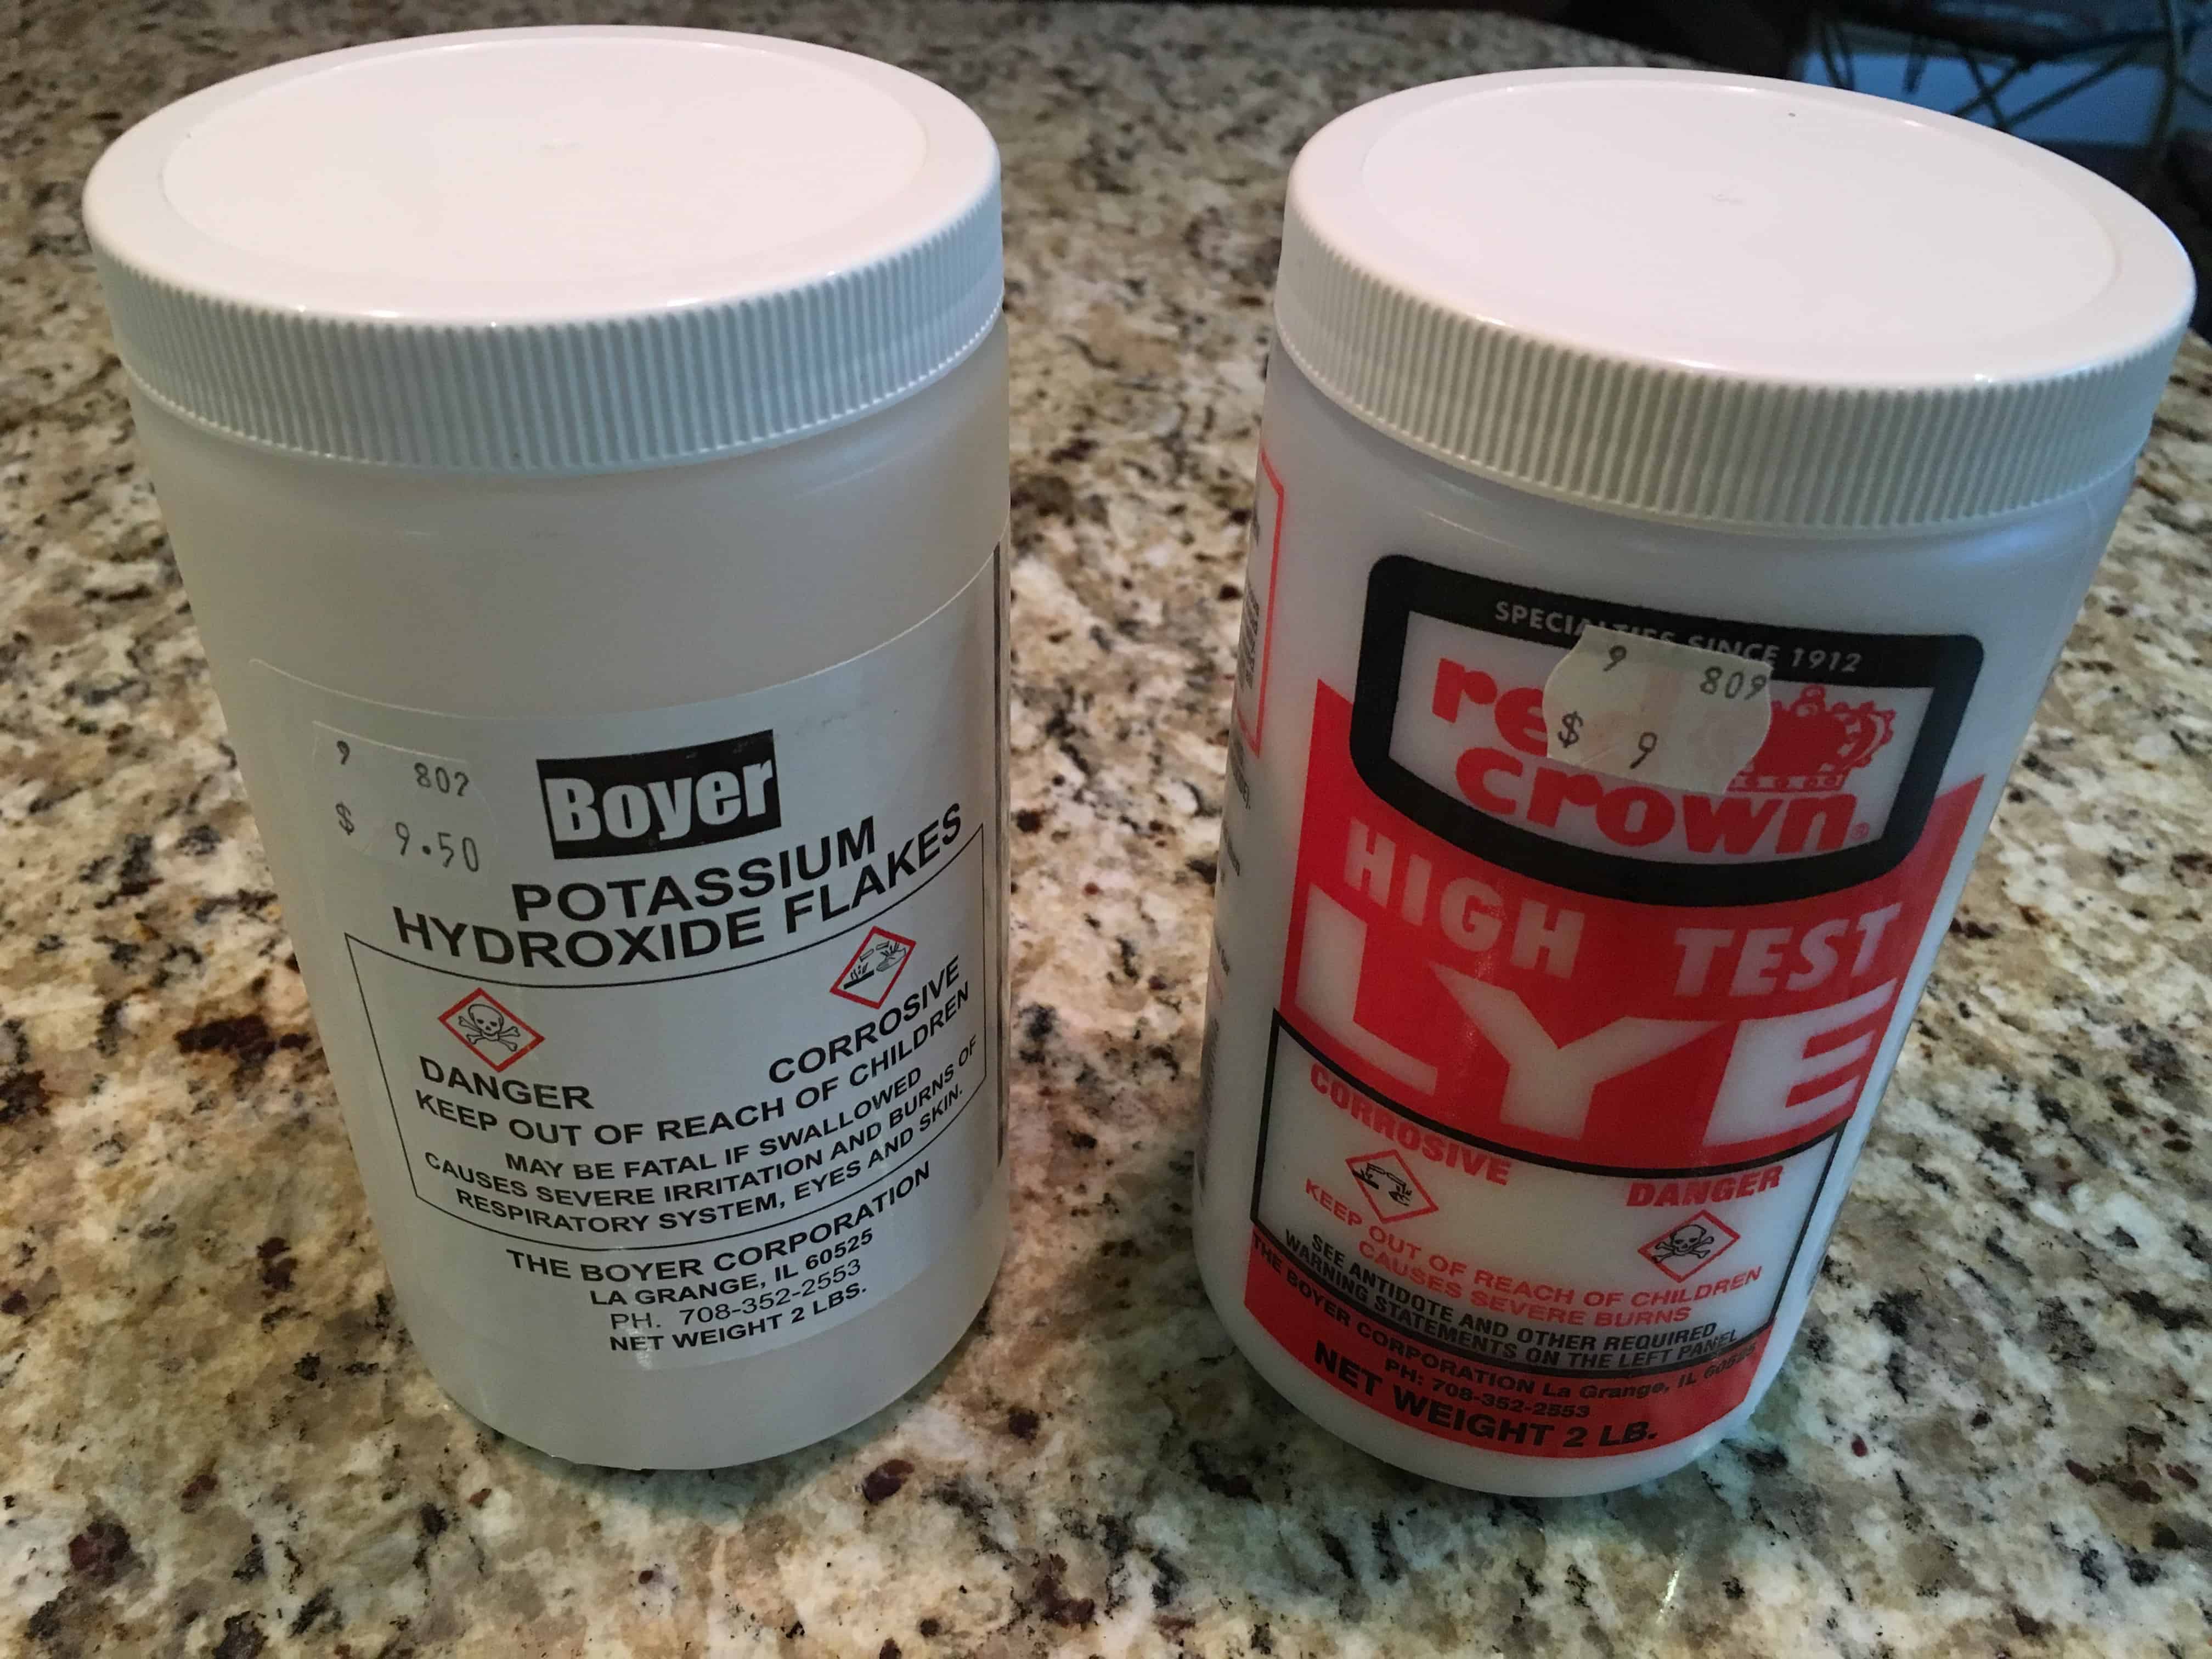
Two Types of Lye, Potassium Hydroxide (Left), Sodium Hydroxide (Right)
Lye is a strong base made from potassium or sodium. It was traditionally leached from ashes, like my dad talked about doing as a kid, but it is now obtained on a larger scale through an electrolysis process that pulls potassium- or sodium hydroxide from a solution of potassium- or sodium chloride. I personally am not interested in making my own lye, so I purchase it either at a soap supply company, like Zenith Supplies in Seattle, or at my local hardware store. As noted earlier, there are two types of lye, potassium hydroxide and sodium hydroxide, and they are not interchangeable in the soap making process. For liquid castile soap you need potassium hydroxide lye, while sodium hydroxide lye is used in making solid bar soaps—so make sure to check the container of lye you pick up to make sure it is the correct lye for the type of soap you are making, potassium hydroxide in the case of this liquid castile soap.
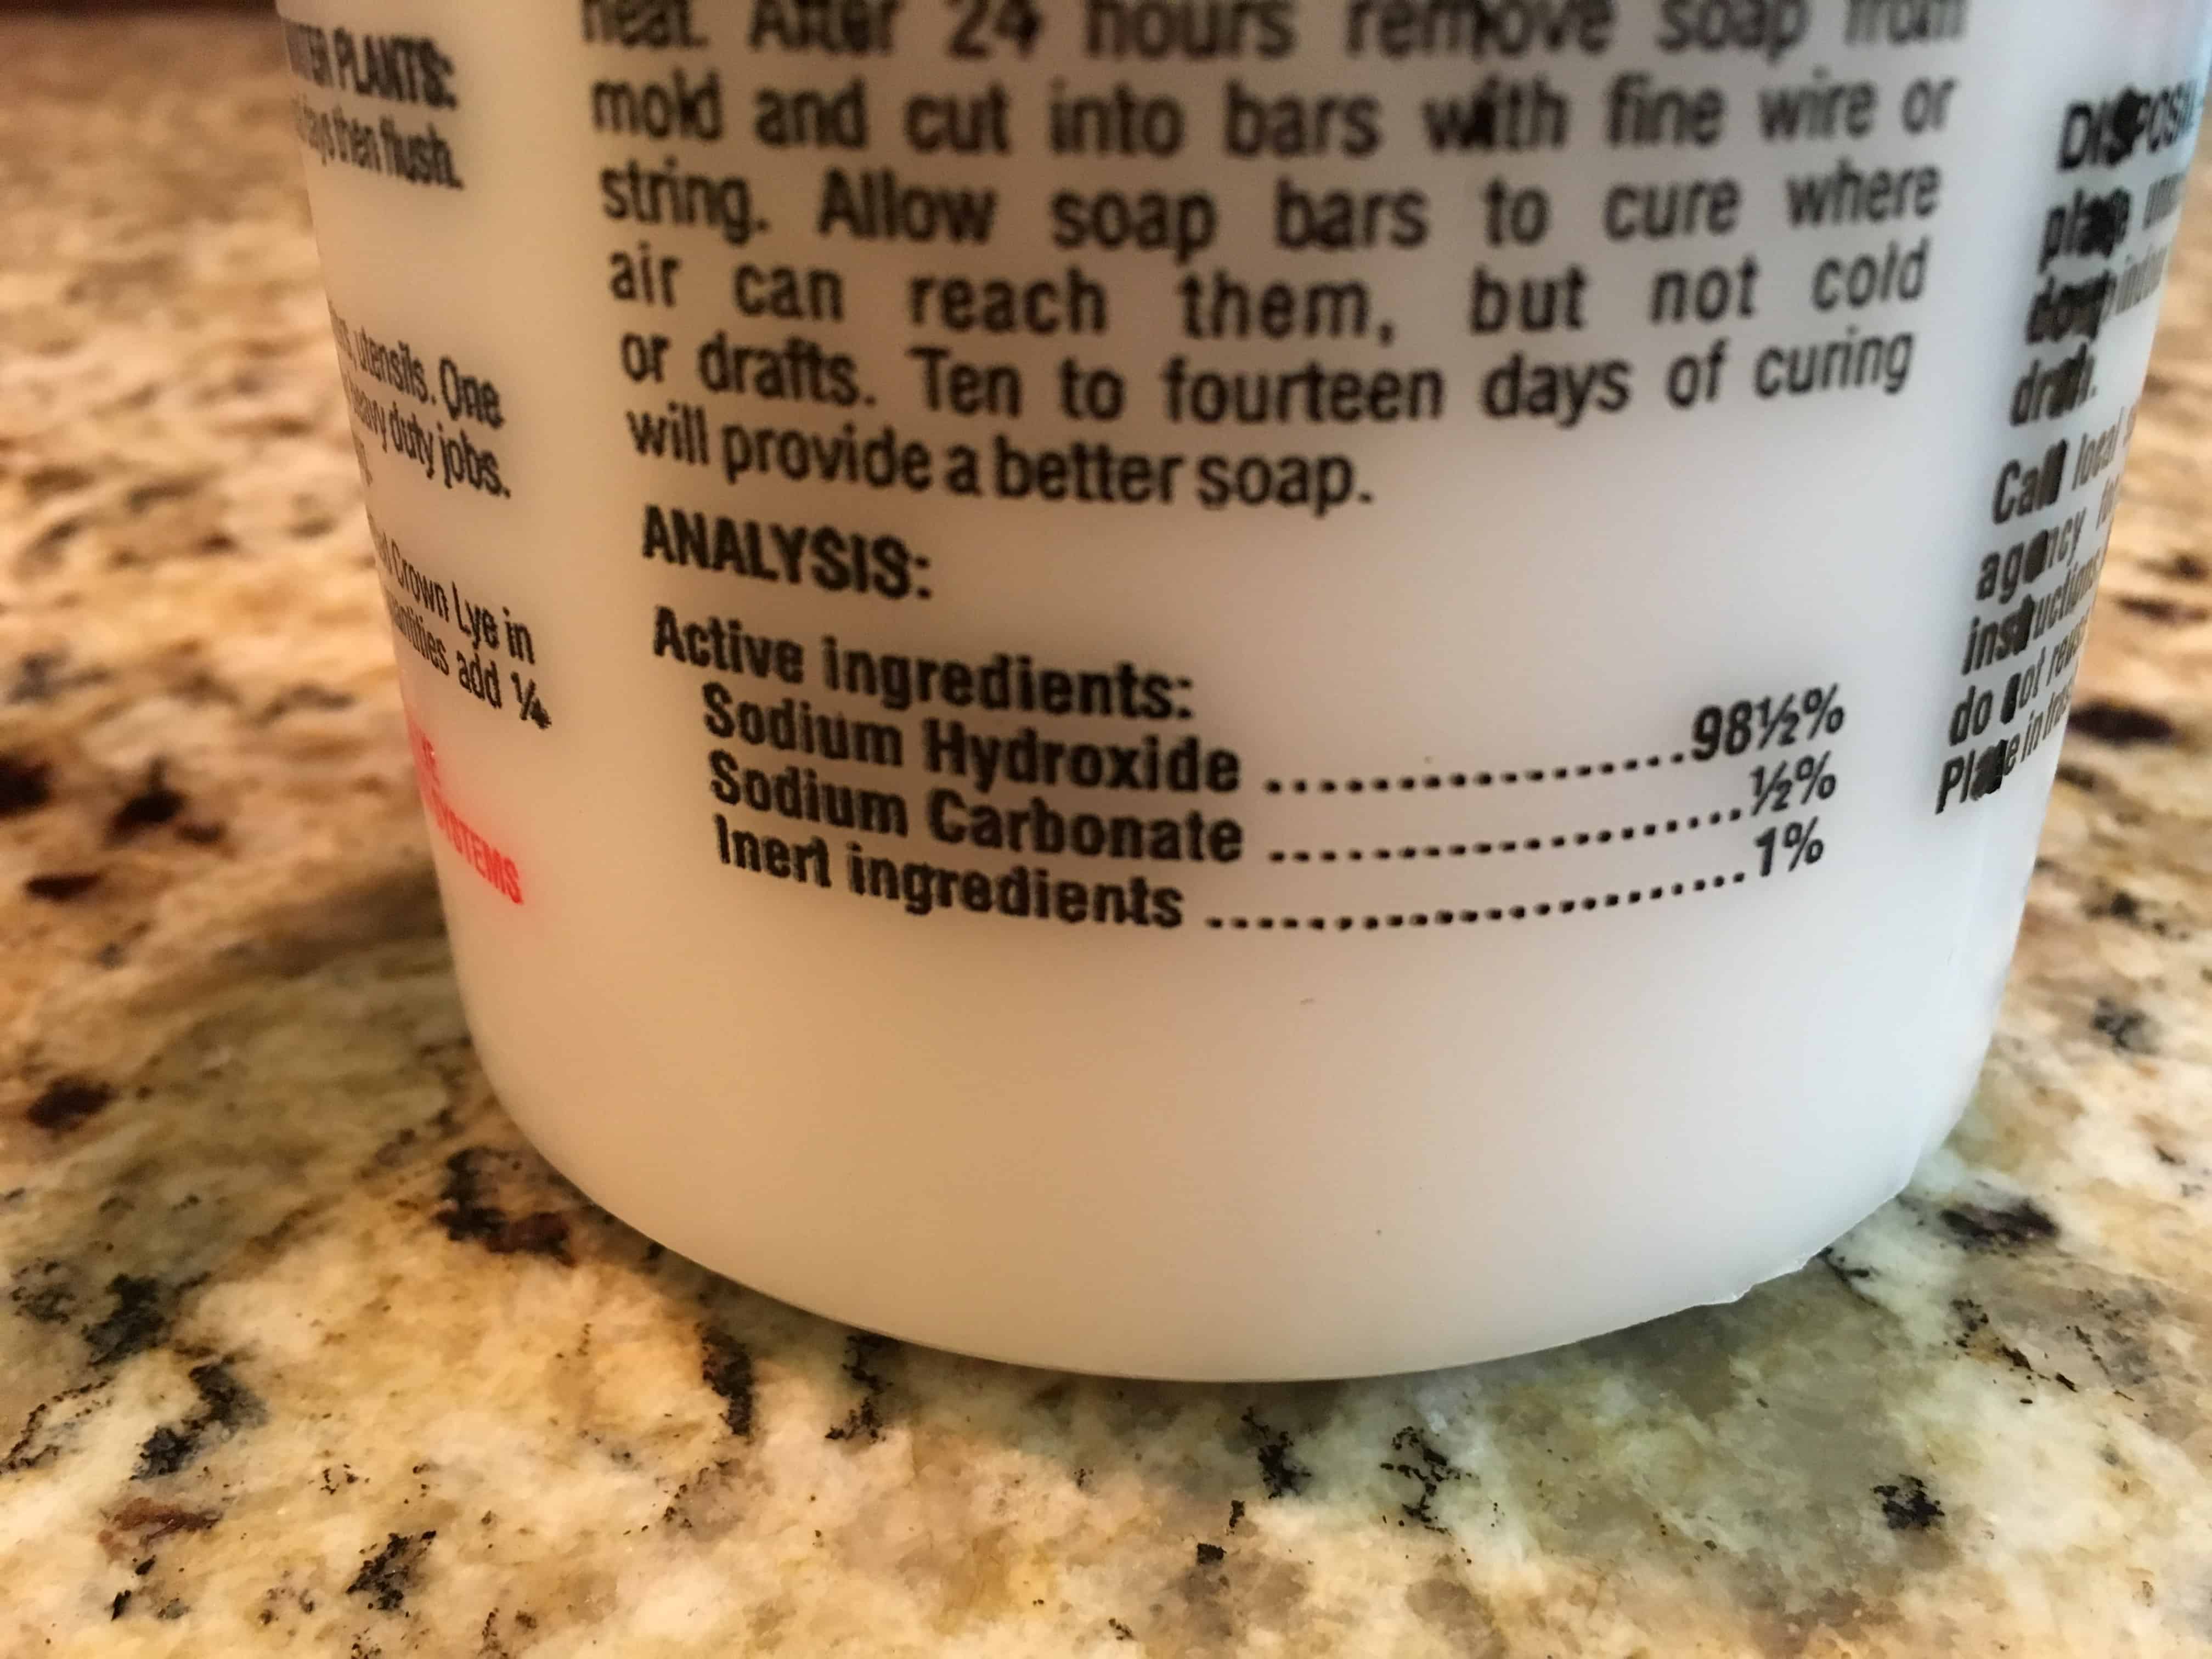
Sometimes you have to search the label to determine what type of lye it is
Because it is a strong caustic base, you need to take precautions with it. You don’t want to get lye, either solid, liquid, or gas, on your skin, in your eyes, inhaled, or ingested, so safety equipment is very important. Make sure to wear long sleeves to cover your arms, nitrile gloves, and safety eye goggles. Don’t hold your face over the lye solution and inhale the fumes that come off of it. If you do happen to get lye solution on your skin, immediately flush with water. If it’s on your clothing, remove it, rinse with water, and launder. Do NOT pour vinegar on lye-exposed skin—this is an old wive’s tale treatment and can cause additional burning. If you get lye in your eyes, rinse immediately with copious amounts of water and seek medical attention immediately, but wearing safety goggles should prevent this. Wear your safety goggles and gloves! And make sure to do this in a well-ventilated area. When using lye, do NOT use aluminum bowls as the lye will react with it, ruining both your soap and the bowl. Stainless steel and glass are good. If you’re not sure what kind of metal your bowl is, stick to glass or Pyrex to be safe. Keep it away from liquids, out of reach of children and animals. For additional information here is an MSDS sheet for potassium hydroxide

Liquid castile soap-making supplies
Here’s the tools you need:
- Crock pot with at least 1.5 gallon capacity (I picked one up at a thrift store)
- Scale that measures in grams or ounces
- Eye protection
- Nitrile gloves
- Glass or stainless steel bowls
- Stick/immersion blender (also purchased at the thrift store)
- Silicone scraper
- Stainless Steel spoon
- Well-ventilated area
Ingredients needed:
- Olive oil 680 grams (24 oz)
- Coconut oil 454 grams (16 oz). I used refined as I don’t want the coconut odor in mine.
- Potassium hydroxide lye 265 grams (9.35 oz) (note, sodium hydroxide lye is NOT interchangeable)
- Water, distilled or tap (I use tap) 14-16 cups
- Essential oil, if desired, amount varies for different oils
Process of Making Liquid Castile (Bastille) Soap
This is a 24-hour process, front-loaded on the first day, so read through the directions first and then pick a day where you have adequate time to do this!
Measure Out Your Ingredients
First measure out all of your ingredients.
You need 680 grams olive oil and 454 grams coconut oil.
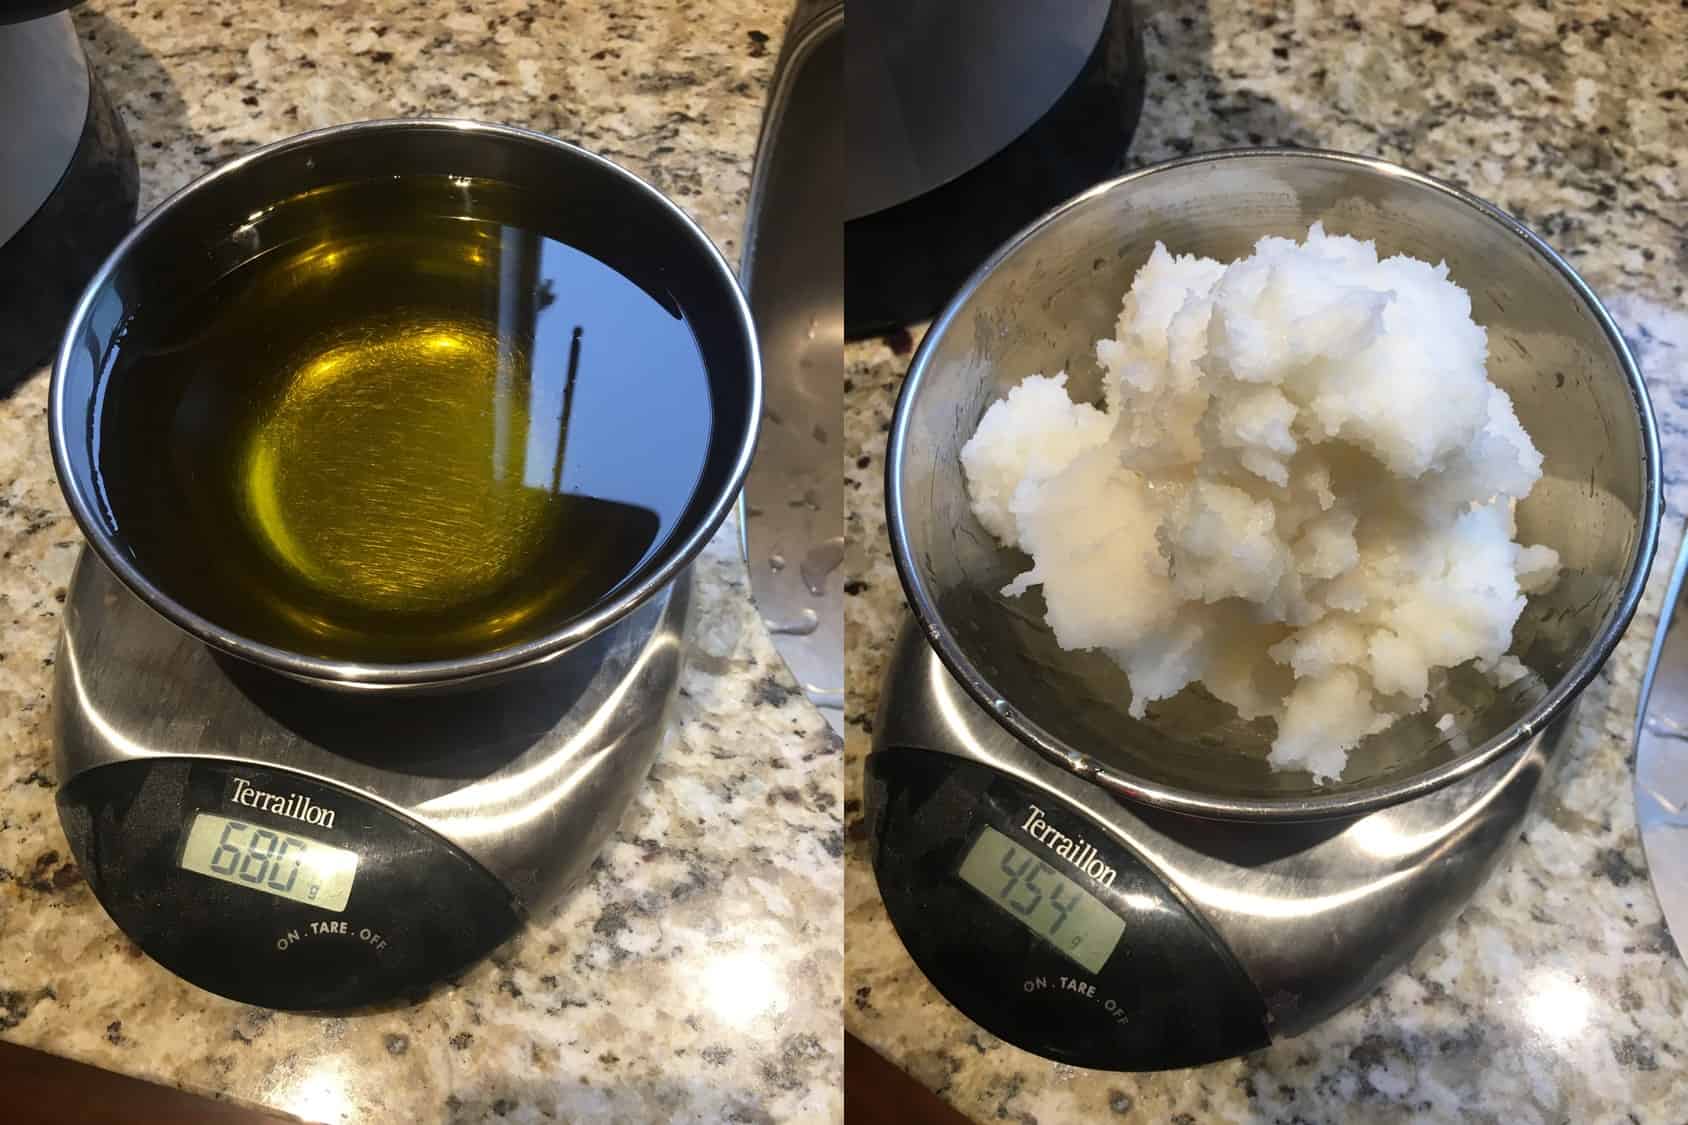
Olive oil (left), coconut oil (right) being weighed out
Measure your 265 grams of potassium hydroxide (lye) in a glass or stainless steel bowl.
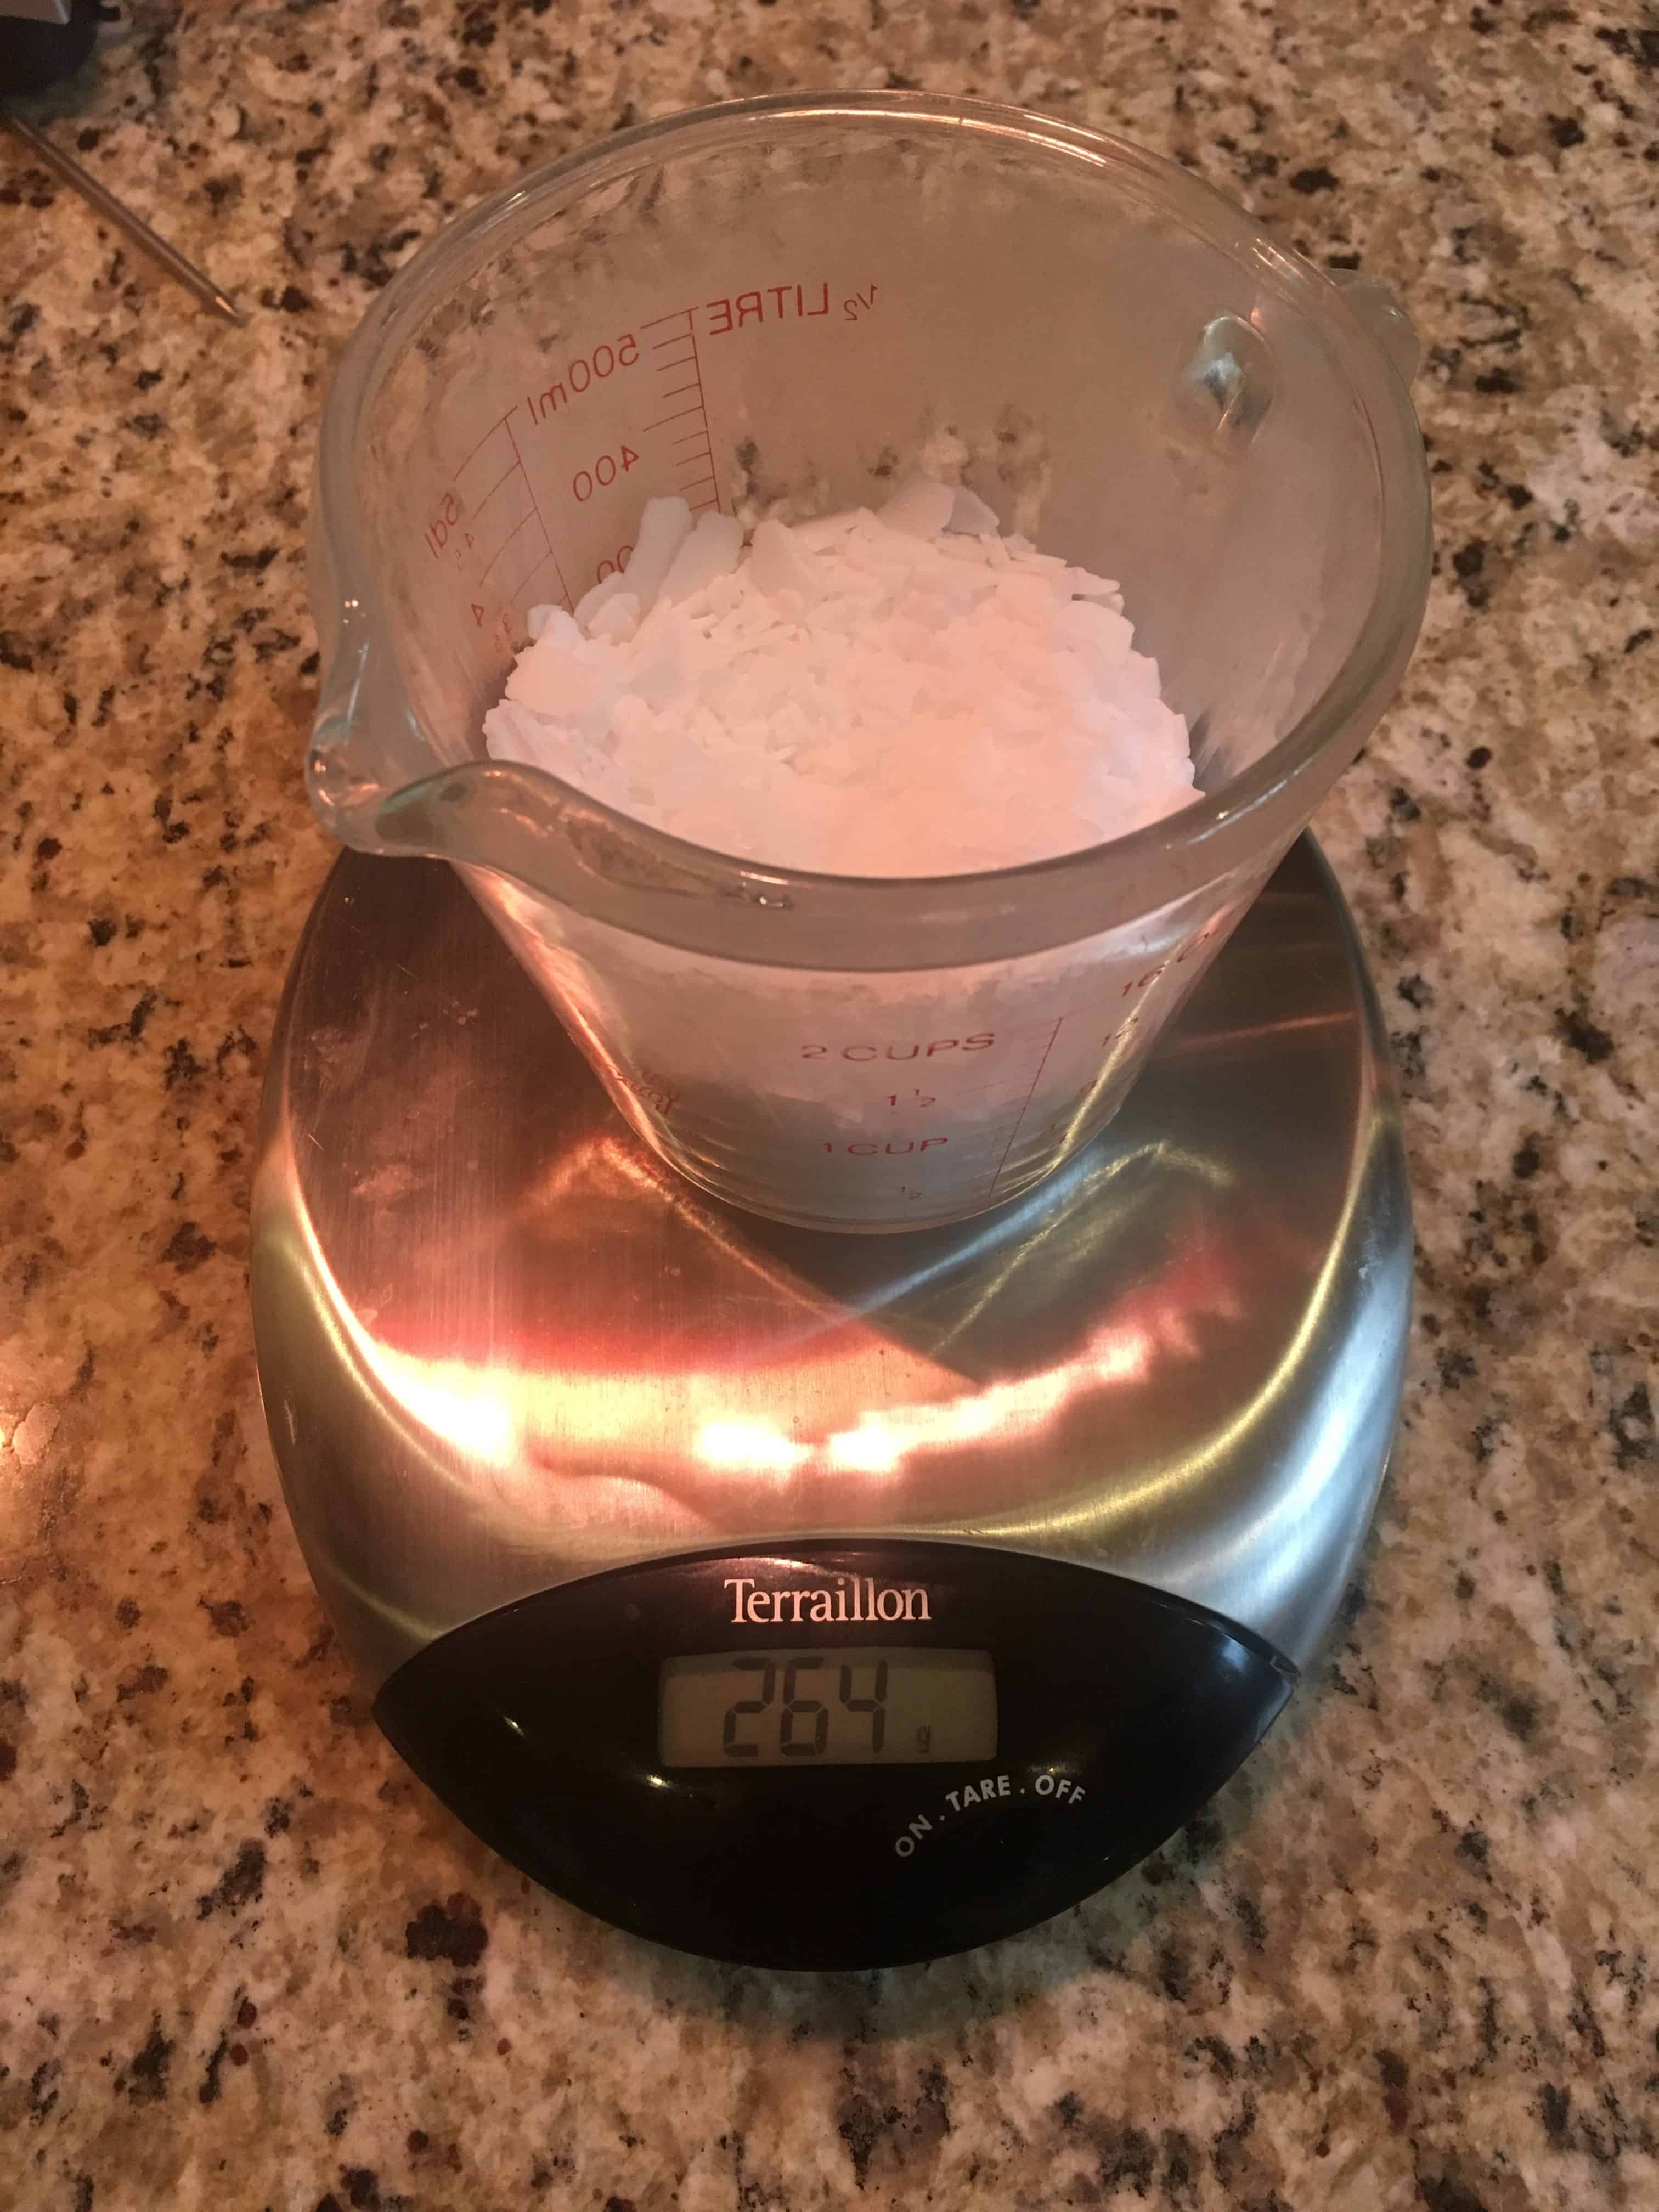
Weighing out the lye flakes
Melt The Oils
Add the olive oil and coconut oil to your crock pot, set it to High, and let the coconut oil melt completely into the olive oil.
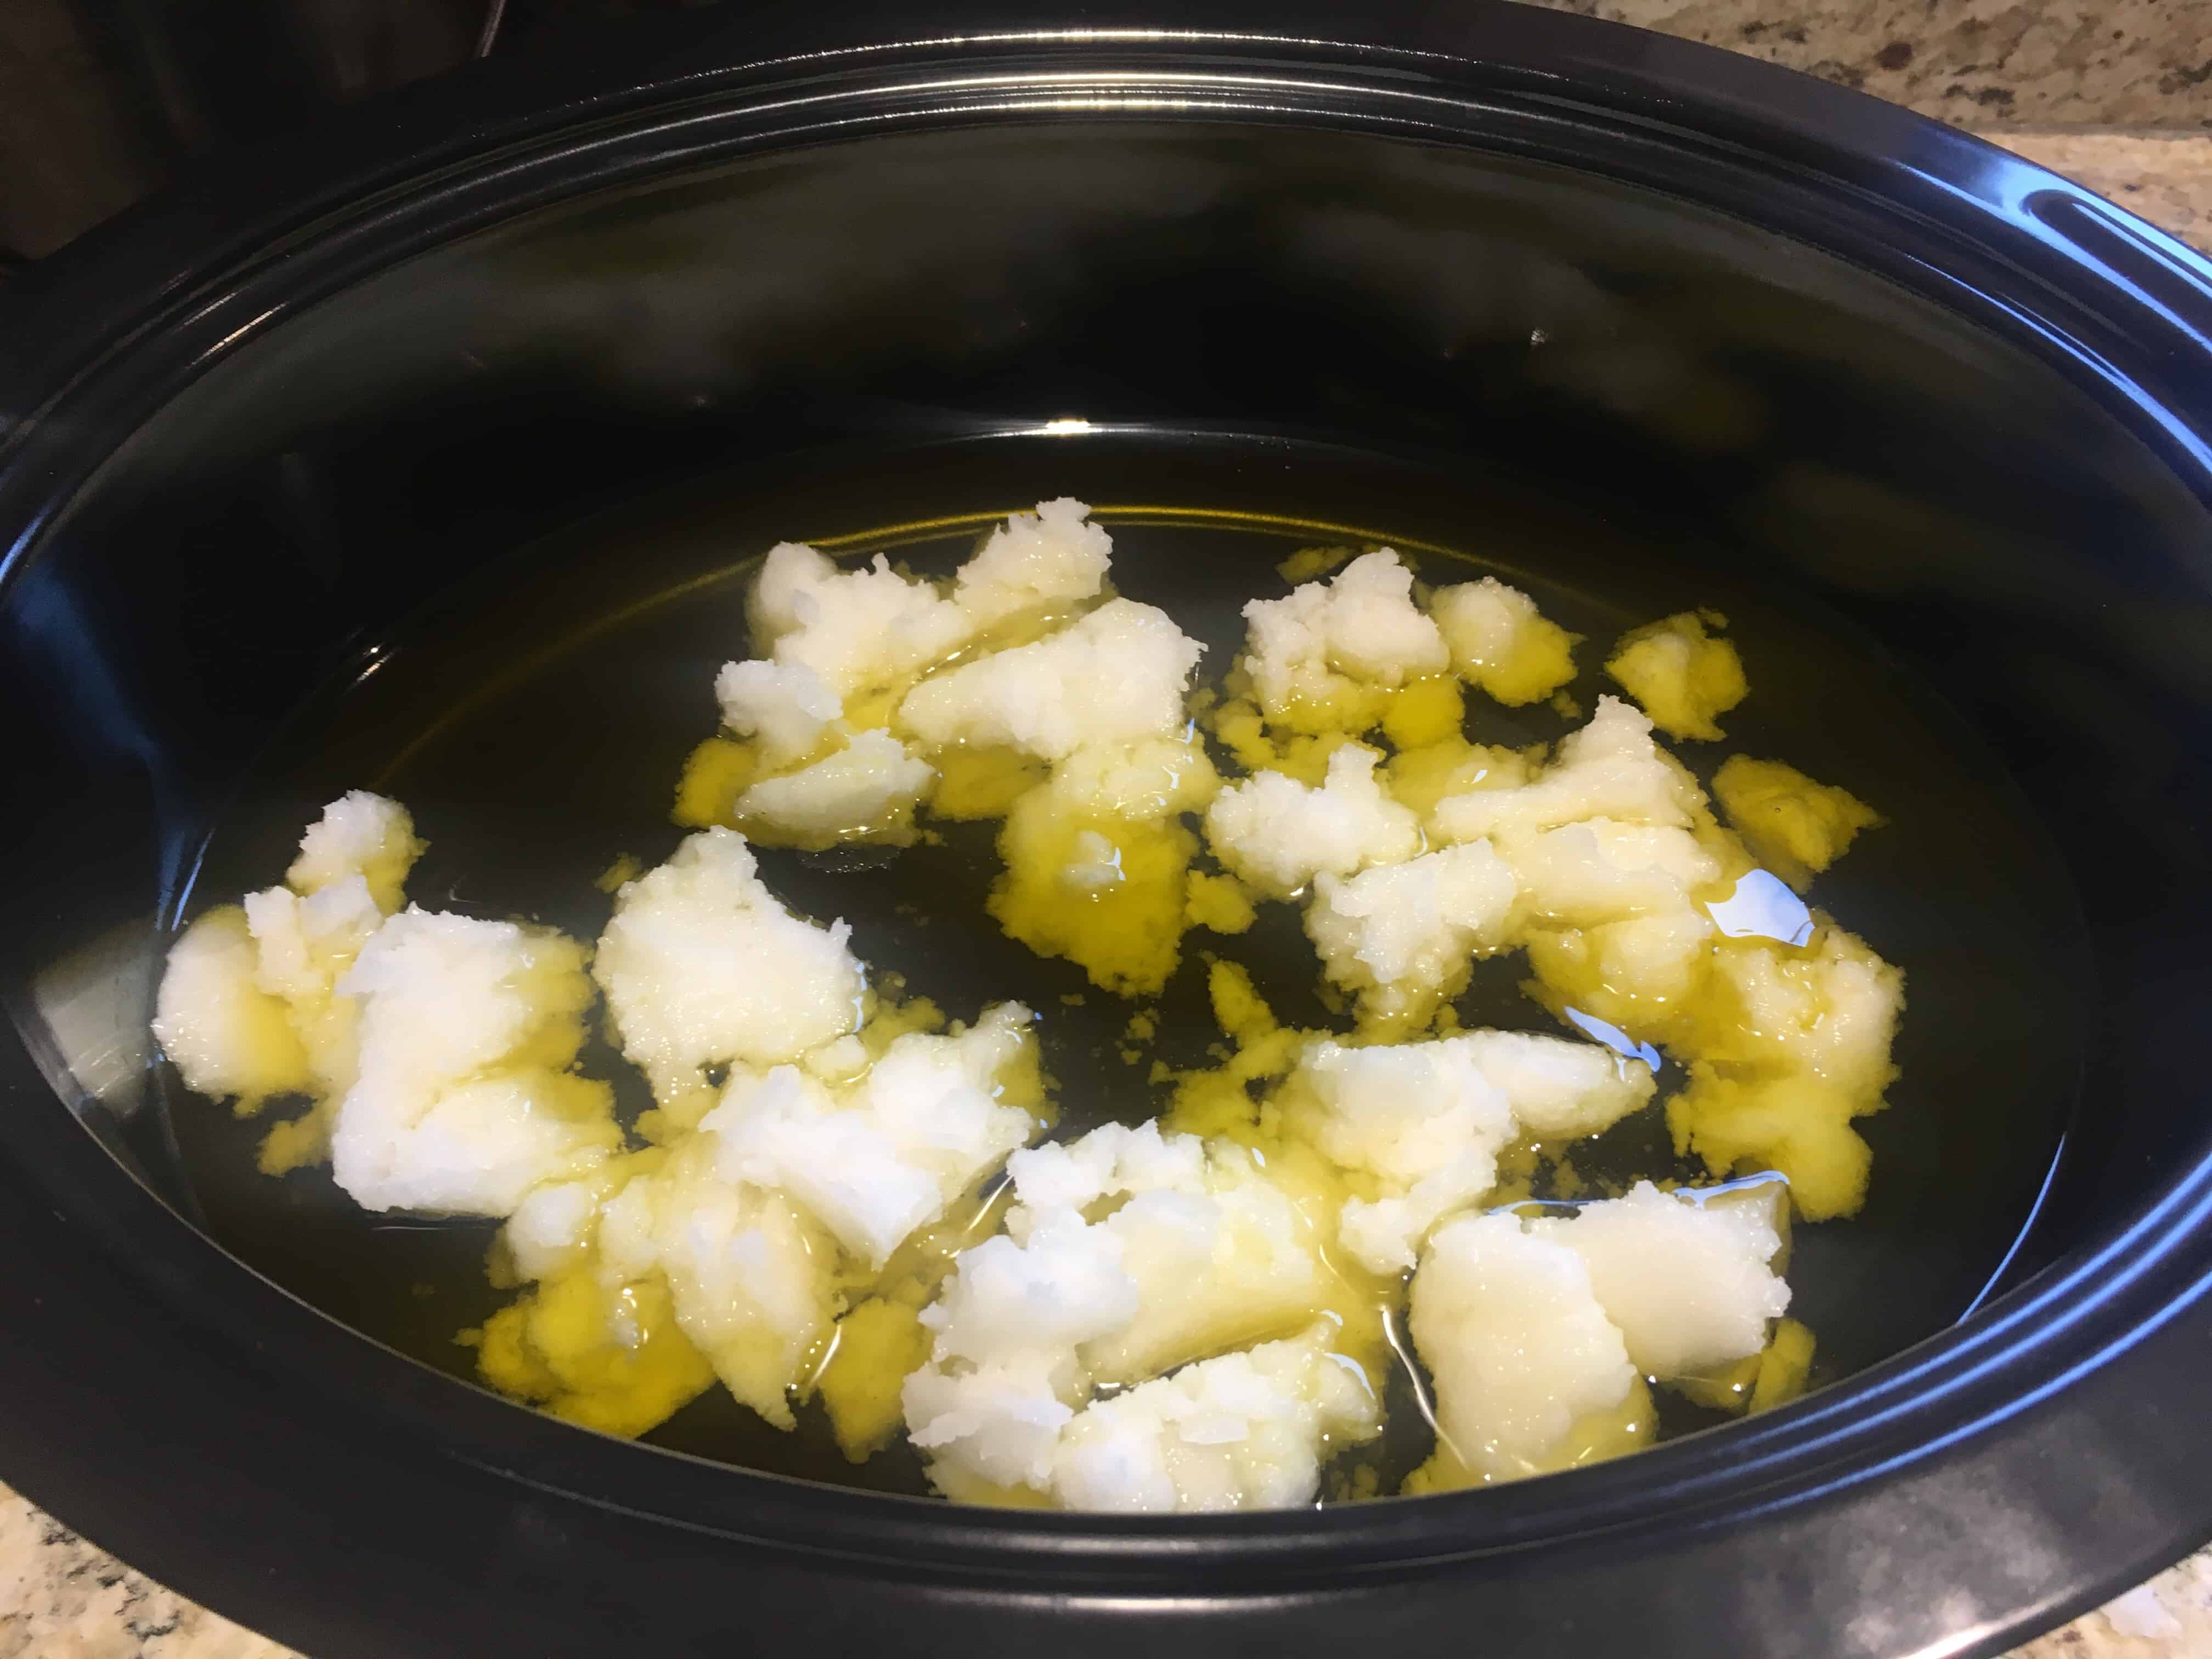
Coconut oil floating in olive oil to melt in crock pot
Make the Lye Solution
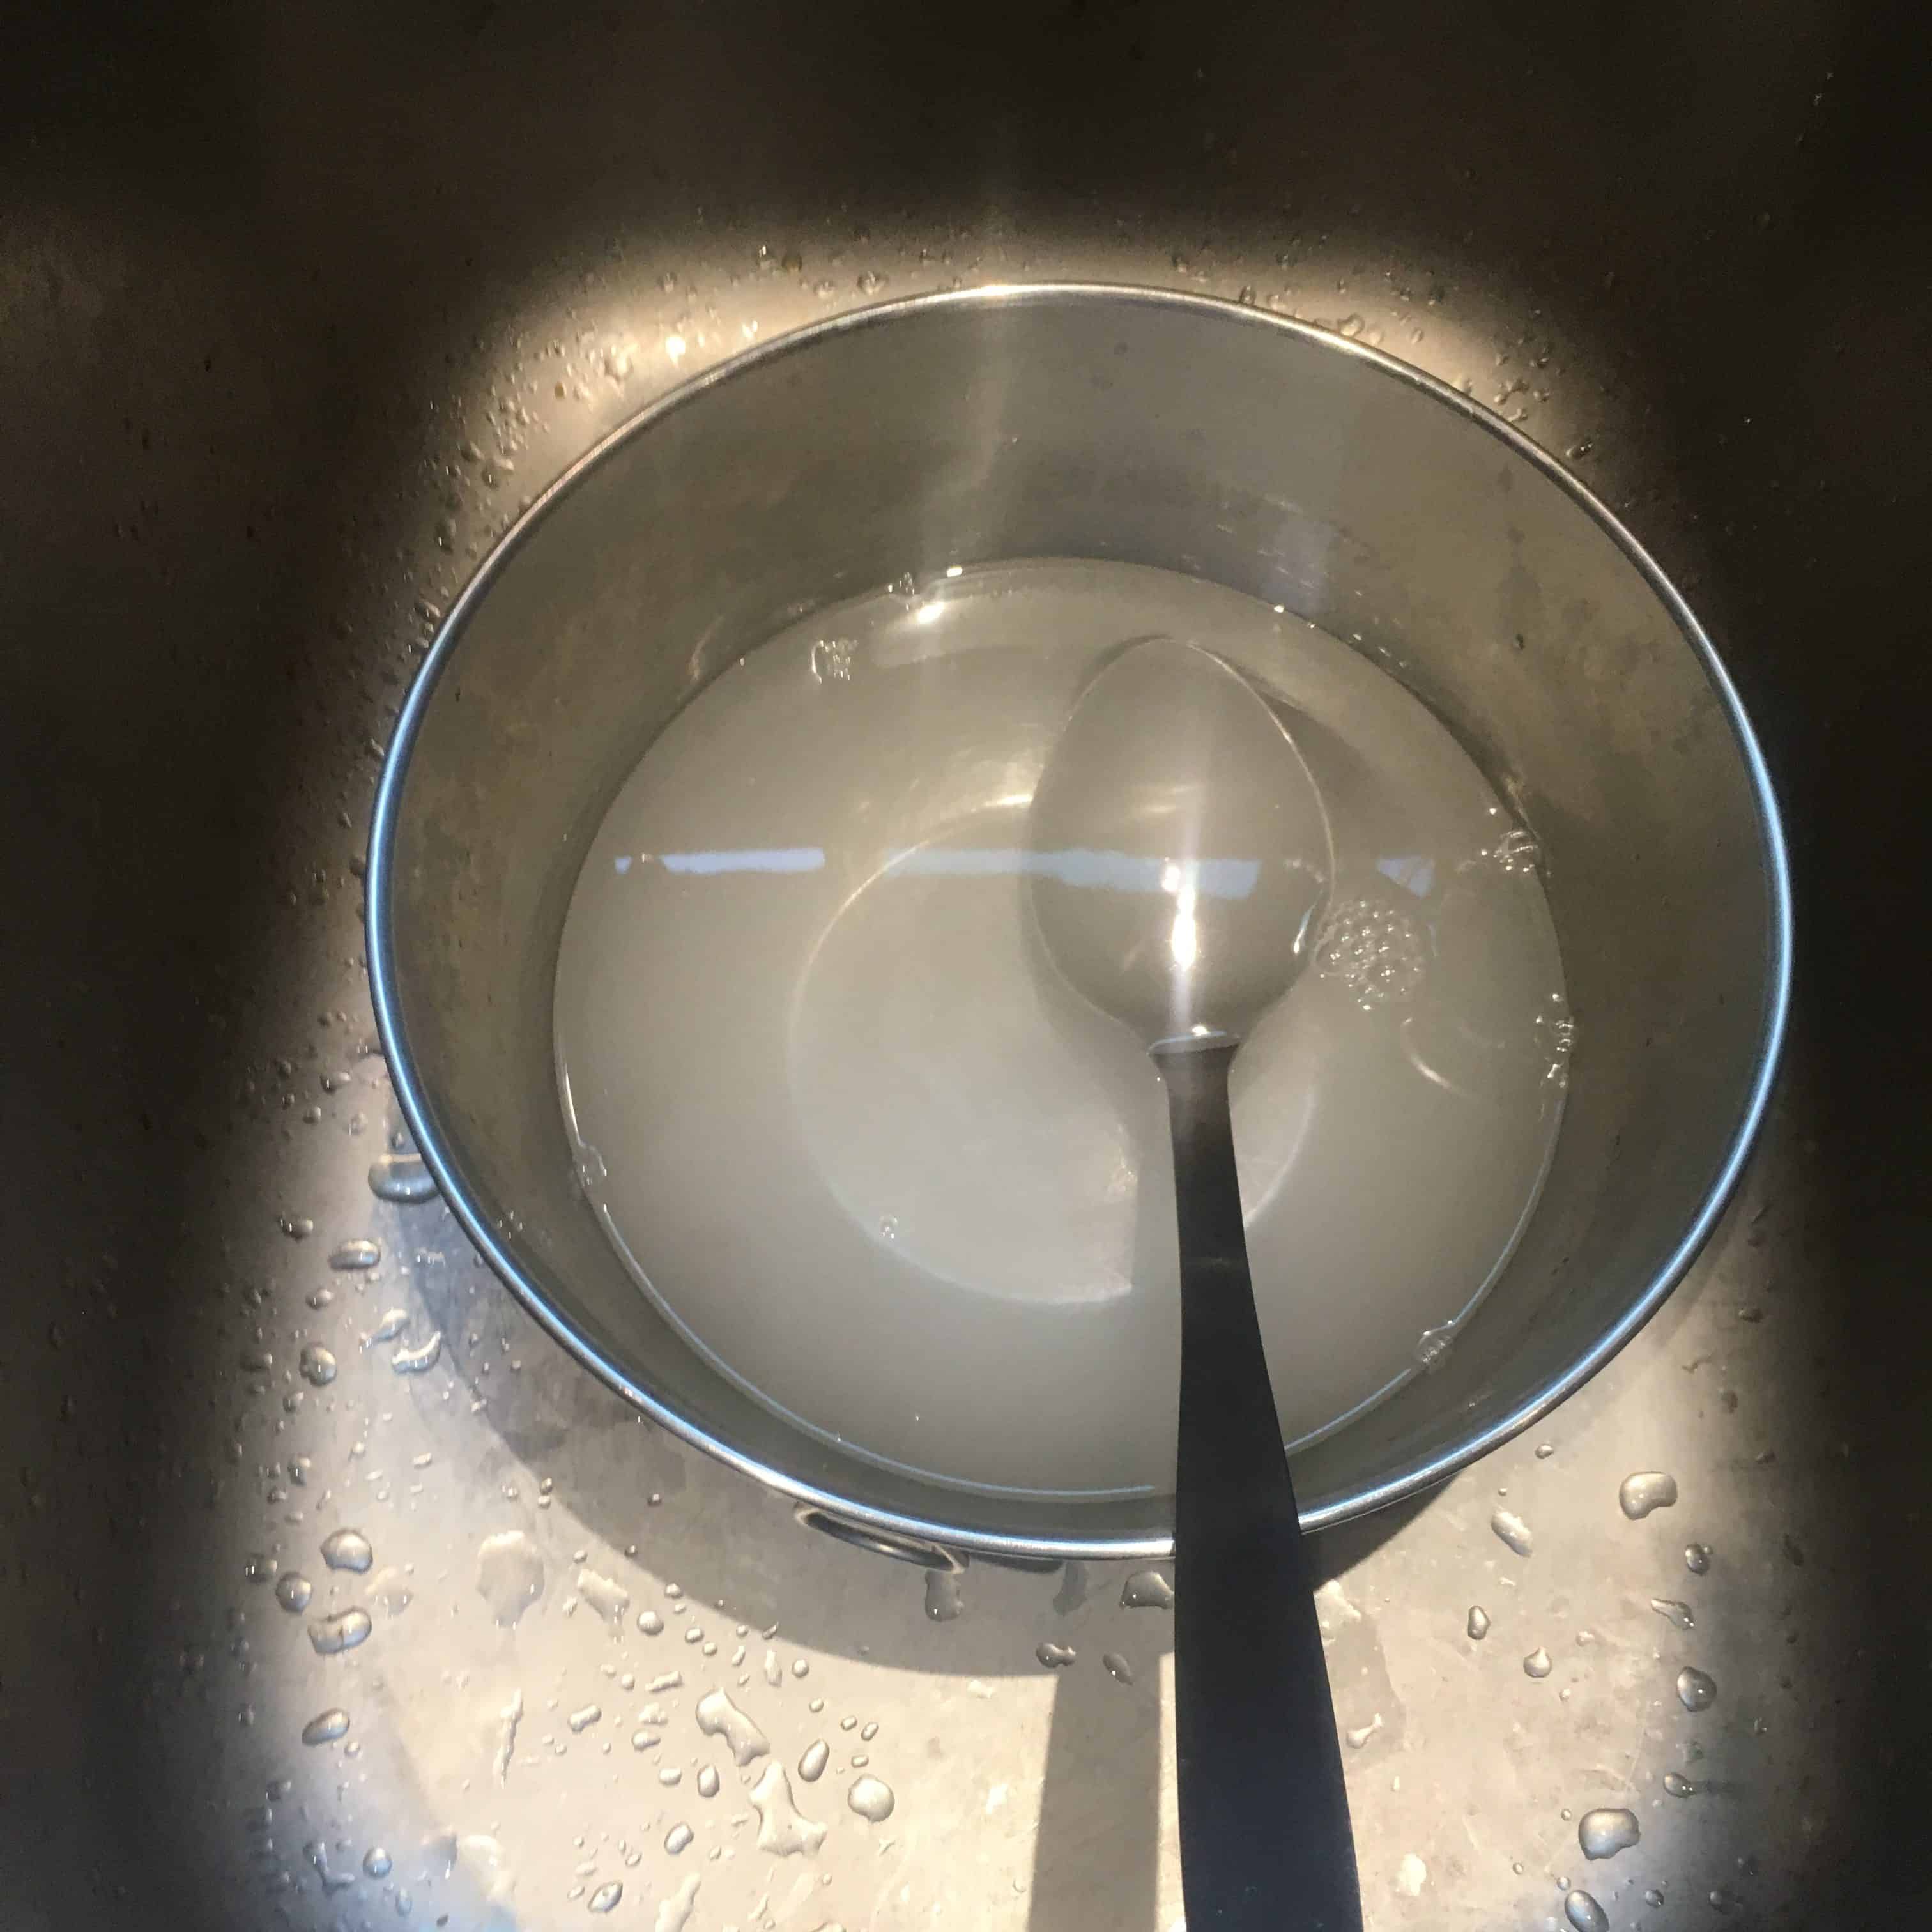
Lye solution in stainless steel bowl with stainless steel spoon in kitchen sink
Once your oil is completely liquid, put 4 cups of distilled or tap water into a bowl in your sink. Wearing long sleeves, don your safety goggles and gloves, and make sure your area is well-ventilated (I open my kitchen window and turn my stove hood fan to high). Then carefully add your potassium hydroxide (lye) to your water—NEVER add water to lye, only add lye to water. The lye will sizzle, bubble, and steam and be a little scary for a moment and then settle down and dissolve in the water. You can give it a stir with a stainless steel spoon if you want. Don’t inhale the fumes and take care not to splash yourself with the lye solution.
Add Lye Solution to the Oils
Now you can carefully pour your dissolved lye solution into the melted oil in your crock pot, still wearing long sleeves, gloves, goggles and keeping the area well-ventilated. Try not to splash the lye solution as you pour.
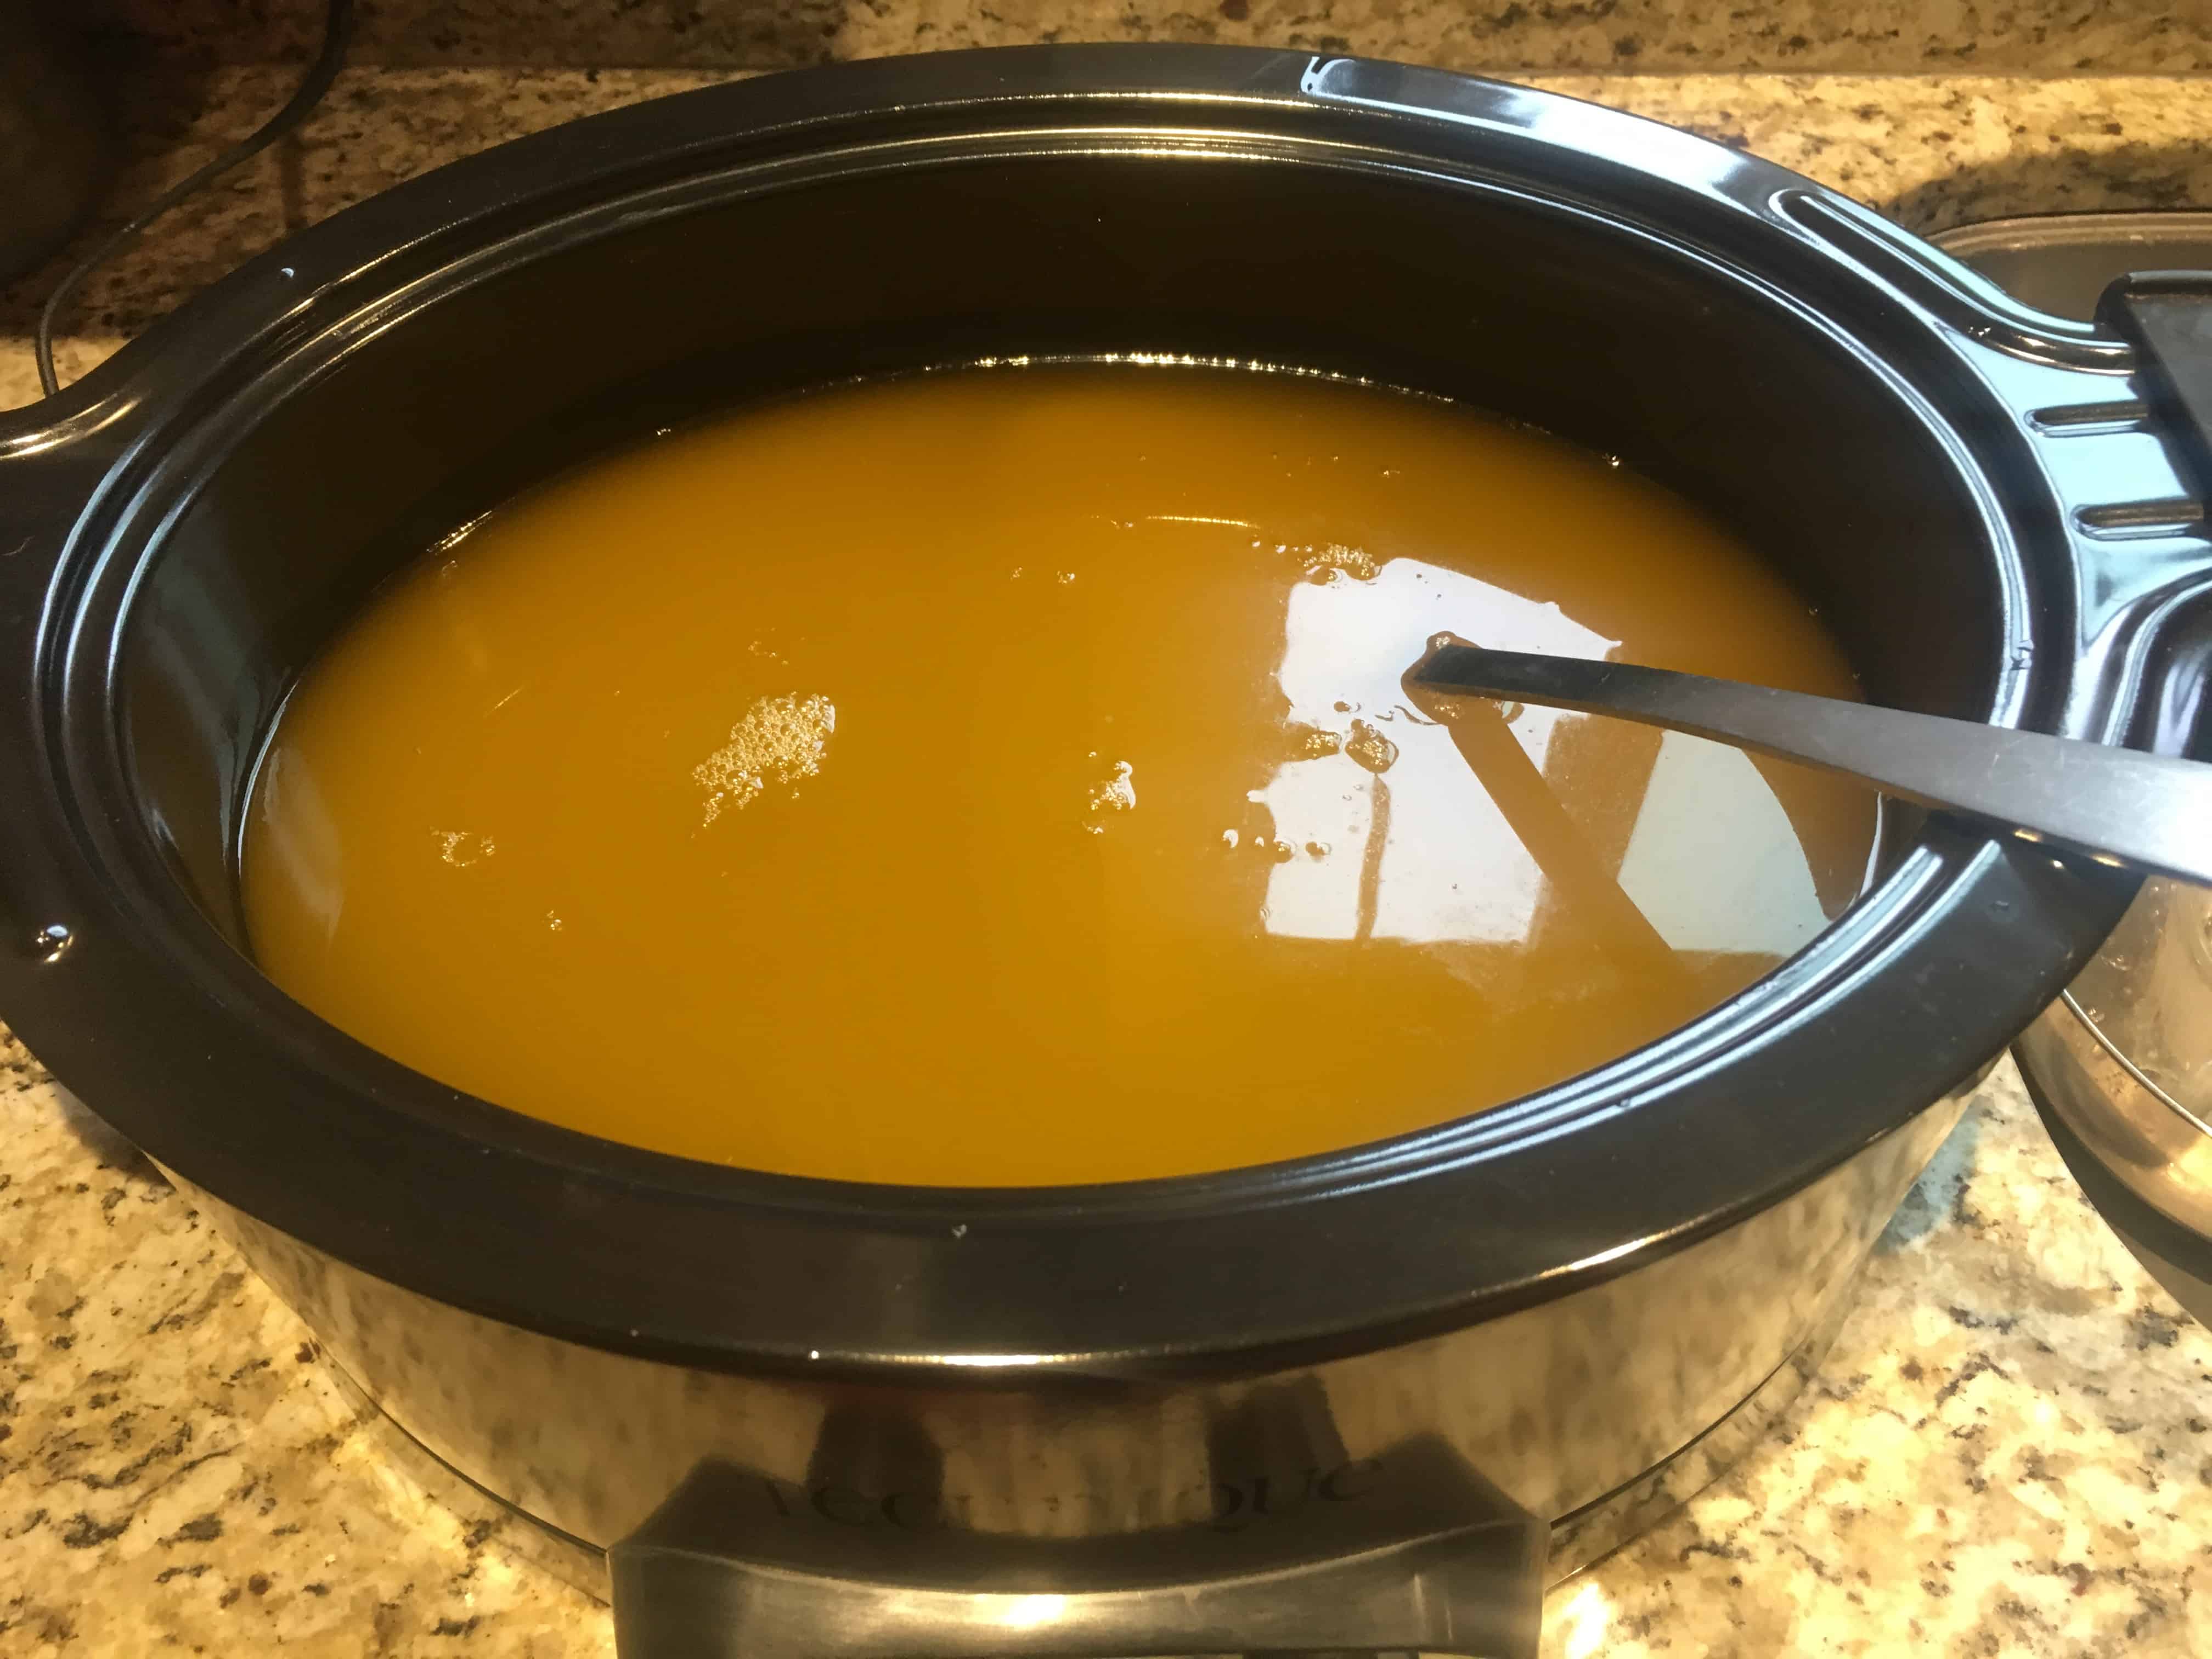
What it looks like when you add the lye solution to the oils
This oil-lye mixture is called Trace.
Blend the Trace
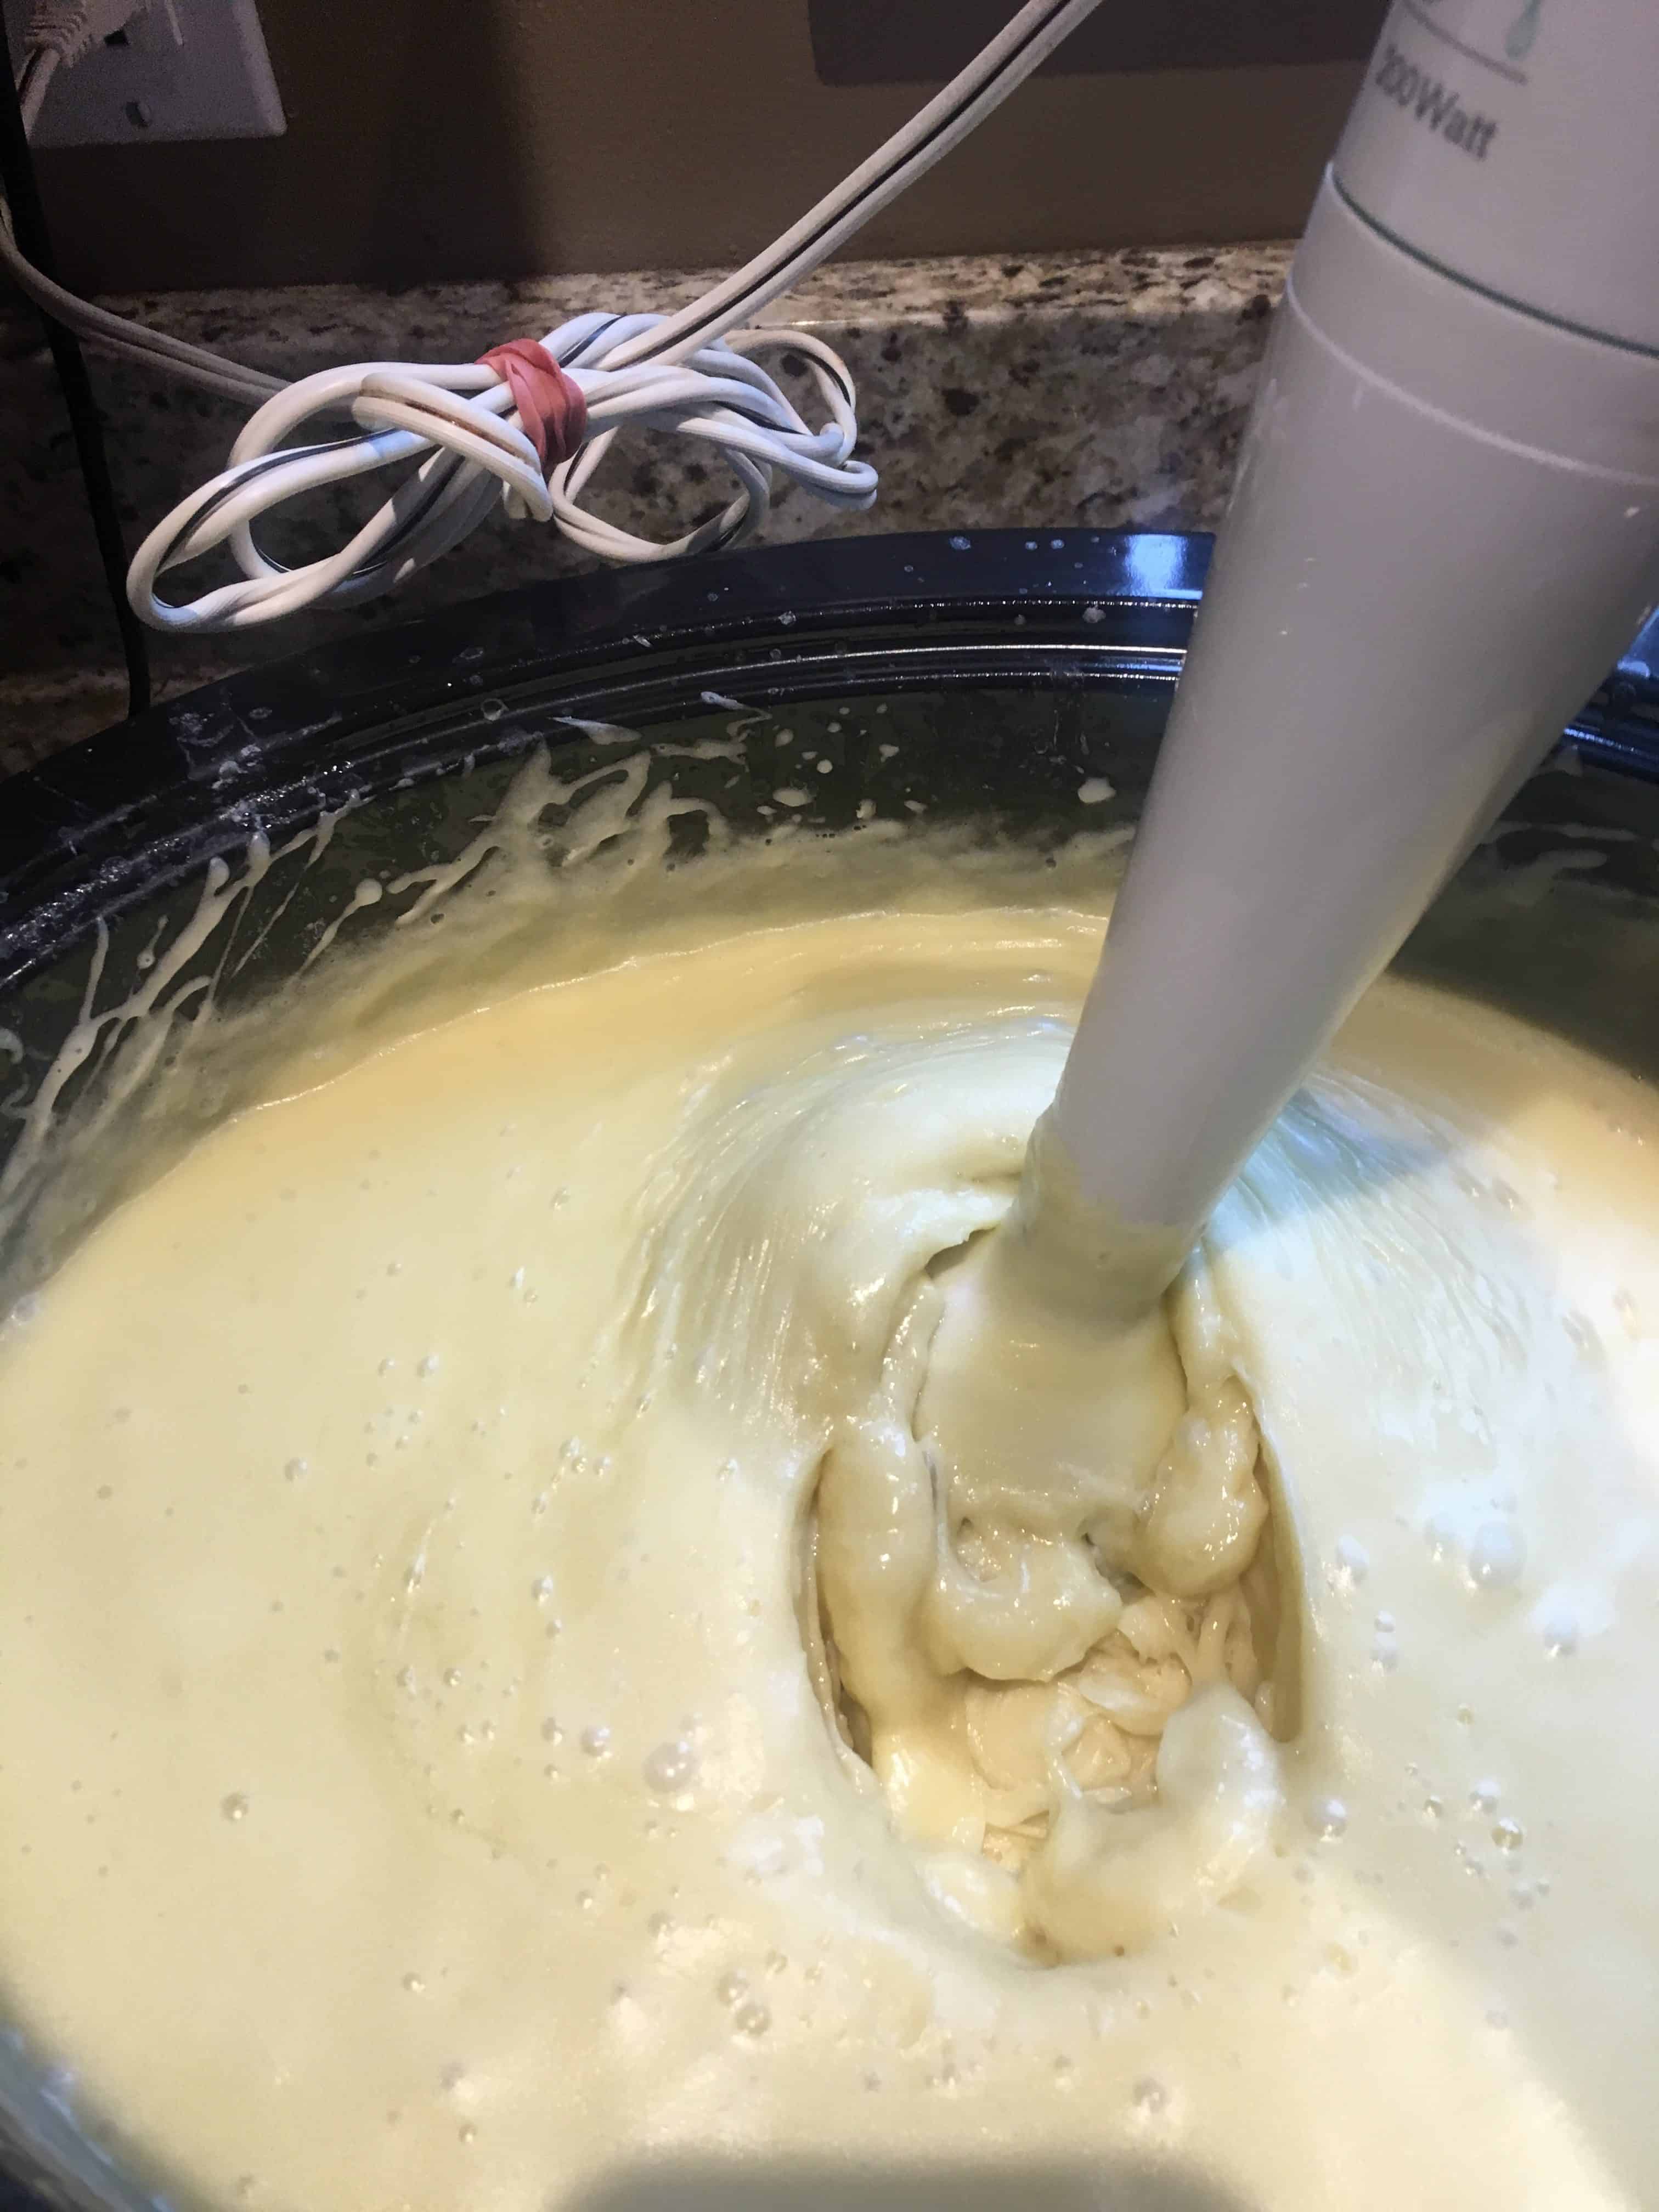
Keep all your protective equipment on (gloves, eye protection) and grab your stick blender. You’re going to blend the trace with the stick blender until it gets thicker, about 5-10 minutes. Watch that you don’t spray or splatter hot oil and lye mixture onto yourself or surroundings. Put the stick blender all the way down onto the bottom of the crock pot before starting to blend—this will help prevent splattering.

After the first blending the trace
Let it cook for 5 minutes and then come back and blend with the stick blender. You’ll repeat this for the next 30 minutes, letting it cook for 5 minutes, and then blending, etc. until the mixture gets too thick to blend with the stick blender. This is the Thick Trace stage.
Trace too thick to blend with the immersion blender anymore
Cook the Thick Trace
Stir your Thick Trace with a silicone scraper, put the lid on your Crock Pot and let it cook, still on High. You’ll come back to it every 30 minutes and give it a stir. It’ll continue to thicken, bubble, and change from milky to translucent. You don’t need the gloves anymore, but take care when stirring because this mixture is hot, thick, and will stick to your skin and give you a thermal burn.
After three hours, stirring every 30 minutes, your mixture should look more translucent. If it doesn’t seem very translucent, you can cook it longer, stirring every 30 minutes. You can cook it longer, it won’t hurt it.
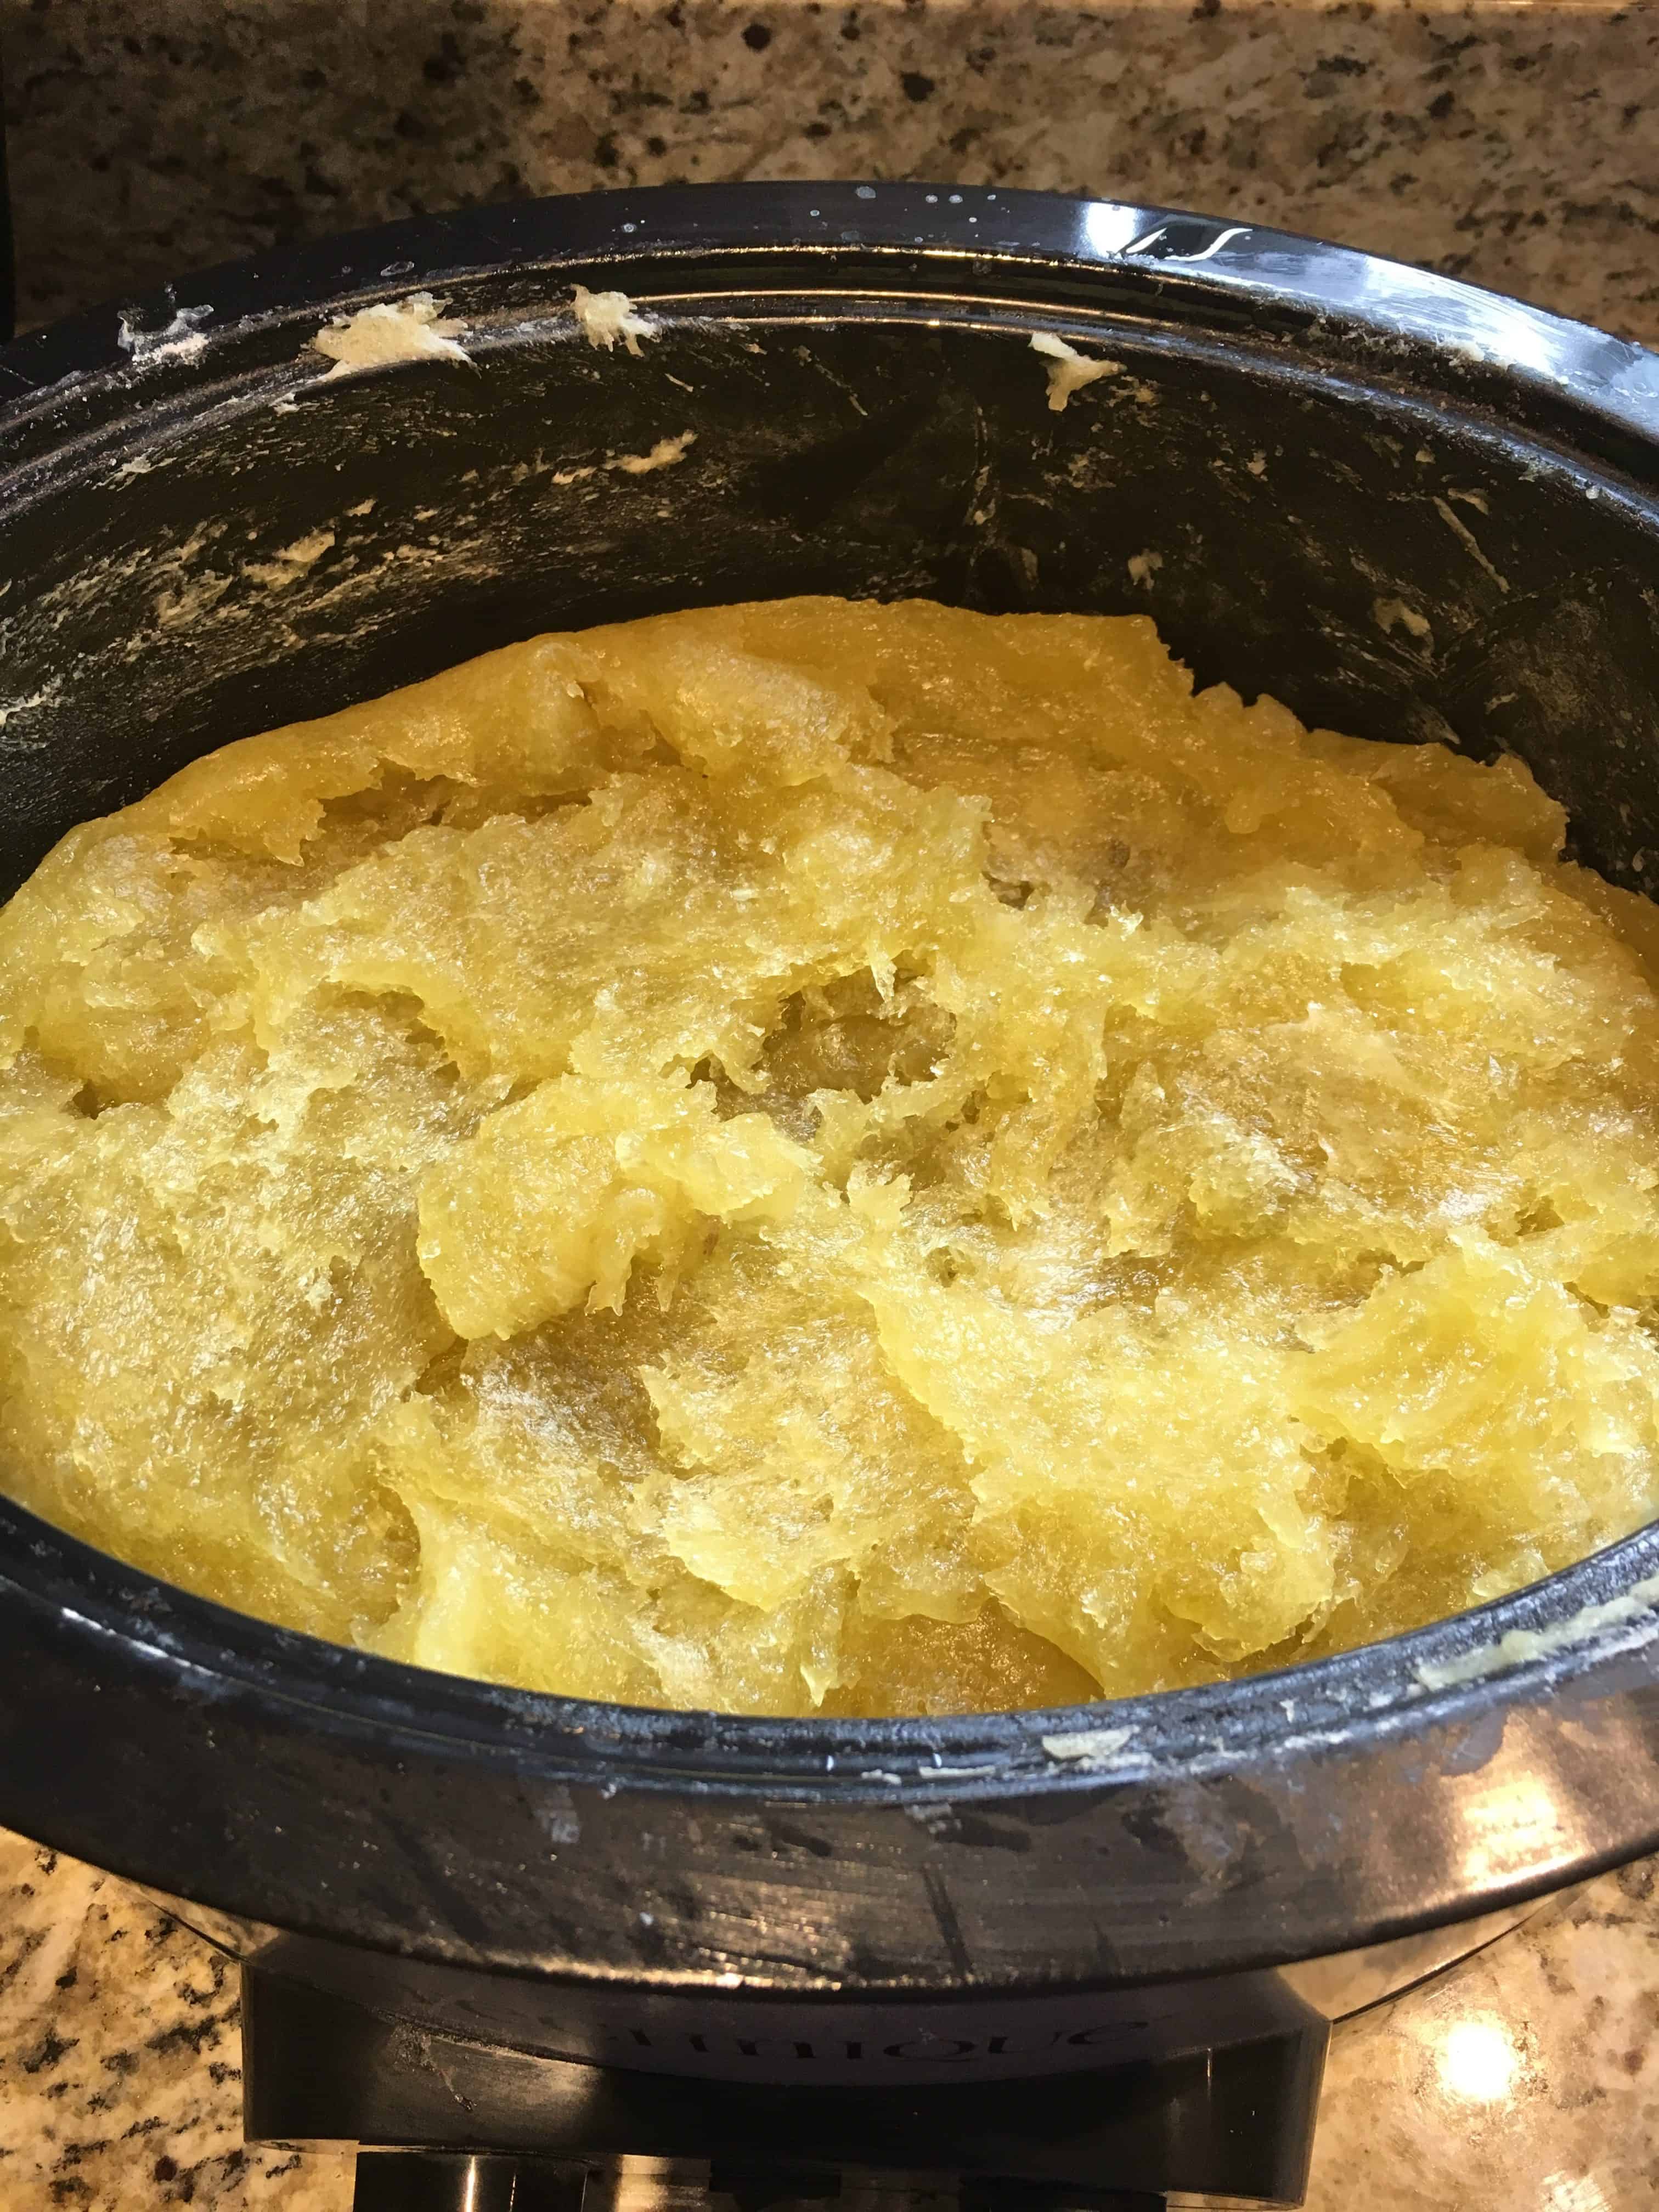
Traced cooked to translucent stage
You should even be able to read through it when smeared on a piece of newspaper:
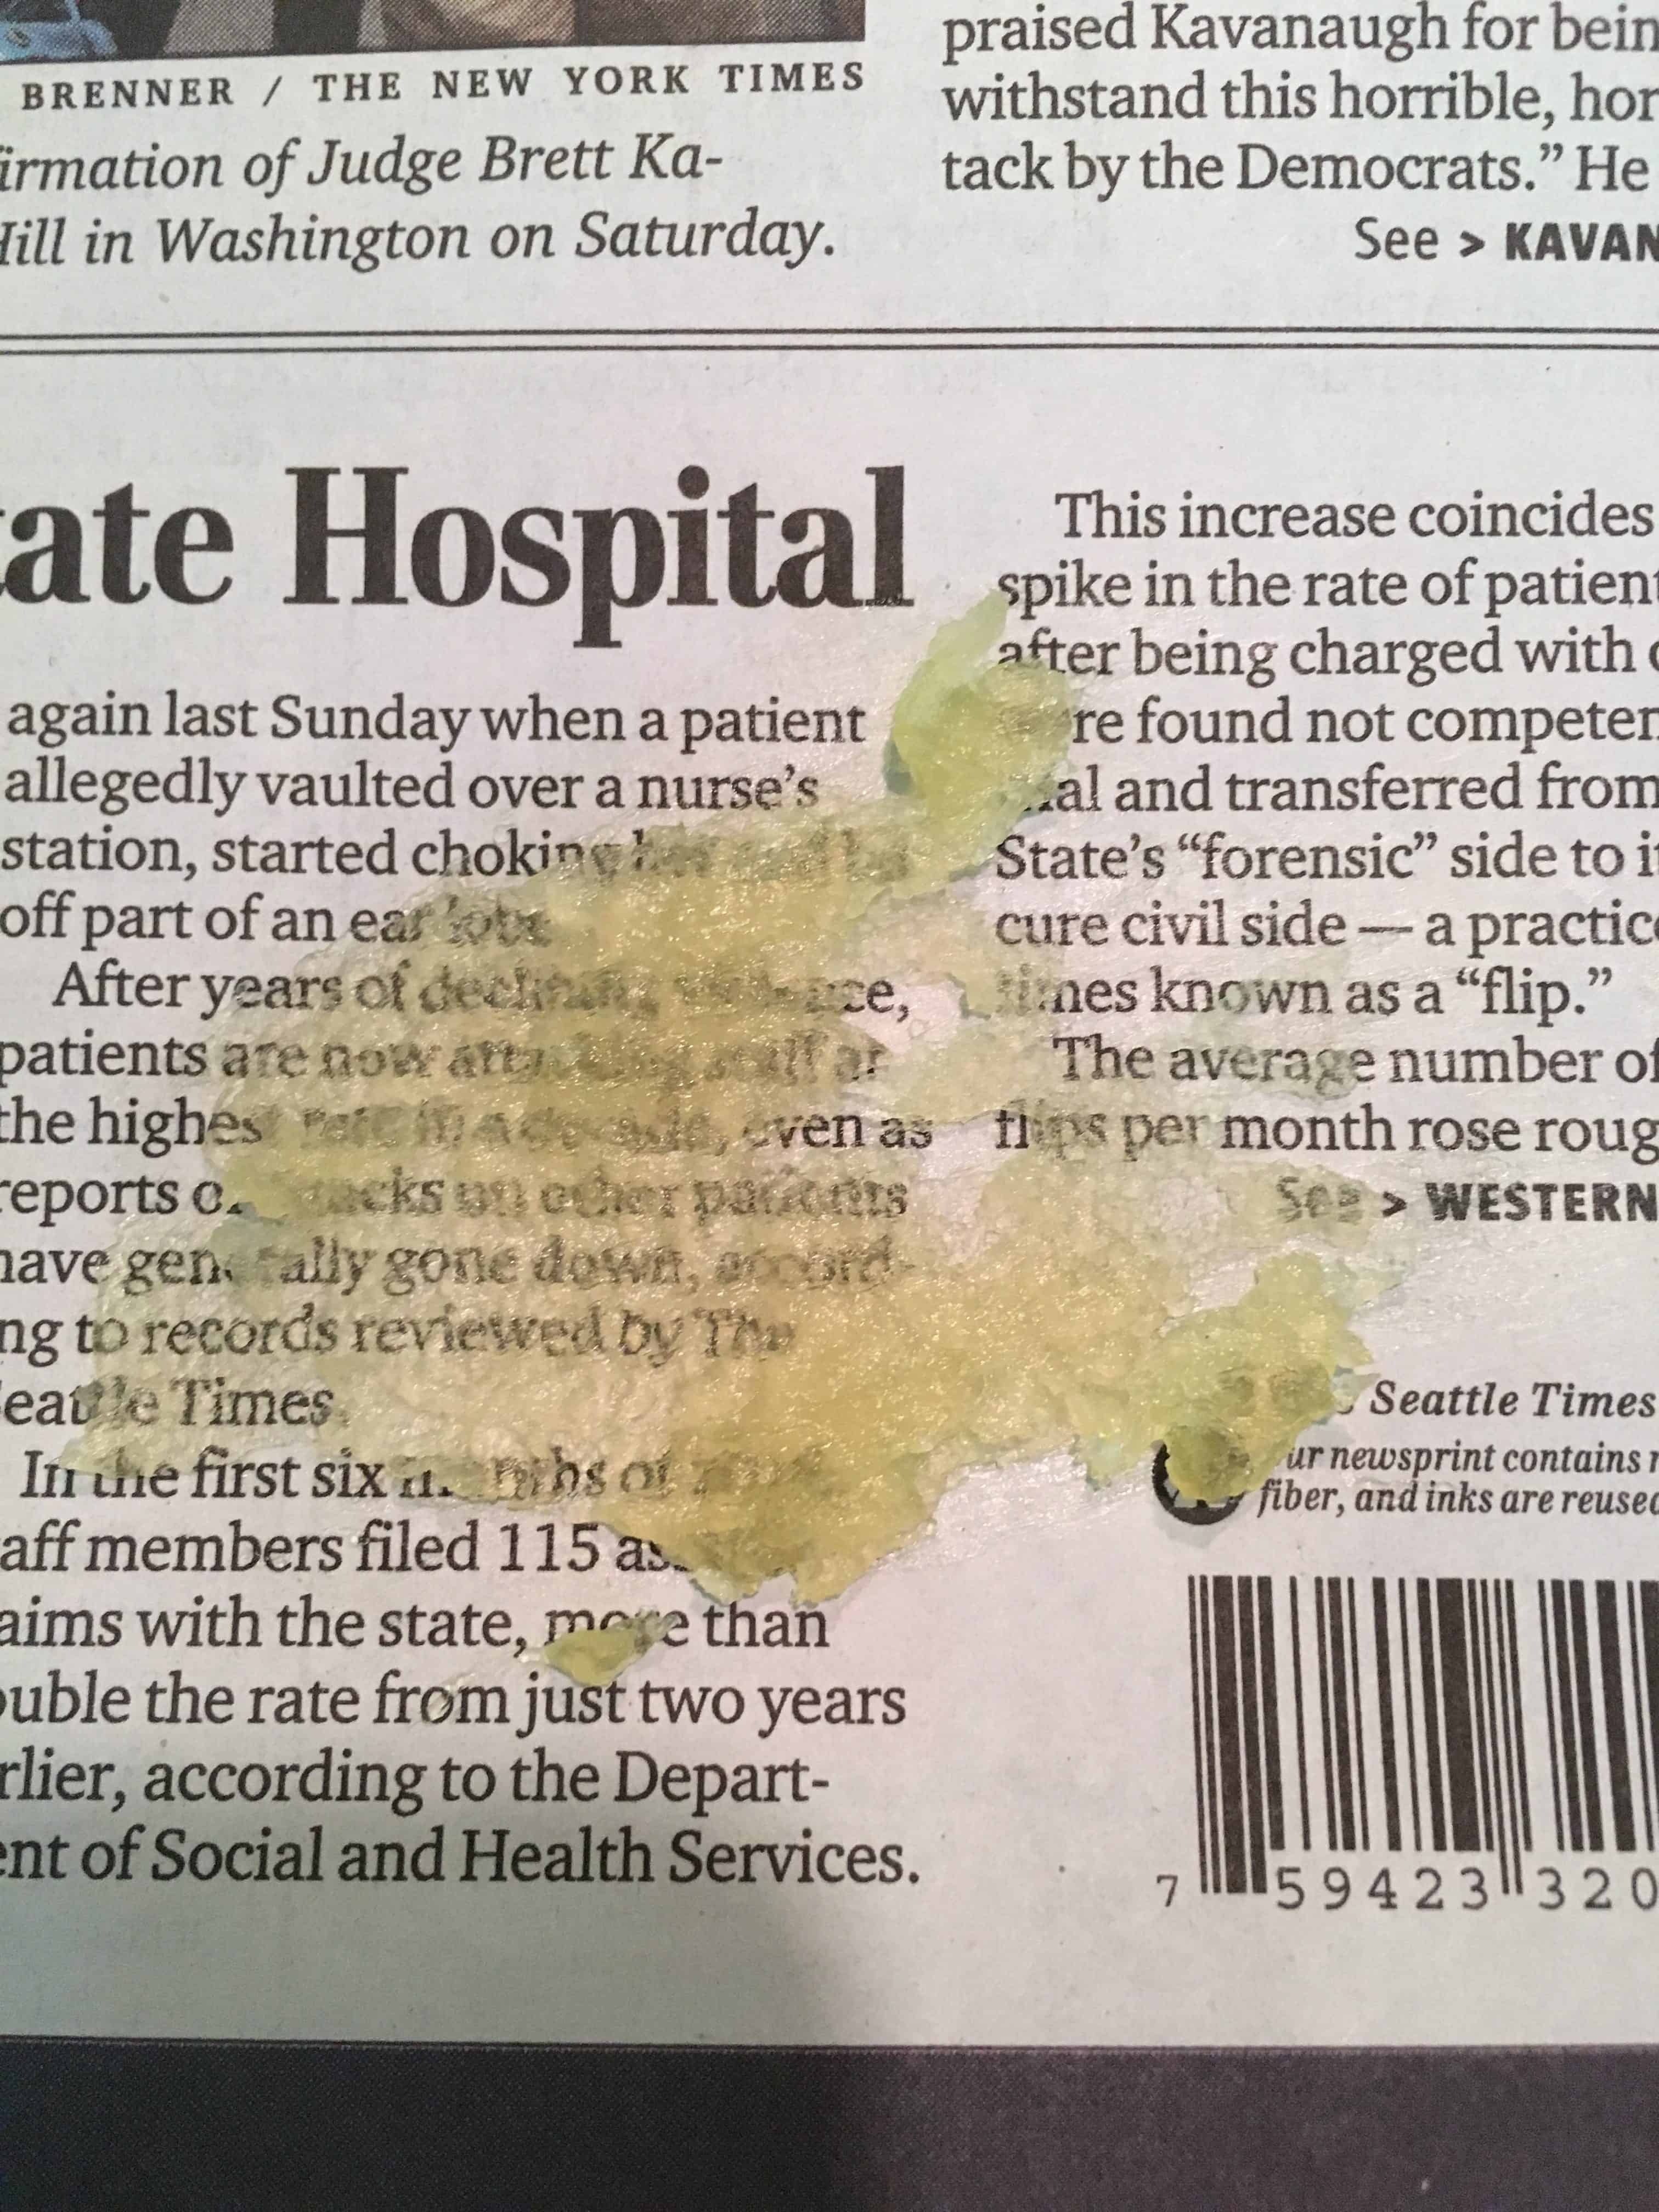
You should be able to read newsprint through the translucent soap paste
Now you’ll test the soap paste to make sure all of the lye is cooked out, or that the soap is completely saponified. Saponification is the chemical reaction between an acid and a base to make a salt, in this case, make our soap. The oils are the acid, lye is the base, and soap is the salt. If the saponification process isn’t complete, there can be too much acid or too much base, which can cause burns or make the soap go bad.
Clarification Test for Saponification

Dissolving soap paste in water for clarity test
Take out a spoonful of cooked soap base, about the size of a golf ball, and put in into a clear glass jar (I use a pint canning jar). Add 1/2 cup of boiling water and stir to dissolve all the soap and let it cool. Your liquid should be clear, not opaque at all. If it is opaque or if you get oil floating on top, continue cooking your soap, stirring every 30 minutes, and test again.

Three clarity tests, notice the two on the left are cloudy, the one on the far right is clear.
My soap takes anywhere from 3-6 hours to cook before it passes the clarification test—it seems to depends on the brands of oils I use or changes in trace minerals in my tap water.
Dilution
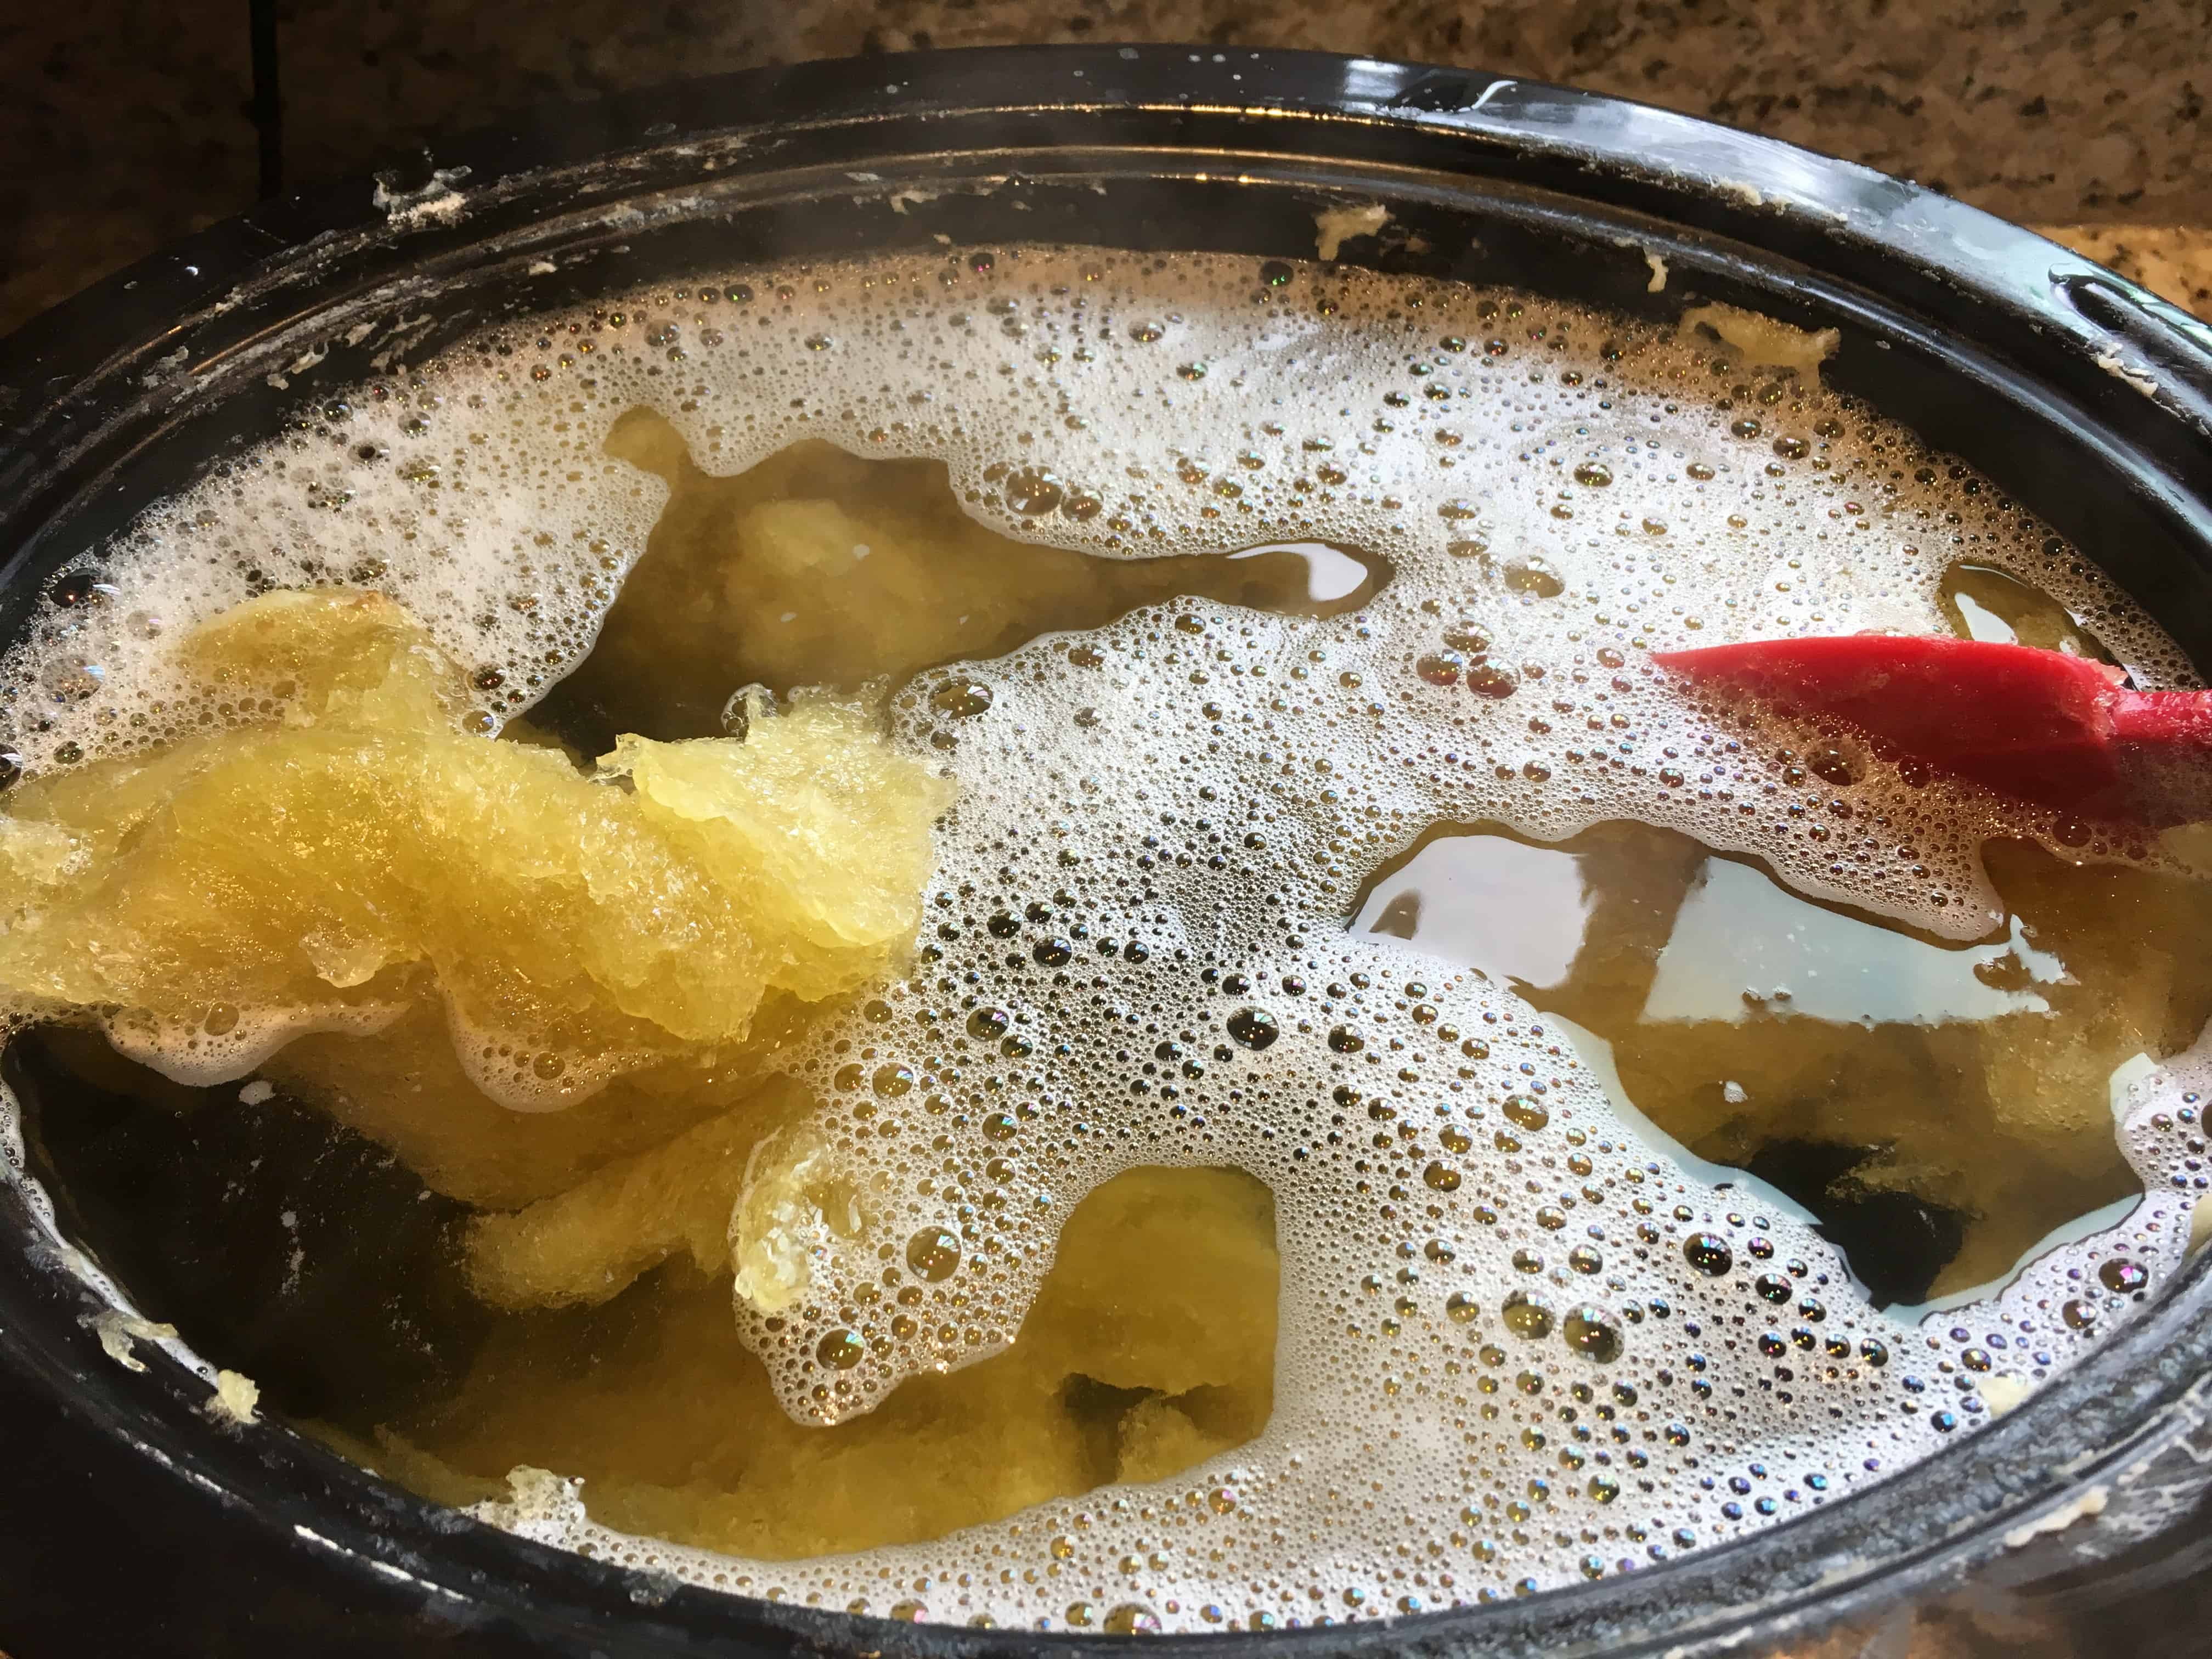
It looks like a hot mess when you first add the water to dilute the soap paste!
Once the Trace has saponified into soap, you’ll add water to dilute your cooked soap base. Add 10 cups of distilled or tap water to the soap in the crock pot and stir to break up the paste. You’ll have big chunks in the water. Turn the temperature down to Warm, put the lid on, and let the soap paste dissolve in the water. Stir every once and a while to help the paste dissolve. I usually let this go overnight to completely dissolve.
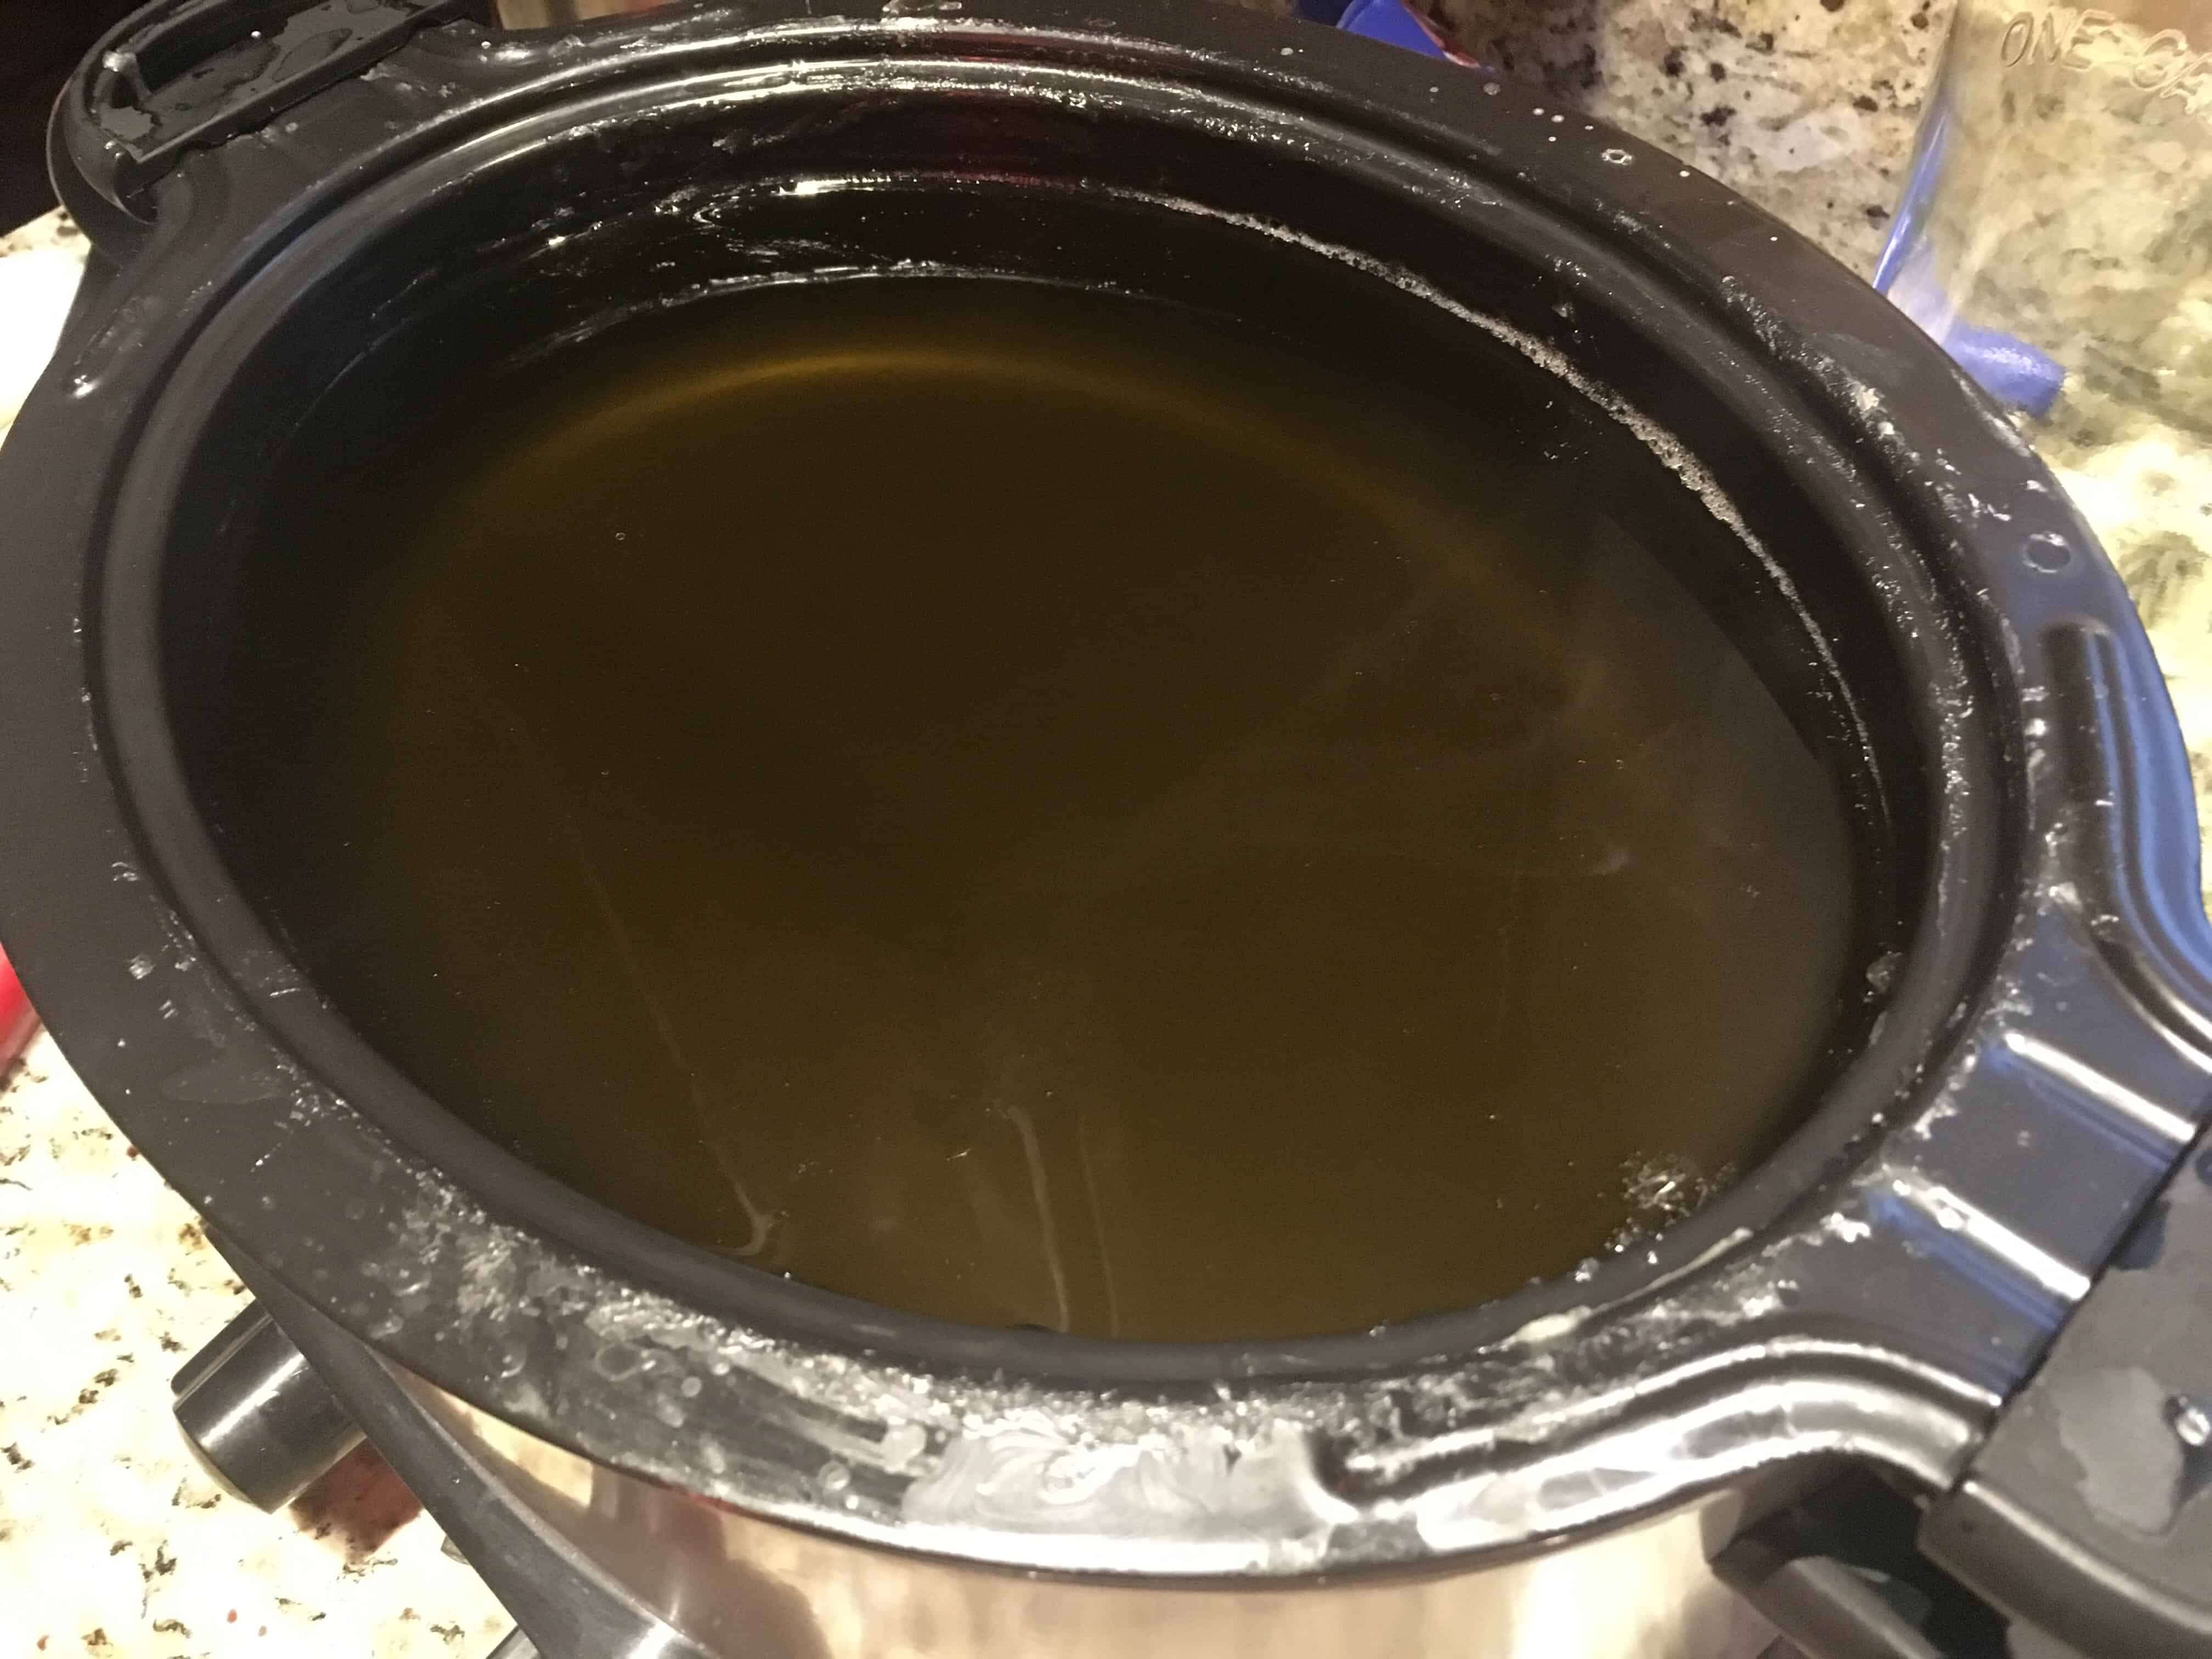
After cooking overnight to dissolve the soap paste in the water
If you have an oil slick or scum on the surface, add another cup or so of distilled or tap water, stir, and let cook for a little while longer to dissolve it, adding another cup if it still needs more.
Add Essential Oil If Desired
We like lavender castile soap, so I add 2 Tablespoons (1 fluid oz.) of pure high-quality lavender oil. It will cloud your castile soap a little, don’t worry about that. I’ve also added other oils, such as pumpkin spice and plumeria for my sister-in-law and mom so they’d have castile soap in their favorite scents. Castile soap makes a great gift!
Bottle It Up
I pour my soap into 1 gallon glass jugs that I’ve saved from apple cider. You can keep in any glass jars you have around.
Cost Savings and Zero Waste from Making Your Own Liquid Castile (Bastille) Soap
A gallon of lavender castile soap from the store costs me $58.88. Making my own…$26.90. That’s a HUGE cost savings! It’d be $21.90 if I made it plain, the essential oils are expensive.
It’s also a great low, almost zero waste project. I do have access to bulk olive oil at PCC Market and I’ve also found olive oil in 3 Liter metal containers, which is awesome as the metal containers are readily recyclable. I’ve not found a bulk supplier yet for coconut oil, however, I purchase the coconut oil in glass jars, which I clean out and reuse (they make great containers to gift your homemade castile soap in, hint, hint). The lavender oil I get from Woodinville Lavender Farm comes in glass too, a beautiful cobalt blue bottle, which I reuse for making poo-poo spray for the bathroom. I’m going to see if they might take them back to refill for me now that I have enough poo-poo spray bottles now. The only thing I cannot find in glass or metal containers is the potassium hydroxide, it comes in plastic; this makes sense, as it reacts with aluminum and they wouldn’t want to risk exposures if a glass container of lye broke. I rinse the empty container thoroughly with water, wearing eye protection and gloves, and then put in my recycling bin, if it is acceptable plastic for my recycling company. That’s the only garbage from this whole process.
If you cannot find the olive and coconut oils in bulk in your area, to keep cost low, check grocery store sales and clearance bins for discounted oils. I’ve found super clearance prices for both, which helps. If I have to buy either in packaging, I buy in glass or metal, which I can reuse (glass) or readily recycle (metal).
Beyond that, I picked up the crock pot and immersion blender at a thrift store and got the digital scale free through a Buy Nothing Facebook group. I didn’t want to use my food crock pot or immersion blender for soap making, just because I wanted to keep that separate. And I use both of these items for making other household items, like bar castile soap.
What About Bar Castile Soap?
You can make that too! I’ll have a separate post about making that.
I hope this post helps alleviate any fears about making castile/Bastille soap. There are quite a few steps, but it really isn’t too horribly difficult. And it makes a gallon of soap, which for us, will last us almost a year, so I don’t have to make it all that often. It is so satisfying and saves us money. So try it and let me know how it goes for you!

DIY Liquid Castile (Bastille) Soap
Ingredients
- 680 grams Olive Oil (24 oz)
- 454 grams Coconut Oil (16 oz)
- 265 grams Potassium Hydroxide Lye (9.35 oz)
- 14-16 cups water distilled or tap, divided
- 1 oz. Essential Oil of Choice (2 Tbsp.) optional
Instructions
Combine the Oils
- Add the olive oil and coconut oil to your crock pot, set it to High, and let the coconut oil melt completely into the olive oil.
Make the Lye Solution
- Put 4 cups of distilled or tap water into a glass or stainless steel bowl in your sink. Don safety goggles and nitrile gloves, make sure your area is well-ventilated (I open my kitchen window and turn my stove hood fan to high), and then carefully add your potassium hydroxide (lye) to your water—NEVER add water to lye, only add lye to water.
- Let lye completely dissolve in the water.
Add Lye Solution to the Oils
- Once dissolved, carefully pour the dissolved lye solution into the melted oil in the crock pot, still wearing long sleeves, gloves, goggles and keeping the area well-ventilated. Try not to splash the lye solution as you pour. The mixture in your crock pot is not called "trace."
Blend the Trace
- Keep all your protective equipment on (gloves, eye protection) and blend the trace with the stick blender until it gets thicker, about 5-10 minutes.
- Let it cook for 5 minutes and then come back and blend with the stick blender. You’ll repeat this for the next 30 minutes, letting it cook for 5 minutes, and then blending, etc. until the mixture gets too thick to blend with the stick blender.
Cook the Thick Trace
- Once the mixture is too thick to mix with the stick blender, stir with a silicone scraper, put the lid on the crock pot and let it cook, still on High.
- Come back to it every 30 minutes and give it a stir. It’ll continue to thicken, bubble, and change from milky to translucent.
- After 3-6 hours, stirring every 30 minutes, your mixture should look more translucent. You should even be able to read through it when smeared on a piece of newspaper.
Clarification Test for Saponification
- Take out a spoonful of cooked soap base, about the size of a golf ball and put in into a clear glass jar.
- Add 1/2 cup of boiling water and stir to dissolve all the soap and let it cool.
- Your liquid should be clear, not opaque at all. If it is opaque or if you get oil floating on top, continue cooking your soap, stirring every 30 minutes, and test again.
Dilute the Soap Paste
- After the soap paste passes the clarification paste, add 10 cups of distilled or tap water to the soap in the crock pot and stir to break up the paste.
- Turn the temperature down to Warm, put the lid on, and let the soap paste dissolve in the water, about 8 hours or overnight. Stir every once and a while to help the paste dissolve.
- After 8 hours, if you have an oil slick or scum on the surface, add another cup or so of distilled or tap water, stir, and let cook for a little while longer to dissolve it, adding another cup if it still needs more.
Add Essential Oil If Desired
- Add 2 Tablespoons (1 fluid oz.) of pure high-quality essential oil. It will cloud your castile soap a little, don’t worry about that.
Bottle It Up
- When everything is completely dissolved, pour into clean containers.
Notes
Do you like this post? Please share....
[mashshare]
6 Comments
Leave a Comment
If you liked this post, you might like one of these:


Categories:
Tags:
[Trī-māz-ing]
Cindy wants you to be Trimazing—three times better than amazing! After improving her health and fitness through plant-based nutrition, losing 60 pounds and becoming an adult-onset athlete, she retired from her 20-year firefighting career to help people just like you. She works with people and organizations so they can reach their health and wellness goals.
Cindy Thompson is a national board-certified Health and Wellness Coach, Lifestyle Medicine Coach, Master Vegan Lifestyle Coach and Educator, Fitness Nutrition Specialist, Behavior Change Specialist, and Fit2Thrive Firefighter Peer Fitness Trainer. She is a Food for Life Instructor with the Physicians Committee for Responsible Medicine, Rouxbe Plant-Based Professional, and Harvard Medical School Culinary Coach, teaching people how to prepare delicious, satisfying, and health-promoting meals.
She provides health and lifestyle coaching at Trimazing! Health & Lifestyle Coaching. Cindy can be reached at info@trimazing.com.
Subscribe to the Trimazing Blog
Receive occasional blog posts in your email inbox.
Subscribe to the Trimazing Blog
Receive occasional blog posts in your email inbox.
Quite an informative piece on how to go about a DIY liquid castile soap.. Good Read!
Thank you so much!
Do I have to dilute in the case of an all-purpose cleaner?
Yes, you’ll dilute this for cleaning.
I have followed this recipe for three (or maybe even four) years! I make a batch once a year and use it daily 🙂 I can’t compare it to any other recipe, because this one is so easy to follow and has such great results that I never looked any further. Thank you so much for making my life easier!!
Great recipe! It worked. The soap turned out with PH 8 and I like the texture!