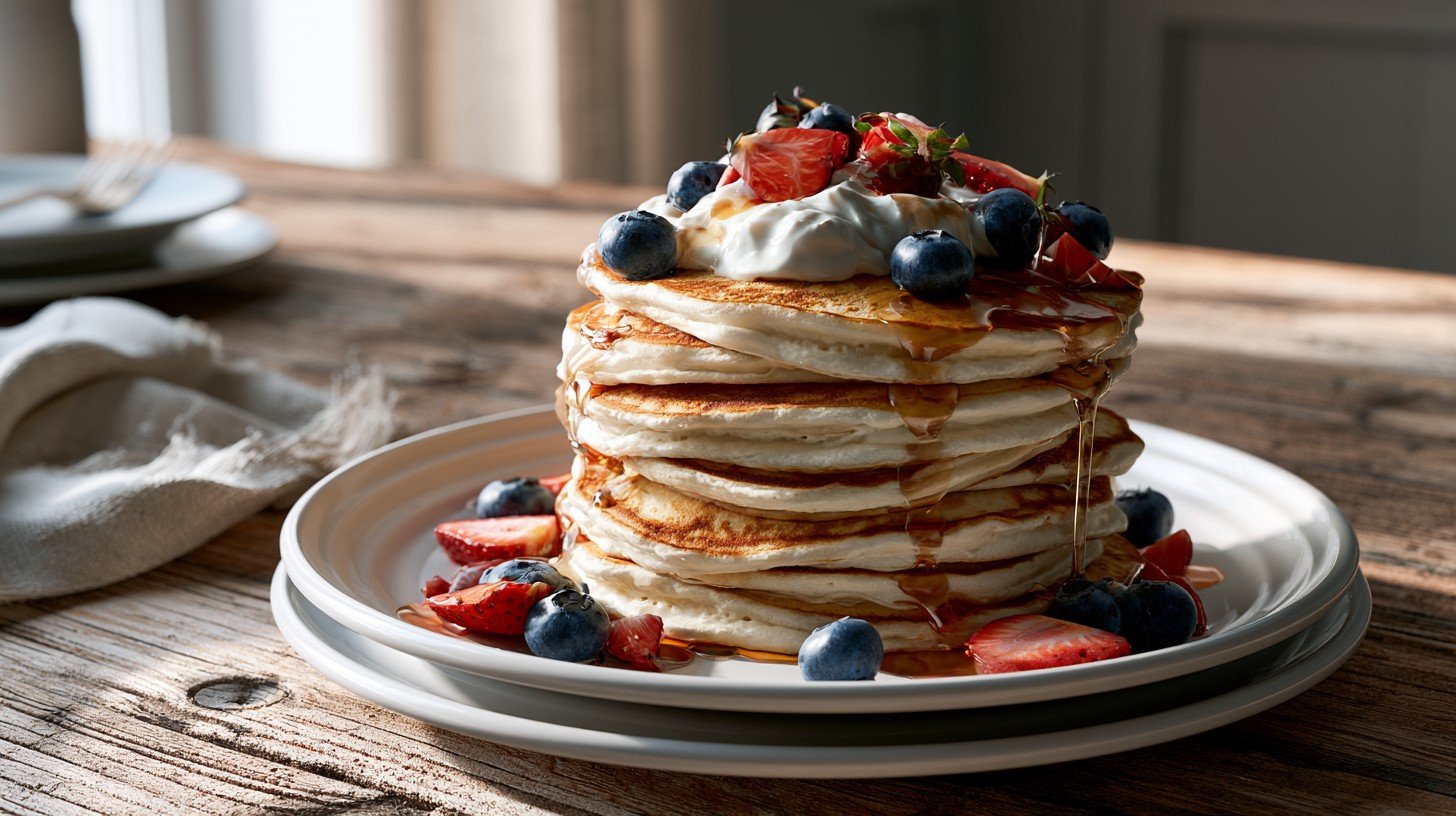
Looking for a Greek yogurt pancake recipe that actually turns out fluffy every time? You are in the right place. This guide covers the exact ingredients, step-by-step instructions, and easy variations like banana, blueberry, and oat versions.
You will also find substitutions for flour, eggs, and dairy, plus tips on storing and reheating leftovers.
By the end, you will know exactly how to make a soft, protein-packed stack your whole family will enjoy. I have tested what works and what does not, so you do not have to guess. If your pancakes usually turn out dense or fall apart on the flip, this article will fix that.
Why You'll Love This Greek Yogurt Pancake Recipe
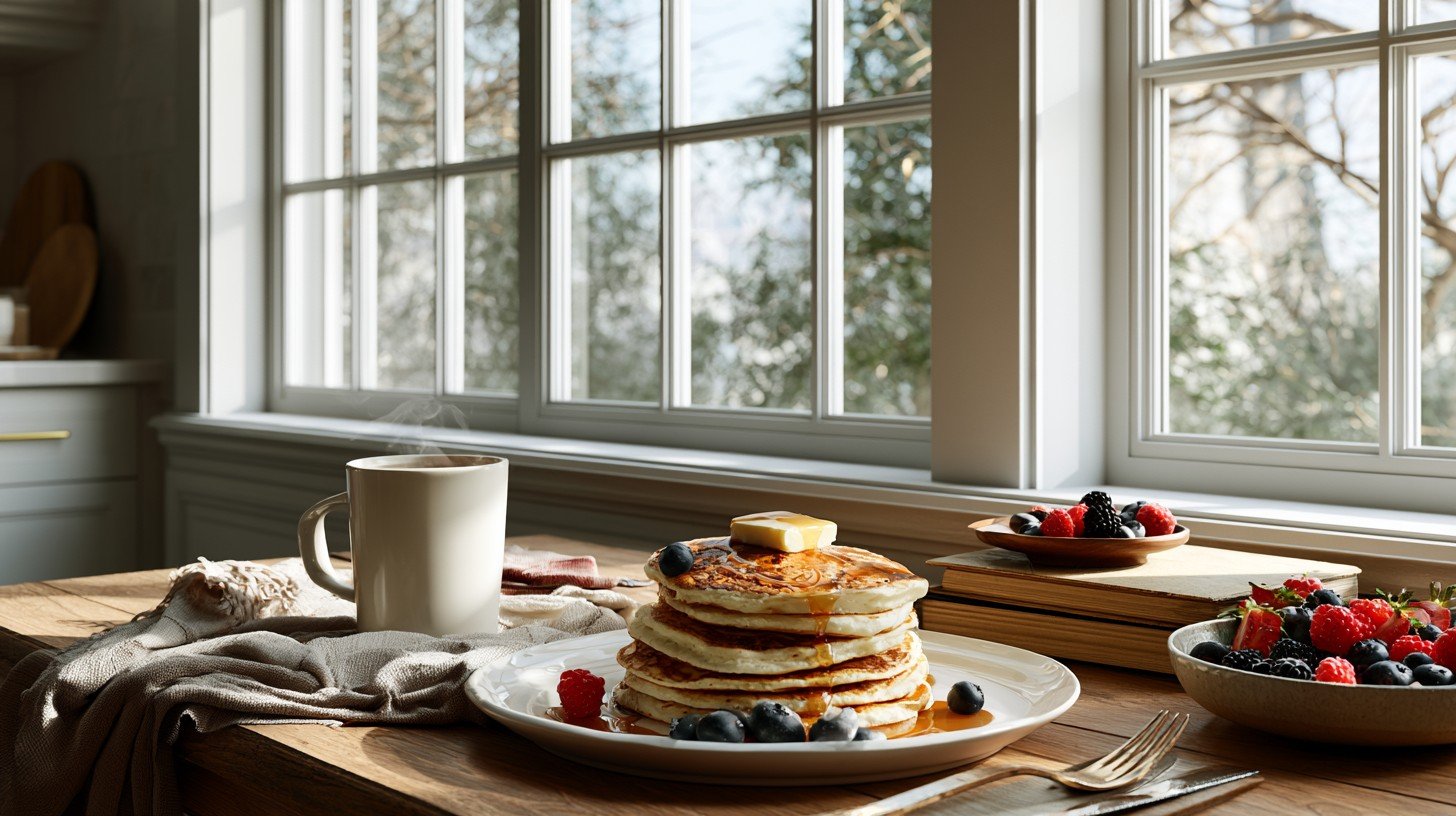
Greek yogurt changes the game for pancakes. It adds a soft, thick texture that regular batter just cannot match. You get fluffy pancakes every single time, without any guesswork.
This recipe also packs in extra protein. That means you stay full longer and skip the mid-morning snack attack. It is a small swap that makes a big difference.
The tang from the yogurt balances out the sweetness too. You get a pancake that tastes rich but never too sugary. It pairs well with syrup, fruit, or just a pat of butter.
Another reason to love this recipe is how forgiving it is. Even if you are new to cooking, the batter comes together fast and stays easy to work with. No fancy tools or skills needed.
Lastly, these pancakes reheat well. Make a batch on Sunday and enjoy breakfast all week without extra effort.
Ingredients You'll Need
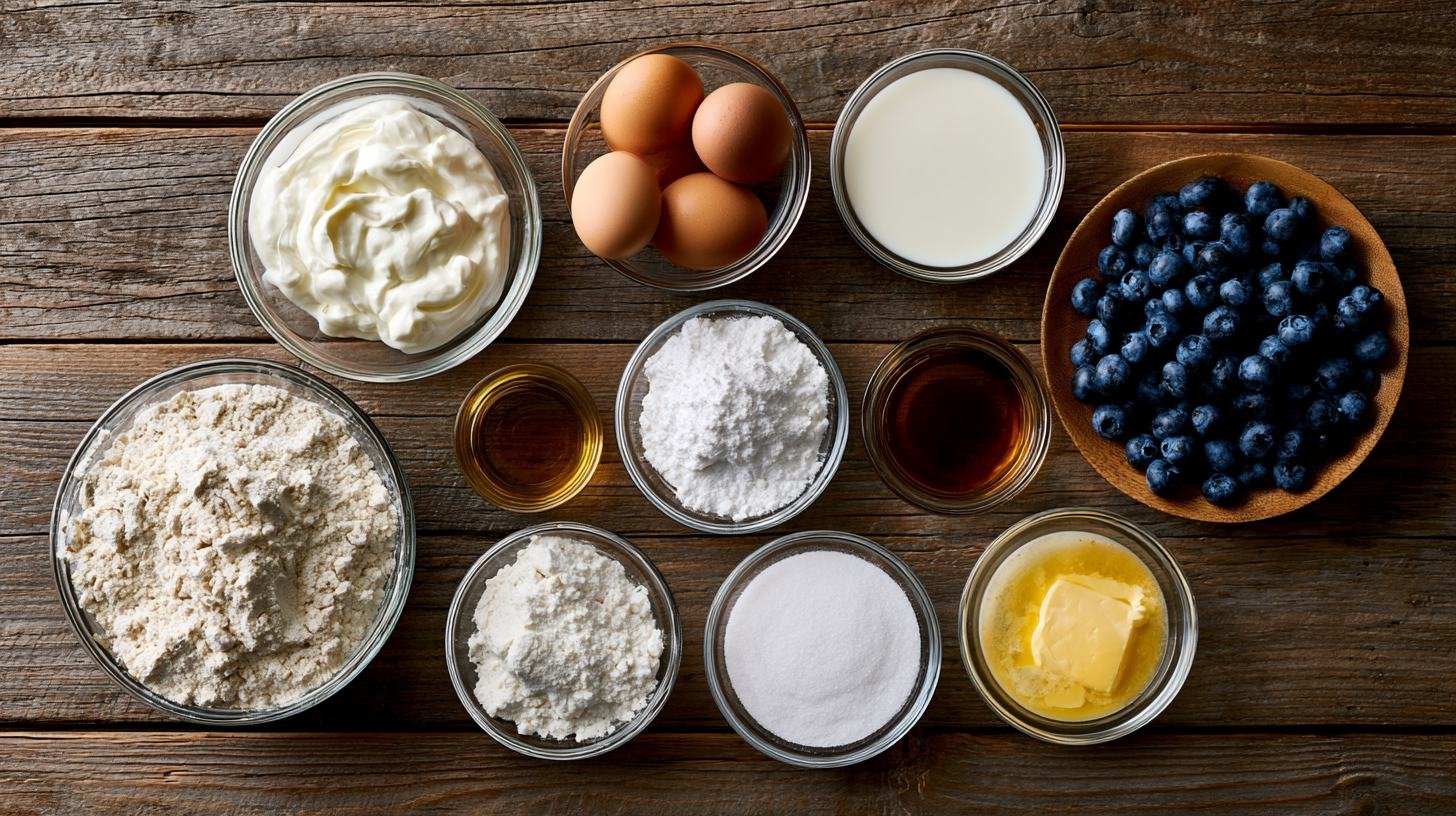
A quick look at the dry items, wet items, and optional mix-ins needed to make this pancake batter from scratch.
- Dry ingredients: flour, baking powder, a pinch of baking soda, a little sugar, and a dash of salt for structure and lift
- Wet ingredients: Greek yogurt, eggs, milk, and a splash of vanilla extract
- Fat: a bit of melted butter or oil for softness
- Optional add-ins: cinnamon, chocolate chips, or fresh fruit for extra flavor
How to Make Greek Yogurt Pancakes
Making Greek yogurt pancakes takes only a few simple steps and about twenty minutes from start to finish.
You mix the dry and wet ingredients separately, combine them gently, then cook the batter on a preheated pan.
Following each step carefully helps you avoid common problems like dense texture or uneven browning, so your first batch comes out just as good as the last.
Step 1: Mix the Dry Ingredients
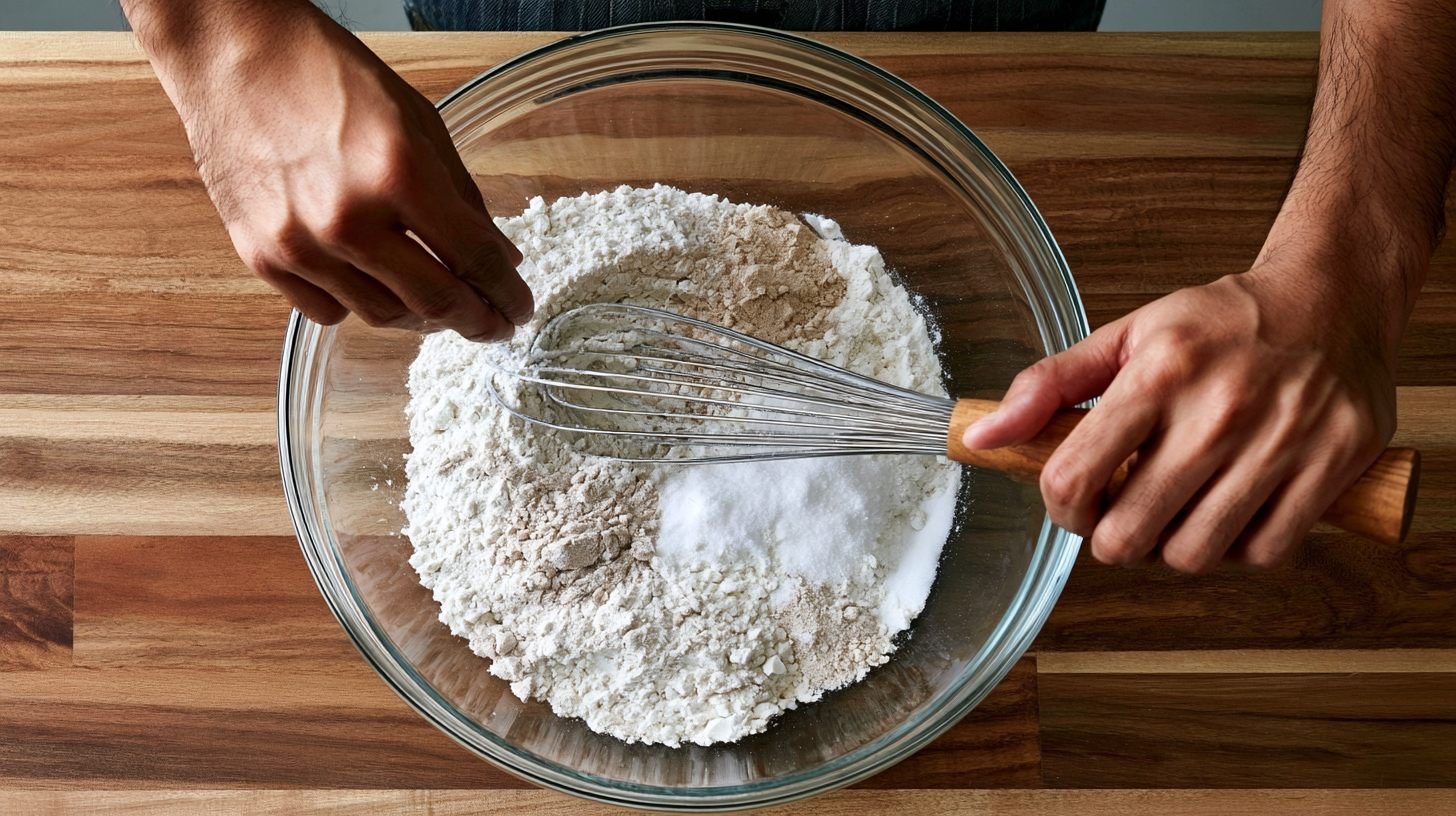
In a large bowl, whisk together the flour, baking powder, baking soda, sugar, and salt. Mixing these dry ingredients first helps them spread evenly through the batter, which means every pancake gets the same lift and flavor.
Skipping this step can lead to pockets of baking powder or salt in your finished stack, so take a full minute to whisk everything well before moving on.
Step 2: Whisk the Wet Ingredients
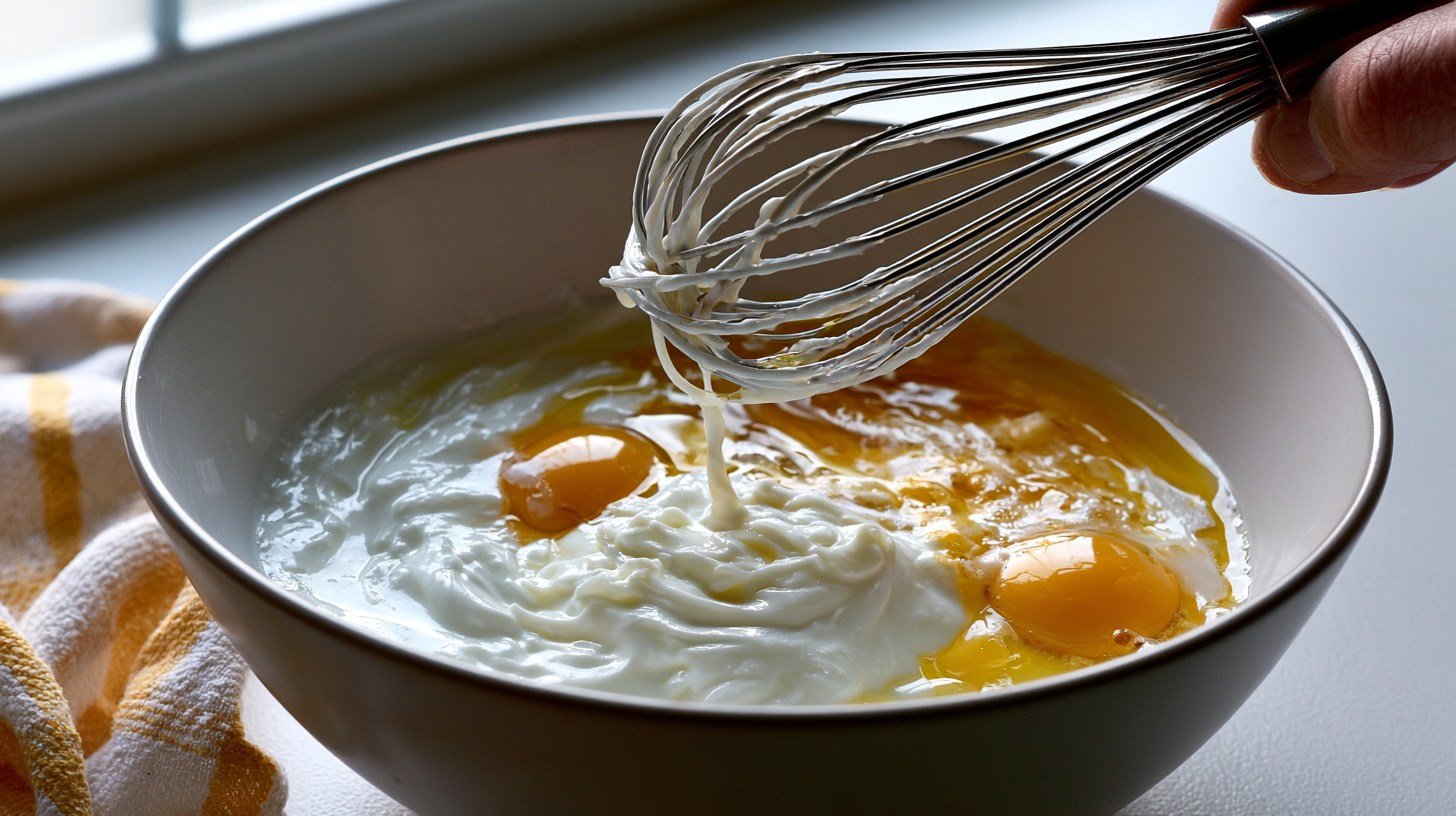
In a separate bowl, whisk together the Greek yogurt, eggs, milk, and vanilla extract until the mixture looks smooth and creamy.
Make sure no lumps of yogurt remain, since those lumps can create dense spots in the finished pancake.
If your yogurt is very thick, add the milk slowly while whisking so everything blends together evenly before you combine it with the dry mix.
Step 3: Combine the Batter
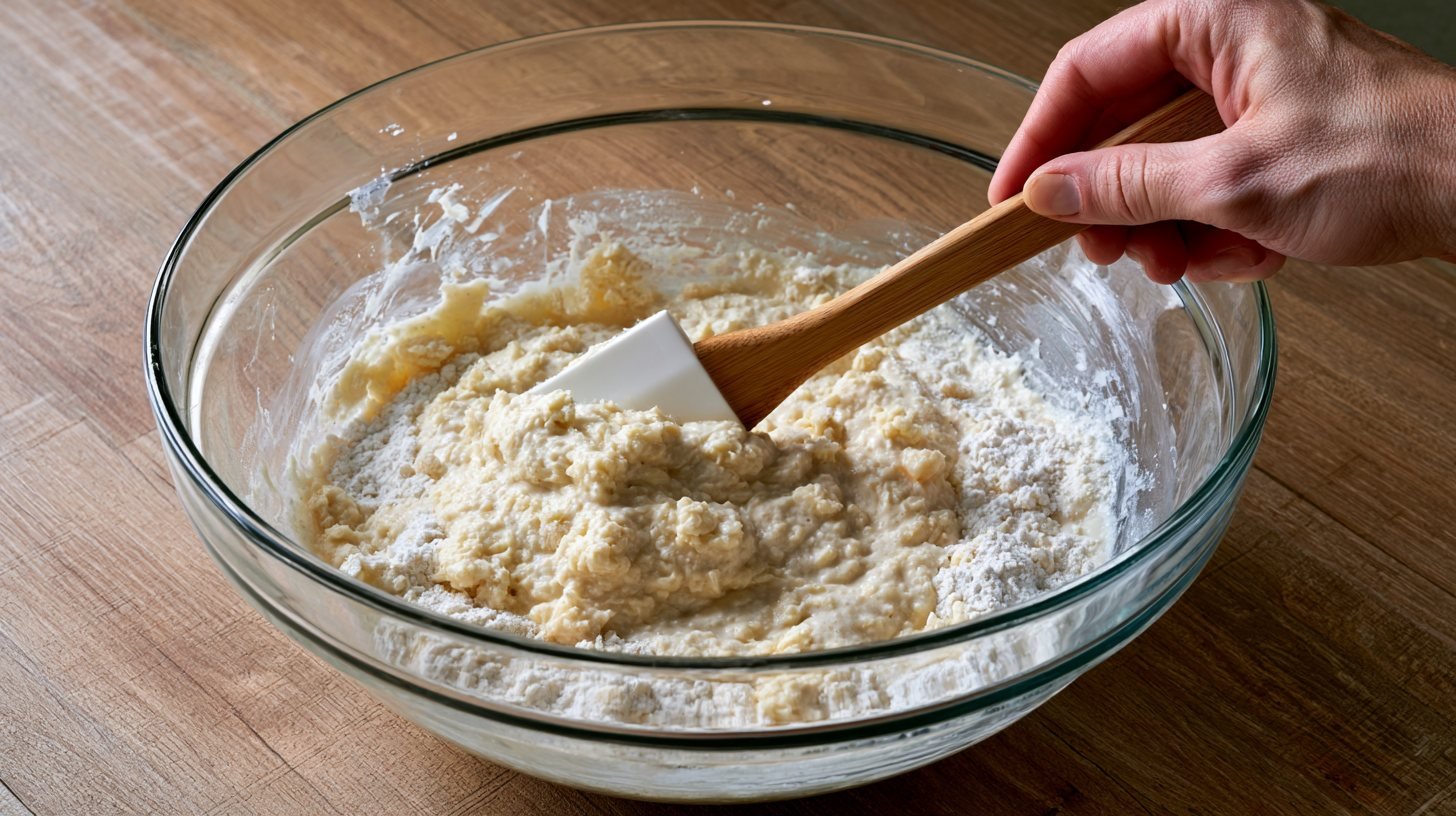
Pour the wet mixture into the bowl of dry ingredients. Use a spatula to fold and stir gently until just combined, stopping as soon as the flour disappears.
A few small lumps in the batter are completely fine and actually help the pancakes turn out lighter.
Overmixing develops gluten, which makes the texture tough and chewy instead of soft and fluffy, so resist the urge to keep stirring.
Step 4: Cook Until Golden Brown
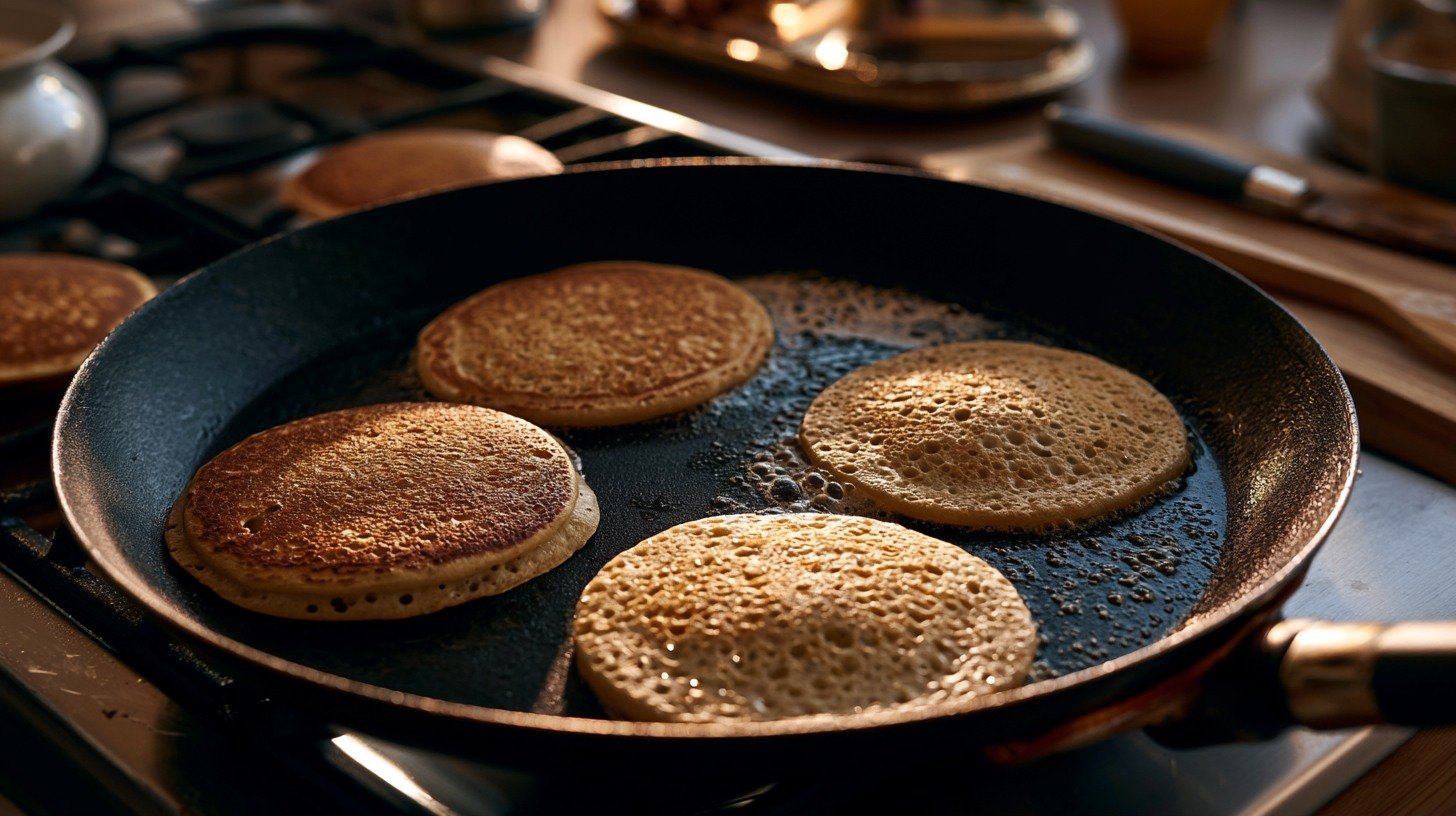
Heat a non-stick pan or griddle over medium heat and lightly grease it with butter or oil. Pour small rounds of batter onto the surface, leaving space between each one so they do not run together.
Cook until bubbles form across the entire surface and the edges turn matte, then flip and cook the other side for one to two minutes until golden brown.
Adjust the heat if the outside browns too quickly before the center sets.
Step 5: Serve Warm
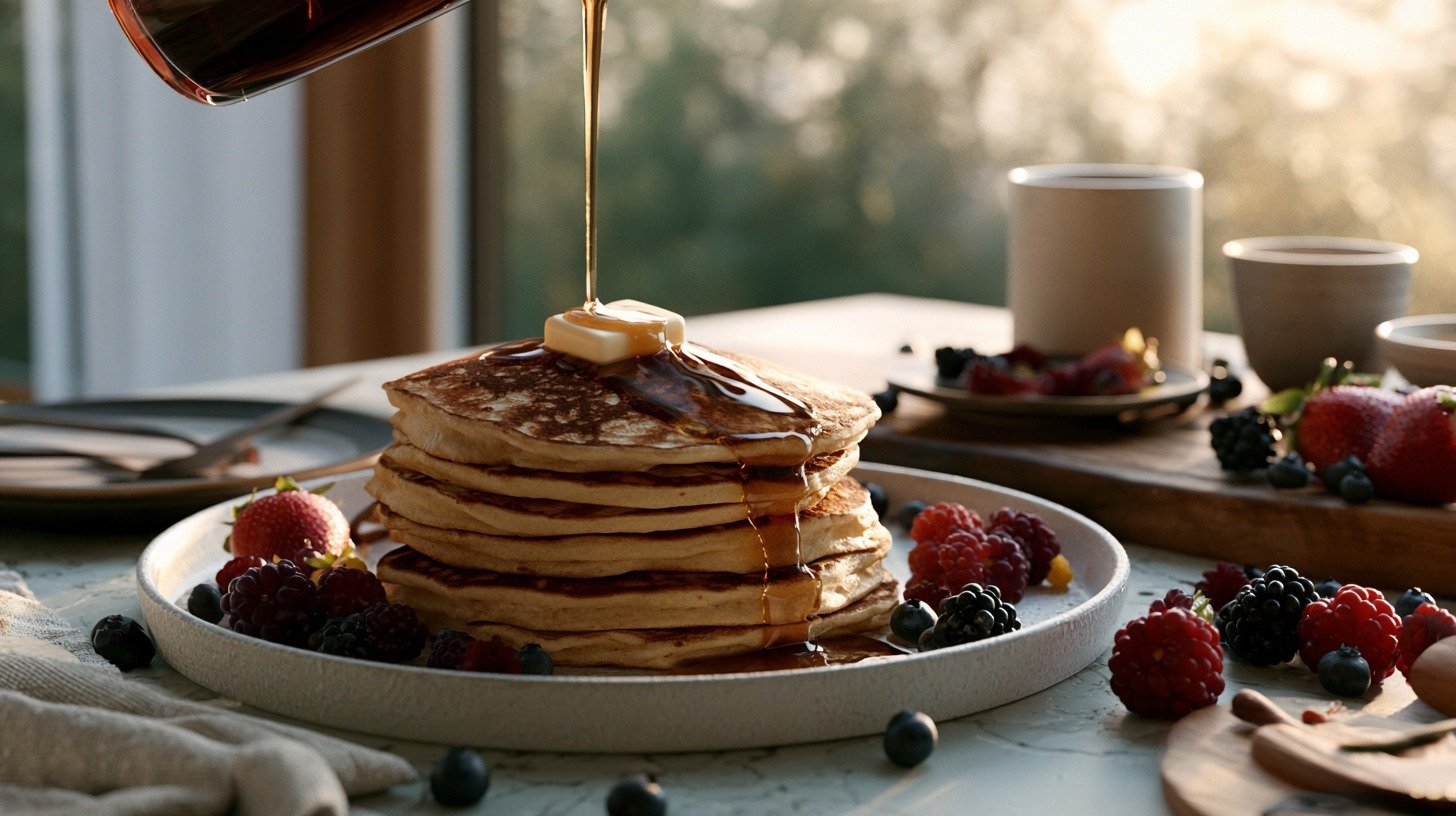
Stack the finished pancakes on a warm plate and serve them right away while they are still hot. Fresh off the pan, the texture is at its best soft on the inside with a lightly crisp edge.
If you are cooking for a group, place the finished pancakes on a baking sheet in a 200°F oven. That keeps them hot without drying out while you finish the rest of the batch.
Healthy Greek Yogurt Pancake Recipe Variations
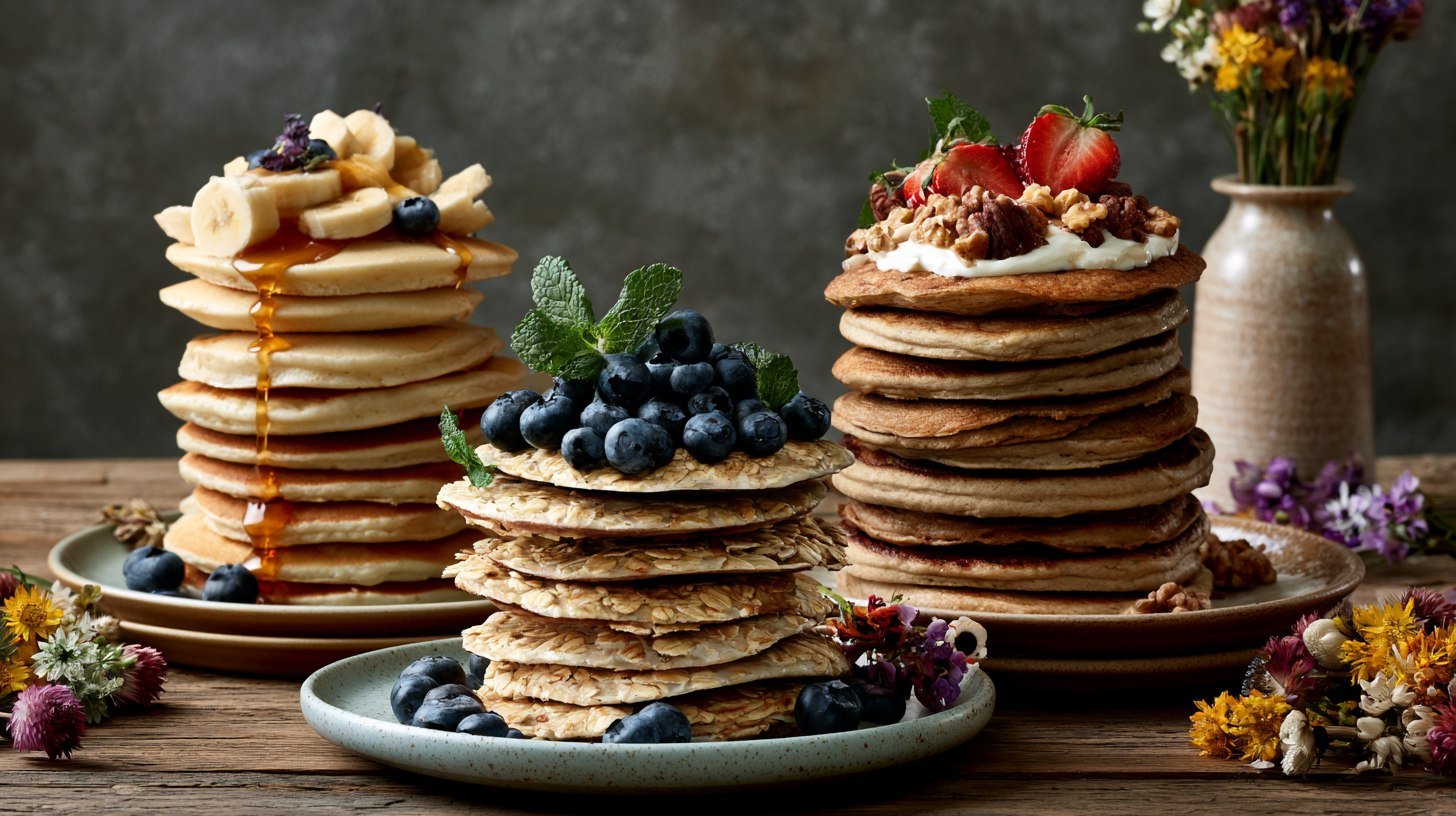
This base recipe is easy to customize once you have the basic method down.
You can swap ingredients, add mix-ins, or change the flour to fit your nutrition goals, dietary needs, or simply whatever you have in your kitchen that morning.
Each variation below works with the same method, so you do not need to learn a new process each time you want a different flavor or texture.
Easy Greek Yogurt Pancake Recipe
This version sticks to the basics and suits any skill level. It uses just flour, Greek yogurt, eggs, and a few pantry staples you likely already have on hand.
The batter comes together in under five minutes, and the whole batch takes less than fifteen minutes from start to finish. If you want a reliable, no-fuss pancake that works every single time, this is the version to start with.
High Protein Greek Yogurt Pancake Recipe
Add one scoop of unflavored or vanilla protein powder to the dry ingredients to boost the protein count per serving.
You may also add two extra egg whites to the wet mix for additional protein without extra fat. Since protein powder absorbs liquid, stir in an extra tablespoon of milk if the batter feels too thick.
This version works especially well as a post-workout breakfast when you need a fast, filling meal.
Banana Greek Yogurt Pancake Recipe
Mash one ripe banana thoroughly and stir it into the wet ingredients before combining with the dry mix. The banana adds natural sweetness, so you can reduce or skip the added sugar in this version entirely.
It also adds moisture, which keeps the pancakes soft even after cooling. Choose a banana with plenty of brown spots for the best flavor, since riper bananas mash more smoothly and taste noticeably sweeter.
Blueberry Greek Yogurt Pancake Recipe
Fold a generous handful of fresh or frozen blueberries directly into the finished batter just before you start cooking. Fresh blueberries hold their shape better, while frozen ones burst more easily and spread color through the batter.
Either option adds bright pops of flavor in every bite. If you use frozen berries, do not thaw them first, add them cold to keep the batter from turning purple before it hits the pan.
Oat and Greek Yogurt Pancake Recipe
Replace half the all-purpose flour with rolled oats or blended oat flour for a heartier, more filling pancake.
Oats add soluble fiber, which slows digestion and keeps you full well past breakfast. The texture becomes slightly denser than the classic version, but the pancakes still cook through evenly and hold together well.
For the smoothest result, blend rolled oats into a fine powder before measuring, rather than adding them whole.
Greek Yogurt Pancake Recipe with Whole Wheat Flour
Swap all-purpose flour with an equal amount of whole wheat flour to increase the fiber and nutrient content of each pancake.
The finished texture will be slightly denser and a little earthier in flavor, but the pancakes remain soft when cooked at the right heat.
If the batter feels too thick after mixing, add one or two tablespoons of extra milk to loosen it. Start with white whole wheat flour for a lighter result if you are new to this swap.
Ingredient Substitutions
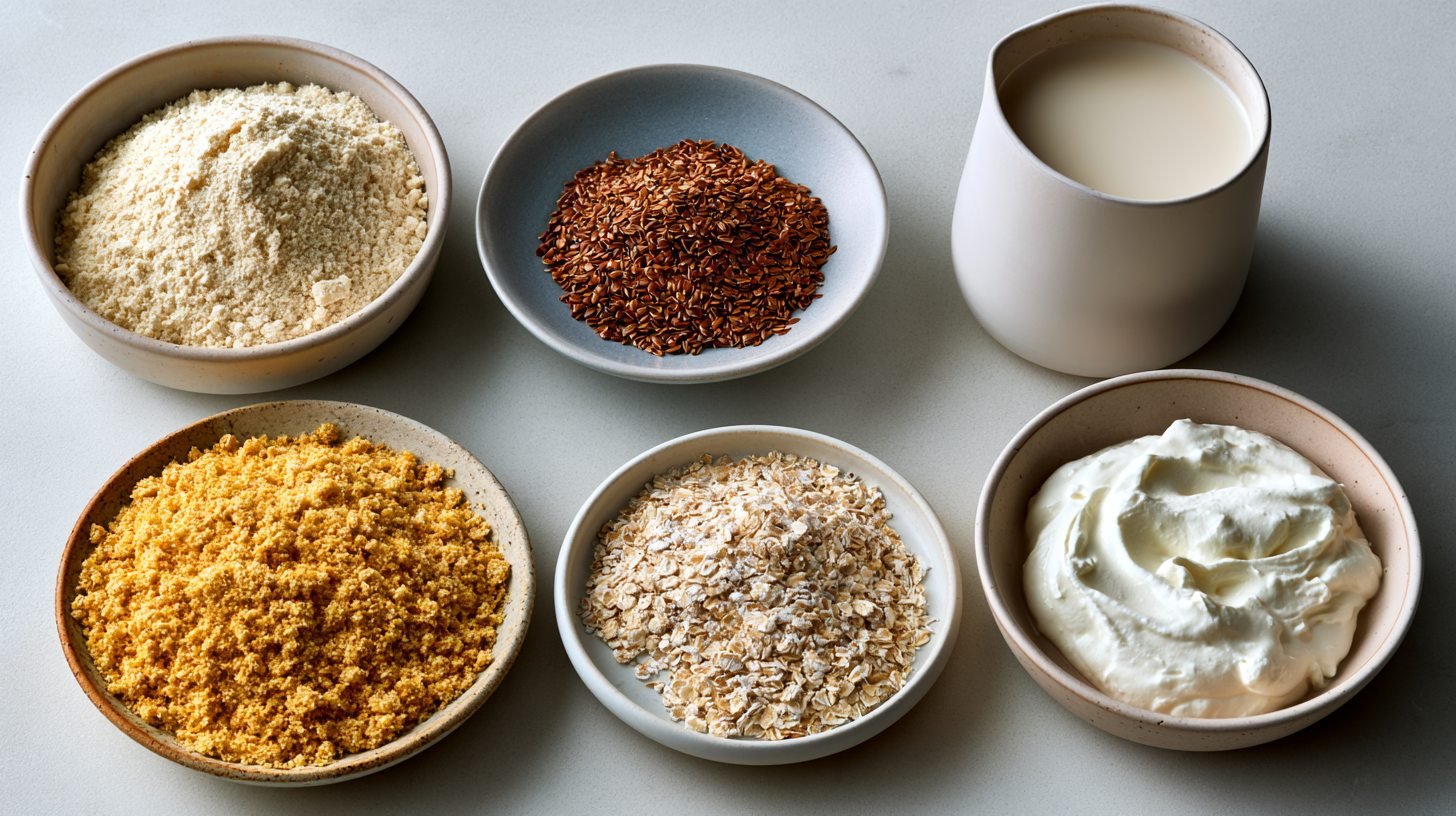
Not every kitchen has every ingredient on hand, and not every diet allows the same foods. These substitutions let you adapt this recipe to fit what you have on hand or what your body needs.
None of them sacrifice the soft texture or the flavor that makes these pancakes worth making.
Greek Yogurt Pancake Recipe Without Flour
For a flourless version, blend one cup of rolled oats into a fine powder and use that in place of regular flour, or use store-bought almond flour measured at the same amount.
Oat flour gives a soft, slightly chewy texture, while almond flour produces a denser, moister pancake with a mild nutty flavor.
Both options are naturally gluten-friendly when sourced from certified gluten-free facilities, making them a solid choice for anyone avoiding wheat.
Greek Yogurt Pancake Recipe Without Egg
Replace each whole egg with a flax egg made from one tablespoon of ground flaxseed mixed with three tablespoons of water, left to sit for five minutes until it gels.
Mashed ripe banana also works as a binder and adds mild sweetness to the batter. Both options hold the batter together without dramatically changing the flavor, though the texture may be slightly softer and less springy than a pancake made with eggs.
Can You Use Regular Yogurt Instead of Greek Yogurt?
Yes, regular yogurt works as a substitute, but it contains more water than Greek yogurt, which makes the batter thinner than usual.
To compensate, reduce the milk in the recipe by half and add it slowly until the batter reaches the right consistency.
The finished pancakes will still taste good, but they may spread more on the pan and turn out slightly flatter than they would with Greek yogurt. Full-fat regular yogurt gives the best result among the available options.
Dairy-Free Milk Options
Almond milk, oat milk, and soy milk all work well in place of regular cow's milk in this recipe. Oat milk has the closest texture and neutral flavor, making it the easiest swap with no noticeable change in taste.
Almond milk is thinner, so the batter may feel slightly looser, while soy milk adds a small amount of extra protein. Choose whichever option fits your taste, allergies, or what you have in your refrigerator that morning.
What to Serve with Greek Yogurt Pancakes
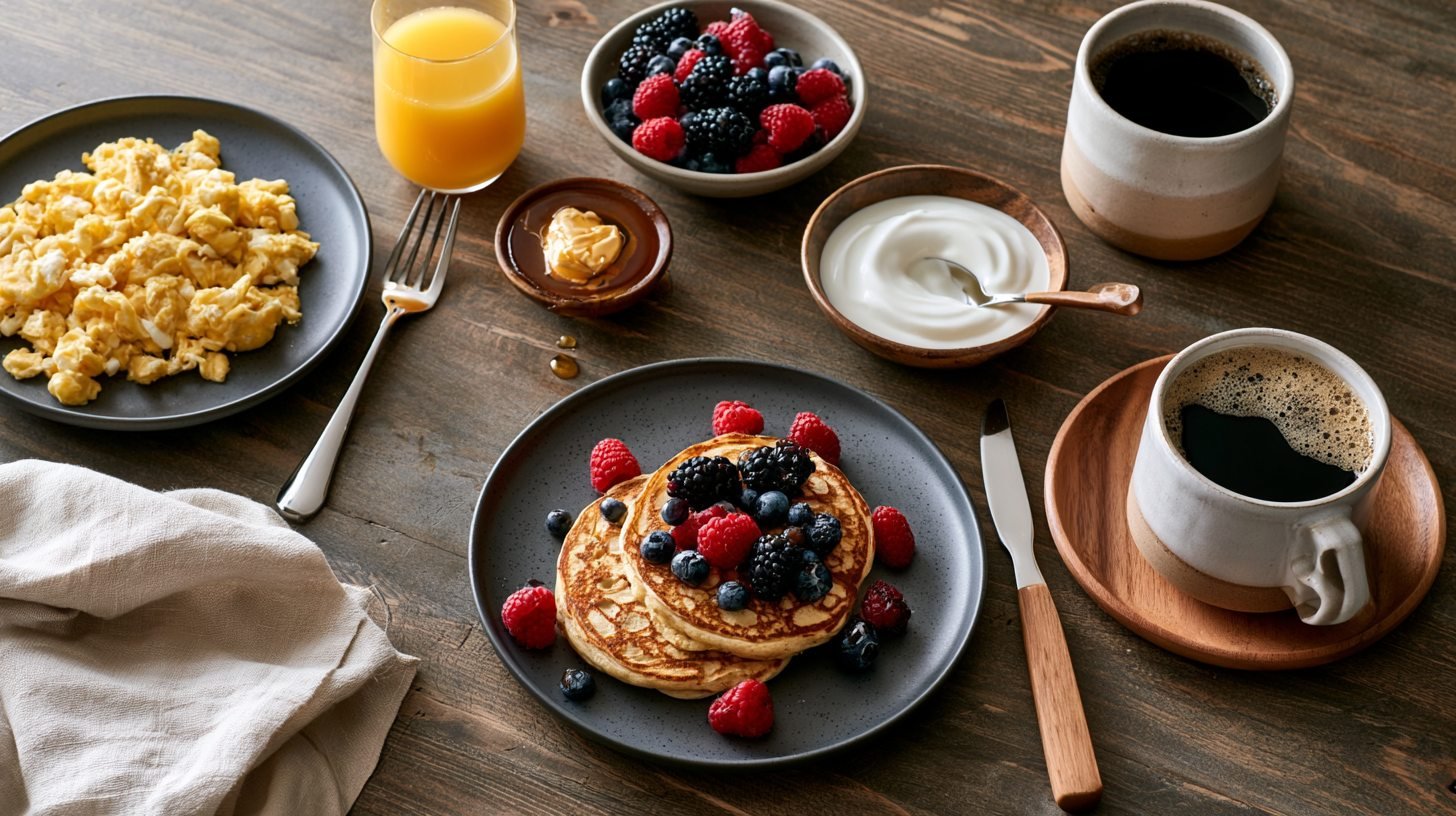
The right toppings and sides turn a good stack of pancakes into a complete, satisfying breakfast.
Whether you want something sweet, something fresh, or a savory side that adds protein and balance, there are plenty of options that pair naturally with these pancakes. Each one complements the mild tang and soft texture without overpowering the flavor.
Classic Pancake Toppings
Maple syrup, a pat of butter, and a dusting of powdered sugar are timeless choices that most people already have at home.
They complement the slight tang of the Greek yogurt without masking it, letting the pancake flavor come through.
Warm the maple syrup slightly before pouring so it soaks in evenly instead of pooling on top. These three toppings work well together or separately, depending on how sweet you want your breakfast.
Healthy Toppings
Fresh berries, a light drizzle of raw honey, or a spoonful of almond butter or peanut butter add real flavor and nutrition without relying on refined sugar.
Sliced banana, a sprinkle of chia seeds, or a dollop of plain Greek yogurt on top also work beautifully and keep the protein high.
These toppings add color and texture to the plate, making the meal look as good as it tastes. Mix and match based on what you have on hand.
Breakfast Sides
Scrambled eggs, turkey bacon, or a small side of cottage cheese round out the plate and add protein and healthy fat to balance the carbohydrates in the pancakes.
A bowl of fresh fruit or a small green smoothie also pairs well if you want something lighter alongside the stack.
Including a protein-based side helps keep blood sugar steadier after the meal, which means fewer cravings before lunch and more sustained energy through the morning.
Common Mistakes to Avoid
A look at the most frequent pancake problems, from dense texture to uneven cooking, and how to fix each one.
- Dense pancakes: usually caused by overmixing the batter or measuring too much flour, so stir just until combined and spoon flour into the cup rather than scooping
- Brown outside, raw inside: a sign the pan runs too hot, so lower the heat slightly to let the inside cook through before the outside over-browns
- Pancakes not rising: often caused by old baking powder that has lost its strength, so check the expiration date before you start
- Sticking to the pan: happens when the surface is not hot enough or lacks enough fat, so always let the pan heat fully before adding batter
How to Store, Freeze, and Reheat
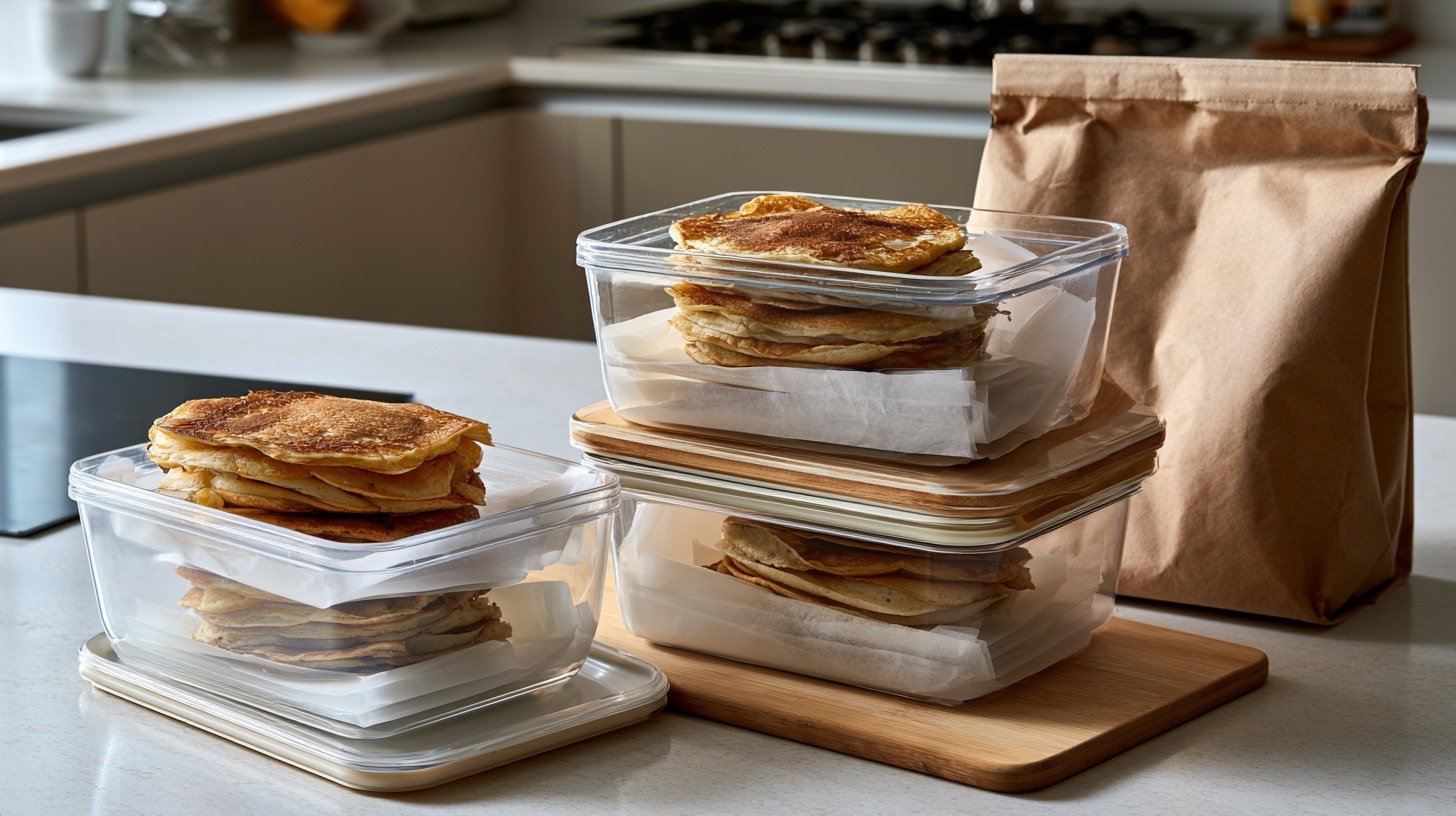
Making a larger batch saves time on busy mornings, but only if you store the leftovers correctly.
Pancakes that are stored while still warm tend to steam inside the container, which makes them soggy and soft in a way that is hard to fix when reheating.
Follow these steps to keep every pancake tasting as close to fresh as possible, whether you plan to eat them tomorrow or next week.
Refrigerating Leftovers
Let the cooked pancakes cool completely on a wire rack before stacking them, which prevents condensation from building up inside the container.
Once cooled, place them in an airtight container with a small piece of parchment paper between each pancake so they do not stick together.
Stored this way, they stay fresh in the refrigerator for up to three days and reheat quickly without becoming soggy or losing their shape.
Freezing for Meal Prep
Lay the completely cooled pancakes in a single layer on a parchment-lined baking sheet and freeze them for one to two hours until solid.
Once frozen, transfer them to a resealable freezer bag, removing as much air as possible before sealing.
This two-step method keeps the pancakes from freezing into a solid clump, making it easy to pull out just one or two at a time. Stored flat in the freezer, they keep well for up to two months without losing quality.
Best Ways to Reheat Pancakes
A toaster or toaster oven gives the best results, restoring a lightly crisp edge while keeping the inside soft and warm.
For a larger batch, arrange the pancakes in a single layer on a baking sheet and heat them in a 325°F oven for eight to ten minutes.
A microwave works in a pinch but tends to make the texture soft and slightly gummy, so use it only when you are short on time. If reheating from frozen, add two to three extra minutes regardless of the method you choose.
Expert Tips for the Best Fluffy Greek Yogurt Pancakes
Practical tips covering batter mixing, pan heat, resting time, and the right moment to flip for perfect results every time.
- Do not overmix: stir just until the flour disappears, since overmixing develops gluten and makes the pancakes tough and chewy instead of soft
- Use medium heat: too high burns the outside before the inside sets, while too low leaves the pancakes pale, flat, and undercooked in the center
- Rest the batter: letting it sit for five to ten minutes gives the baking powder time to activate fully, which leads to noticeably fluffier results
- Watch for bubbles: bubbles forming and popping across the surface signal the pancake is ready to flip, so do not rush it
- Check the edges: when the edges shift from shiny to matte, the bottom has set and the pancake will flip cleanly without tearing
Conclusion
I still remember the first time I made this Greek yogurt pancake recipe on a lazy Sunday morning. My kitchen smelled amazing, and my kids kept sneaking bites straight off the pan before I got to the table.
That is the kind of breakfast this recipe brings: simple, warm, and a little bit joyful.
Now it is your turn. Grab your yogurt, heat up that pan, and give it a try this weekend. Tell me in the comments how yours turned out, and share this post with someone who needs a new breakfast idea.
Frequently Asked Questions
Can I make the batter ahead of time?
Yes, you can mix the batter the night before and store it in a sealed container in the refrigerator. The batter may thicken overnight as the flour absorbs the liquid, so stir in one to two tablespoons of milk before cooking to bring it back to the right consistency. The baking powder will still have enough strength to lift the pancakes, though they may be very slightly less fluffy than a freshly made batch. This shortcut works well when you need breakfast ready fast on a busy morning.
Why do my pancakes stick to the pan?
Sticking almost always comes down to two things: not enough fat on the cooking surface, or adding batter before the pan reaches the right temperature. Always heat the pan over medium heat for at least one to two minutes before adding butter or oil, then let the fat heat through for another thirty seconds before pouring the batter. A properly preheated, lightly greased non-stick pan releases pancakes cleanly without any prying. If they still stick, your pan may need replacing or a better non-stick coating.
Can I make these pancakes gluten-free?
Yes, swap the all-purpose flour for a 1:1 gluten-free flour blend or use oat flour from certified gluten-free oats. A 1:1 blend is the easiest option since it behaves almost identically to regular flour and requires no other adjustments. Oat flour works well too but may produce a slightly denser texture, especially in thicker pancakes. Avoid single-ingredient flours like almond flour alone without other modifications, as they absorb liquid differently and need recipe adjustments to turn out correctly.
How do I keep pancakes warm while cooking the rest of the batch?
Place finished pancakes in a single layer on a baking sheet and set it in an oven preheated to 200°F while you cook the remaining batter. This temperature is warm enough to keep them hot without continuing to cook them or drying out the edges. Avoid stacking them on a plate while still hot, since the steam trapped between pancakes makes the bottoms soggy. The oven method works well for batches of twelve or more pancakes and keeps everything ready to serve at the same time.
Can I add protein powder without changing the texture?
Yes, add one scoop of protein powder to the dry ingredients and reduce the flour by two tablespoons to keep the balance right. Protein powder absorbs more liquid than flour, so stir in an extra tablespoon or two of milk if the batter looks thicker than usual after mixing. Unflavored or vanilla protein powder blends in cleanly without affecting the taste. Avoid chocolate protein powder unless you want the pancakes to taste like chocolate, since the flavor comes through strongly even in small amounts.