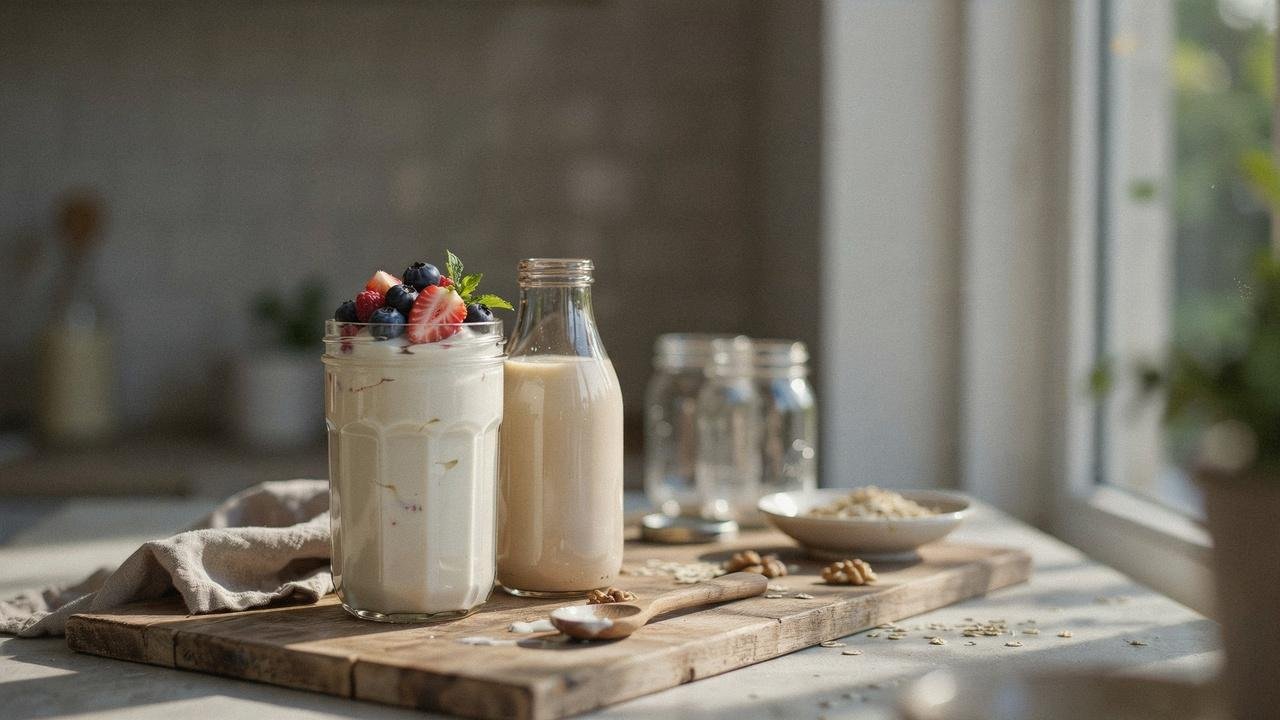
Making raw milk yogurt at home is simpler than most people expect, no fancy equipment, no complicated steps. This guide walks through every step, from picking the right starter to nailing the fermentation time.
It covers the tools needed, the methods that work, common mistakes to avoid, and how to store the finished yogurt. No confusion, no guesswork, just clear, simple steps that work.
What is Raw Milk yogurt?
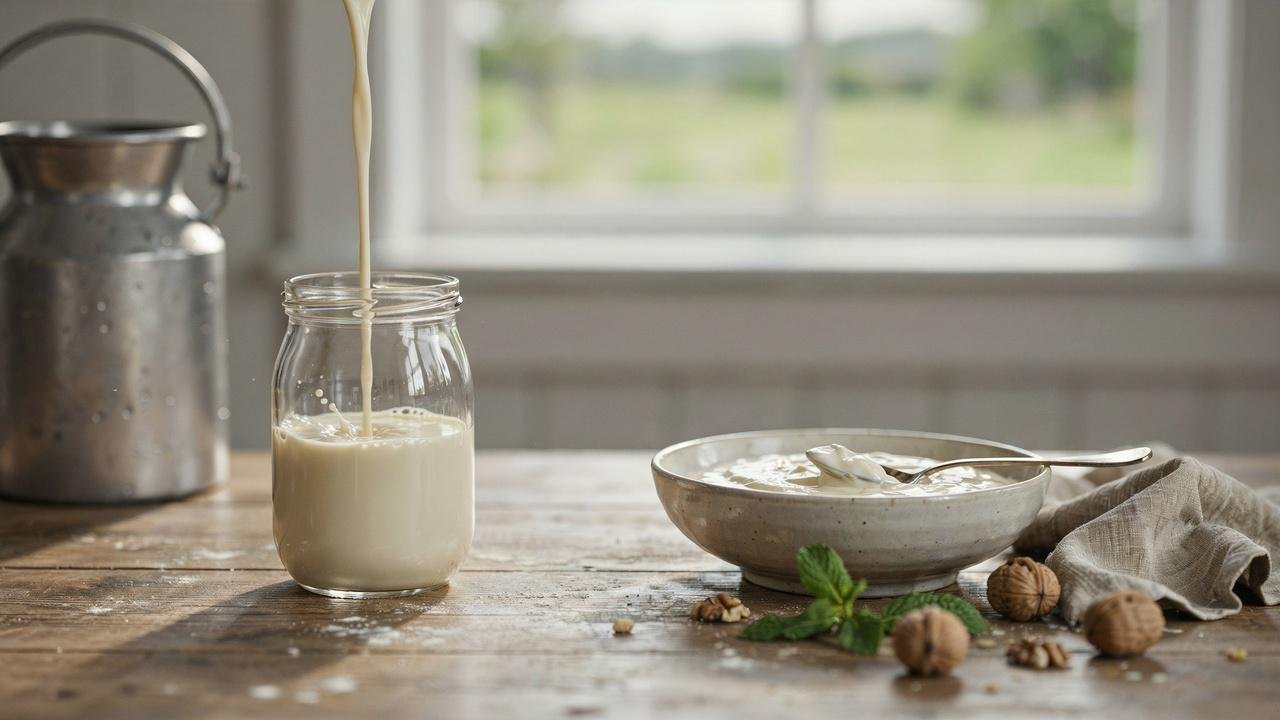
Raw milk yogurt is yogurt made without heating the milk to high temperatures first. This keeps the natural enzymes and good bacteria alive.
Store-bought yogurt is made from pasteurized milk, meaning the milk has been heated to kill bacteria, both good and bad. Raw milk skips that step.
The process is simple: warm the milk gently, mix in a starter, and let it sit in a warm spot until it thickens. That's it.
Ingredients You Need
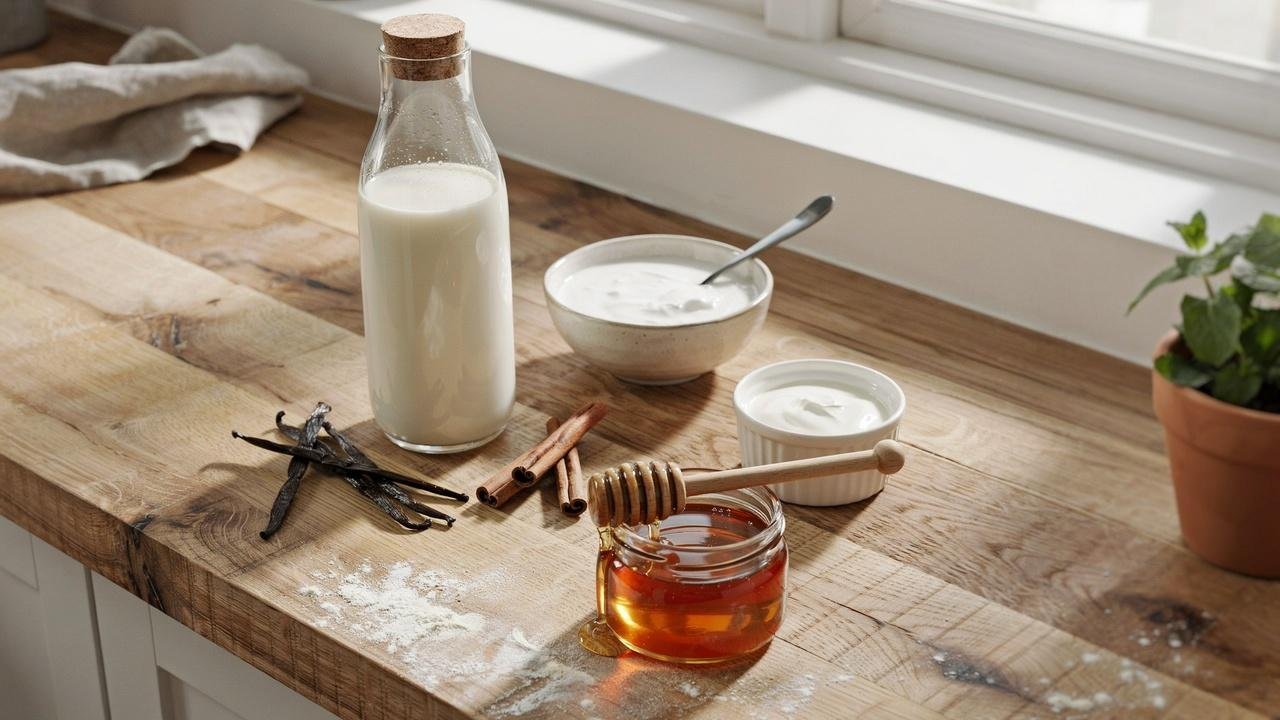
Only two ingredients are needed to get started: fresh raw milk and a yogurt starter with live cultures. Full-fat raw milk from a trusted farm gives the thickest, richest results.
For the starter, a few tablespoons of plain yogurt with live active cultures works well. A powdered yogurt starter from a health food store works just as well.
For a thicker yogurt, stir in a tablespoon of powdered milk or a splash of cream. For flavor, add vanilla extract, a pinch of cinnamon, or raw honey after fermentation is done.
Equipment Required
You don't need a lot of gear. Most of this is already in your kitchen.
Most of the equipment needed is already in a typical kitchen. The key pieces are:
- Mason jars: keep everything clean and easy to store.
- A whisk: helps mix the starter evenly into the warm milk.
- A thermometer: an instant-read or candy thermometer works fine. Raw milk cultures are sensitive to heat, and even a five-degree miss can mean a failed batch or lost enzymes. Clip it to the side of the pot, or dip it in before pouring, to always work from a real number instead of a guess.
For holding the milk at a steady fermentation temperature, any of the following works: an Instant Pot with a yogurt setting, a dedicated yogurt maker, a dehydrator, or an oven with the light left on. Each method is covered in detail below.
Ideal Temperature for Raw Milk Yogurt
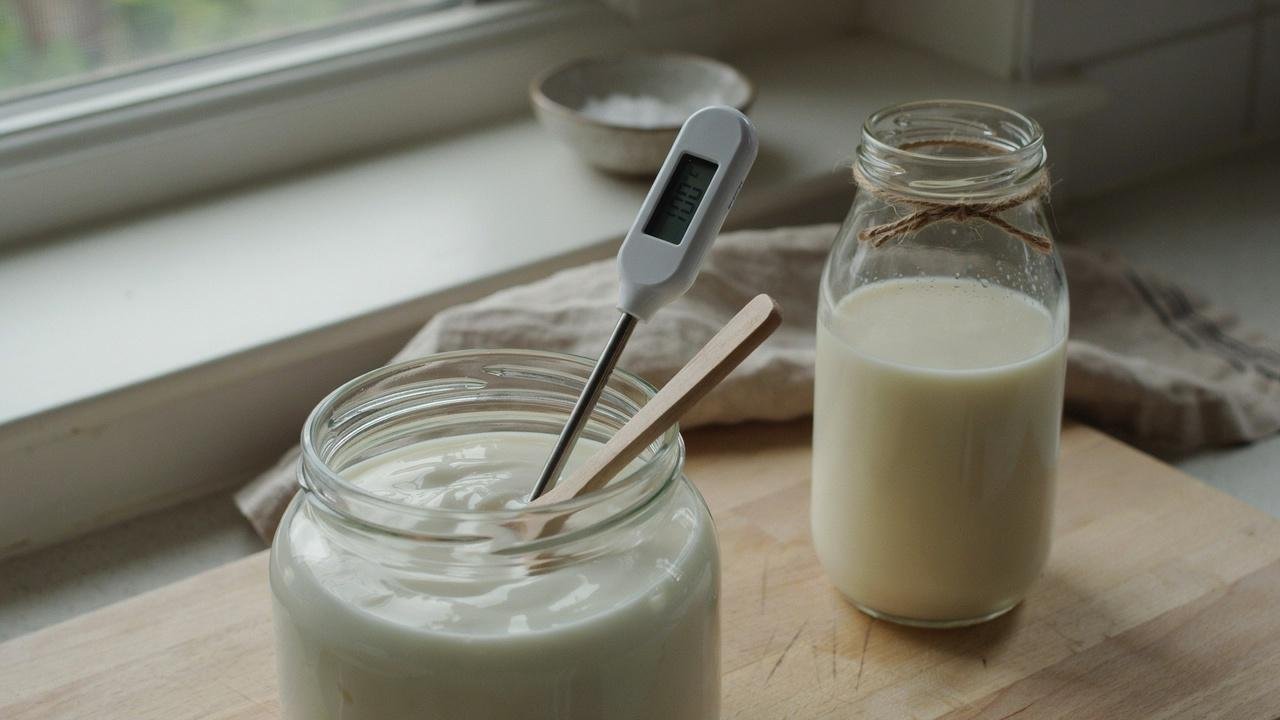
Temperature is the most important part of making raw milk yogurt. Get this wrong, and the batch fails. For raw milk specifically, the target range is 95°F to 100°F. Below 95°F, the cultures won't activate properly, resulting in a runny, unset yogurt.
Above 100°F, the beneficial bacteria naturally present in raw milk start to break down, and fermentation becomes less reliable.
Staying within this narrower, lower range, rather than the wider range sometimes used for pasteurized milk, protects the raw milk's existing bacteria while still allowing proper fermentation. Use a thermometer every time. Don't guess.
How to Make Raw Milk Yogurt Step by Step
Read through the full process once before starting, to know what to expect at each stage. Each step below builds directly on the one before it, so following them in order matters more than rushing any single stage. The temperature ranges and timing given here apply specifically to raw milk, not pasteurized milk, so it's worth sticking to these numbers even if other recipes suggest something different.
Step 1: Warm the Milk
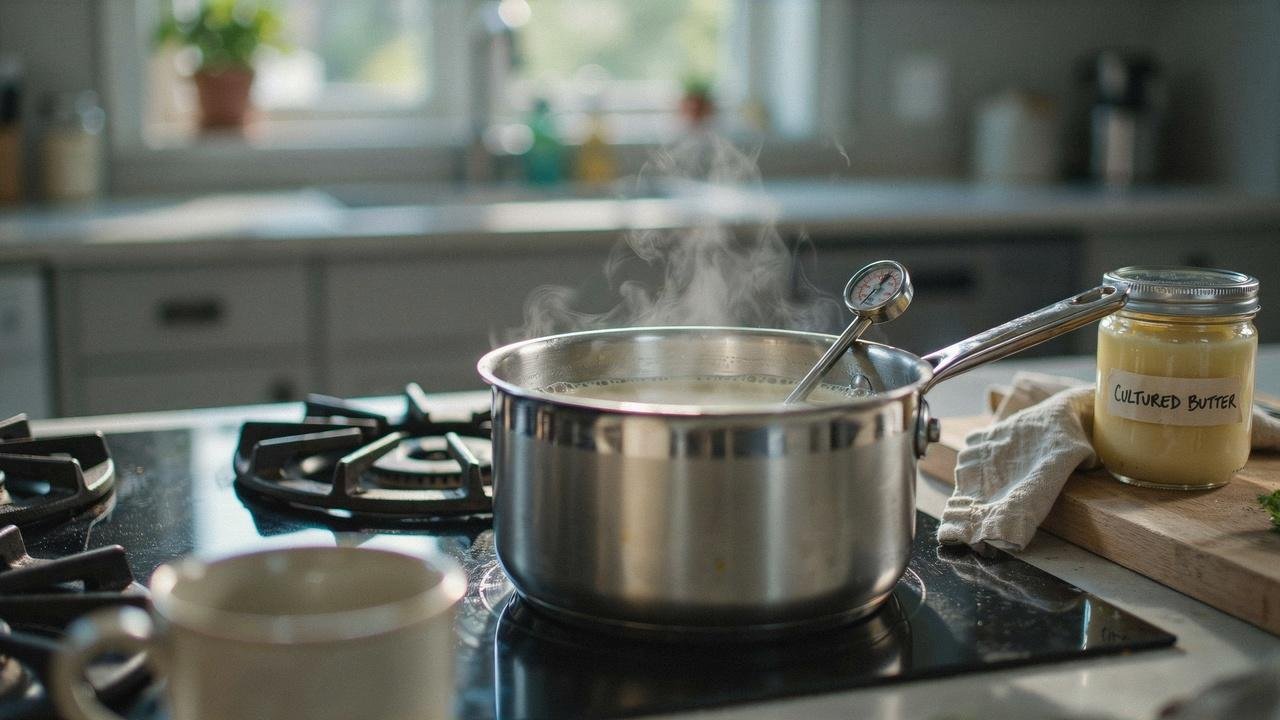
Pour your raw milk into a clean pot. Gently warm it on the stove over low heat. Keep an eye on the thermometer. You want the milk to reach around 100°F, not higher.
Stir gently so the heat spreads evenly. Remove from heat as soon as it hits the target temperature.
Step 2: Add the Starter
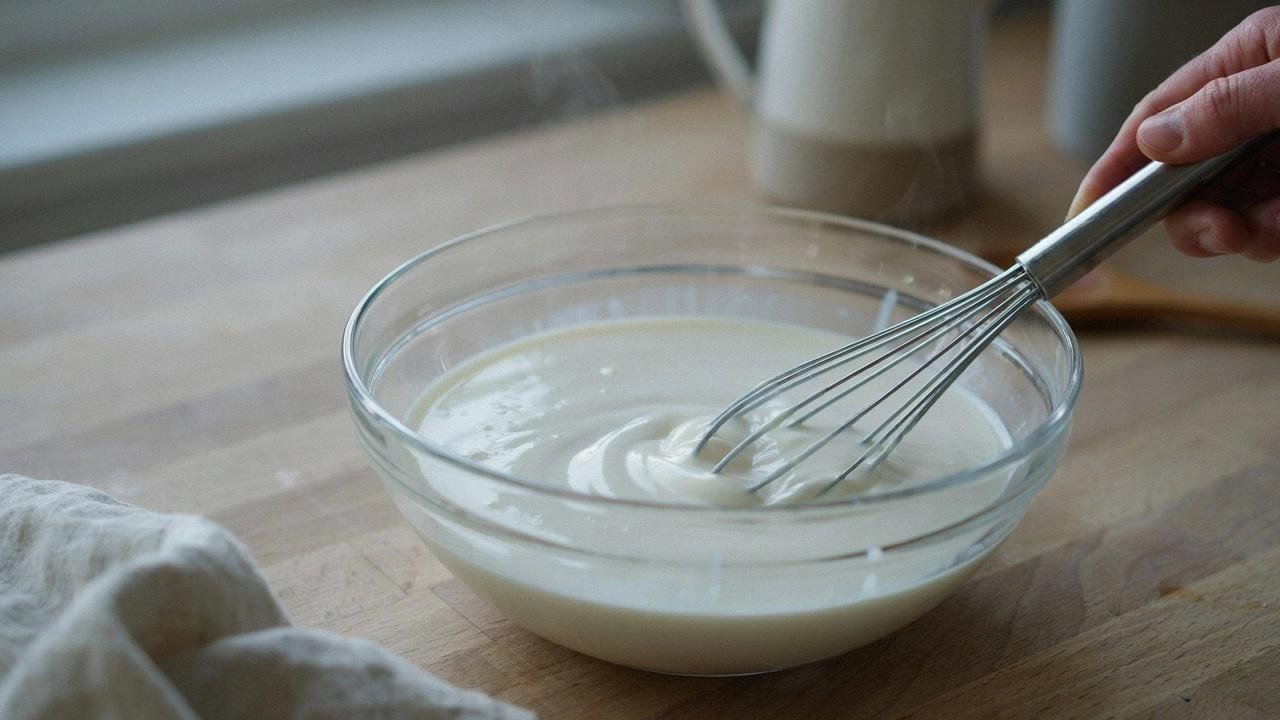
Let the milk cool to around 100°F if it gets a little too warm. Add two to three tablespoons of your yogurt starter.
Whisk it in slowly and evenly, working in a circular motion so the cultures don't clump together at the bottom of the pot.
Avoid vigorous stirring, it can shock the bacteria before they activate.
Step 3: Incubate
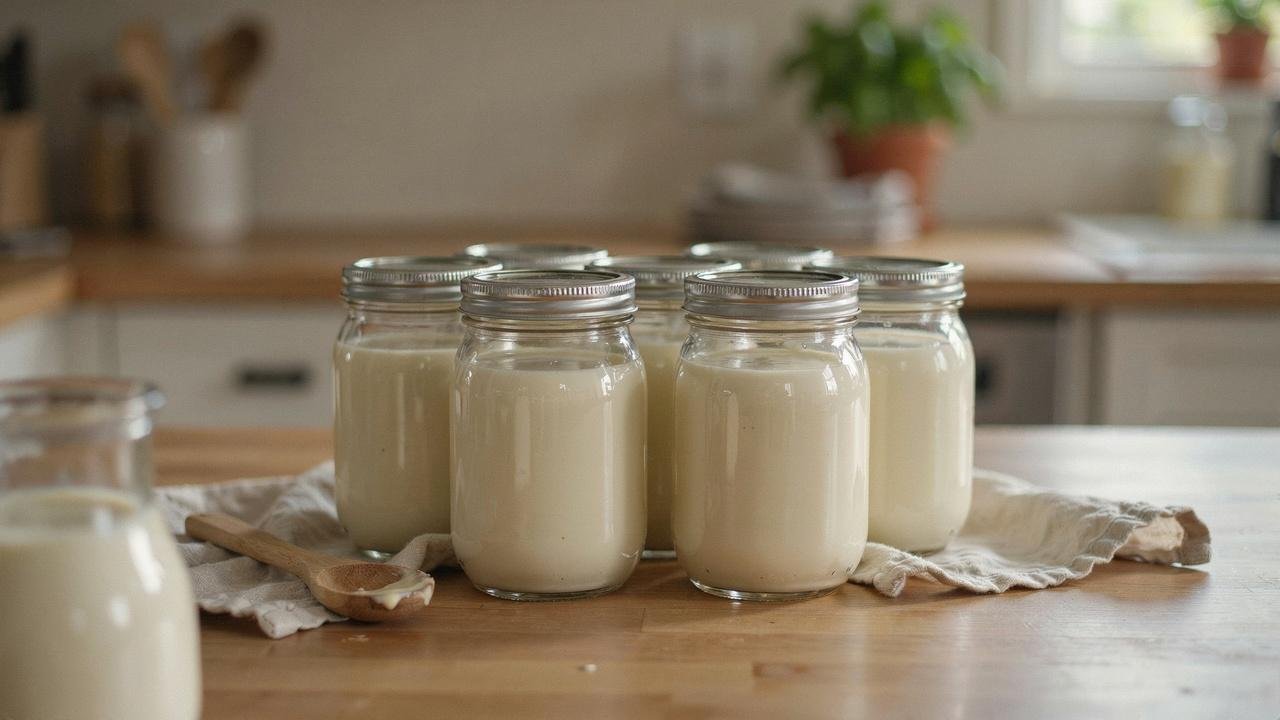
Pour the milk mixture into clean mason jars, leaving a little headspace at the top in case the yogurt expands slightly as it sets.
Seal them and place them in your incubation setup, whether that's an Instant Pot, oven, dehydrator, or yogurt maker.
Keep the temperature steady at 95°F to 100°F throughout the fermentation period.Avoid opening the incubator repeatedly, each check lets heat escape.
Consistency here matters more than any single reading.
Step 4: Check for Doneness
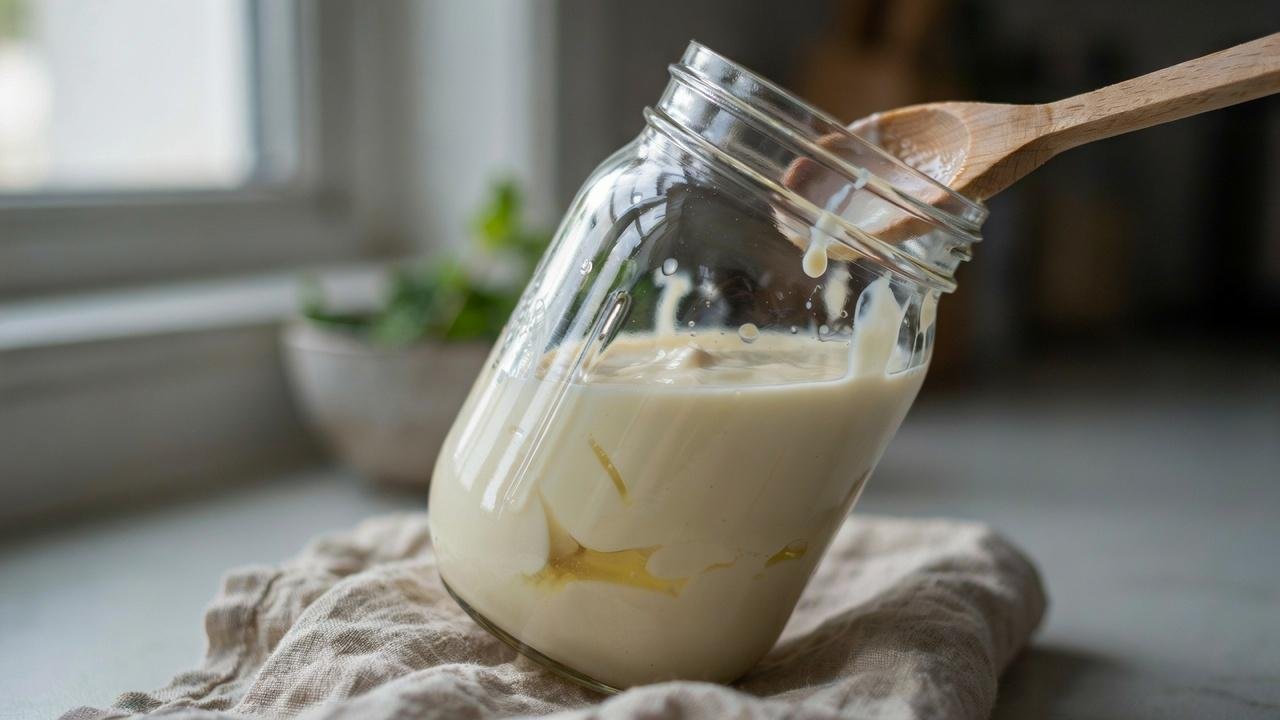
After 8 hours, give the jar a gentle tilt. If the yogurt wobbles as one piece and doesn't slosh around like liquid, it's set.
If it still moves like milk, seal it back up and give it another hour or two before checking again, since raw milk can sometimes take a bit longer than pasteurized milk to firm up.
You may also notice a little whey sitting on top. That's totally normal and a sign of good fermentation, not a mistake you need to fix.
Step 5: Chill Before Serving
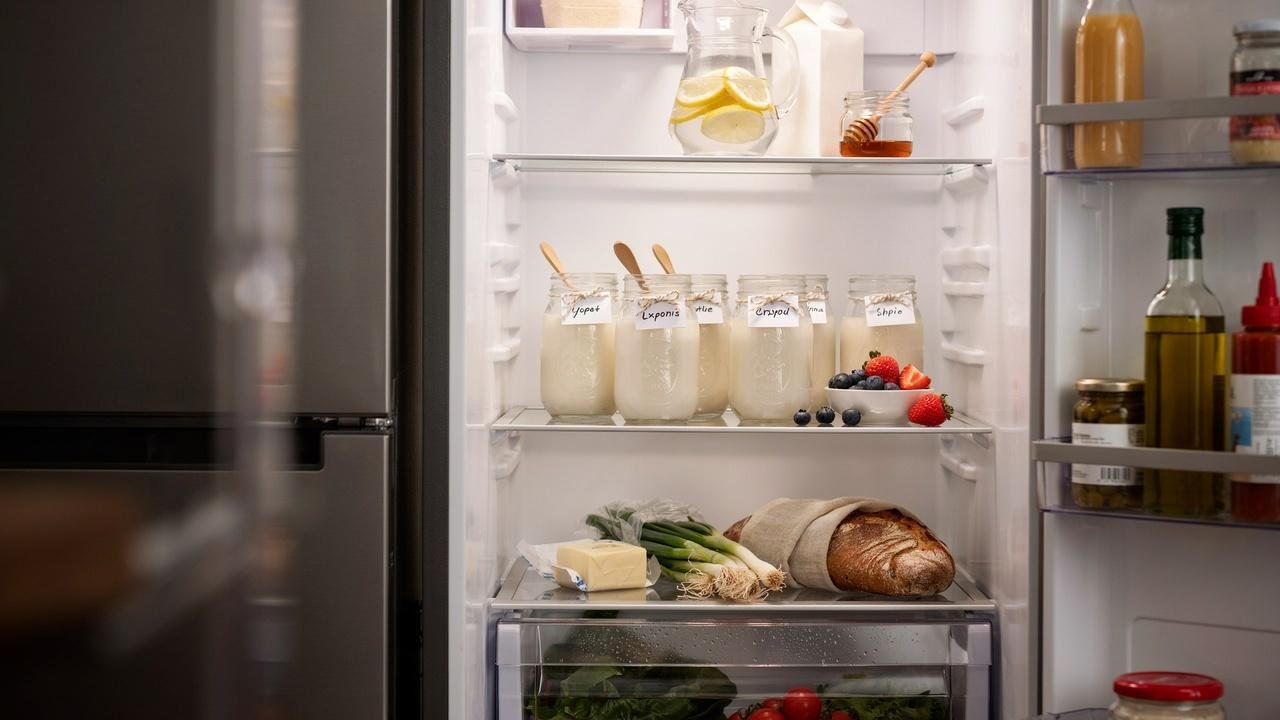
Move the jars to the fridge for at least two hours before eating, though overnight is even better if you can wait that long.
The yogurt firms up more as it cools, since the proteins continue to set once fermentation slows down in the cold.
The flavor also gets a little tangier and more developed after chilling.
Alternative Methods Without an Instant Pot
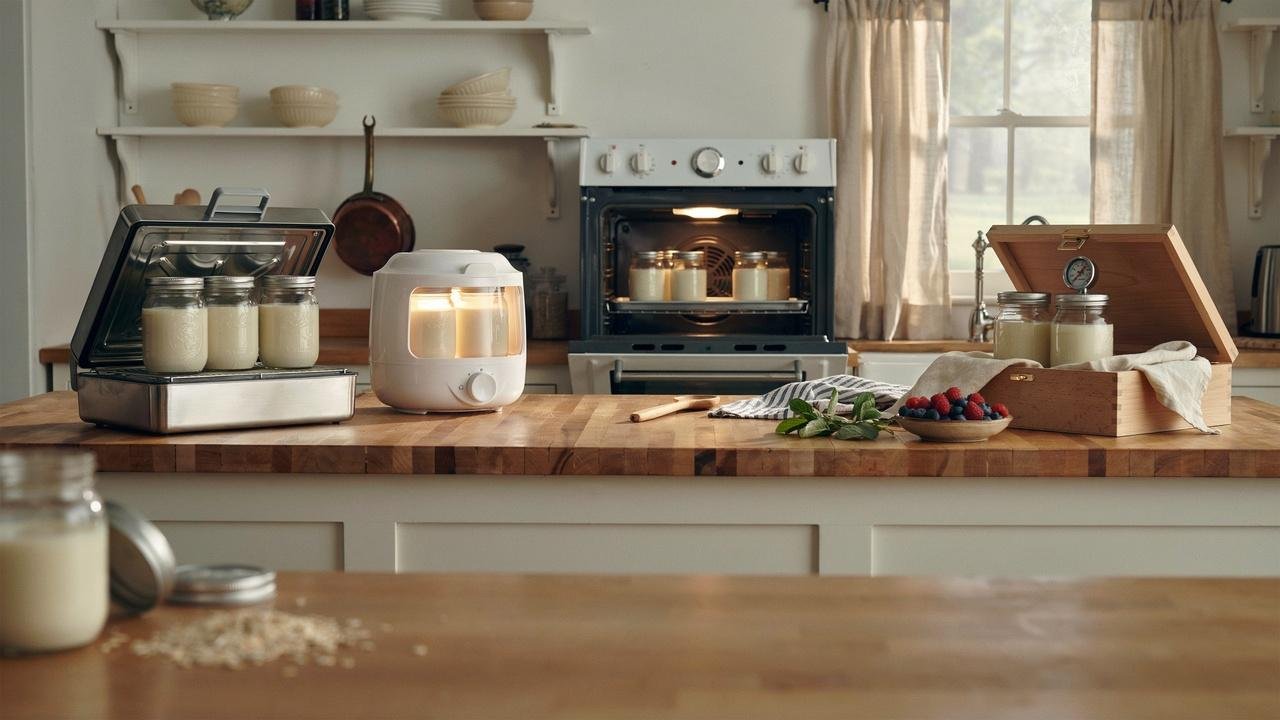
The goal with any method is a steady 95°F to 100°F for several hours. Equipment matters less than temperature consistency, so it comes down to whatever's already on hand in the kitchen.
Each of the options below works well; the right pick usually depends on how often yogurt gets made and how much hands-on attention feels manageable.
Using a Dehydrator
Pour the milk and starter into mason jars, place them inside a dehydrator, and set it to 100°F. Dehydrators tend to hold a steady temperature without much adjusting, which makes them a low-effort option once the jars are loaded in.
Let it run for 8 to 12 hours, then check for doneness using the tilt test described in Step 4.
Using an Oven
Preheat the oven to its lowest setting for about five minutes, then turn it off completely to avoid accidentally cooking the milk.
Place the jars inside with the oven light on, the small amount of heat it gives off is often enough to hold the temperature for several hours. Check periodically to make sure it doesn't get too cold, especially in a chilly kitchen overnight.
Using a Proofing Box
A bread proofing box holds a steady, gentle temperature for long stretches, which suits fermenting yogurt well. Set it to 100°F, place the jars inside, and let it run overnight without opening the door.
Consistent heat makes for consistent yogurt, and a proofing box is one of the more reliable ways to get it since the temperature rarely drifts.
Using a Yogurt Maker
A dedicated yogurt maker holds a steady fermentation temperature automatically, which removes most of the guesswork. Since models vary slightly in timing and setup, it's worth following the manufacturer's instructions for exact settings.
Pour in the milk mixture, set the timer, and let the machine run its cycle, typically 8 to 12 hours, similar to the other methods above.
Watch It Made: Raw Milk Yogurt, Start to Finish
This video walks through the full raw milk yogurt process, warming the milk, adding the starter, and incubating using an Instant Pot, dehydrator, proofing box, or oven. Follow along with the exact temperature range (95°F–100°F) and steps outlined above for best results with raw milk specifically.
Tips for the Best Homemade Raw Milk Yogurt
Small habits make a big difference when it comes to getting consistent, thick, and tangy yogurt every time.
- Choose Full-Fat Raw Milk: Full-fat raw milk creates a thicker, creamier yogurt with a richer flavor. It also helps produce a smoother texture.
- Save Starter Yogurt: Keep 2–3 tablespoons from your last batch to use as the starter for the next one. This saves money and maintains consistent results.
- Keep Jars Still: Do not move or shake the jars while the yogurt is setting. Keeping them undisturbed helps the yogurt thicken properly.
- Adjust Fermentation Time: If your yogurt turns out too thin, let it ferment a little longer next time. Extra time usually creates a thicker, tangier yogurt.
- Add Flavors Later: Wait until the yogurt is fully set and chilled before adding fruit, honey, or vanilla. This keeps the cultures active and the texture smooth.
How to Store Homemade Raw Milk Yogurt
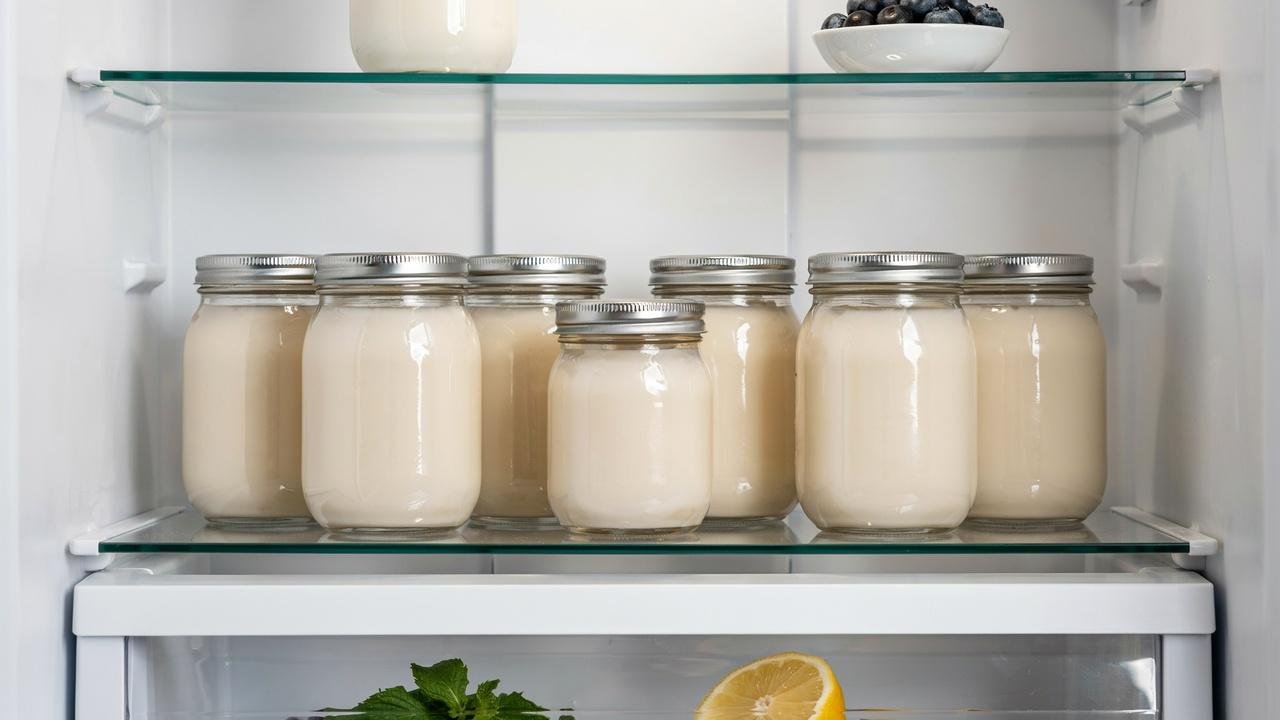
Proper storage keeps your yogurt fresh and the cultures alive.
Transfer the set yogurt into clean, airtight mason jars. Store them in the coldest part of your fridge, usually the back. Raw milk yogurt keeps well for up to two weeks when stored properly.
Don't leave it sitting at room temperature for more than two hours. The warmth will over-ferment it and make it too sour.
If you notice any pink, orange, or fuzzy mold on top, toss the batch and start fresh with a new starter.
Common Problems and How to Fix Them
These mistakes can turn an honest attempt into something damaging.
- Yogurt Didn't Set: This usually happens if the milk was too cool or the starter culture was inactive. Use a reliable thermometer and a fresh starter for better results.
- Yogurt Is Too Thin: The yogurt may need more fermentation time to thicken. You can also strain it through cheesecloth for a Greek-style texture.
- Yogurt Tastes Too Sour: It likely fermented for too long. Reduce the fermentation time to about 8 hours for a milder flavor.
- Watery Liquid on Top: The liquid is whey, which is completely normal. Stir it back in or pour it off, depending on your preferred consistency.
- Slimy Texture: A spoiled or contaminated starter culture is often the cause. Discard the batch and begin again with a fresh, active starter.
Conclusion
Making raw milk yogurt at home has been one of the most rewarding things I've added to my routine.
The first batch feels like a small win. Every batch after that feels like second nature. You now know the steps, the tools, the timing, and what to do when things go sideways.
All that's left is to make your first jar.
Try it this week and let me know how it goes in the comments.
Share this post with someone who loves real food. And if you want more recipes like this, check out the related posts below.
Frequently Asked Questions
Is it safe to make yogurt with raw milk?
Yes, when handled properly. Use fresh raw milk from a clean source, keep your tools sanitized, and ferment at the right temperature. Wash your jars, whisk, and thermometer in hot soapy water before each batch, and make sure your milk comes from a farm you trust that follows good hygiene practices.
Following these basic precautions is what makes homemade raw milk yogurt a safe and enjoyable project rather than a risky one.
Do I need to heat raw milk before making yogurt?
You don't need to boil it. Just warm it gently to around 100°F. This activates the starter without destroying the natural enzymes that make raw milk yogurt special.
Boiling or overheating the milk would kill off the very bacteria and enzymes you're trying to preserve, which defeats the purpose of using raw milk in the first place. Gentle, controlled warming is really all the process calls for.
How do I know if my raw milk yogurt has gone bad?
Look for mold, unusual colors like pink or orange, or a sharp off smell. Fresh raw milk yogurt smells tangy but clean, with a pleasant sourness rather than anything sharp or unpleasant.
If the texture turns slimy or stringy instead of thick and creamy, that's another sign something went wrong during fermentation. When in doubt, throw it out rather than risk eating a spoiled batch.
Can I use store-bought yogurt as a starter?
Yes. Use plain, unflavored yogurt with live active cultures listed on the label, since flavored varieties often contain added sugar and stabilizers that can interfere with fermentation. Two to three tablespoons per quart of milk is the right amount to get a good culture going.
Once your first homemade batch turns out well, you can start saving a few tablespoons from it to use as your starter going forward instead of buying more store-bought yogurt.
Why isn't my raw milk yogurt as thick as store-bought yogurt?
Store-bought yogurt often has added thickeners like pectin or gelatin that give it a denser, firmer texture straight out of the container. Homemade yogurt is naturally thinner unless you strain it, since it relies purely on fermentation and natural milk proteins to set.
Use the cheesecloth straining method to get a thicker, Greek-style result: simply pour the finished yogurt into a cheesecloth-lined strainer set over a bowl and let it drain in the fridge for a few hours until it reaches the thickness you want.