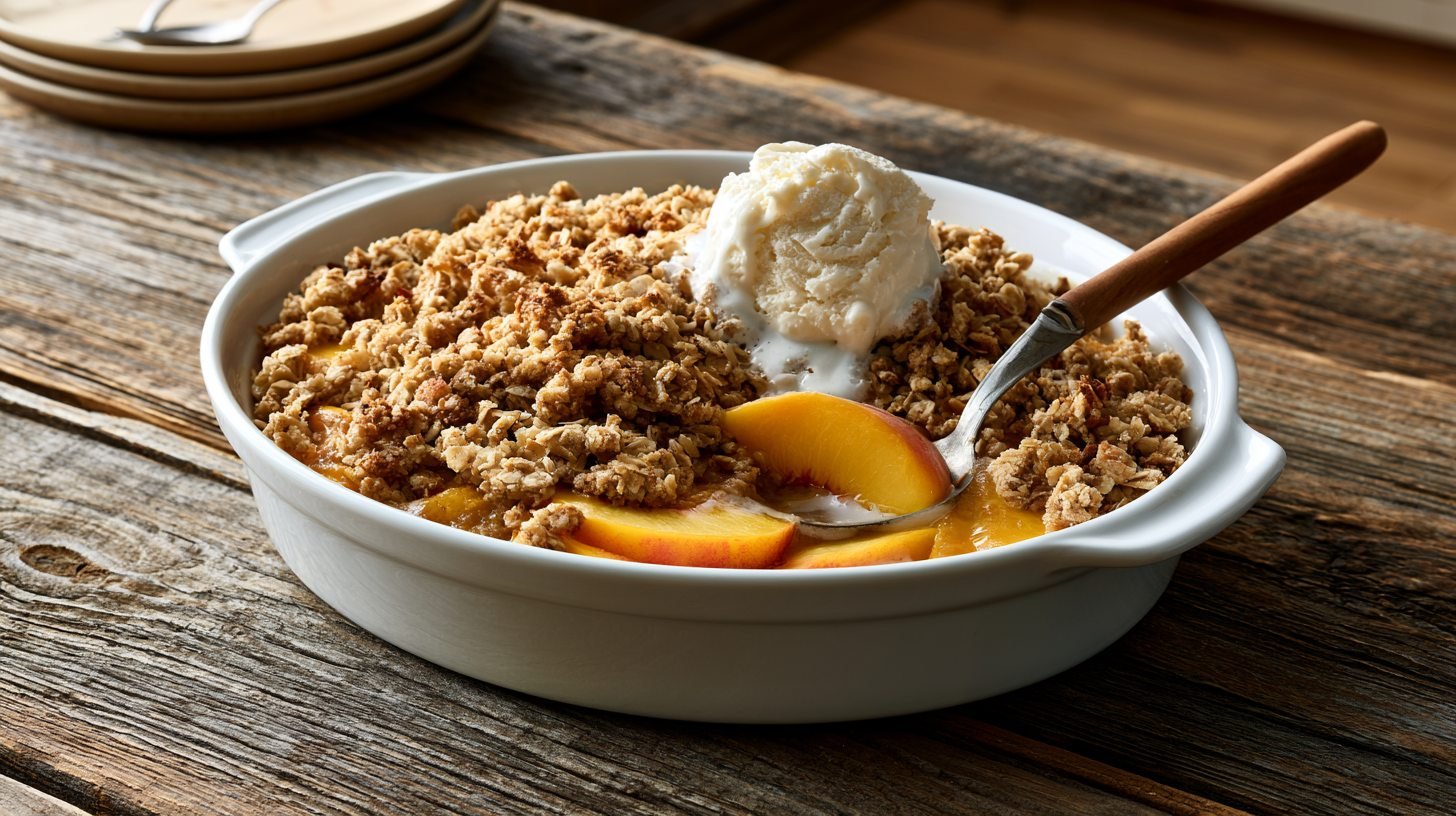
Craving a dessert that feels like a warm hug but won't set back your healthy habits? This healthy peach crisp recipe is exactly what you need.
You'll find the full ingredient list, step-by-step instructions, storage tips, and answers to common questions all in one place.
We've tested this recipe more than once in our own kitchen, tweaking the sweetness and topping until it felt just right.
Whether you want a quick weeknight treat or something to serve guests, this recipe fits the bill. Simple ingredients and easy steps make it work for any skill level.
Why You'll Love This Healthy Peach Crisp Recipe
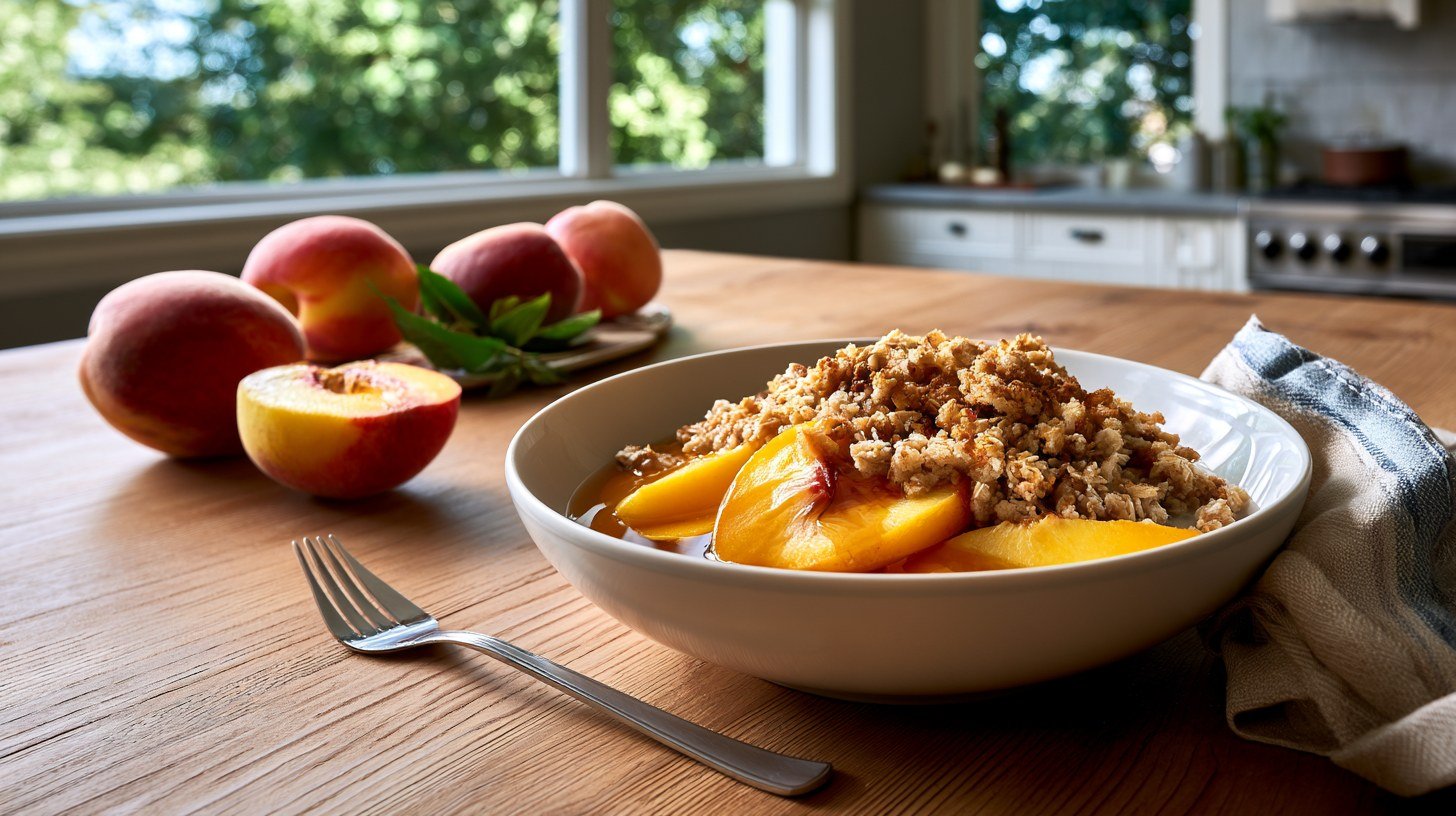
This crisp uses natural sweeteners and wholesome ingredients, so you get big peach flavor without the sugar crash.
It is easy to make, comes together fast, and works for gluten-free or vegan diets with small swaps.
You also don't need any specialty equipment or hard-to-find ingredients. Most of what you need is likely sitting in your pantry right now.
The peaches do most of the work, and the topping adds just the right crunch.
A Few Health Perks Worth Knowing
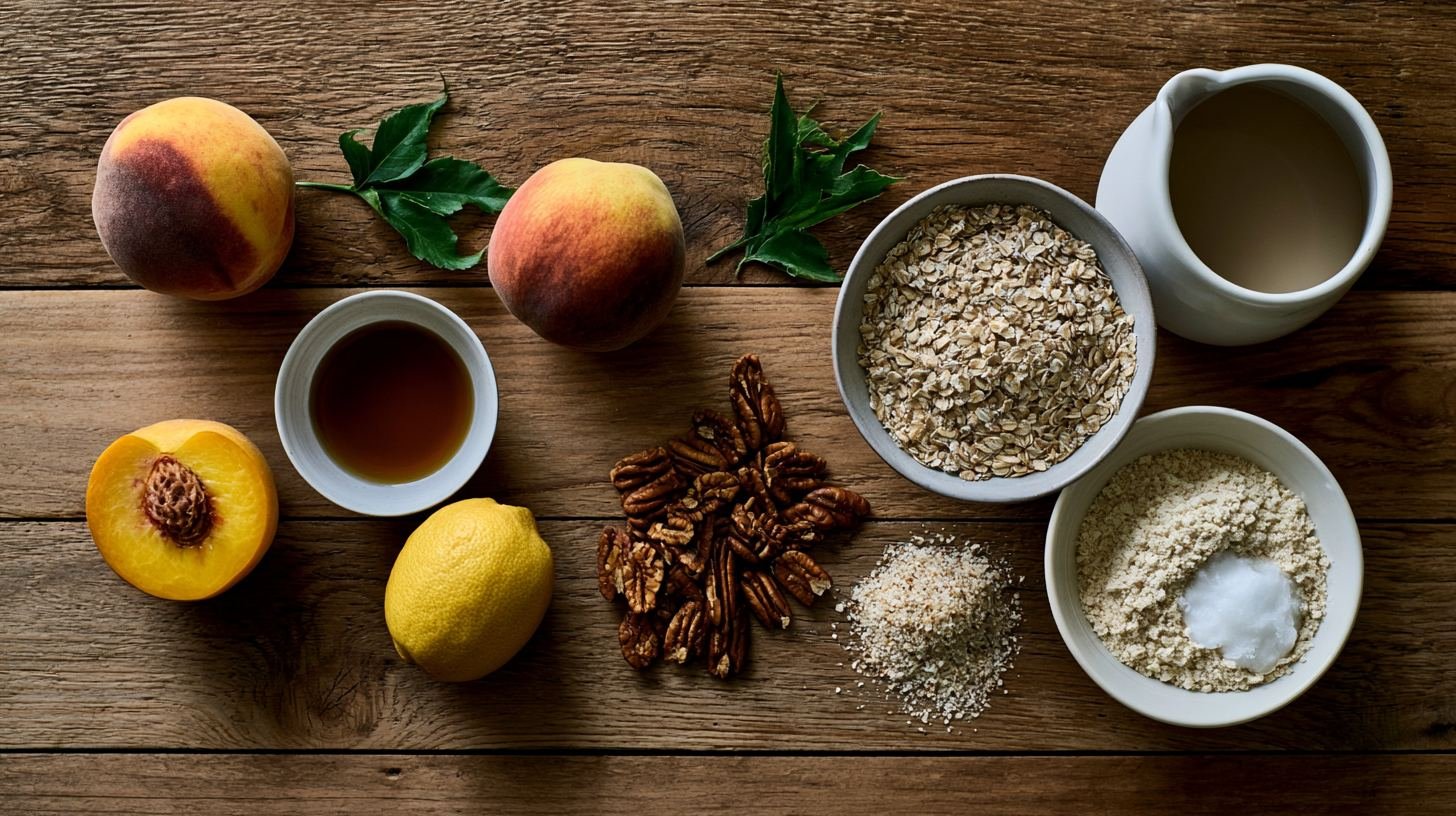
This dessert brings more to the table than just great taste. Peaches are packed with fiber and vitamin C, which support digestion and immune health.
Using natural sweeteners like maple syrup or honey means you skip the refined sugar found in most crisp recipes.
The oats in the topping add extra fiber, while nuts bring healthy fats and a bit of protein. This makes the dessert more filling than a typical sugary treat.
Ingredients for Healthy Peach Crisp
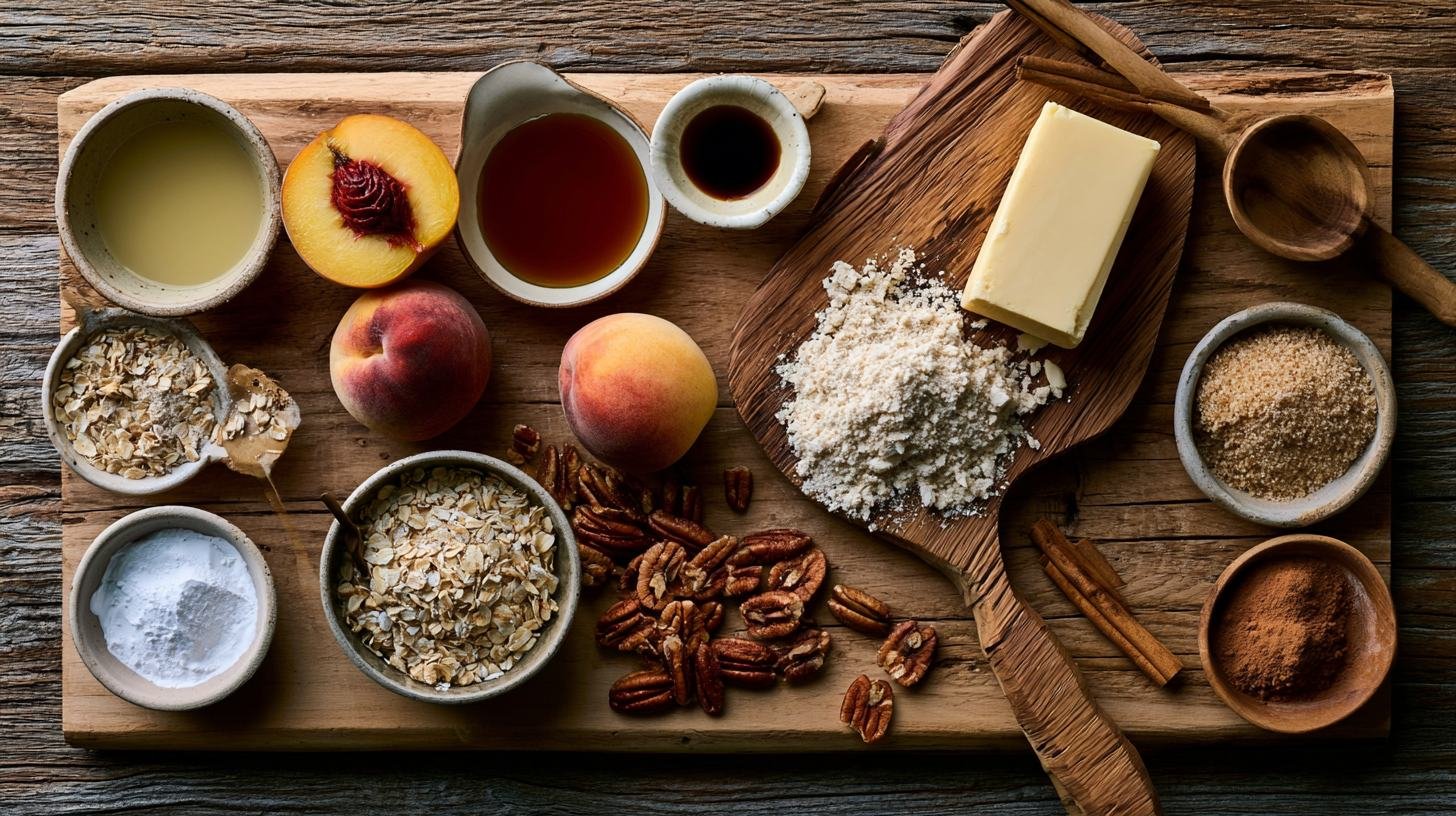
These are the core ingredients that build the warm, juicy peach filling and the crunchy topping.
Each one plays a specific role in creating the right texture and flavor balance.
You only need a handful of simple, wholesome items that are easy to find at any grocery store.
Filling Ingredients
Fresh or frozen peaches both work well here, so you can make this year-round without compromise.
- Fresh or frozen peaches
- Natural sweetener (maple syrup or honey)
- Lemon juice
- Thickener (cornstarch or arrowroot)
- Vanilla extract
Healthy Crisp Topping Ingredients
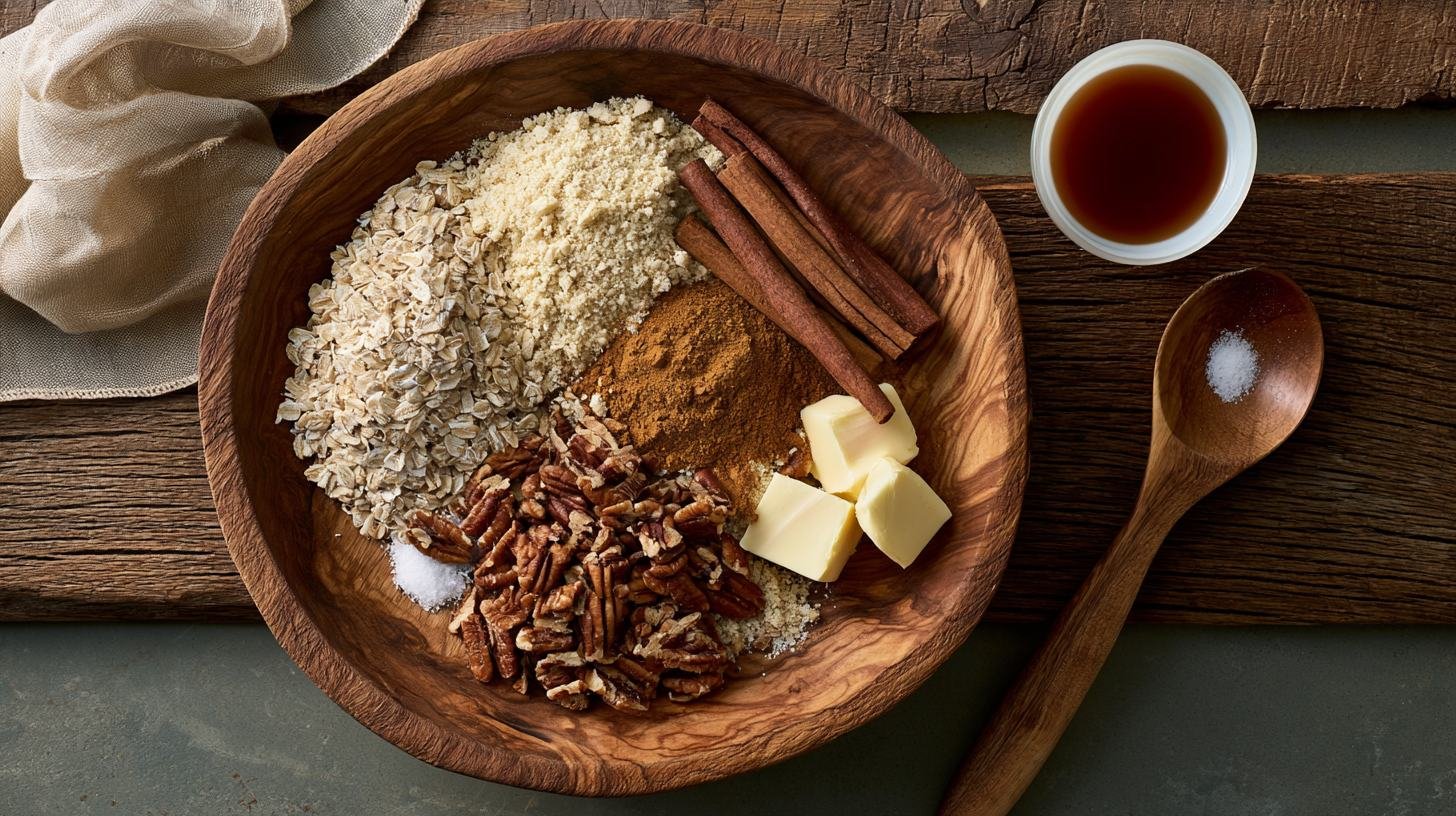
Get everything ready before you start mixing.
- Rolled oats
- Almond flour or oat flour
- Chopped pecans or walnuts
- Coconut sugar or light brown sugar
- Butter or coconut oil
- Ground cinnamon
- Pinch of salt
The topping is what turns this from a simple baked fruit dish into a true crisp. This combination of oats, flour, nuts, and natural sweetener bakes up golden and crunchy with just the right buttery richness.
Every ingredient here adds texture, flavor, or both. Unlike store-bought crumble mixes, this topping uses only whole, recognizable ingredients you can feel good about.
Kitchen Tools You'll Need
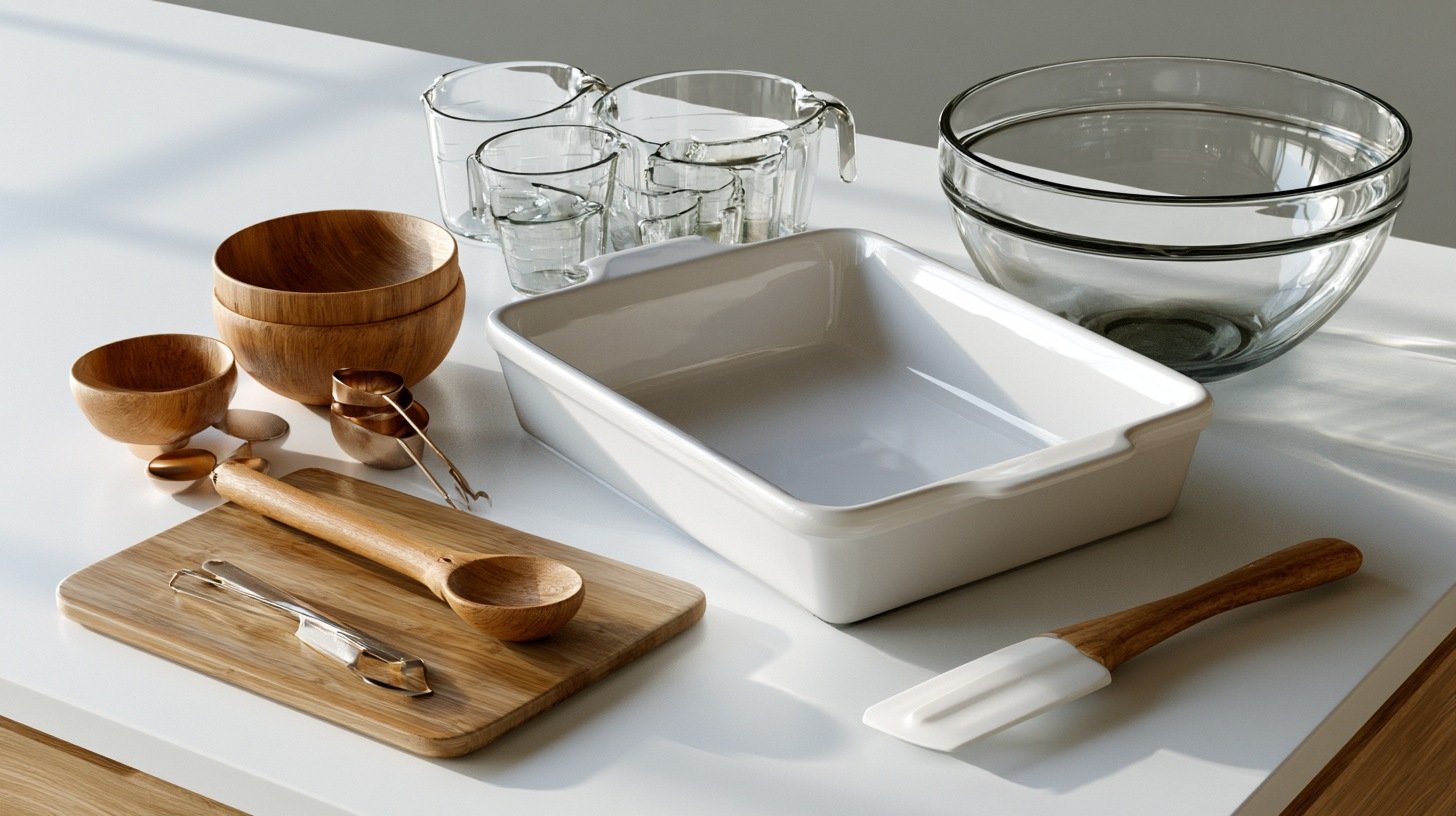
The good news is that this recipe keeps things simple from start to finish, including the equipment.
This recipe keeps things simple from start to finish, including the equipment. You won't need any specialty gadgets or hard-to-find tools.
Just a few everyday kitchen basics are all it takes to prep, mix, assemble, and bake this crisp from scratch.
- Baking dish
- Mixing bowl
- Measuring cups and spoons
- Spatula or wooden spoon
How to Make Healthy Peach Crisp
Five simple steps from prep to golden, bubbly perfection.
Making this crisp is one of the easiest things you can do in the kitchen, even on a busy evening.
The process breaks down into five simple steps that take you from raw fruit to a warm, golden, bubbling dessert with very little effort.
Step 1: Prepare the Peach Filling
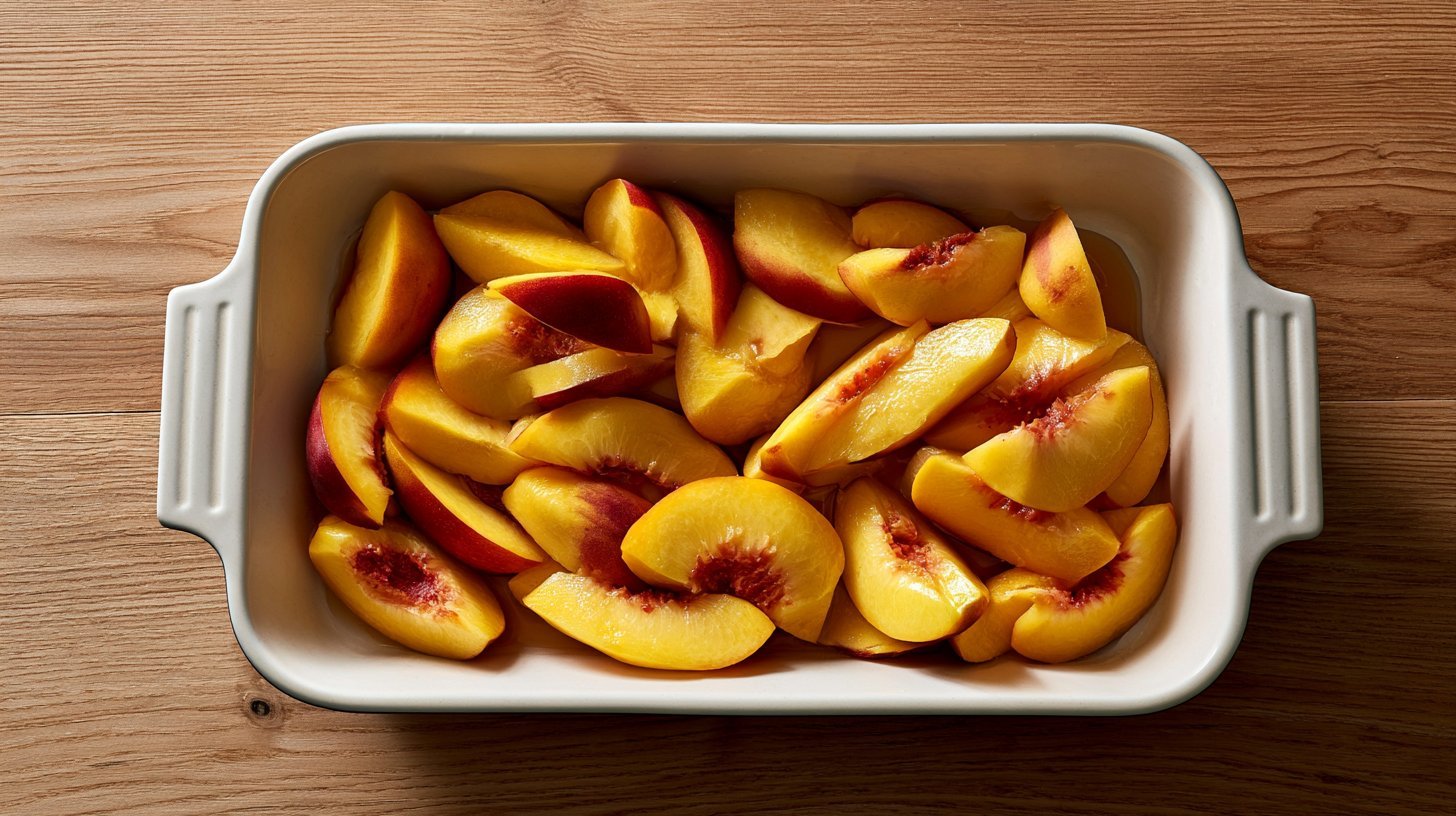
Start by slicing your peaches into even pieces so they cook at the same rate and give you a consistent texture throughout the dish.
Toss them with lemon juice, your choice of natural sweetener, and the thickener of your choice.
Give everything a gentle stir to coat the fruit evenly, then let the mixture sit for a few minutes so the juices begin to release.
Step 2: Mix the Crisp Topping
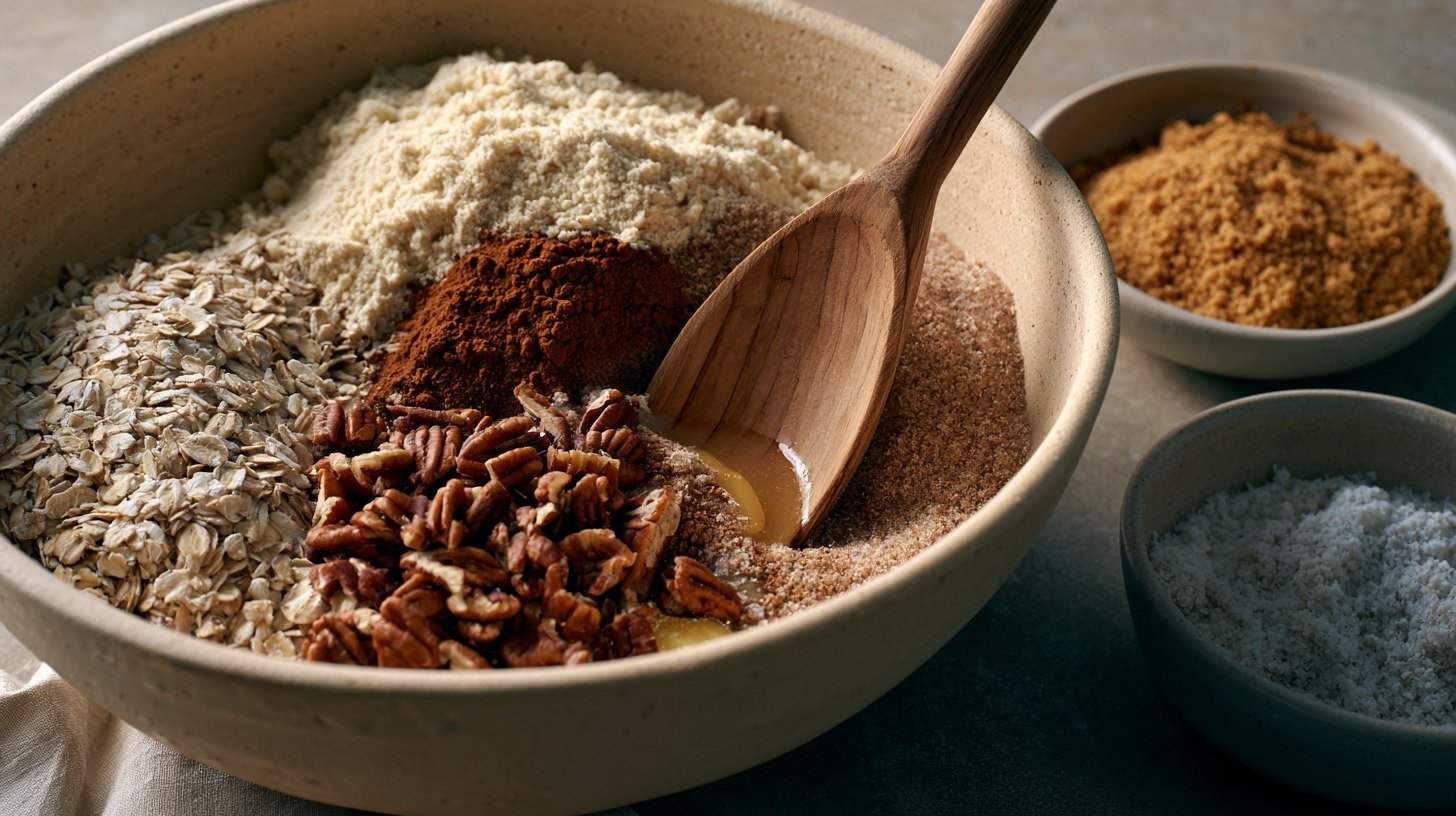
In a separate mixing bowl, combine the rolled oats, flour, chopped nuts, coconut sugar, a generous pinch of cinnamon, and a small amount of salt.
Stir everything together until the dry ingredients are evenly distributed.
Then pour in your melted butter or coconut oil and mix again until the topping comes together into a rough, crumbly texture.
The mixture should hold together lightly when you press a bit between your fingers but still look loose and uneven, not packed or paste-like.
Step 3: Assemble the Crisp
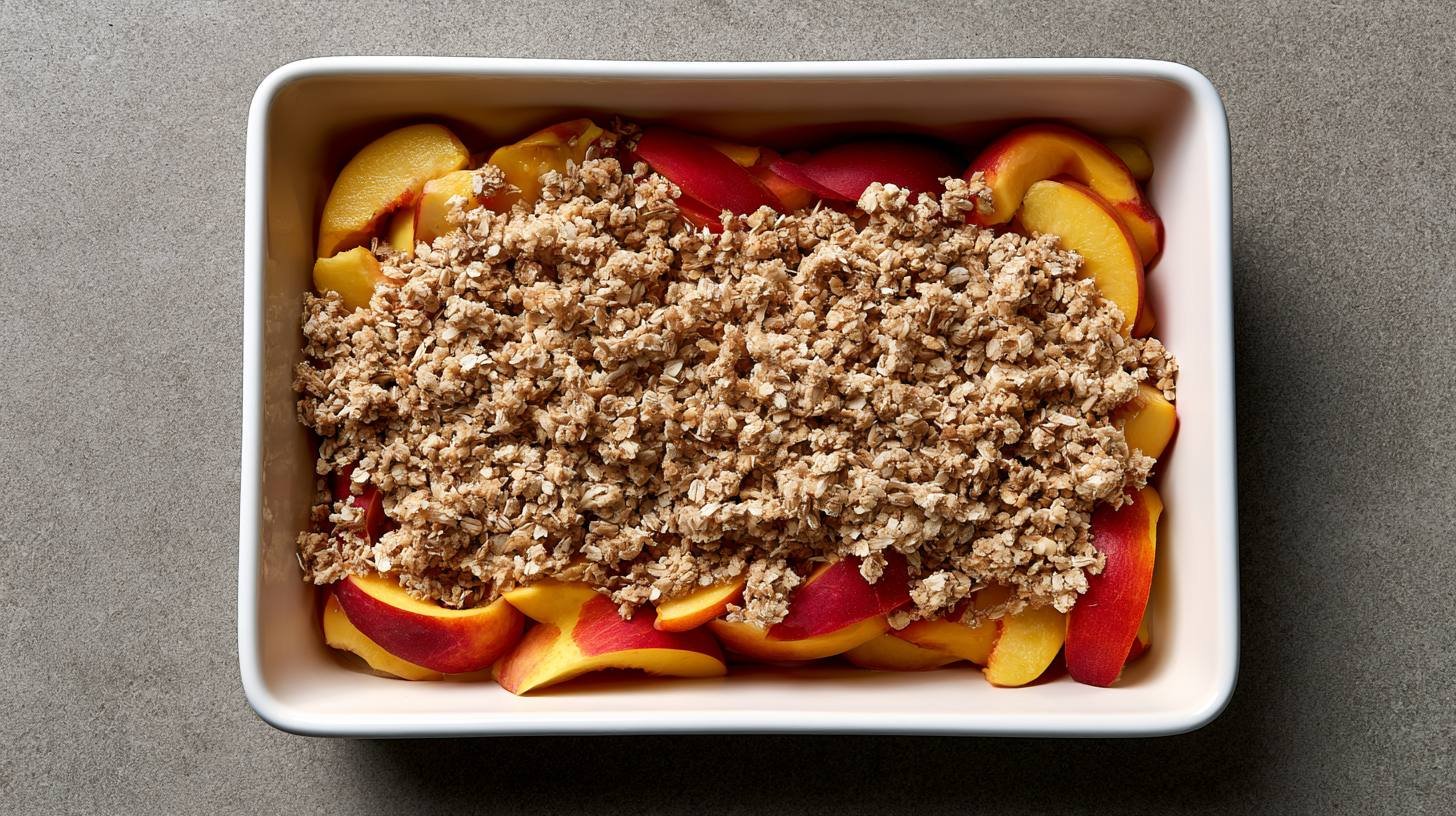
Transfer the seasoned peach filling into your prepared baking dish, spreading it out into an even layer so the fruit cooks uniformly.
Scatter the oat topping over the peaches and use your fingers or a spoon to distribute it evenly from edge to edge. Make sure every part of the fruit gets covered.
Avoid pressing the topping down too firmly. Keeping it loose allows air to circulate and gives you a light, crisp texture once it bakes.
A shallow baking dish works best because it lets heat reach the fruit efficiently while encouraging the topping to brown all the way through.
Step 4: Bake Until Golden and Bubbly
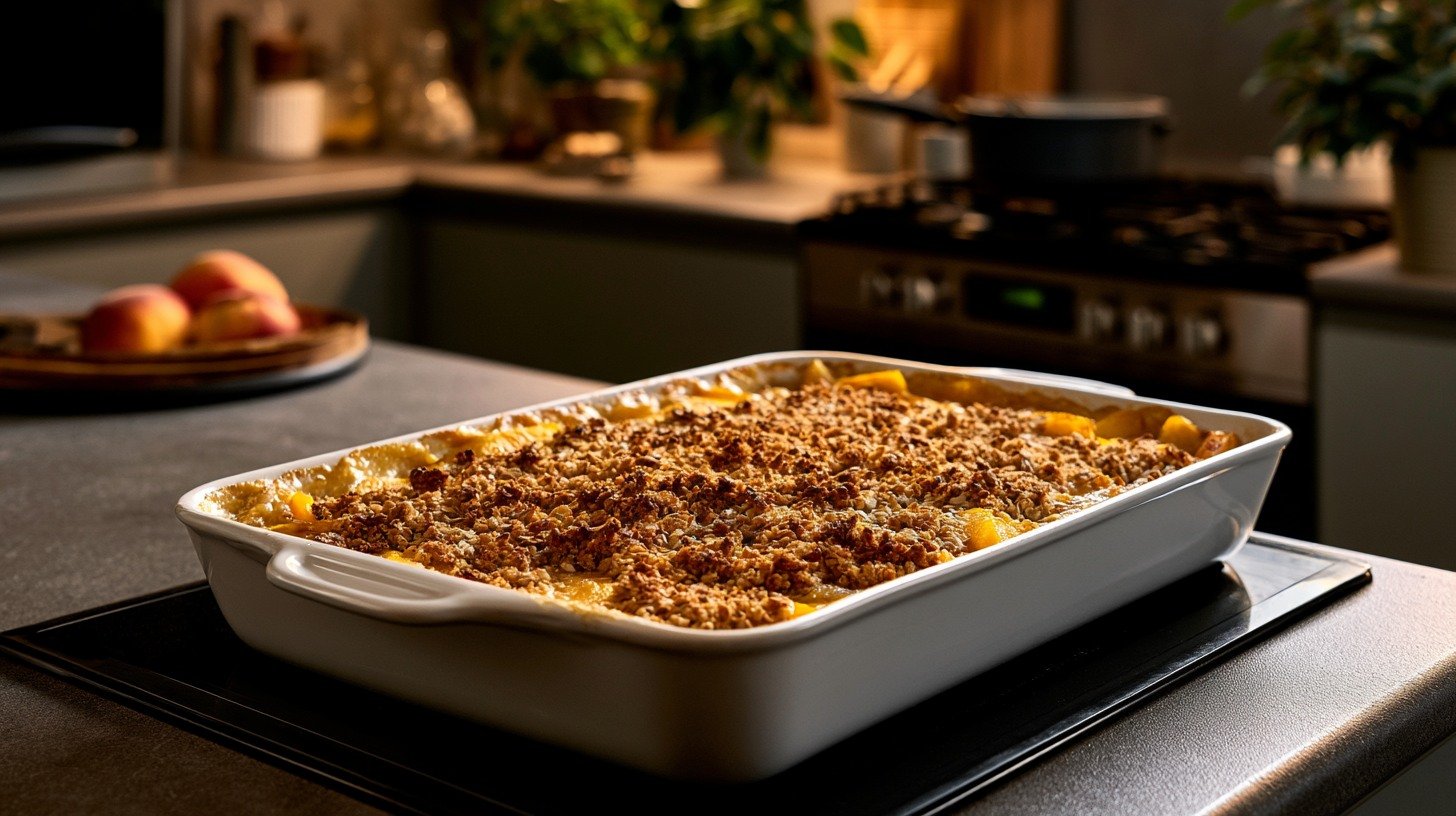
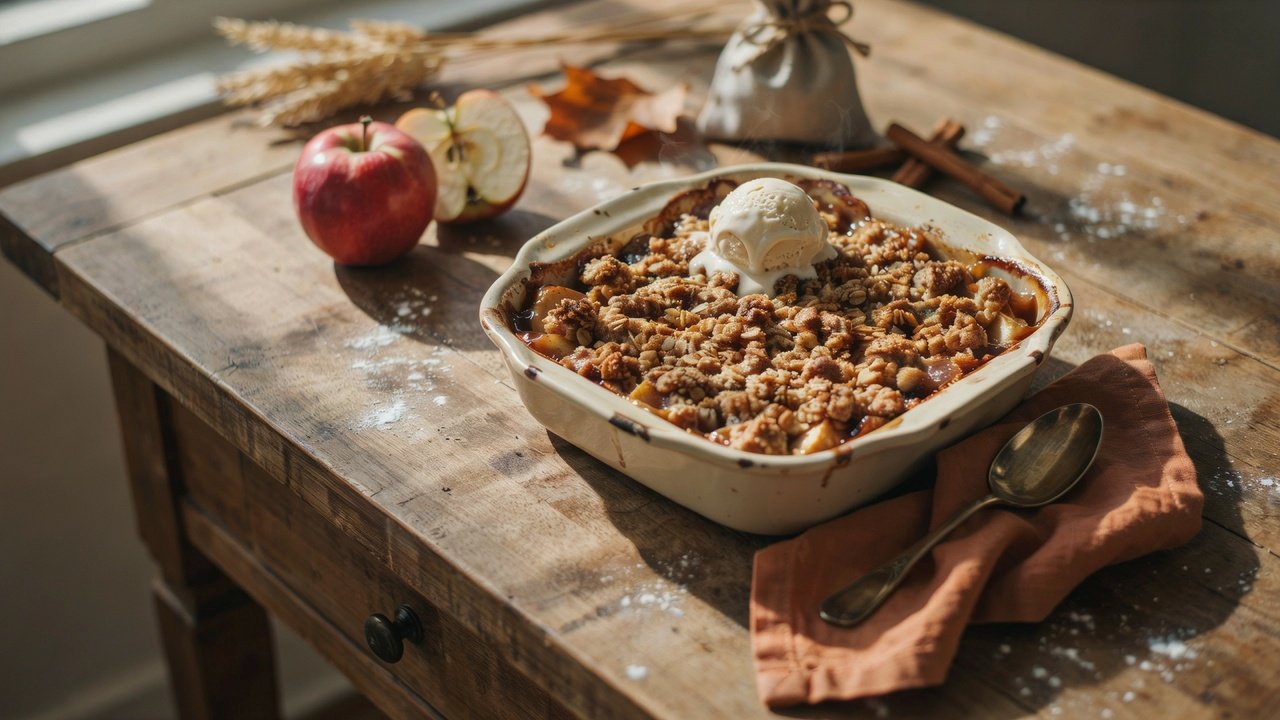
Place the assembled dish in a preheated oven and bake until the topping turns a deep golden brown and the peach filling begins to bubble up around the edges.
This is your clearest sign that the fruit is fully cooked and ready to come out.
This typically takes around 35 to 40 minutes, though every oven runs a little differently, so start checking around the 30-minute mark.
If the topping is browning too quickly before the filling is ready, loosely tent the dish with foil for the remaining time.
Step 5: Cool Before Serving
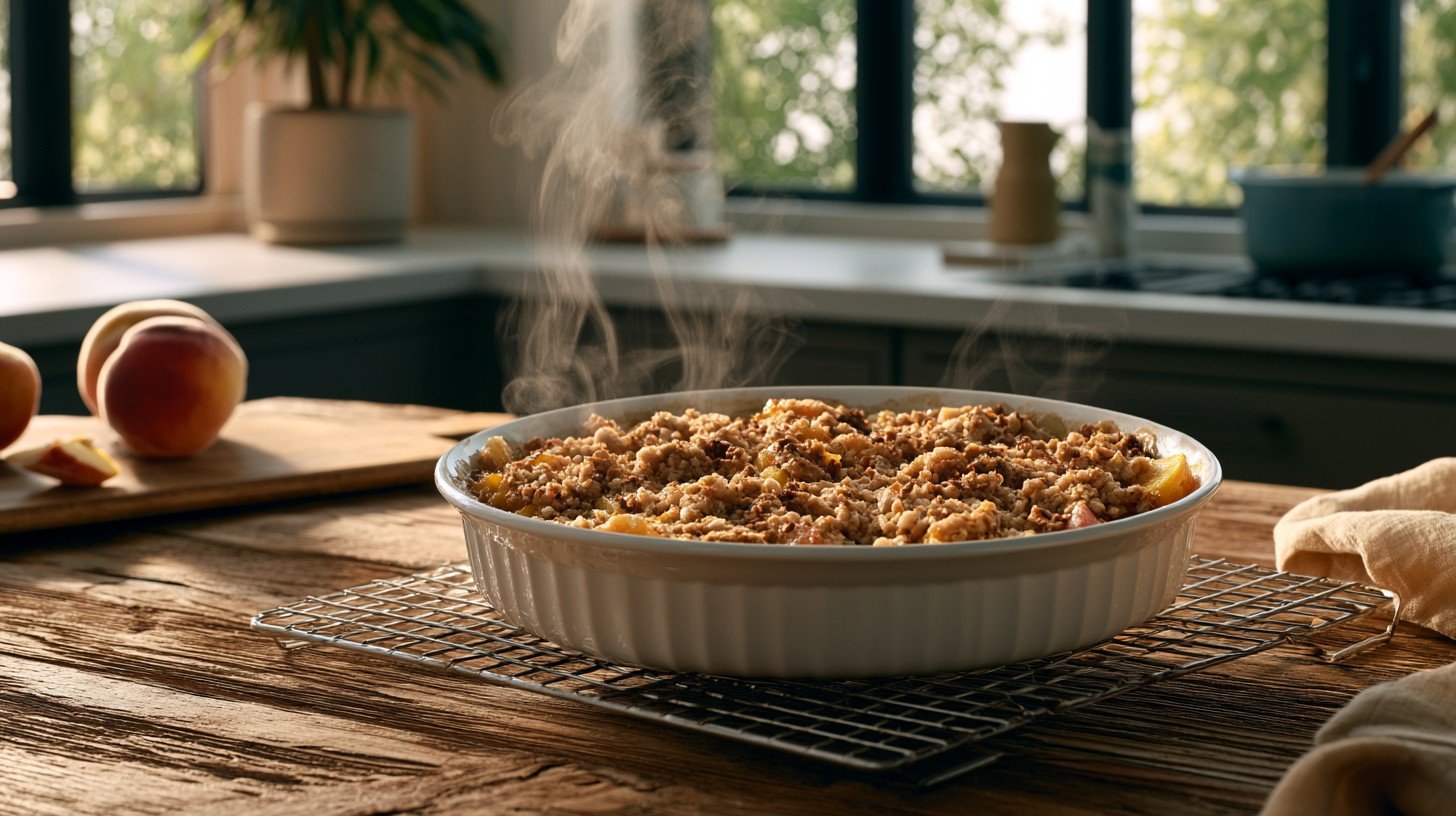
As tempting as it is to dig in immediately, letting the crisp rest for at least 10 minutes after it comes out of the oven makes a real difference in the final result.
During this short cooling period, the filling continues to thicken as it settles, which means your servings will hold their shape instead of spreading across the plate.
The topping also firms up slightly as it cools, giving you satisfying crunch in every bite rather than a soft layer sitting on top of the fruit.
Healthy Peach Crisp Variations
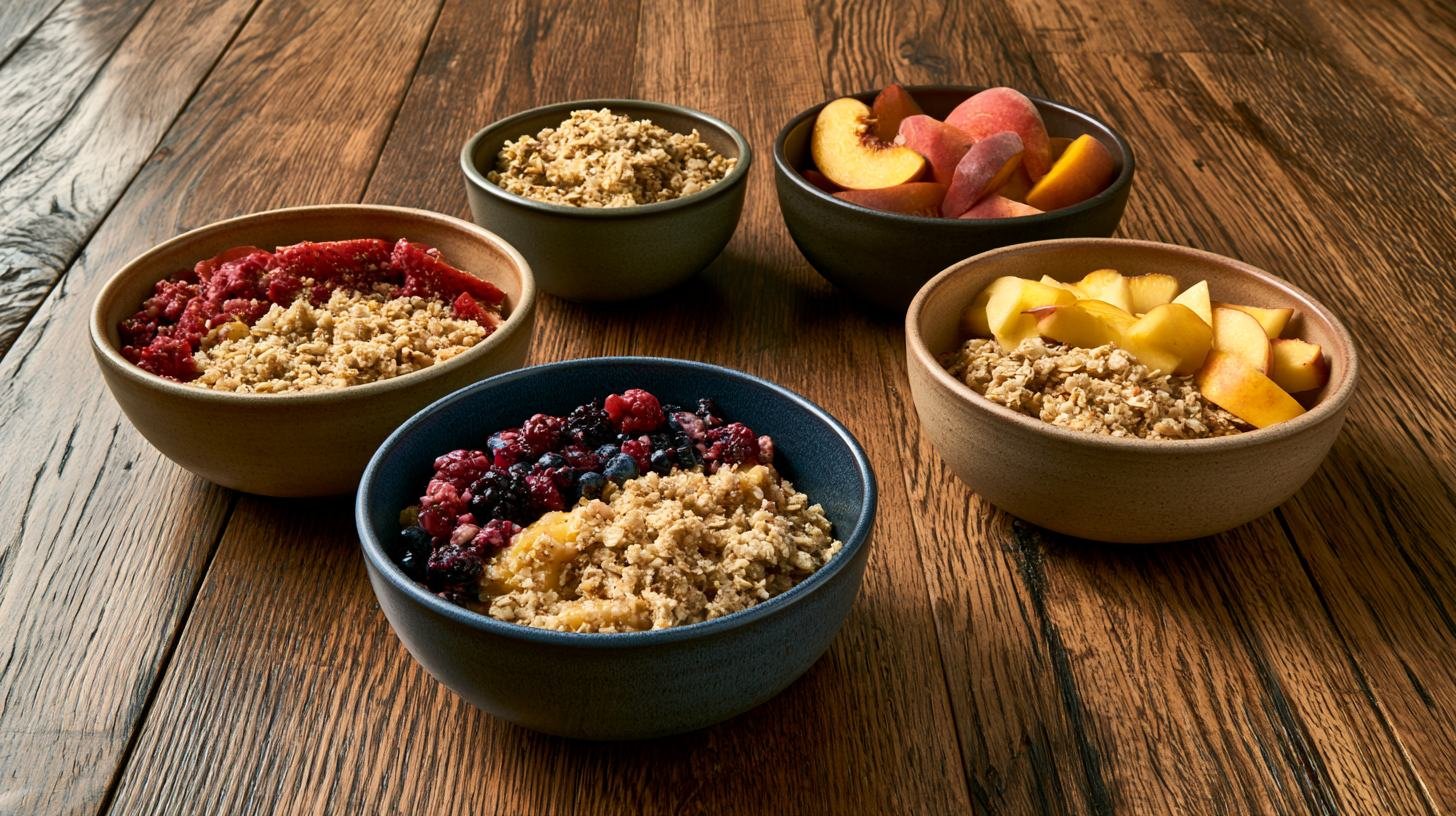
One of the best things about a crisp recipe is how easy it is to adapt to different tastes, dietary needs, and whatever fruit you have on hand.
The five variations below show just how flexible this recipe can be.
| Variation | Key Swap | Best For |
|---|---|---|
| Gluten-Free | Certified GF oats + almond flour | Gluten intolerance or sensitivity |
| Low Sugar | Halve the sweetener | Reducing added sugar |
| Mixed Berry and Peach | Add fresh or frozen berries | Extra color and tartness |
| Apple and Peach | Replace half the peaches with sliced apple | Fall baking and heartier texture |
| Nut-Free | Replace nuts with extra oats or sunflower seeds | Tree nut allergies |
Gluten-Free Healthy Peach Crisp
Making this crisp fully gluten-free is easier than you might expect, and the results taste just as satisfying as the original.
Swap in certified gluten-free rolled oats, which are processed in a dedicated facility to avoid cross-contamination.
Then use almond flour or a trusted gluten-free flour blend in place of any regular flour.
These simple substitutions keep the topping golden and crunchy while making the dessert a safe choice for anyone following a gluten-free diet.
Low Sugar Version
If you want to reduce the sweetness, cut the added sweetener in half and let the natural sugar content of your peaches carry most of the flavor.
This approach works best when you start with fruit that is fully ripe and fragrant, since ripe peaches bring their own sweetness that holds up well without much added help.
The result is a cleaner, more fruit-forward crisp that still feels like a proper dessert.
Mixed Berry and Peach Crisp
Adding fresh or frozen berries to the peach filling is a simple way to bring extra color, brightness, and a gentle tartness that plays off the natural sweetness of the peaches.
Blueberries, raspberries, and blackberries all work well here, either on their own or mixed together for a more complex flavor.
The berries break down slightly during baking and release their juices into the filling, creating a vibrant, colorful base that looks just as good as it tastes.
Apple and Peach Crisp
Combining sliced apples with fresh or frozen peaches creates a heartier, more textured fruit filling that works especially well during the fall months when both fruits are at their best.
Apples hold their shape well during baking and contribute a firm, slightly chewy bite that contrasts nicely with the softer, juicier peaches.
Their mild, warm flavor also pairs well with the cinnamon in the topping, making every spoonful feel comforting and satisfying.
Nut-Free Version
For anyone dealing with a tree nut allergy, leaving out the pecans or walnuts is a painless swap that doesn't sacrifice any texture.
Replace the nuts with an equal volume of extra rolled oats for more of that classic crisp chew, or try sunflower seeds if you want to keep a bit of crunch without any tree nuts.
Either way, the topping still bakes up golden with plenty of satisfying texture in every bite.
What to Serve with Healthy Peach Crisp
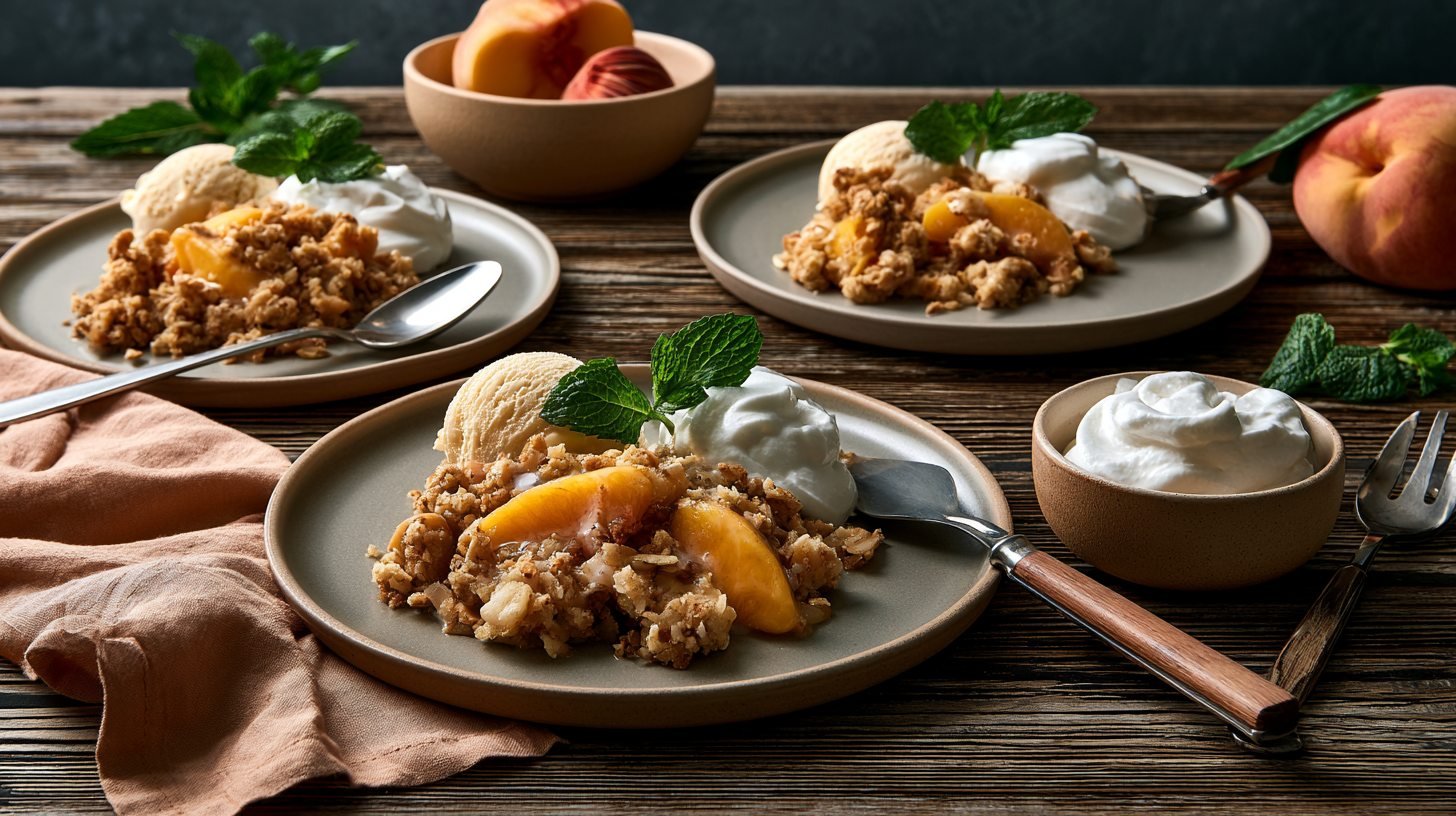
The crisp is delicious on its own, but pairing it with the right topping can take the whole dessert to another level.
Each of these options adds something a little different, and every one of them pairs naturally with the warm spiced peach filling and crunchy oat topping.
Greek Yogurt
Spooning a generous dollop of plain or vanilla Greek yogurt over a warm serving of peach crisp creates a contrast of temperatures and textures that feels both refreshing and satisfying.
The yogurt's natural tanginess cuts through the sweetness of the fruit filling, keeping each bite balanced and bright rather than heavy.
It also adds a meaningful boost of protein, which makes the whole dish feel more like a complete, nourishing treat.
Vanilla Ice Cream
There is something deeply comforting about a scoop of vanilla ice cream melting slowly into a bowl of hot peach crisp, and this combination never goes out of style.
As the ice cream softens, it mingles with the warm peach juices and seeps into the crunchy topping, creating a rich, creamy finish that coats every bite.
For a lighter option, look for a low-sugar or coconut milk-based vanilla ice cream that still delivers classic flavor without the extra sugar.
Coconut Whipped Cream
For anyone avoiding dairy or looking for a lighter topping, coconut whipped cream is a wonderful choice.
It is made from the thick cream at the top of a chilled can of full-fat coconut milk and whips up easily into a smooth, fluffy topping.
Its mild coconut sweetness pairs well with the cinnamon notes in the oat topping and enhances the peach flavor without overpowering it.
Fresh Mint Garnish
Tucking a few sprigs of fresh mint alongside each serving is a small finishing touch that genuinely changes the way the dessert comes across, both visually and on the palate.
The bright green color makes the golden topping and vibrant peach filling stand out, especially if you are serving this at a dinner party or bringing it to a gathering.
The cool, slightly herbal flavor of fresh mint also provides a clean contrast to the warmth and sweetness of the crisp.
How to Store and Reheat Healthy Peach Crisp
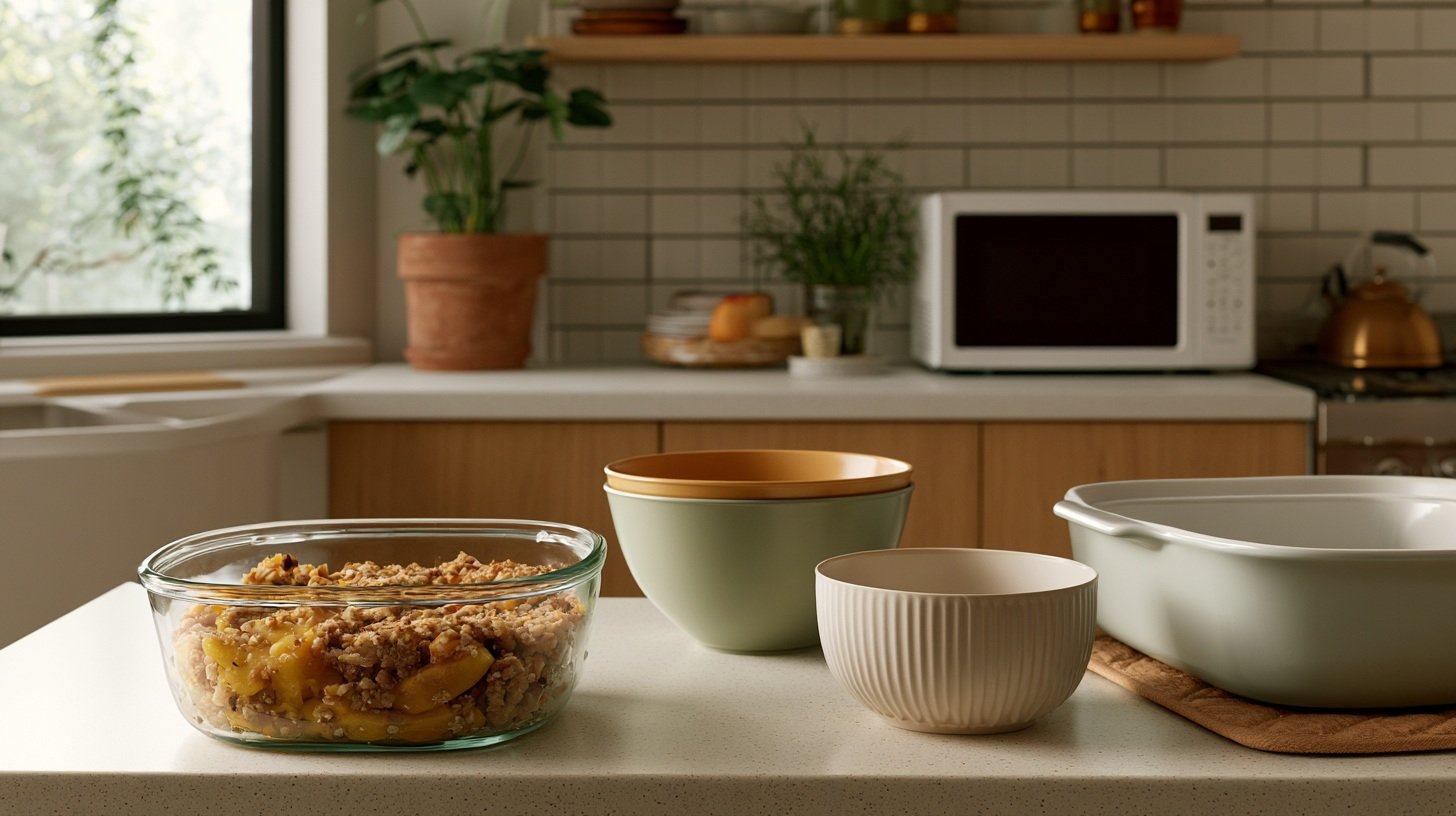
Keep leftovers tasting just as good the next day.
This crisp stores and reheats well, which means leftovers are just as satisfying as the freshly baked dish.
Knowing the right method for each storage situation helps you preserve the texture of the topping and the quality of the filling so that nothing goes to waste.
Refrigerator Storage
Once the crisp has cooled completely to room temperature, transfer it to an airtight container or cover the baking dish tightly with a lid or plastic wrap.
Stored this way, the crisp will keep well in the refrigerator for up to four days without the filling becoming watery or the topping turning soft.
If you notice some softening of the topping after a day or two, a quick trip through the oven is all it takes to bring the crunch back before serving.
Freezing Instructions
This crisp freezes well and is a great candidate for make-ahead prep when peaches are in season and you want to lock in that fresh flavor for later.
Allow the baked crisp to cool completely before portioning it into airtight, freezer-safe containers.
Properly wrapped and stored, the crisp will keep in the freezer for up to three months and can be thawed in the refrigerator overnight before reheating.
Best Ways to Reheat
The oven is the best method for reheating this crisp when you want to restore the original texture and bring the topping back to its crispy, golden state.
Place the desired portion in an oven-safe dish and warm it at 350 degrees Fahrenheit for about 15 to 20 minutes, or until heated through and the edges of the filling begin to bubble.
If you are in a hurry, the microwave works fine for single servings and only takes a couple of minutes, though the topping will come out softer than it would from the oven.
Common Mistakes to Avoid
Avoiding these five missteps will make a noticeable difference in your final result.
- Using overripe peaches: Overly soft peaches break down too much during baking and turn the filling mushy instead of tender. Choose peaches that are ripe but still hold their shape when you press them gently.
- Skipping the lemon juice: Lemon juice does more than add flavor. It balances the sweetness of the fruit and prevents the filling from tasting flat or one-dimensional.
- Packing the topping too tightly: Pressing the topping down into a firm layer traps moisture and prevents it from crisping up properly. Scatter it loosely so air can circulate and the topping browns evenly.
- Overbaking the crisp: Leaving the crisp in the oven too long dries out the fruit filling and can make the topping taste burnt rather than golden. Start checking at the 30-minute mark and pull it out as soon as the edges bubble.
- Cutting into the crisp too soon: Serving the crisp straight from the oven means the filling hasn't had time to set. Let it rest for at least 10 minutes so each serving holds together on the plate.
Conclusion
We've made this crisp on busy weeknights and relaxed weekend afternoons, and it never disappoints.
It's the kind of dessert that feels like care on a plate, and we think it will become a favorite in your kitchen too. Give it a try this week and drop a comment to let us know how it turned out.
Feel free to share this healthy peach crisp recipe with a friend who could use a little sweetness in their day.
Frequently Asked Questions
Can I use frozen peaches for this recipe?
Yes, frozen peaches work just as well as fresh ones, making this a great option year-round even when peaches are out of season.
The key is to thaw them completely before using and drain off as much of the excess liquid as possible, since frozen peaches release a lot of moisture as they defrost.
Take a few extra minutes to pat the thawed fruit dry with paper towels before tossing it with the other filling ingredients.
Skipping this step can lead to a watery filling that never quite sets properly, so it is worth the extra effort.
How do I know when the crisp is done baking?
The two most reliable signs that your crisp is fully baked are a deep golden brown color across the entire surface of the topping and a visibly bubbling filling around the edges of the dish.
The bubbling tells you that the peach juices have heated all the way through and the filling has reached the right consistency.
If the topping looks golden but the edges aren't bubbling yet, give it another five minutes before pulling it out.
Can I make this recipe ahead of time?
Yes, this recipe is well suited to advance preparation, which makes it a practical choice for dinner parties or any occasion where you want to minimize last-minute kitchen work.
Prepare the peach filling and the oat topping separately and store each one in its own covered container in the refrigerator for up to 24 hours before you plan to bake.
When you're ready, simply assemble the crisp in your baking dish and slide it into the oven.
Baking it fresh means the topping comes out perfectly crisp and the filling is bubbling hot, just like it would be if you had made it entirely from scratch that same day.