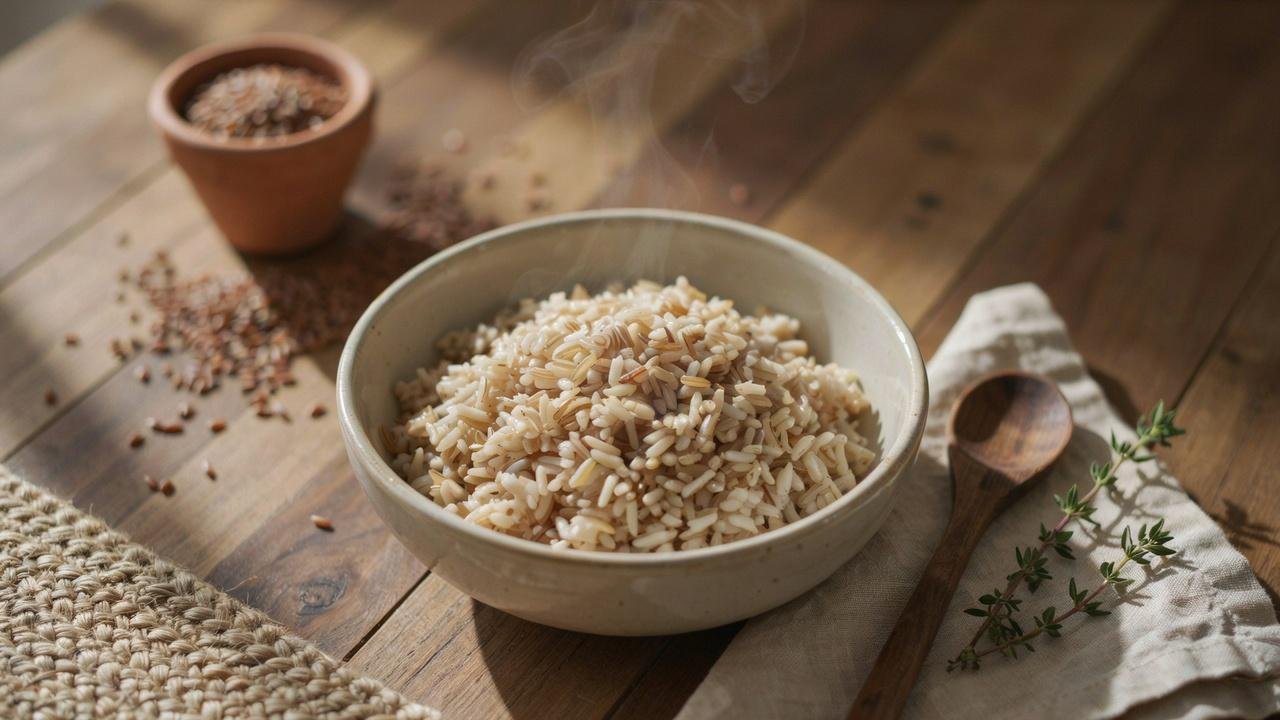
Cooking brown basmati rice can feel tricky. It often turns out too hard, too mushy, or just bland. This guide fixes that. You'll learn the exact water ratio, cooking times for stovetop, Instant Pot, and rice cooker, plus tips to keep every grain fluffy.
We'll also cover flavor variations, what to serve it with, storage tips, and nutrition facts. I've tested this rice more times than I can count, so every tip here comes from real trial and error, not guesswork.
By the end, you'll know exactly how to cook this rice with confidence. No more second-guessing. Just good rice, every single time.
What Is Brown Basmati Rice?
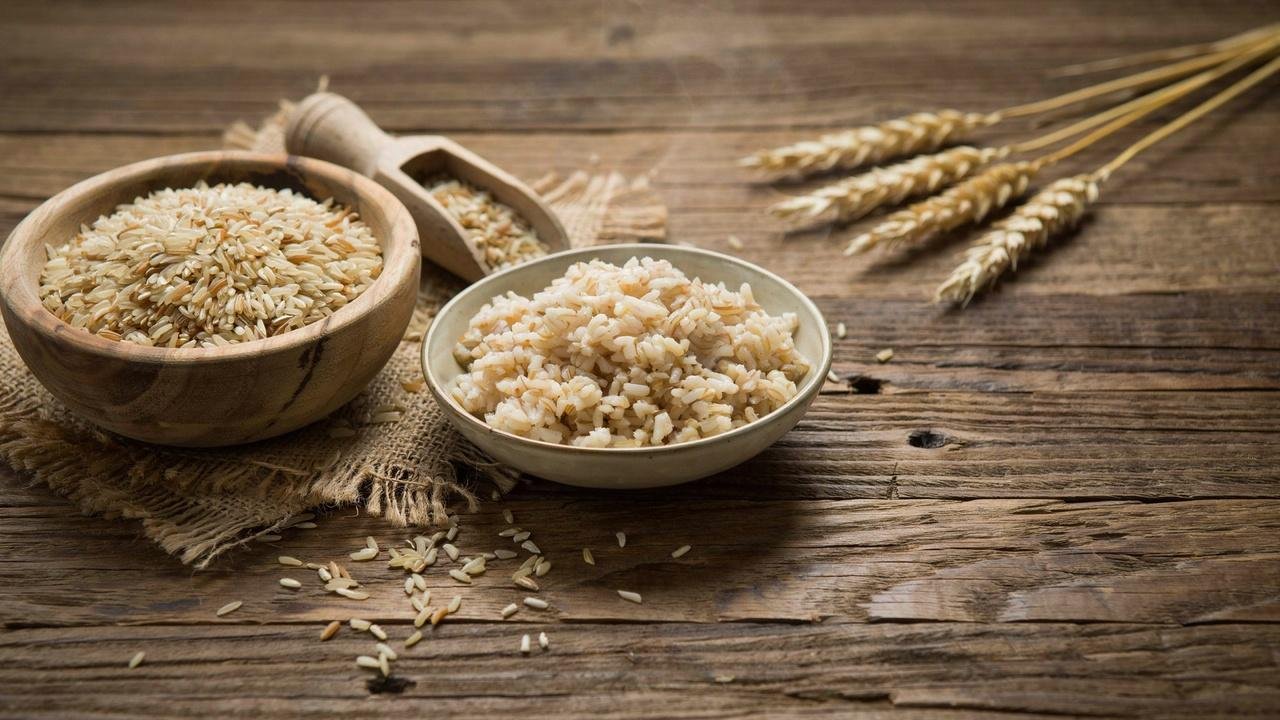
Brown basmati rice is a whole grain with the bran layer still intact. It comes from the same basmati plant as white rice, but skips the polishing step, so it keeps more fiber and nutrients.
Compared to white basmati, it takes longer to cook and has a firmer, chewier bite with a nutty, earthier flavor.
It's also more filling, since the bran slows digestion and keeps you satisfied longer.
Ingredients You'll Need
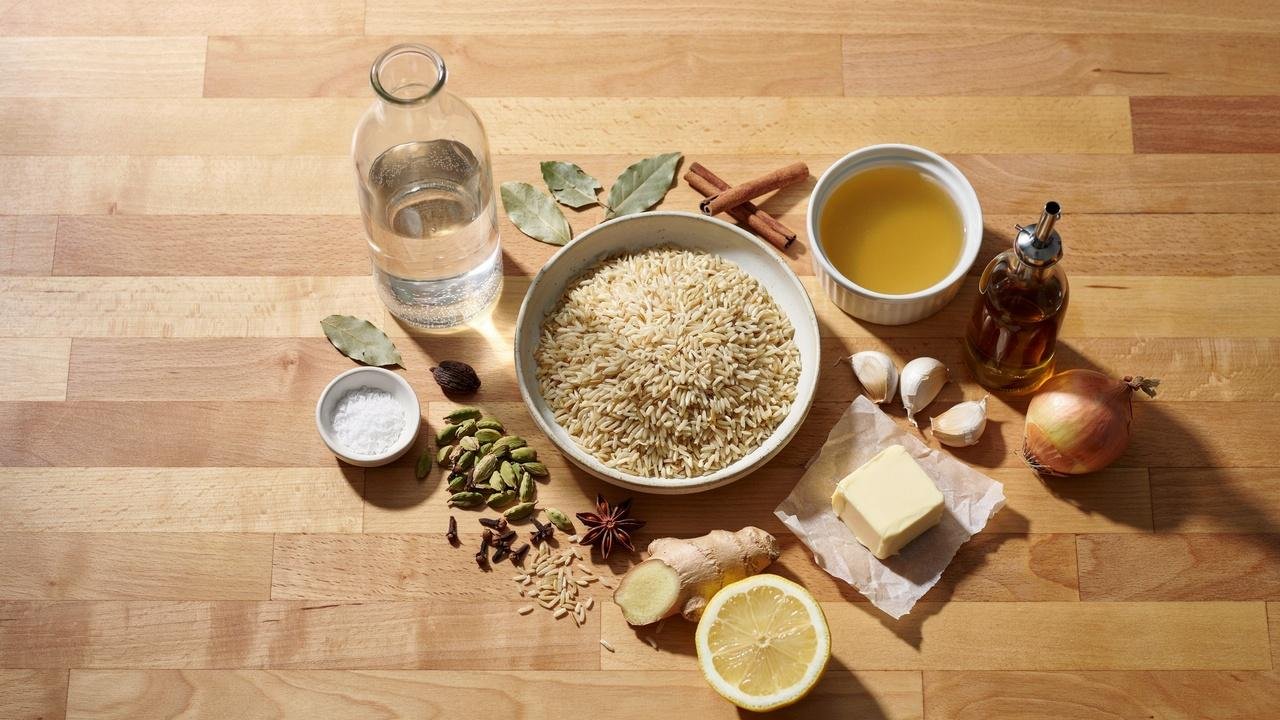
You don't need much to make good brown basmati rice. A handful of basic items will get you there. Most of these are probably already sitting in your kitchen right now.
The list is short, the prep is simple, and each ingredient plays a clear role in getting the texture and flavor just right.
Important Ingredients
- Brown basmati rice
- Water or broth
- Salt
- Oil or butter (optional)
What to keep in mind: Brown basmati rice is the base, so go for a good quality brand with long, intact grains. Water works fine, but broth adds a deeper flavor without any extra effort. Salt is non-negotiable since it brings out the natural nuttiness of the grain.
Oil or butter is optional, but even a small amount adds richness and helps keep the grains from sticking together.
Optional Seasonings and Aromatics
- Bay leaves
- Cinnamon sticks
- Cardamom pods
- Garlic cloves
- Fresh ginger
- Chopped onion
- Whole cloves
- Star anise
- Lemon juice (added after cooking)
What to keep in mind: You don't need every item on this list. Bay leaves and cinnamon give the rice a warm, subtle depth without overpowering it. Garlic, ginger, and onion work well if you want something more savory.
Whole spices like cloves and star anise should be added at the start so they have time to release flavor during cooking. A squeeze of lemon at the end is a quick way to brighten the whole dish and balance out any richness from butter or oil.
Brown Basmati Rice Water Ratio and Cooking Time
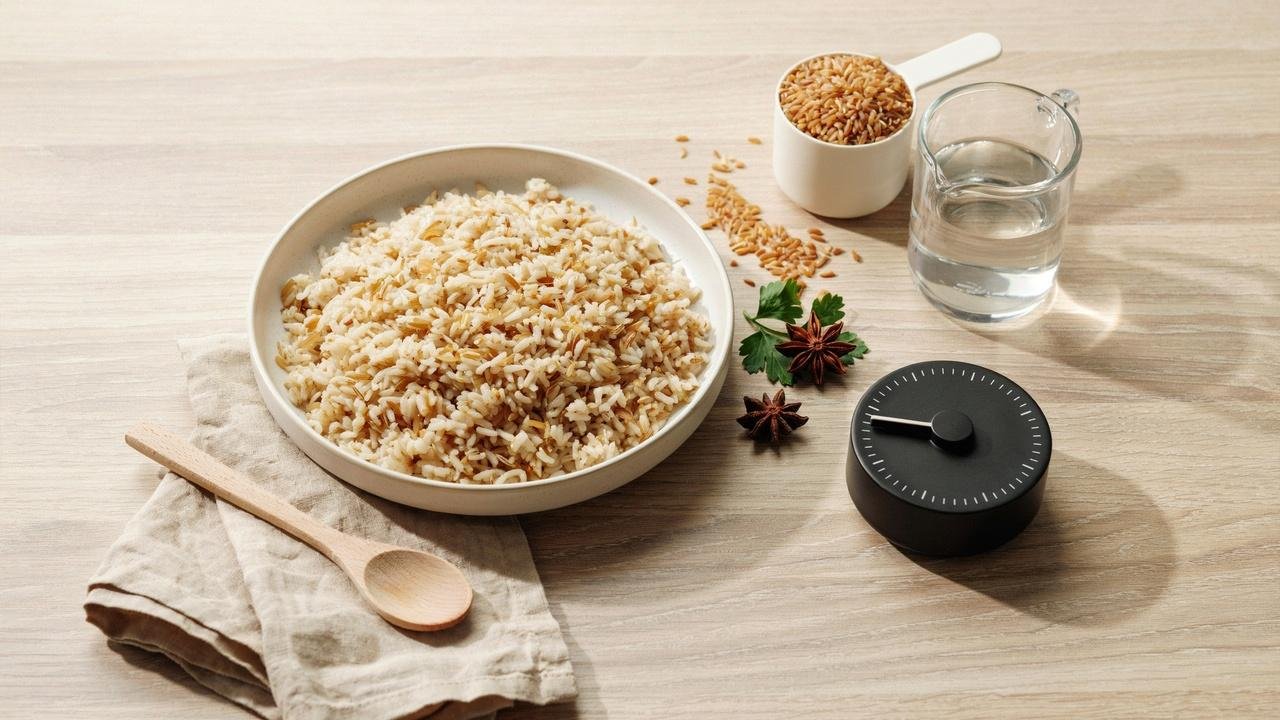
Getting the water ratio right is the biggest key to good rice. Brown basmati rice needs more water and more time than white rice, since the bran layer is still on the grain.
That extra layer absorbs water more slowly, which means rushing the process leads to uneven cooking.
The right ratio changes slightly depending on which method you use, so check the breakdown below before you start.
Stovetop Water Ratio and Timing
Use 2 cups of water for every 1 cup of rice. Bring it to a boil, then lower the heat and simmer for 40 to 45 minutes with the lid on.
Keep the heat low and steady so the water doesn't boil away too fast. If the rice still feels firm after 45 minutes, add a splash of hot water and cook a bit longer.
Instant Pot Water Ratio and Timing
Use 1.25 cups of water per 1 cup of rice. Cook on high pressure for 22 to 25 minutes, then let it release naturally for 10 minutes.
This method uses less water than the stovetop, since very little steam escapes during pressure cooking. It's a good option if you want less hands-on time.
Rice Cooker Water Ratio and Timing
Use 2 cups of water per 1 cup of rice. Most rice cookers will finish this in about 45 to 50 minutes on the brown rice setting. If your model does not have that setting, use the regular setting and check the rice a few minutes early.
Since brown basmati rice has its bran layer intact, it needs more water and a longer cook time than white rice to soften properly and come out with a firm, even texture.
Should You Soak Brown Basmati Rice?
Soaking for 30 minutes helps soften the bran layer. This shortens cooking time slightly and gives you a more even texture.
It's optional, but it helps, especially if you want softer rice. If you're short on time, you can skip this step and just add a few extra minutes to the cook time instead.
Brown Basmati Rice Recipe (Stovetop Method)
Brown basmati rice on the stovetop is straightforward once you know the right steps. Each step builds on the last, from rinsing away excess starch to letting the rice rest before serving.
Follow this process closely, and you will get fluffy, well-cooked grains with a satisfying nutty flavor every time.
Step 1: Rinse the Rice
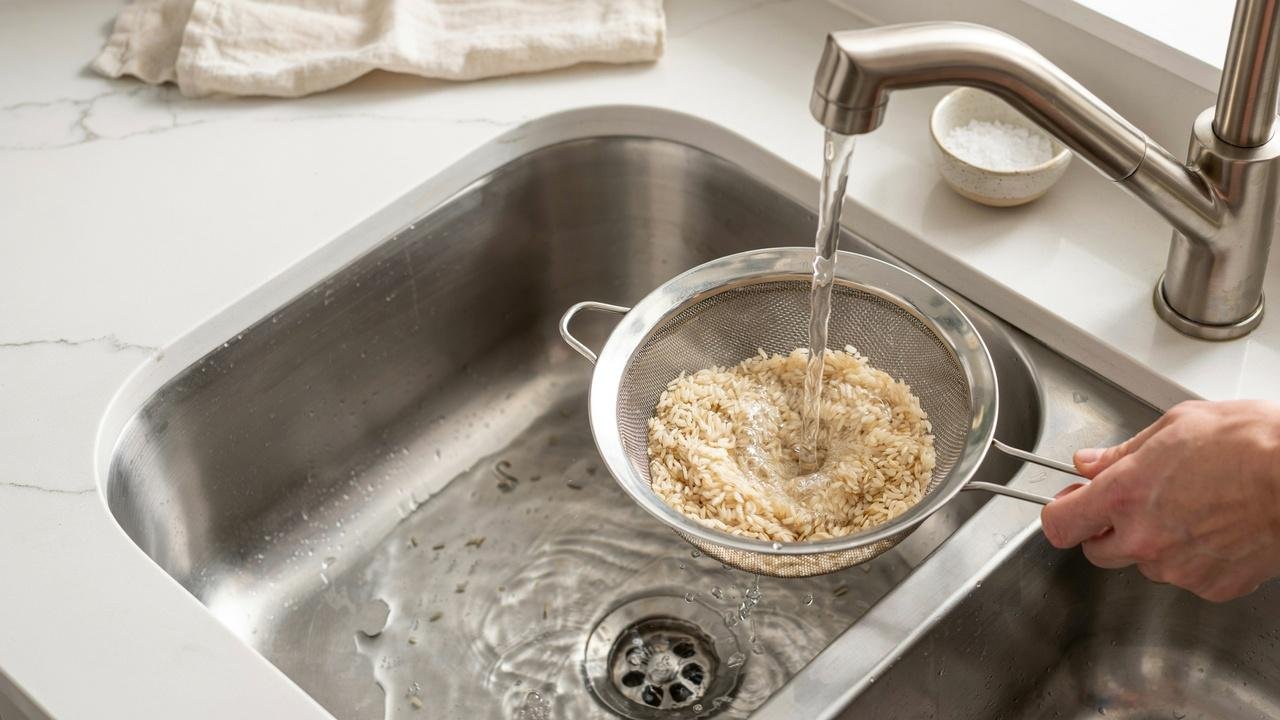
Rinse the rice under cold water until the water runs mostly clear. This removes extra starch and dust. Swirl the rice gently with your hand while rinsing to help loosen any leftover starch.
Skipping this step can lead to sticky, clumped grains, so take a minute to rinse it well before cooking.
Step 2: Bring the Rice to a Boil
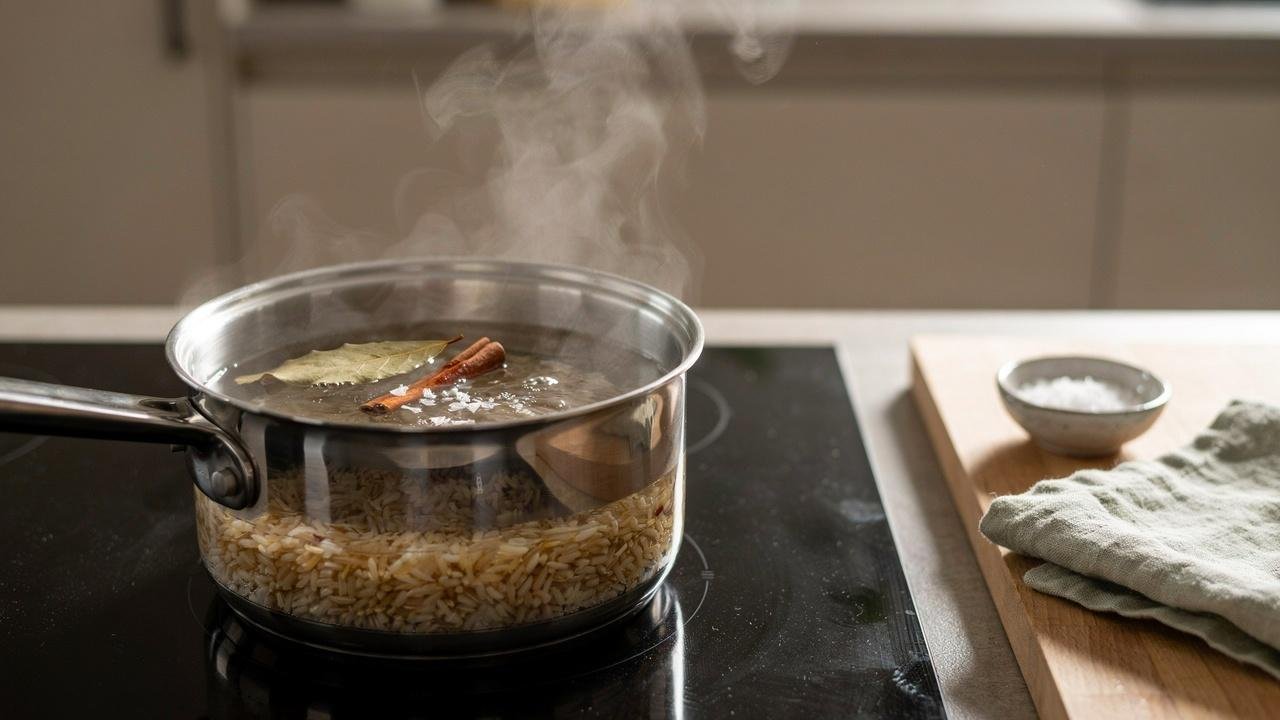
Add the rice, water, and salt to a pot. Bring it to a full boil over medium-high heat. You can add a bay leaf or a cinnamon stick here if you want extra flavor.
Keep a close eye on the pot at this stage so the water does not boil over before you lower the heat.
Step 3: Simmer Until Tender
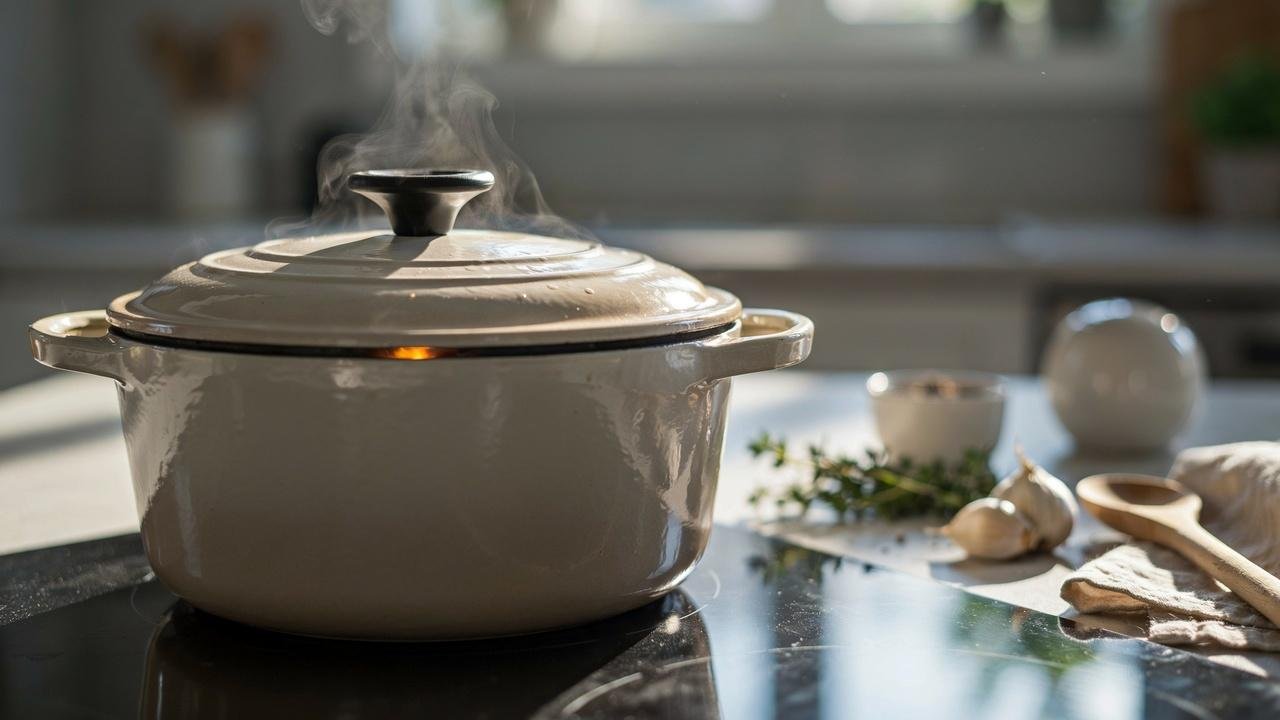
Lower the heat, cover the pot, and simmer for 40 to 45 minutes. Avoid lifting the lid too often. Every time you lift it, steam escapes and that can throw off the timing.
Keep the heat low and steady throughout so the rice cooks evenly without the bottom scorching or the water boiling away too fast.
Step 4: Rest, Fluff, and Serve
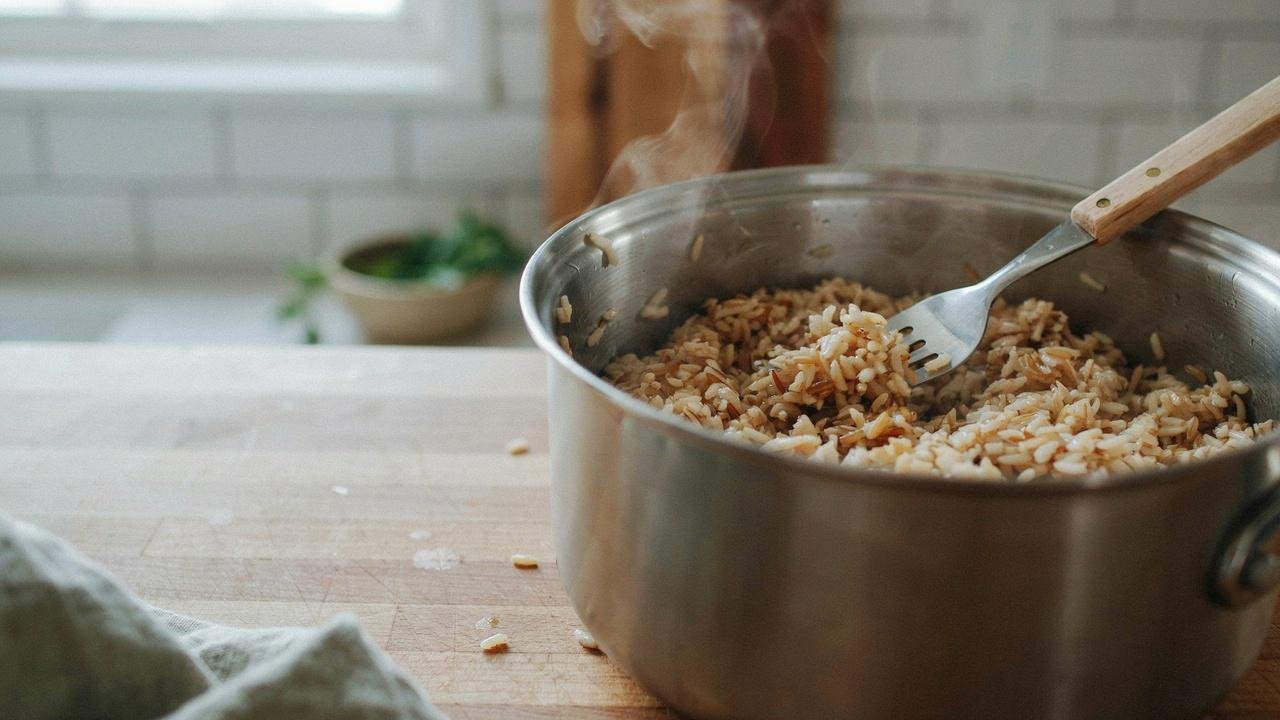
Turn off the heat and let the rice sit, covered, for 10 minutes. Then fluff it gently with a fork before serving. This resting step lets the moisture spread evenly so the grains do not clump together.
Using a fork instead of a spoon keeps the grains separate and gives you a light, fluffy result.
Instant Pot Brown Basmati Rice Recipe
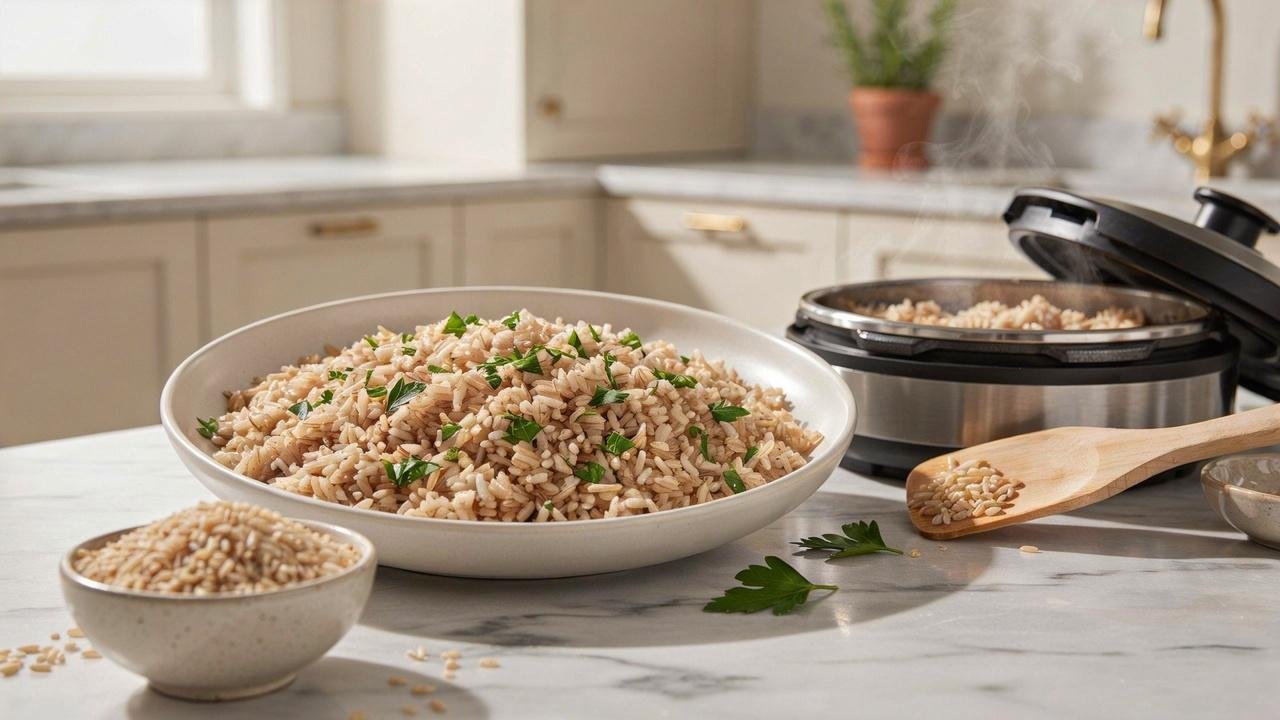
The Instant Pot cuts the cooking time for brown basmati rice significantly compared to the stovetop method. It works by trapping steam under pressure, which drives heat deep into each grain quickly and evenly.
You get consistent, fluffy results with far less hands-on effort, making it a practical choice for busy weeknights.
Instant Pot Recipe Steps
Add rinsed rice, water, and salt to the Instant Pot. Seal the lid firmly and set the valve to sealing before you start. Cook on high pressure for 22 to 25 minutes.
Once done, avoid opening the lid immediately. Allow the pressure to release naturally for best results. This hands-off method saves time without sacrificing texture.
Natural Release vs. Quick Release
After cooking, let the pressure release naturally for 10 minutes before turning the valve. Natural release keeps the grains firm and prevents a mushy texture.
Quick release is faster but can leave the rice slightly wet, as the sudden pressure drop pushes extra moisture into the grains. Natural release is always the better option here.
How to Cook Brown Basmati Rice in a Rice Cooker
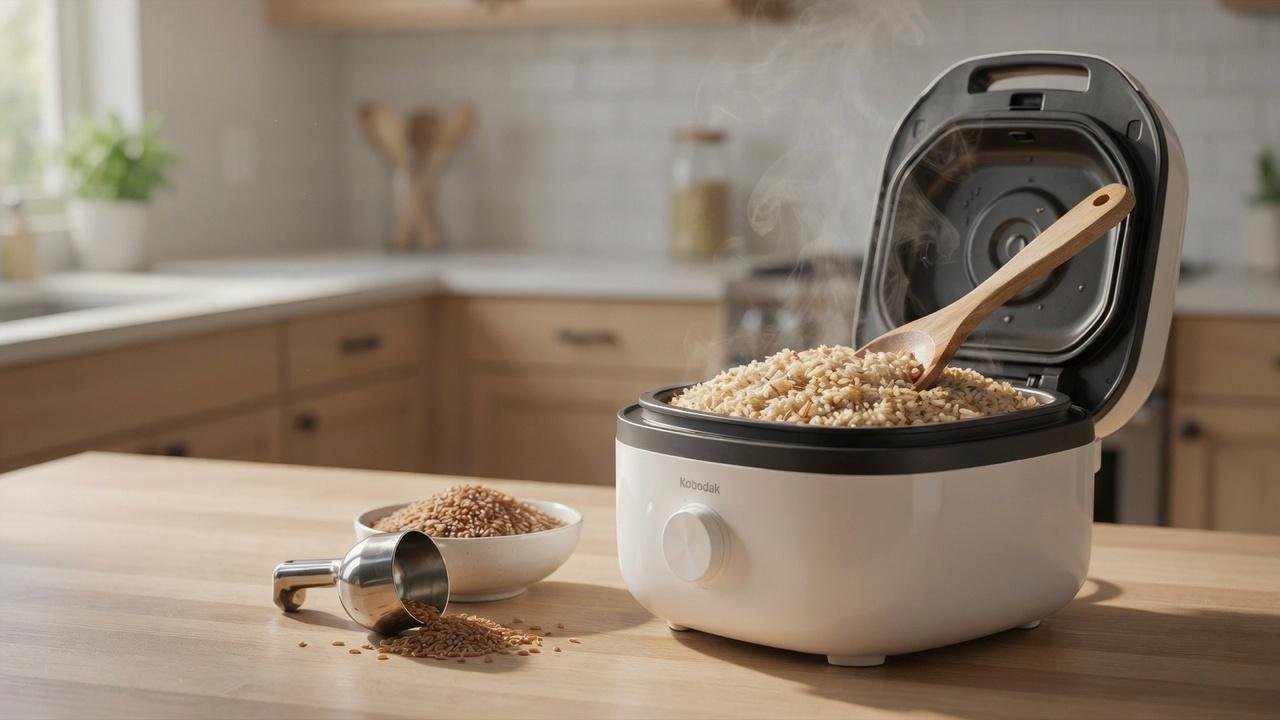
A rice cooker makes this recipe almost effortless. Once you add the ingredients, it handles the heat, timing, and steam on its own. There is no need to watch the pot or adjust the flame.
This method works well for busy days when you want good rice without spending time in the kitchen. Just set it and walk away.
Step-by-Step Instructions
Add rinsed rice and water to the cooker using a 2:1 ratio. Select the brown rice setting if your model has one, then let it run until it automatically switches to warm mode.
If your cooker lacks an auto-shutoff feature, check the rice after 45 minutes and test a few grains for doneness before serving.
Tips for the Best Texture
Let the rice rest for 10 minutes after cooking before opening the lid. This allows moisture to settle evenly through every grain rather than sitting on top.
Opening the lid too soon can leave the upper layer slightly wet and unevenly cooked. A fork works better than a spoon for fluffing without breaking grains apart.
Tips for Perfect Brown Basmati Rice Every Time
A few small habits make a big difference in how your rice turns out. These tips apply no matter which cooking method you choose.
- Don't stir the rice while it cooks. Stirring breaks the grains and releases extra starch.
- Let the rice rest after cooking, then fluff it gently with a fork instead of a spoon.
- Stick to the correct water ratio every time you cook. This keeps the texture soft and even.
- Avoid lifting the lid during cooking. It lets out steam and throws off the timing.
- Skipping the rinse or using too much water often leads to sticky or uneven rice.
Brown Basmati Rice Recipe Variations
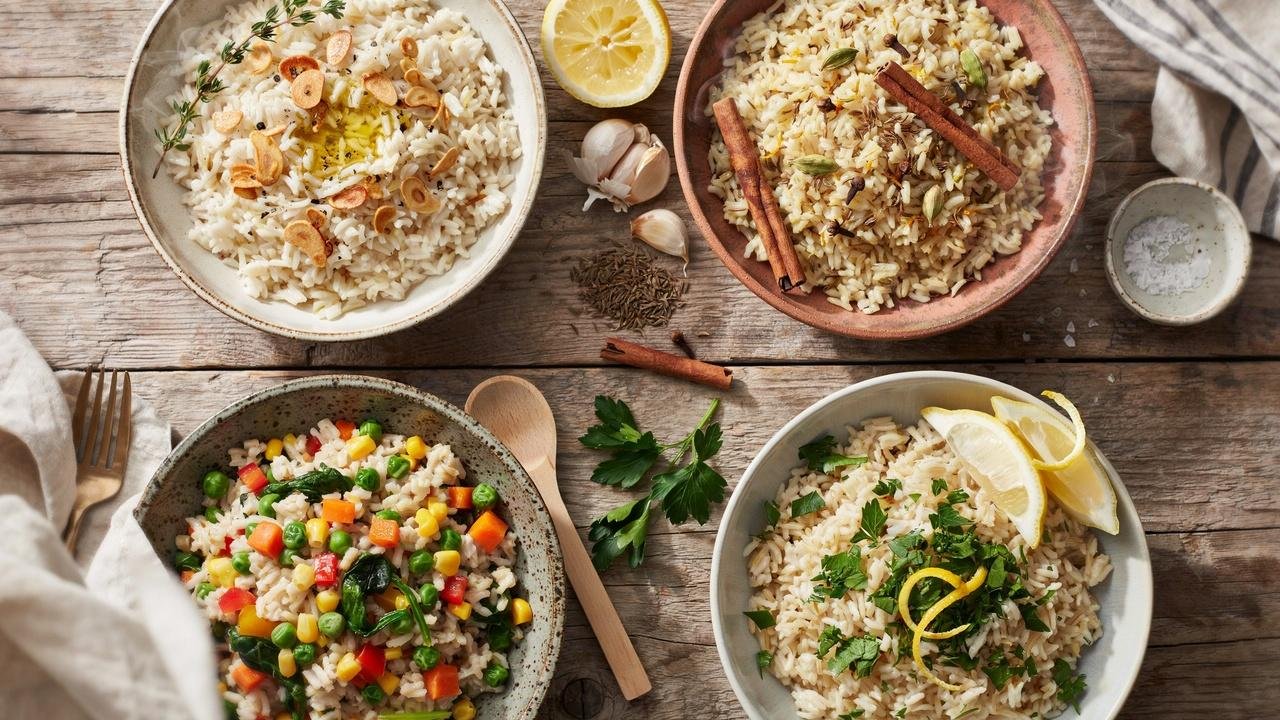
Brown basmati rice takes well to bold and subtle flavors alike. A few spices, fresh herbs, or simple mix-ins can make it feel like a completely different dish.
These variations work with the stovetop, Instant Pot, or rice cooker method, so you can try any of them with your preferred cooking style.
Garlic Butter Brown Basmati Rice
Stir in melted butter and sauteed garlic after cooking. It's simple and adds a rich, savory taste. A pinch of black pepper on top rounds it out nicely.
For extra depth, use roasted garlic instead of raw. You can also add a small drizzle of olive oil to balance the butter and keep it from feeling too heavy.
Indian-Style Spiced Brown Basmati Rice
Add cumin seeds, cinnamon, cloves, and cardamom while cooking. This gives the rice a warm, fragrant flavor. It pairs especially well with lentils or a simple vegetable curry.
You can also toss in a pinch of turmeric for color or a few whole peppercorns for mild heat. Tempering the spices in oil first brings out even more flavor.
Vegetable Brown Basmati Rice
Mix in peas, carrots, and corn during the last few minutes of cooking. It turns plain rice into a full side dish. You can also toss in chopped spinach or bell peppers for more color and crunch.
A light drizzle of soy sauce or a pinch of cumin works well here too. This version is easy to pack for lunch the next day.
Herb and Lemon Brown Basmati Rice
Stir in chopped parsley or cilantro with fresh lemon juice after cooking. It adds a light, fresh finish. This version works well next to grilled fish or chicken.
You can swap lemon for lime if you prefer a sharper citrus note. A small handful of fresh mint mixed in with the herbs adds another layer of brightness to the dish.
What to Serve With Brown Basmati Rice
Brown basmati rice pairs well with many dishes, both light and hearty. Its firm bite makes it a good match for meals with plenty of sauce or spice.
It holds up well against thick curries and dal, soaking up sauce without turning soggy. Serve it alongside grilled chicken, shrimp, or tofu for a balanced meal, since the nutty flavor works well with smoky, grilled dishes.
You can also use it as a base for stir-fries and roasted vegetables, or serve it cold in grain salads with fresh herbs, olive oil, and a splash of lemon juice.
Tips to Store, Freeze, and Reheat Brown Basmati Rice
Leftover rice can last for days if stored the right way. A little care after cooking goes a long way.
- Store cooked rice in an airtight container in the fridge for up to 5 days. Let it cool before sealing, since trapped heat can create moisture and make the rice soggy.
- Spread the rice on a tray to cool before freezing it in bags for up to 3 months. This keeps the grains from clumping together.
- Freezing in smaller portions makes it easy to grab just the amount you need later. No need to thaw the whole batch at once.
- Add a splash of water before microwaving or reheating on the stove. This brings back moisture and keeps the rice soft.
- Cover the rice while reheating to trap steam. This stops the grains from drying out and keeps the texture even.
Brown Basmati Rice Nutrition
Brown basmati rice offers more than just a filling side dish. It brings a solid mix of calories, carbohydrates, protein, and fiber to your plate, along with key minerals your body uses daily.
Knowing what is actually in this grain can help you make better food choices and understand why it fits well into a balanced diet.
Calories and Macronutrients
One cooked cup of brown basmati rice contains around 215 calories, 45 grams of carbohydrates, 5 grams of protein, and nearly 4 grams of fiber.
It also provides a small amount of healthy fats along with key minerals like magnesium and manganese, making it a well-rounded addition to most daily meal plans.
Why Brown Basmati Rice Is a Healthy Whole Grain
Brown basmati rice retains its bran and germ layers, which means it holds onto more fiber, magnesium, and B vitamins compared to white rice. This makes it a smart choice for everyday meals.
The fiber supports steady digestion and helps you stay full longer after eating, which can be helpful for managing hunger throughout the day.
Conclusion
You've made it through everything you need to know about brown basmati rice. I still remember my first few batches turning out mushy before I got the ratio right.
Now it's one of my go-to sides every week. Try it your own way, add your favorite spices, and see what works for you.
If this helps, drop a comment below and share it with someone who loves good rice as much as you do.
Frequently Asked Questions
Is brown basmati rice healthier than white basmati rice?
Yes, brown basmati rice is healthier than white basmati rice. It keeps the bran layer intact, which means it holds onto more fiber, magnesium, and B vitamins. It also digests more slowly, helping you stay full longer after eating. White rice loses most of these nutrients during the polishing process.
How long does brown basmati rice take to cook?
On the stovetop, brown basmati rice takes about 40 to 45 minutes on low heat after boiling. In an Instant Pot, it cooks in 22 to 25 minutes on high pressure, plus 10 minutes of natural release. A rice cooker usually finishes in around 45 to 50 minutes on the brown rice setting.
Do I need to soak brown basmati rice before cooking?
Soaking is optional but it does help. A 30 minute soak softens the bran layer, which leads to more even cooking and a slightly shorter cook time. If you skip soaking, just add a few extra minutes to the total cook time. Both approaches work fine depending on how much time you have.
Why does my brown basmati rice come out mushy?
Mushy rice usually comes from using too much water or lifting the lid too often while the rice cooks. Stick to the correct water ratio, which is 2 cups of water per 1 cup of rice on the stovetop. Avoid stirring during cooking and always let the rice rest for 10 minutes before fluffing with a fork.
Can I freeze cooked brown basmati rice?
Yes, cooked brown basmati rice freezes well for up to 3 months. Let the rice cool completely before transferring it to freezer bags or airtight containers. Spread it out on a tray first to prevent clumping. Freeze in small portions so you can take out only what you need without thawing the entire batch.