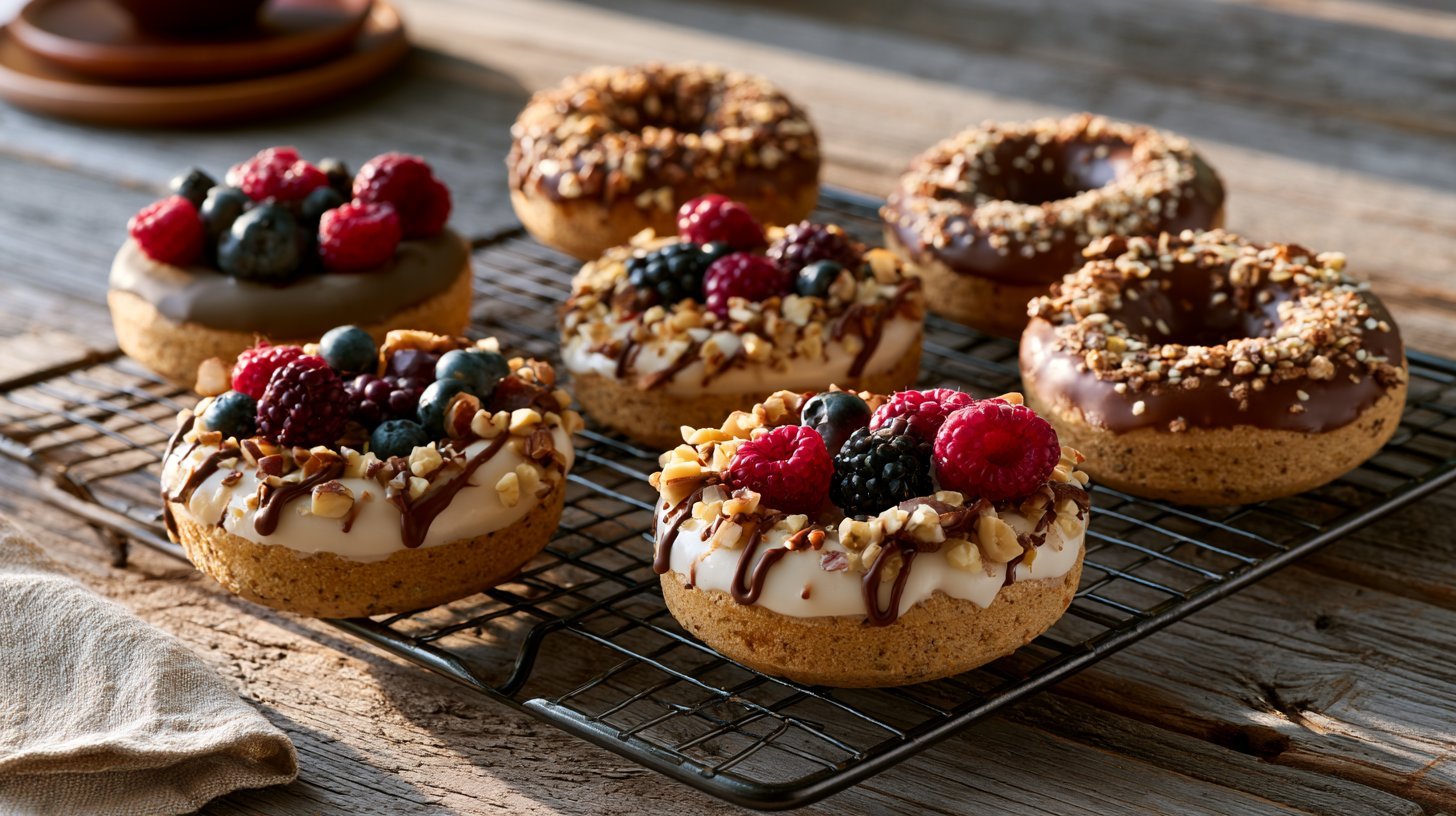
Craving donuts but trying to eat a little better? You are not alone. Most donut recipes are loaded with sugar, butter, and refined flour, which makes it hard to enjoy them without some guilt.
This guide fixes that problem. I have tested this healthy donut recipe in my own kitchen more times than I can count, tweaking it until the texture comes out soft every single time.
In this article, you will find the exact ingredients you need, step-by-step instructions, tasty variations, and simple topping ideas. I will also cover storage tips and common mistakes to avoid.
By the end, you will know exactly how to bake donuts that taste amazing and still fit your goals.
Why You'll Love This Healthy Donut Recipe
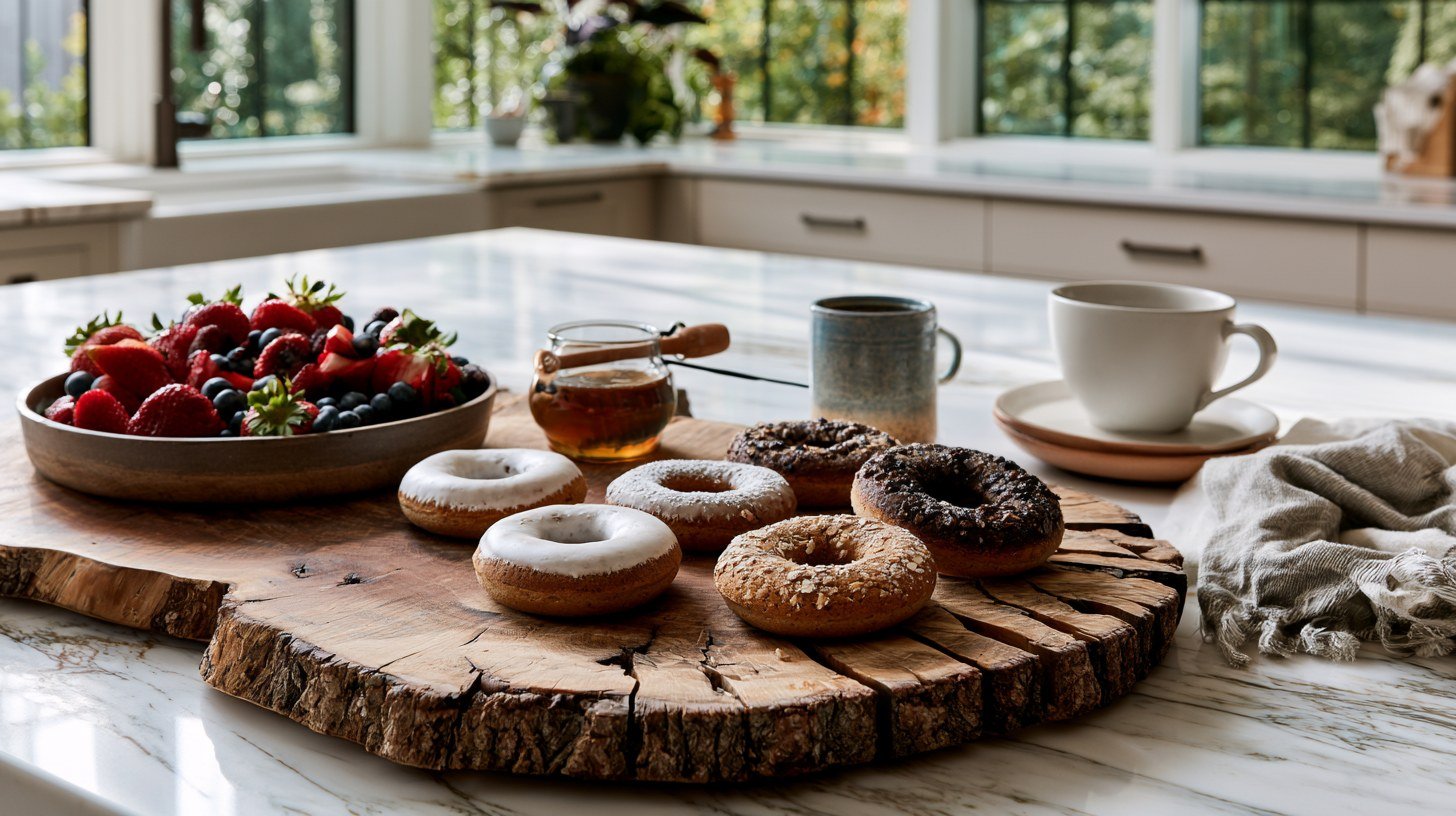
These donuts are baked, not fried, so you get a soft, satisfying bite with less oil and no heavy feeling after.
The sugar is kept low, which means real sweetness without the crash. No yeast. No rising time. Just mix and bake.
You can switch up the toppings, glazes, or mix-ins based on what you like. Pack one for breakfast or enjoy one with your morning coffee. Simple pantry ingredients. Honest, good results every time.
Ingredients You'll Need
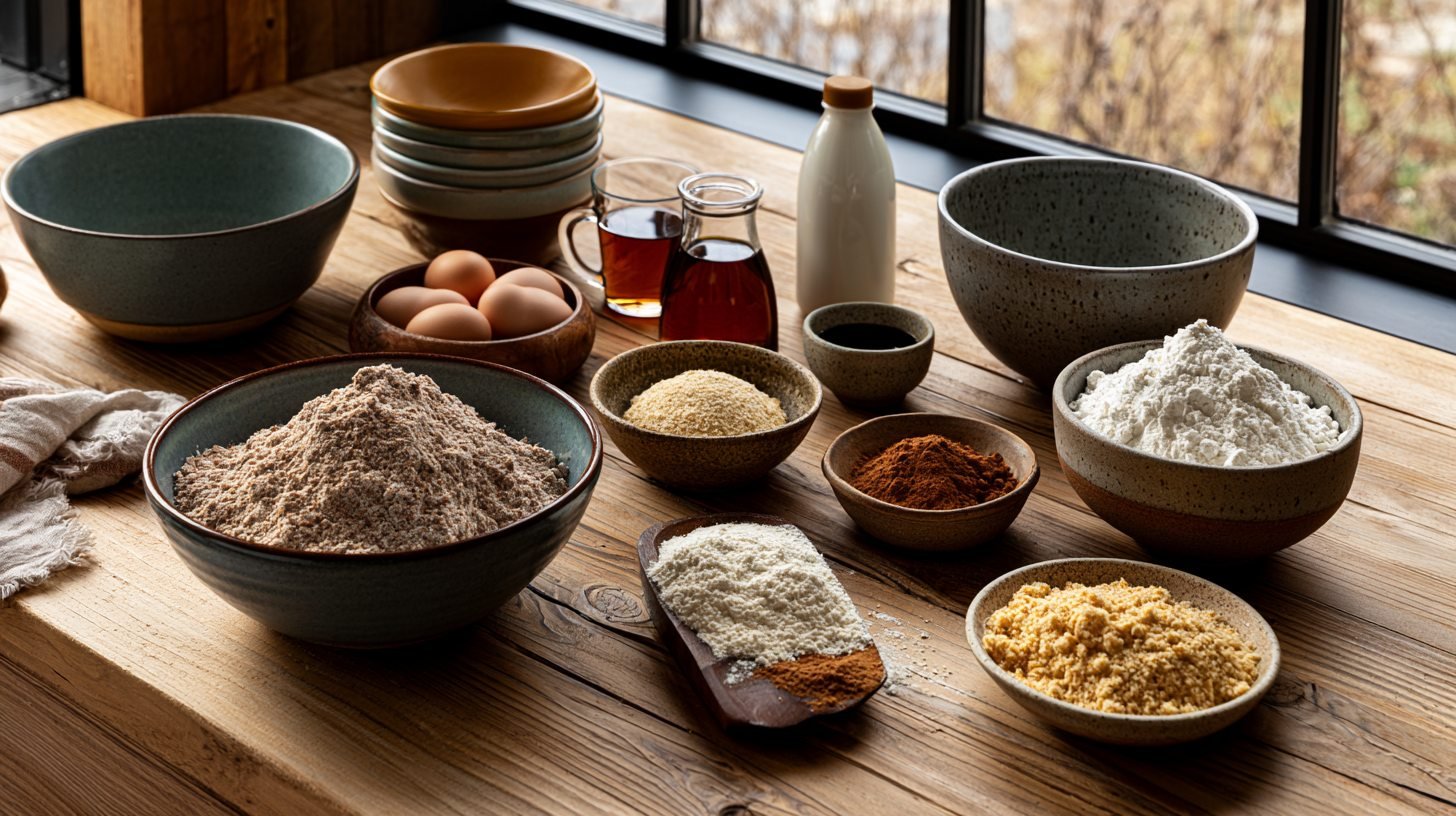
Before you start baking, gather your ingredients. Having everything measured out ahead of time makes the process smoother and keeps you from scrambling mid-recipe.
- Dry ingredients: whole wheat flour or almond flour, baking powder, baking soda, a pinch of salt, and cinnamon for structure
- Wet ingredients: eggs, milk (dairy or plant-based), a natural sweetener like honey or maple syrup, melted butter or coconut oil, and vanilla extract
- Optional add-ins: cocoa powder, powdered sugar substitute, nut butter, or fresh fruit for extra flavor and topping options
- Allergy-friendly swaps: gluten-free flour blend, almond or oat milk, and flax eggs for gluten-free, dairy-free, or vegan needs
- No-sugar option: mashed banana or unsweetened applesauce in place of honey or maple syrup these bind the batter while cutting out any added sweetener entirely
How to Make This Healthy Donut Recipe
Making these donuts at home is easier than most people expect, even if you have never baked donuts before.
The batter comes together quickly, the bake time is short, and cleanup is simple. Each step below is designed to keep things clear and straightforward so you get consistent, soft results no matter your skill level in the kitchen.
Follow these steps and you will be pulling a fresh tray out of the oven in under 30 minutes.
Step 1: Prepare the Donut Pan
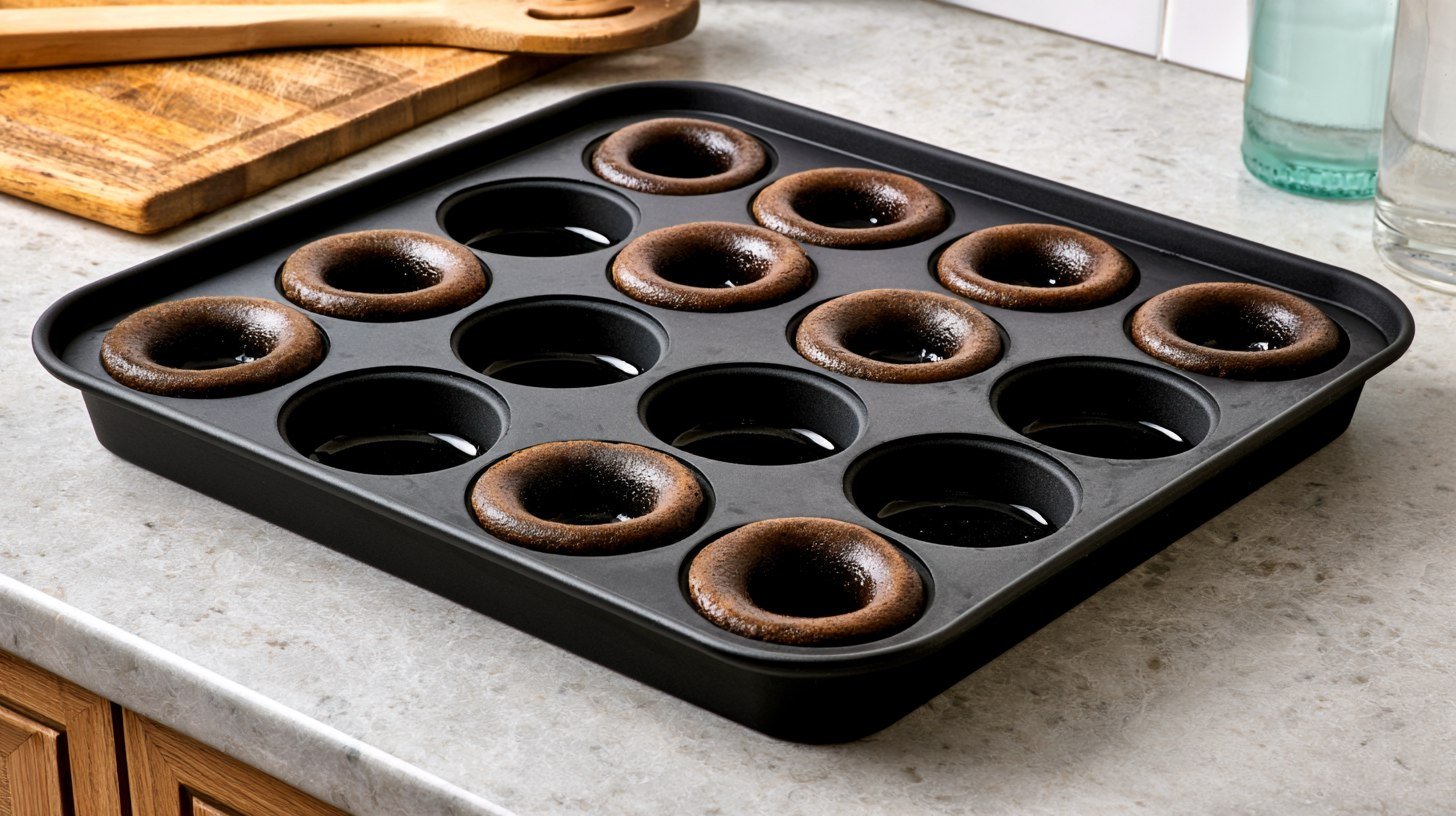
Grease every cavity of your donut pan with a light coating of oil or butter, making sure to cover the center post as well.
This step keeps the donuts from sticking and helps them release cleanly after baking.
Skipping this or applying too little grease is the most common reason donuts tear when you try to remove them. A quick, even coat is all you need.
Step 2: Mix the Batter
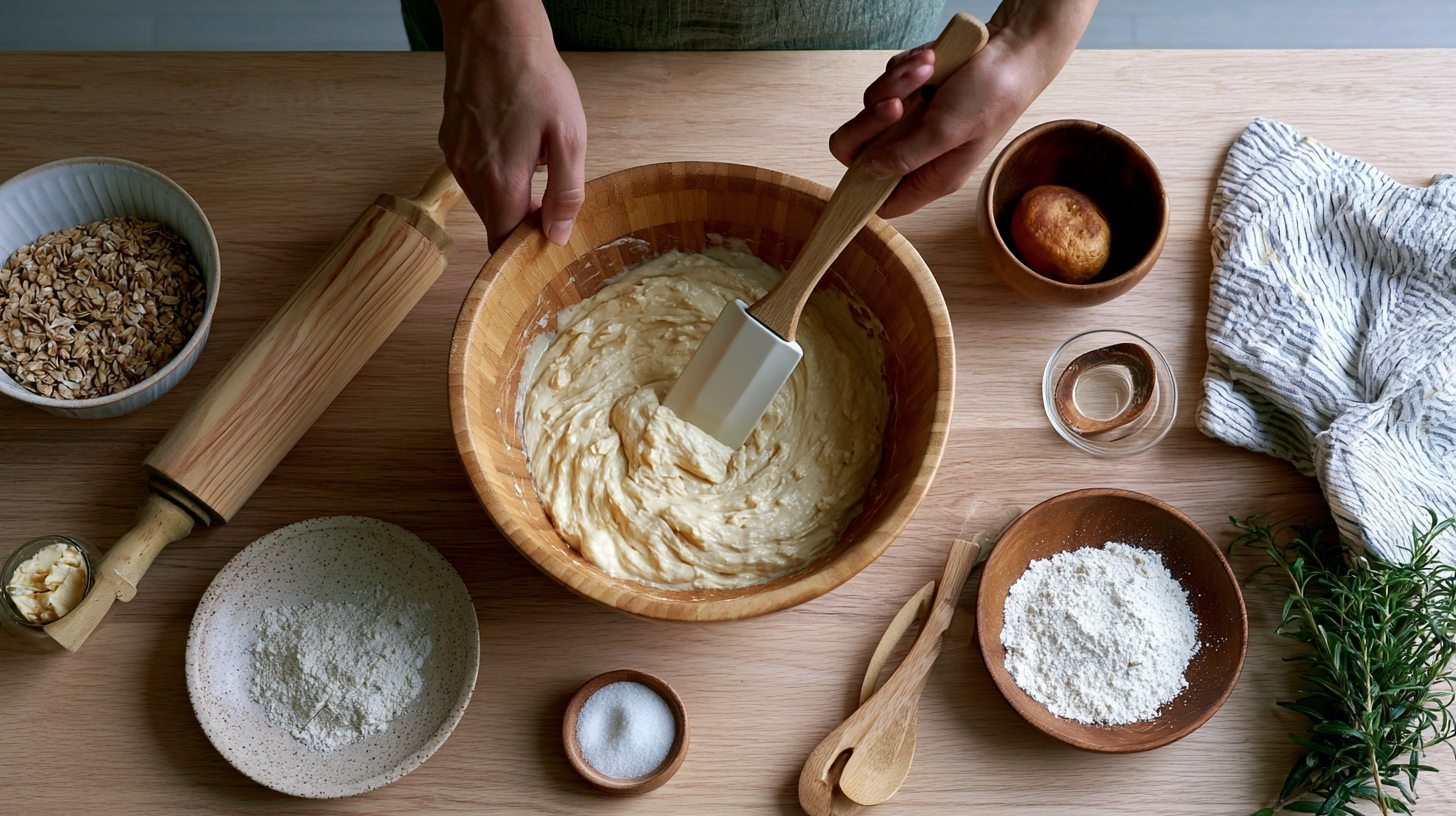
Combine all your dry ingredients in one bowl and all your wet ingredients in a separate bowl, whisking each until smooth.
Then pour the wet mixture into the dry mixture and fold gently until just combined. Stop as soon as you no longer see streaks of dry flour. A few small lumps are fine.
Overmixing activates too much gluten, which turns your donuts dense and chewy instead of light and tender.
Step 3: Fill and Bake the Donuts
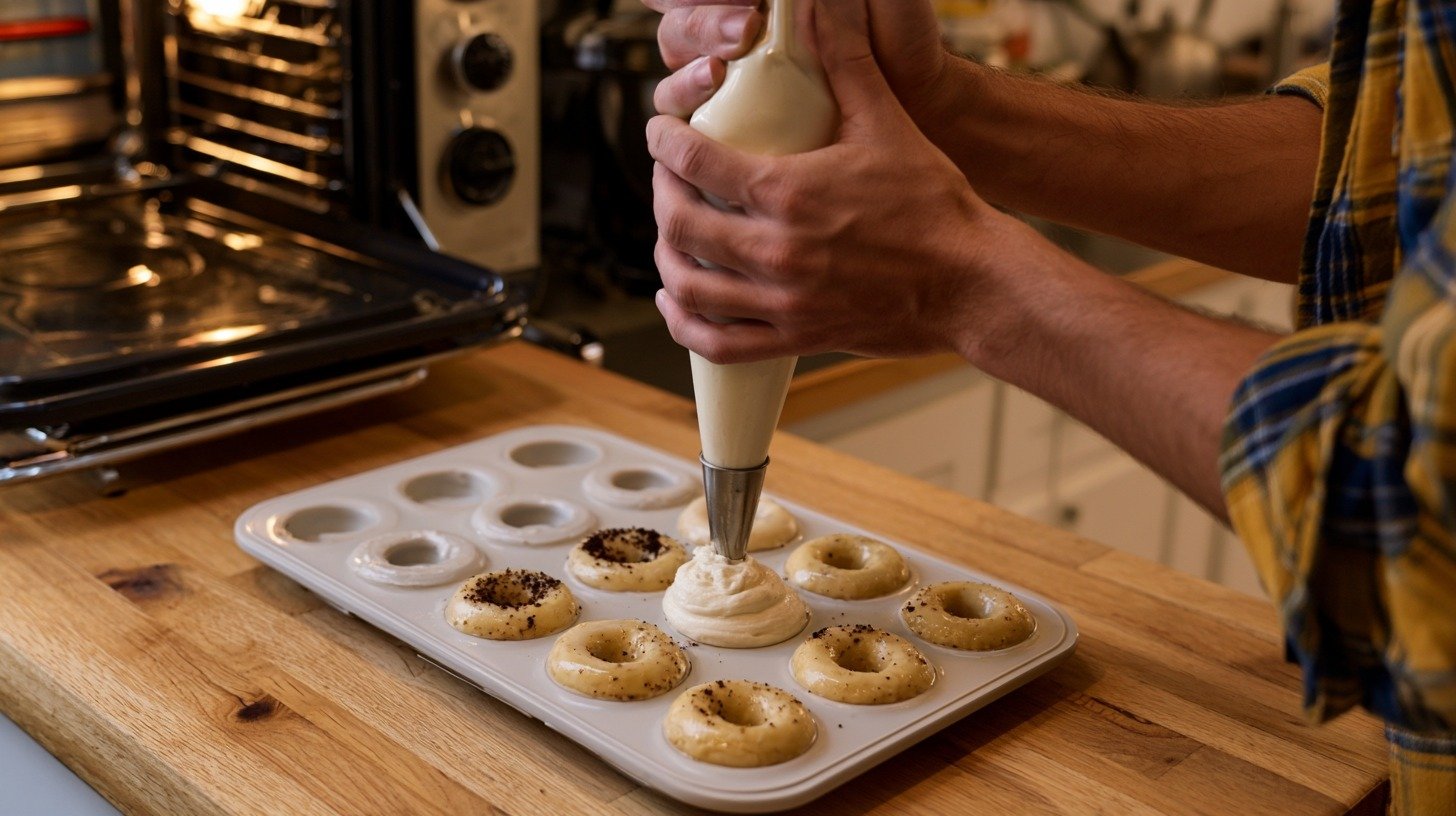
Spoon or pipe the batter into the greased donut pan, filling each cavity about two thirds full. Leave space at the top since the batter will puff up as it bakes.
Bake at 350°F for around 10 to 12 minutes, or until a toothpick inserted into the thickest part comes out clean. Start checking at the 10-minute mark to avoid overbaking, which dries the donuts out quickly.
Step 4: Cool and Add Your Favorite Toppings
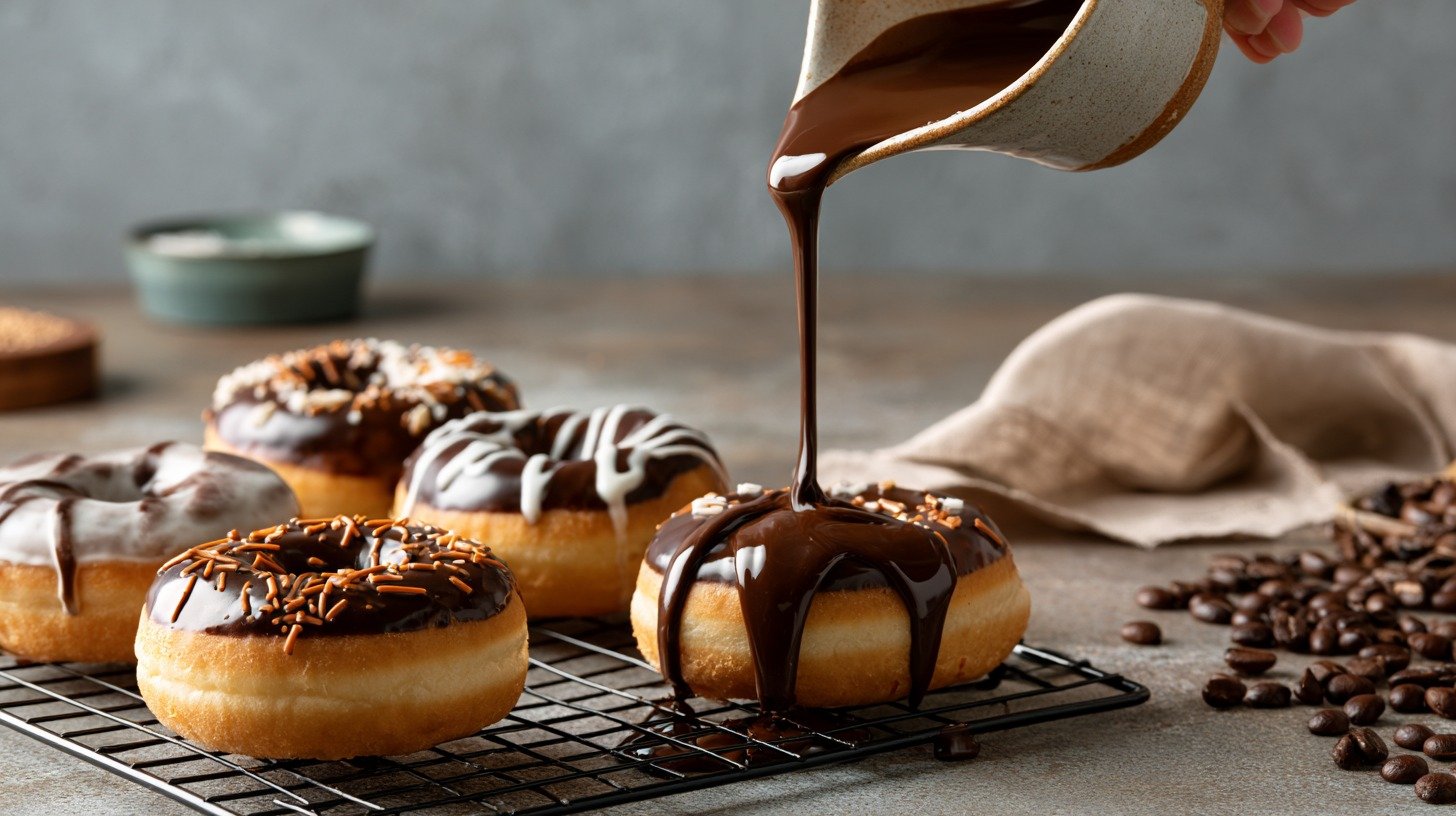
Let the donuts rest in the pan for 3 to 5 minutes before transferring them to a wire rack. This short rest helps them firm up just enough so they do not break when you lift them out.
Once they are fully cooled to room temperature, add your glaze or toppings of choice. Glazing warm donuts causes the coating to run right off, so patience here makes a real difference in how they look and taste.
Healthy Donut Recipe Variations
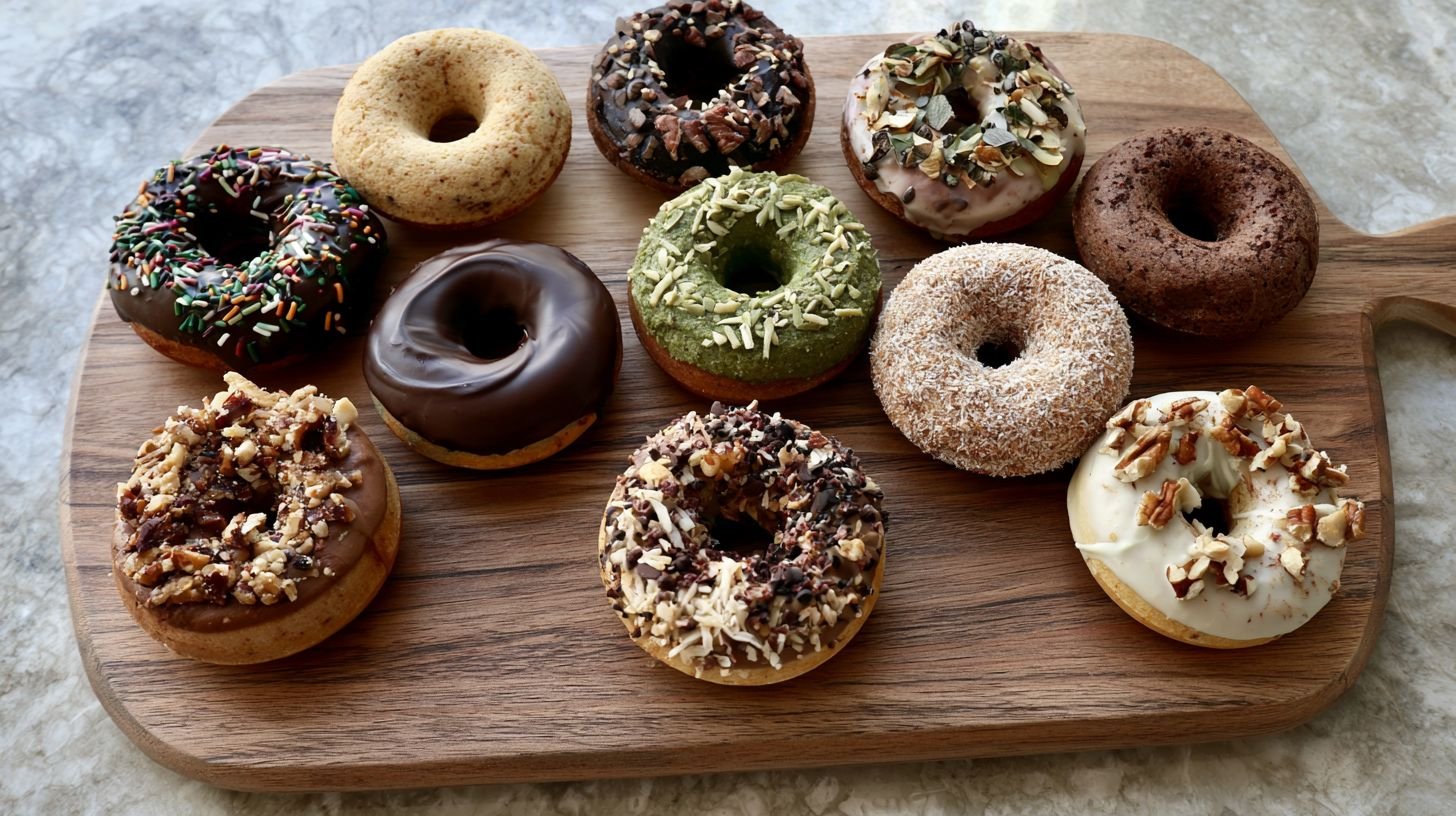
There is more than one way to make a healthy donut, and that flexibility is one of the best things about this recipe.
Whether you are working with dietary restrictions, stocking up on protein, or simply using what is already in your kitchen, there is a version here that fits.
Below are six popular variations you can try depending on your needs or preferences.
| Variation | Key ingredient swap | Texture & flavor | Best for | Diet tag |
|---|---|---|---|---|
| Pantry staples Basic recipe |
All-purpose or whole wheat flour, eggs, milk, honey or maple syrup | Light, soft crumb with a neutral sweetness — closest to a classic donut | First-time bakers, no specialty shopping needed | Everyday |
| Almond flour Nutty & moist |
Almond flour replaces wheat flour 1:1 by weight | Denser, moister crumb with a mild nutty note; thicker batter than standard | Higher protein and healthy fats, grain-light eating | Grain-free |
| Gluten-free Safe for celiac |
1:1 gluten-free flour blend (with xanthan gum already included) | Soft texture nearly identical to the standard version; no gummy aftertaste | Gluten sensitivities, celiac disease | GF |
| Vegan No animal products |
Flax eggs (1 tbsp flaxseed + 3 tbsp water per egg), plant-based milk | Soft and flavorful; flax eggs bind the batter without affecting taste | Vegan diet, egg or dairy allergy | Vegan |
| No sugar Zero added sugar |
Mashed ripe banana or unsweetened applesauce replaces all sweeteners | Mildly sweet with a subtle fruit undertone; slightly denser batter | Low-carb, diabetic-friendly, sugar-free diets | Sugar-free |
| High protein Post-workout |
1 scoop protein powder (dry) or 2–3 tbsp Greek yogurt (wet) | Slightly firmer crumb; vanilla protein powder gives the best flavor match | Post-workout snack, high-protein breakfast | High protein |
Healthy Glaze and Topping Ideas
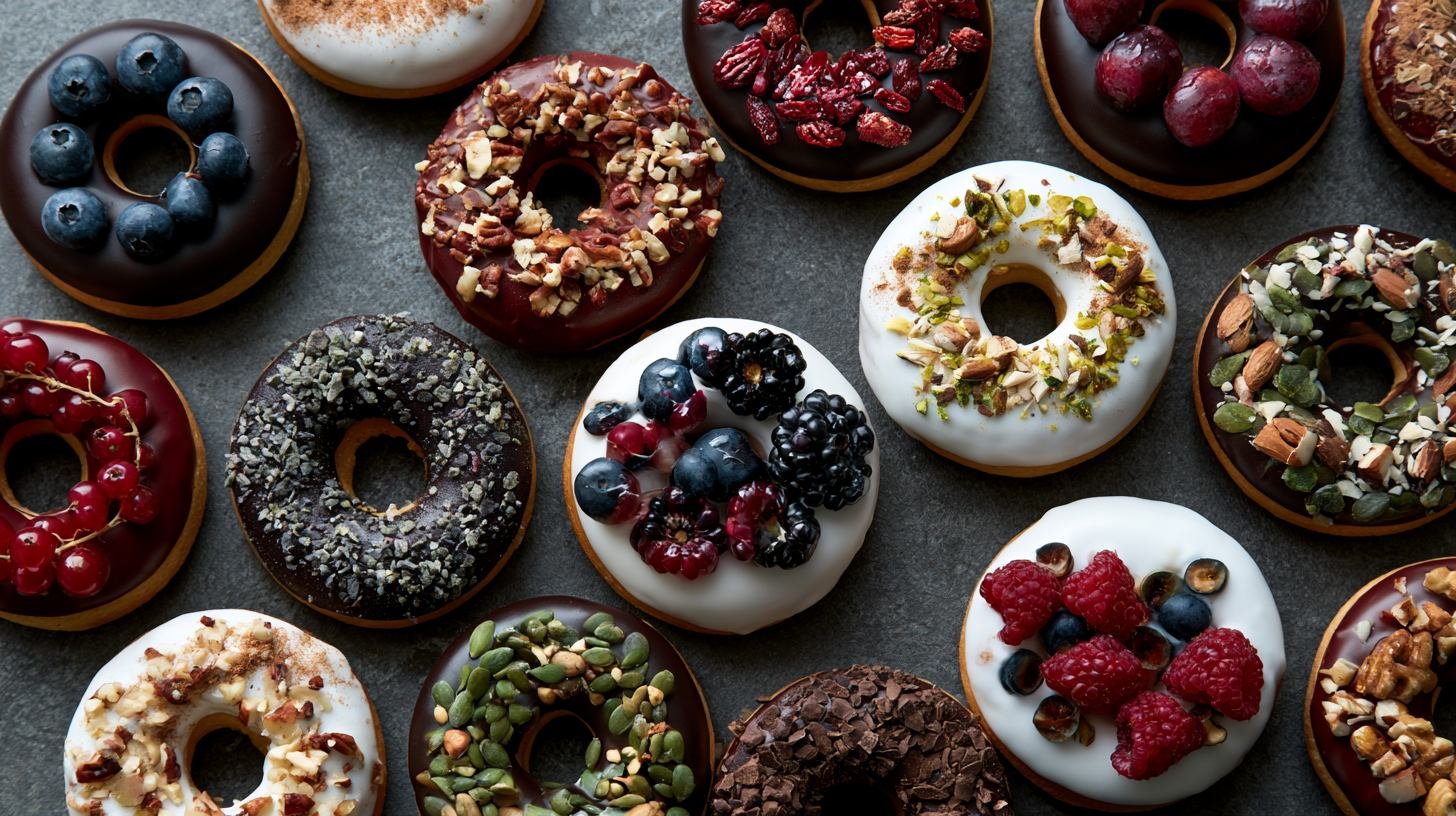
A good topping can take these donuts from simple to something you would genuinely be excited to serve.
The glazes and coatings below use wholesome ingredients, come together in minutes, and complement the base donut flavor without loading it with extra sugar or artificial ingredients. Pick one or try a few different ones across a single batch to add variety.
Chocolate Glaze
Whisk together one tablespoon of unsweetened cocoa powder with two to three tablespoons of milk and a small drizzle of honey or maple syrup until the mixture is smooth and glossy.
Dip the top of each cooled donut into the glaze and set it on a rack to dry. The glaze thickens and sets slightly as it cools, giving you a coating that holds without dripping. For a richer result, add a teaspoon of melted coconut oil to the mixture.
Vanilla Glaze
Mix together a quarter cup of powdered sugar substitute with one to two teaspoons of milk and a small splash of pure vanilla extract. Stir until completely smooth and lump-free. Adjust the milk one drop at a time to reach a consistency that coats the back of a spoon.
This glaze sets quickly at room temperature and pairs well with virtually any donut flavor, from plain to almond to lemon. It is light, clean-tasting, and easy to make in under two minutes.
Cinnamon Sugar Coating
While the donuts are still slightly warm, not hot, brush the surface lightly with a thin layer of melted butter or coconut oil using a pastry brush.
Immediately roll or press the donut into a bowl of cinnamon and granulated sugar mixed together. The butter helps the coating stick evenly and gives the outside a slightly crisp, bakery-style finish.
This coating works best applied right after the donuts come out, so have your cinnamon sugar mix ready before you start baking.
Peanut Butter or Almond Butter Drizzle
Scoop a tablespoon of your preferred nut butter into a small bowl and microwave it for 10 to 15 seconds until it loosens and becomes pourable. Drizzle it over cooled donuts using a spoon or a small piping bag.
This topping adds healthy fats and a dose of protein that turns each donut into something more substantial. Peanut butter pairs especially well with chocolate or banana-flavored donuts, while almond butter complements vanilla or cinnamon variations beautifully.
Fresh Fruit, Nuts, and Seeds
Scatter thinly sliced strawberries or raspberries over a just-glazed donut so the fruit sticks as the glaze sets. Alternatively, press a small handful of chopped walnuts, almonds, or pecans into the surface for added crunch and healthy fats.
Chia seeds, hemp seeds, or shredded unsweetened coconut also work well as lightweight, nutrient-dense toppings. These additions require no cooking and take seconds to apply, but they add color, texture, and nutritional value that plain donuts simply cannot match.
Can You Make Healthy Donuts Without a Donut Pan?
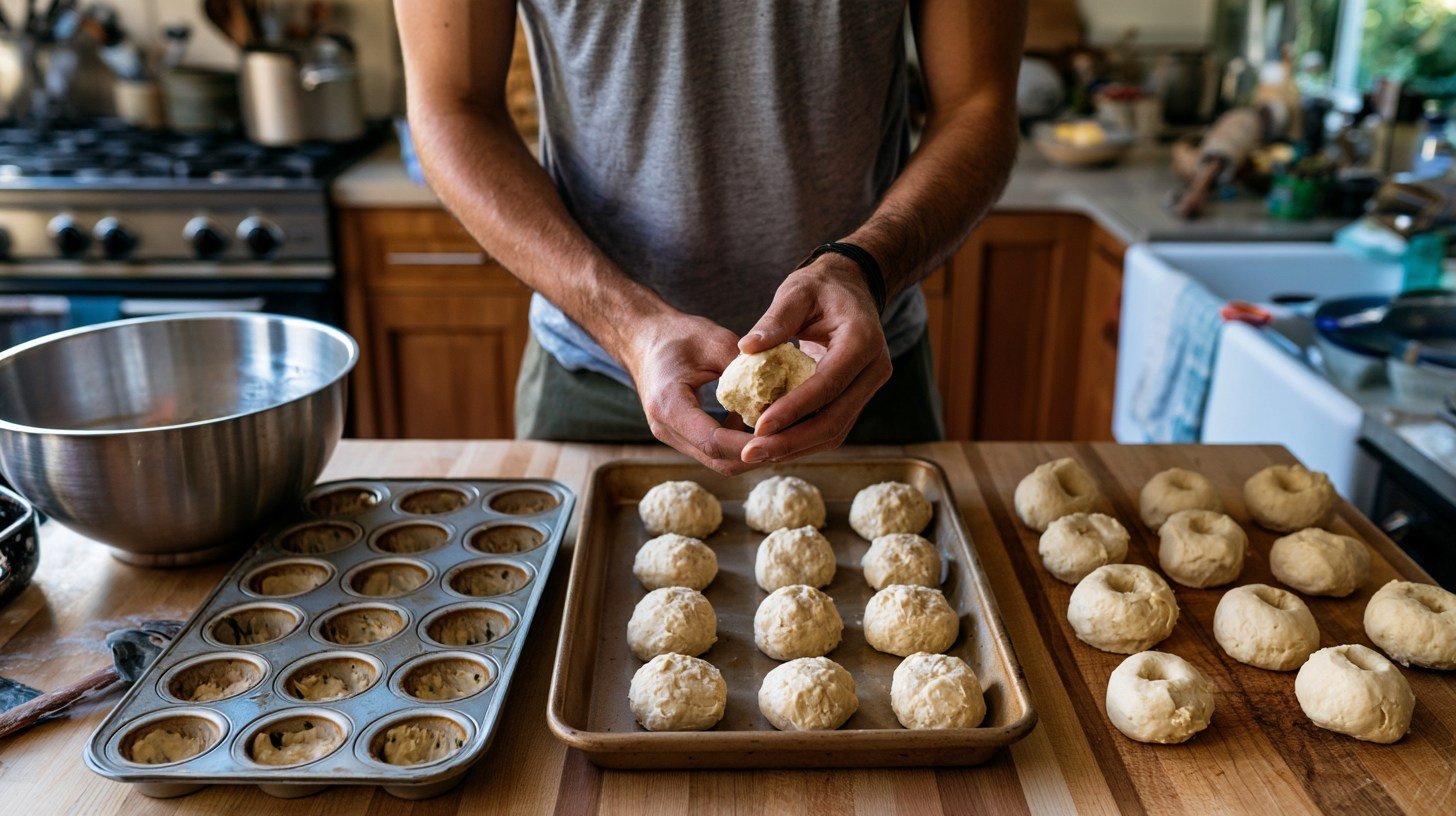
Yes, it is entirely possible to make these donuts without a donut pan, and the results are still worth it. A donut pan creates the classic ring shape, but it is not the only path to a homemade baked donut.
If you do not own one or are not ready to buy one, these two methods work with equipment you likely already have in your kitchen.
Using a Muffin Tin
Pour the batter into a greased standard muffin tin, filling each cup about two-thirds full the same way you would fill a donut cavity.
The shape will be round rather than ring-shaped, so they bake up more like donut-flavored muffins, but the flavor and texture of the crumb remain exactly the same.
Bake at the same temperature and start checking a minute or two earlier, since muffin cups can run slightly hotter depending on the pan material and thickness.
Shaping Donuts by Hand
If your batter is thick enough to hold its shape, which almond flour and whole wheat flour batters often are, scoop out a portion, roll it into a ball, press your thumb through the center, and shape the ring with your fingers on a parchment-lined baking sheet. Leave at least two inches between each donut to allow for spreading.
Keep all donuts as close to the same size as possible so they bake evenly. Rotate the pan halfway through if your oven has hot spots, and always use the toothpick test to confirm doneness before pulling them out.
Storage, Freezing, and Make-Ahead Tips
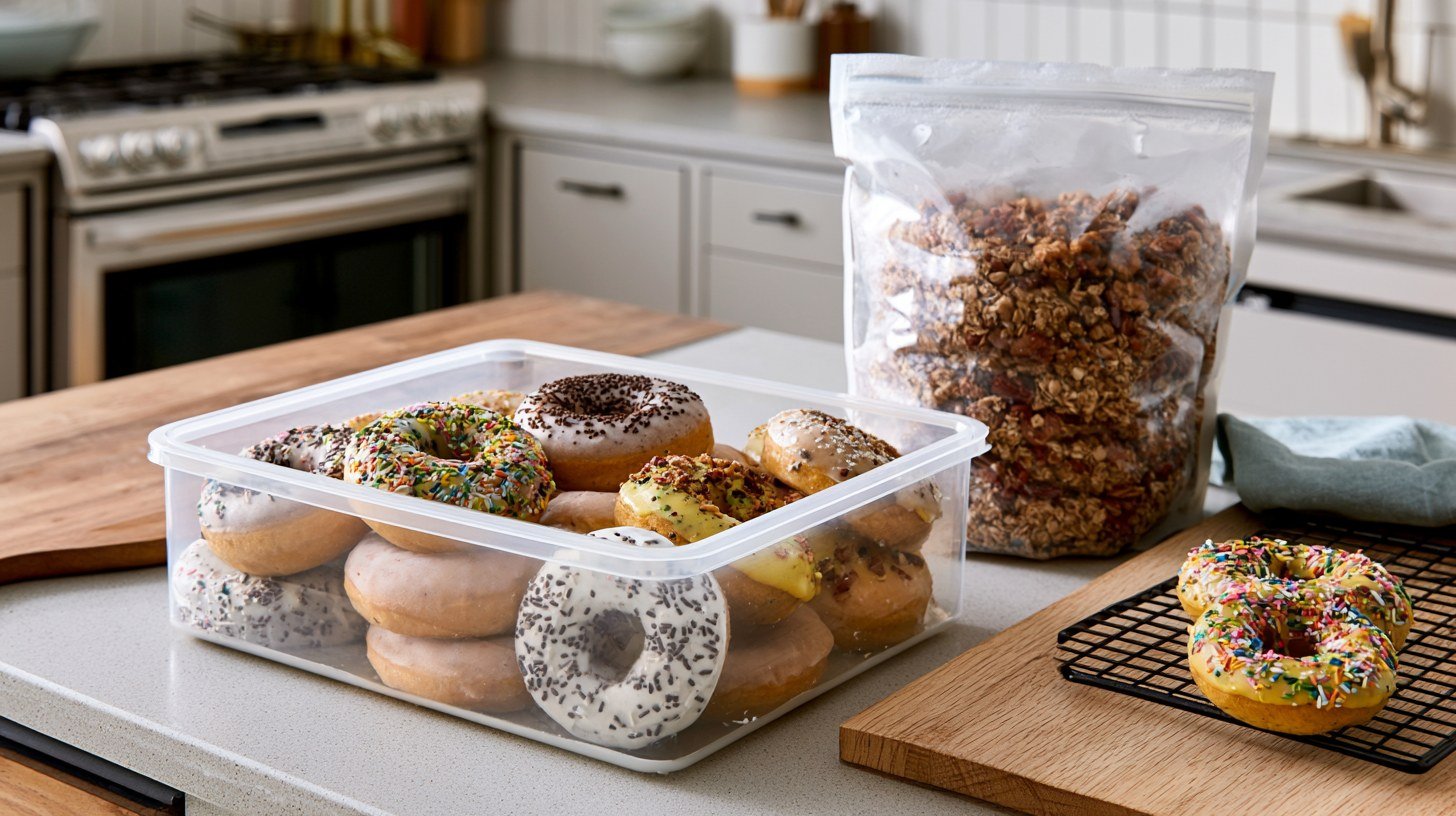
These donuts hold up well after baking, which makes them a smart option for anyone who likes to prepare breakfast or snacks ahead of time.
Baking a full batch on Sunday and storing them properly means you have a ready-to-eat option available for several days without any extra effort during the week. The key is keeping moisture in and air out.
How to Store Healthy Donuts
Place cooled donuts in an airtight container and keep them at room temperature for up to two days. If your kitchen runs warm or humid, the fridge is a better choice stored in a sealed container, they stay fresh for up to five days without drying out or getting soggy.
Avoid stacking them directly on top of each other if they are glazed, since the glaze can transfer and stick. A sheet of parchment between layers solves that problem easily.
How to Freeze Them
Make sure the donuts are fully cooled before freezing, and hold off on adding any glaze or wet toppings until after reheating.
Arrange them in a single layer on a baking sheet and freeze for one hour, then transfer them to a freezer-safe zip bag or airtight container. This two-step approach prevents them from sticking together. Stored this way, they keep well for up to three months.
Label the bag with the date so you know at a glance how long they have been in there.
Best Way to Reheat
For a single donut, the microwave is the fastest option: heat it on a microwave-safe plate for 15 to 20 seconds, checking the center to make sure it is warmed through without becoming rubbery.
For multiple donuts at once, arrange them on a baking sheet and warm them in a 300°F (150°C) oven for about 5 to 8 minutes.
Once warm, add your glaze or fresh toppings. Reheating with toppings already applied tends to melt or dry out the coating, so it is always better to top them fresh.
Tips for the Best Healthy Baked Donuts
A few small details can make a big difference in how your donuts turn out.
- Measure ingredients correctly using proper cups and spoons, and level off dry ingredients too much flour makes donuts dry and crumbly
- Mix the batter just until combined, since overmixing develops gluten and makes donuts dense and tough instead of light and soft
- Check your donuts one to two minutes before the suggested bake time ends, since every oven runs differently and overbaking dries them out fast
- Let donuts cool completely before glazing, since applying glaze while they are still warm causes it to melt and slide off instead of setting
- Store donuts properly and reheat gently to preserve the soft texture after baking a sealed container and low heat make all the difference
Conclusion
I still remember the first time I pulled a tray of healthy donuts out of my own oven. They smelled just like the bakery kind, and I could not believe something this good was actually good for me too.
That is the real joy of this healthy donut recipe. It lets you enjoy a treat without any of the guilt.
So go ahead and give it a try this weekend. Then come back and tell me how yours turned out in the comments, and share this post with a friend who loves donuts as much as you do.
Frequently Asked Questions
Are healthy donuts actually good for you?
Yes, when made with whole grains, natural sweeteners, and baking instead of frying, these donuts offer real nutritional advantages over traditional fried ones. Whole wheat or almond flour adds fiber and protein, while natural sweeteners like honey or maple syrup avoid the sharp blood sugar spike that refined sugar causes. You still get something that satisfies a sweet craving, but without the excess saturated fat and empty calories that come with a standard bakery donut.
Can I make this healthy donut recipe without eggs?
Yes, you can replace each egg with a flax egg, one tablespoon of ground flaxseed mixed with three tablespoons of water, left to sit for five minutes until it forms a gel. This swap works surprisingly well in baked donuts because the flax gel binds the batter in a similar way to eggs. The texture stays soft and the donuts hold together cleanly. If you are also avoiding oil, a mashed banana can pull double duty as both a binder and a natural sweetener.
Do I need a donut pan to make these?
No, a donut pan gives the cleanest ring shape, but it is not required. A standard muffin tin works well and produces a round, donut-flavored result with the same crumb and taste. If your batter is thick, you can also shape rings by hand on a parchment-lined baking sheet. The appearance will differ slightly from a pan-molded donut, but once you add your glaze or toppings, the difference becomes much less noticeable and the flavor remains exactly the same.
How long do homemade healthy donuts stay fresh?
Stored in an airtight container at room temperature, these donuts stay fresh for about two days. Moving them to the refrigerator extends that to five days without a significant change in texture, as long as the container is sealed well. For the best eating experience after day one, warm them briefly in the microwave or oven before serving. This brings back the soft, just-baked feel that makes them most enjoyable and prevents the slight dryness that can develop after a day or two of storage.
Can I freeze healthy baked donuts?
Yes, and they freeze very well. Let the donuts cool to room temperature completely and skip any glaze until after reheating. Freeze them flat on a sheet first to prevent sticking, then transfer them to a freezer-safe bag or container. They keep well for up to three months this way. When you are ready to eat one, thaw it at room temperature for 20 to 30 minutes or warm it in a low oven, then add your preferred topping fresh. The texture after reheating is nearly identical to the day they were baked.