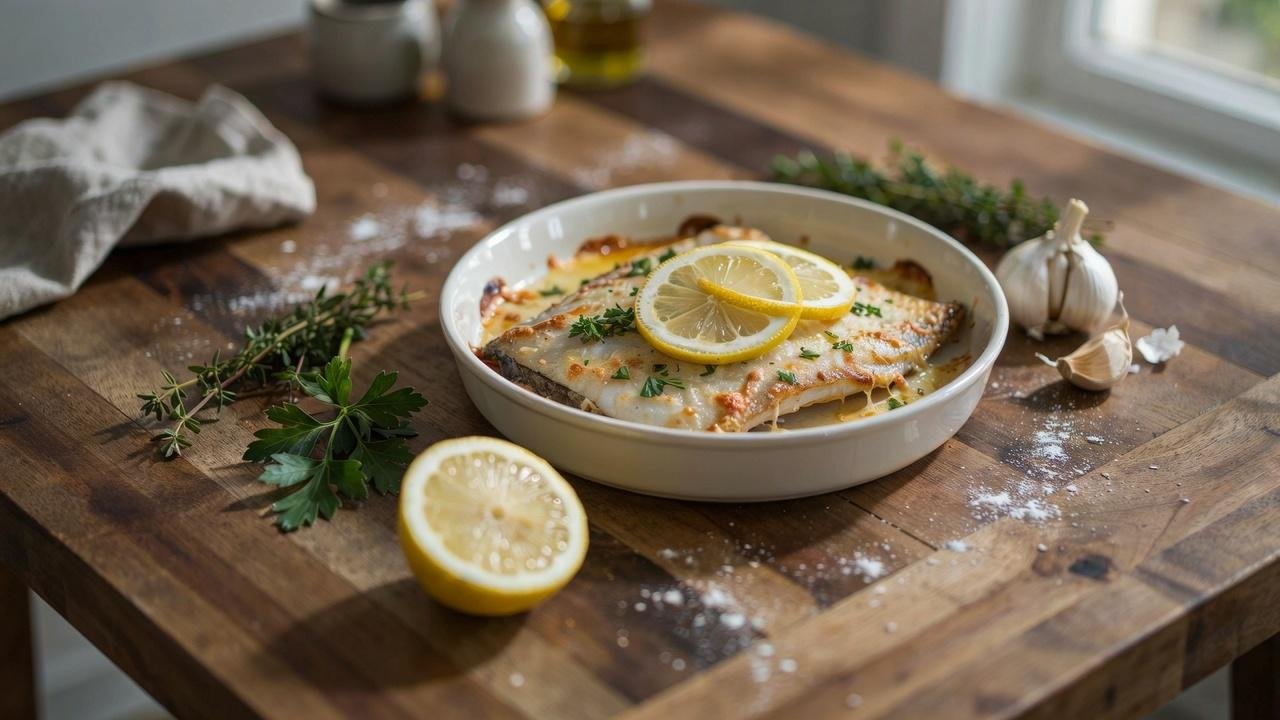
Craving a fish dinner that does not take all night? This baked flounder recipe gets tender, flaky fish on the table fast, with almost no cleanup afterward.
This post covers the exact ingredients, step-by-step directions, and tips to avoid dry or bland results, along with storage, reheating, and a few tasty variations to try.
This recipe has been tested many times over, and it works every single time without needing any fancy cooking skills.
Baked flounder is light, satisfying, and simple enough for a busy weeknight, but good enough to serve when you want dinner to feel a little more special.
Why You'll Love This Flounder Baked Recipe
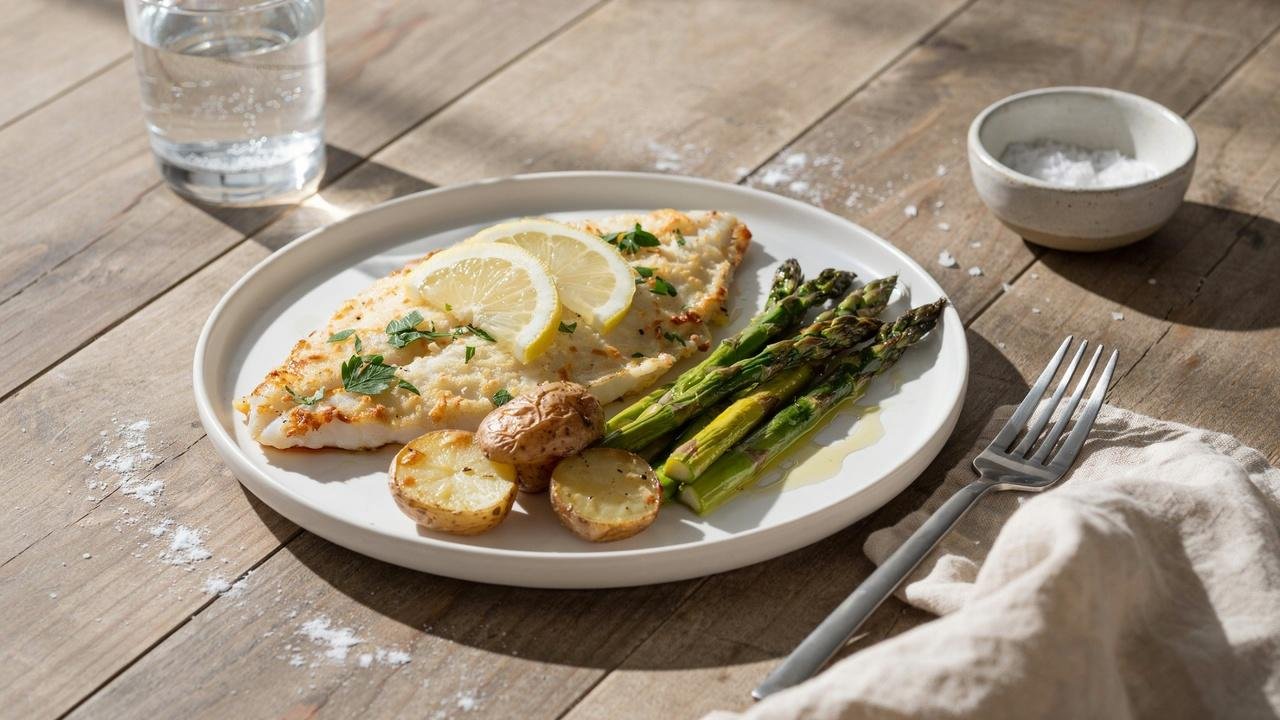
This recipe uses pantry staples and takes very little effort, since the fish bakes on its own while you prep a side dish or set the table.
It is light, healthy, and works equally well for busy weeknights or a more relaxed weekend meal.
Flounder cooks fast, so dinner is ready well before you would expect, with barely any dishes left behind afterward.
Ingredients You'll Need
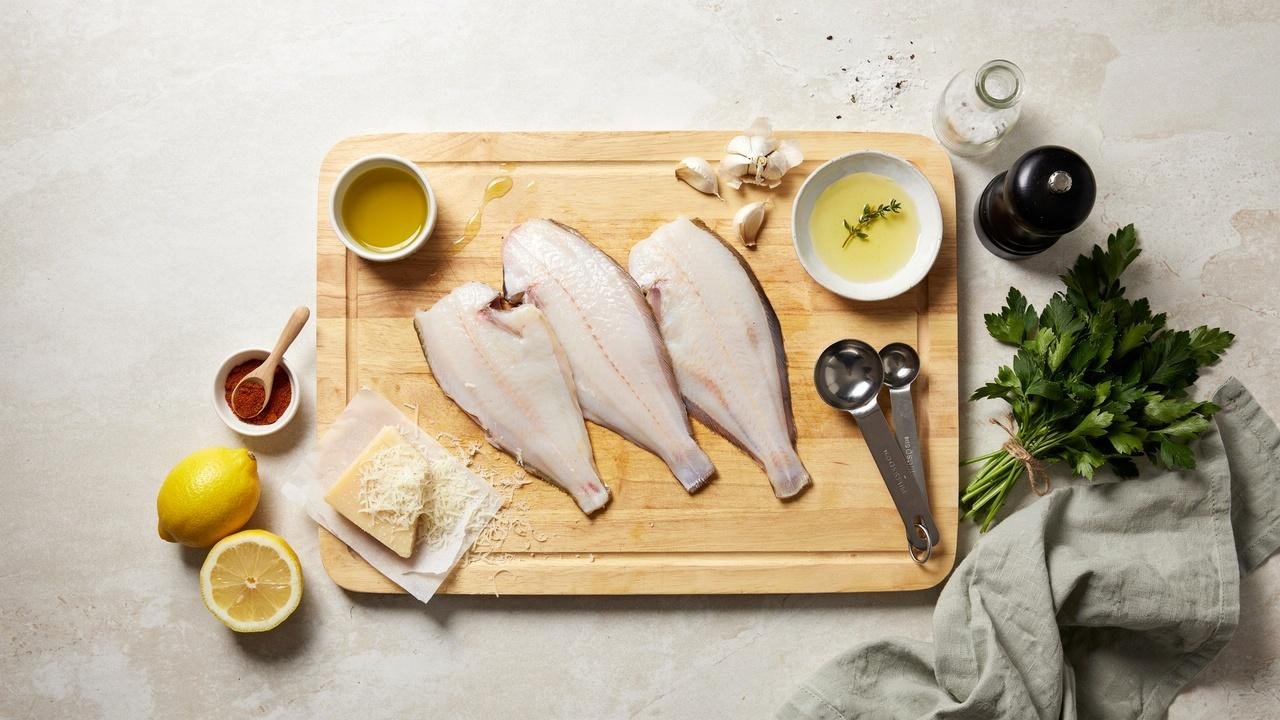
Everything below works together to build flavor without requiring anything hard to find or unusual to prepare too far ahead of time. Most of it is likely already sitting in your pantry or fridge right now, ready and waiting to go.
Main ingredients:
- Flounder fillets, fresh or thawed and patted dry
- Olive oil or melted butter, for moisture and richness
- Fresh lemon juice, to brighten the whole dish
- Garlic, minced, for depth of flavor
- Smoked paprika, for warmth and color
- Parmesan cheese, grated, for a light crust
- Salt and black pepper, to taste
Optional garnishes:
- Parsley
- Lemon wedges
- Red pepper flakes
What Is Flounder?
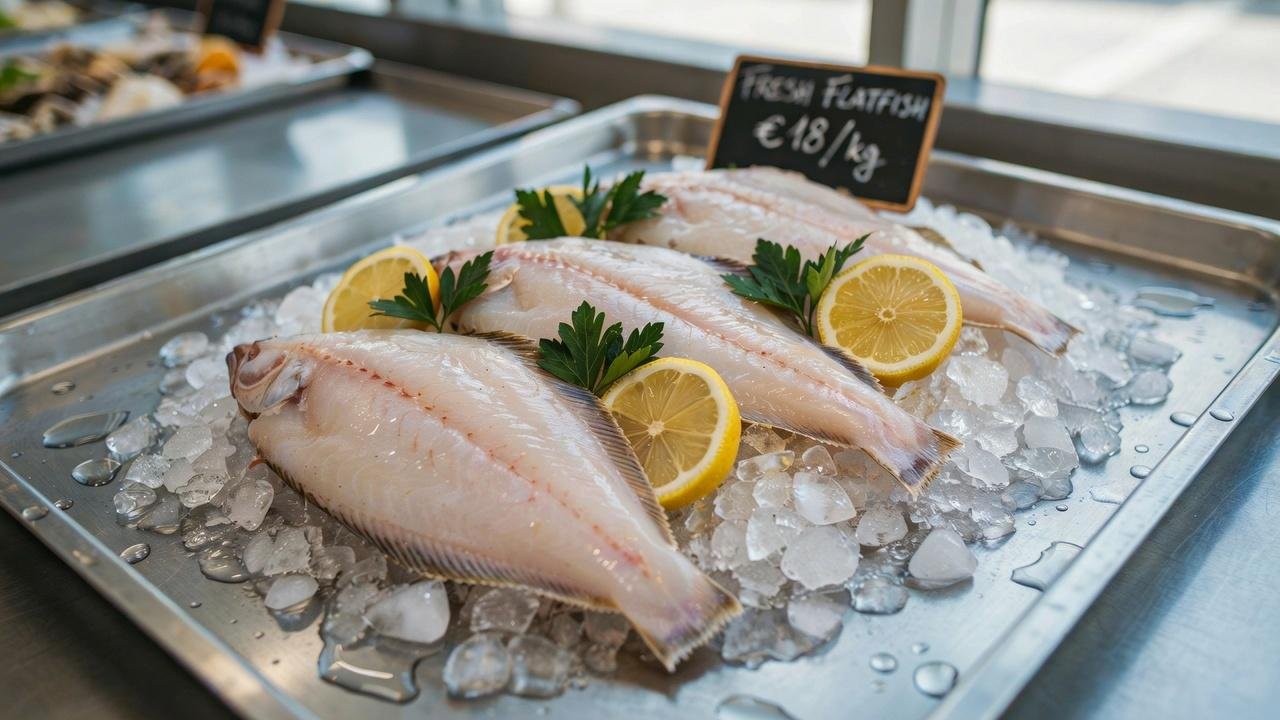
Flounder is a flat, white fish with a mild flavor, which is exactly why it pairs so well with bold seasonings like garlic, lemon, and smoked paprika.
It has a soft, delicate texture that flakes easily once cooked, making it a naturally good candidate for baking rather than frying or grilling.
| Factor | Fresh Flounder | Frozen Flounder |
| Taste | Cleaner, brighter flavor | Still good, slightly less pronounced |
| Texture | Firmer straight out of the package | Softer unless thawed and dried well |
| Prep needed | Ready to season right away | Needs full thawing before cooking |
| Best for | Same-day cooking | Stocking up in advance |
Choosing the best flounder: Look for fillets that are firm and moist, with no strong fishy smell when you hold them close to check.
The flesh should look bright and slightly translucent, not dull, grayish, or torn at the edges of the fillet.
Kitchen Equipment Needed
Follow these seven steps in order for flaky, flavorful fish every time, from a cold oven all the way to a finished, plated meal.
None of the steps take long, so the whole process fits easily into a normal weeknight.
- Baking dish, to hold the fillets in a single layer
- Mixing bowl, for the lemon garlic butter mix
- Measuring spoons, for accurate seasoning
- Pastry brush or spoon, to coat the fish evenly
How to Make Flounder Baked Recipe
Follow these seven steps in order for flaky, flavorful fish every time, from a cold oven all the way to a finished, plated meal. None of the steps take long, so the whole process fits easily into a normal weeknight.
Step 1: Preheat the Oven
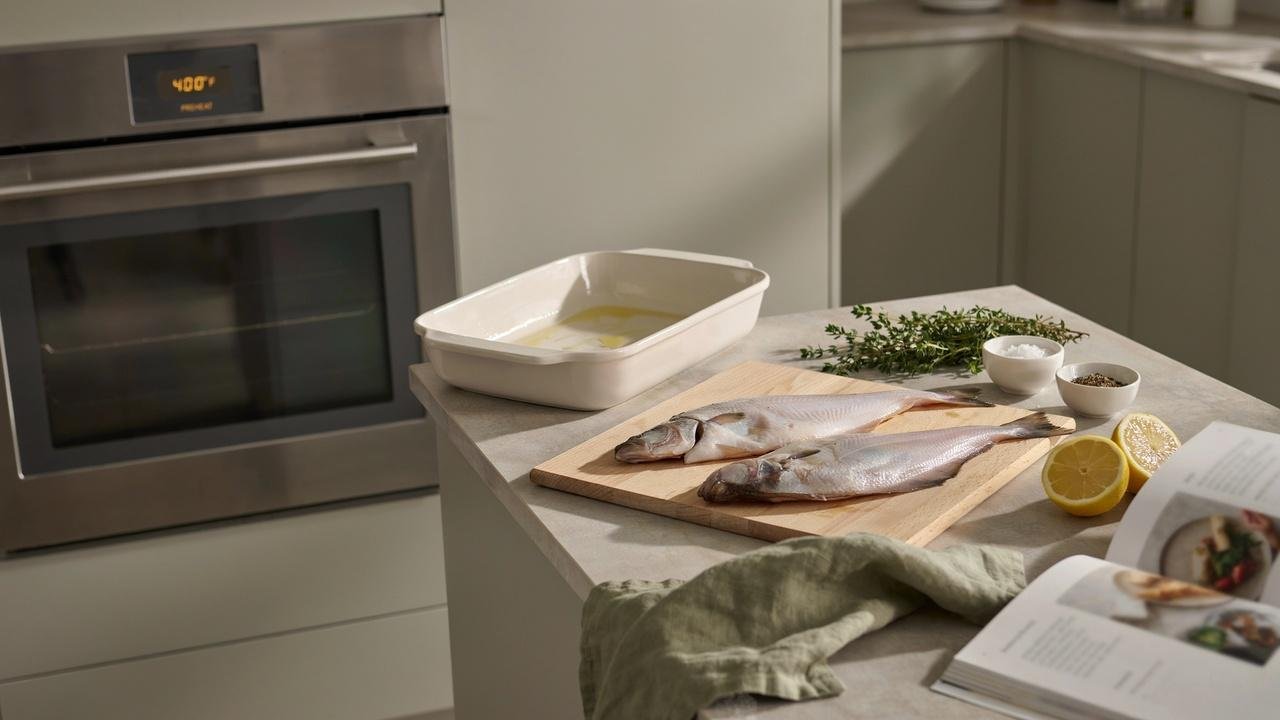
Set your oven to 400°F and let it fully heat before baking so the fish cooks evenly right from the start. A cold oven can leave the fish soggy instead of flaky, so this step is worth the extra few minutes of patience.
Step 2: Prepare the Flounder Fillets
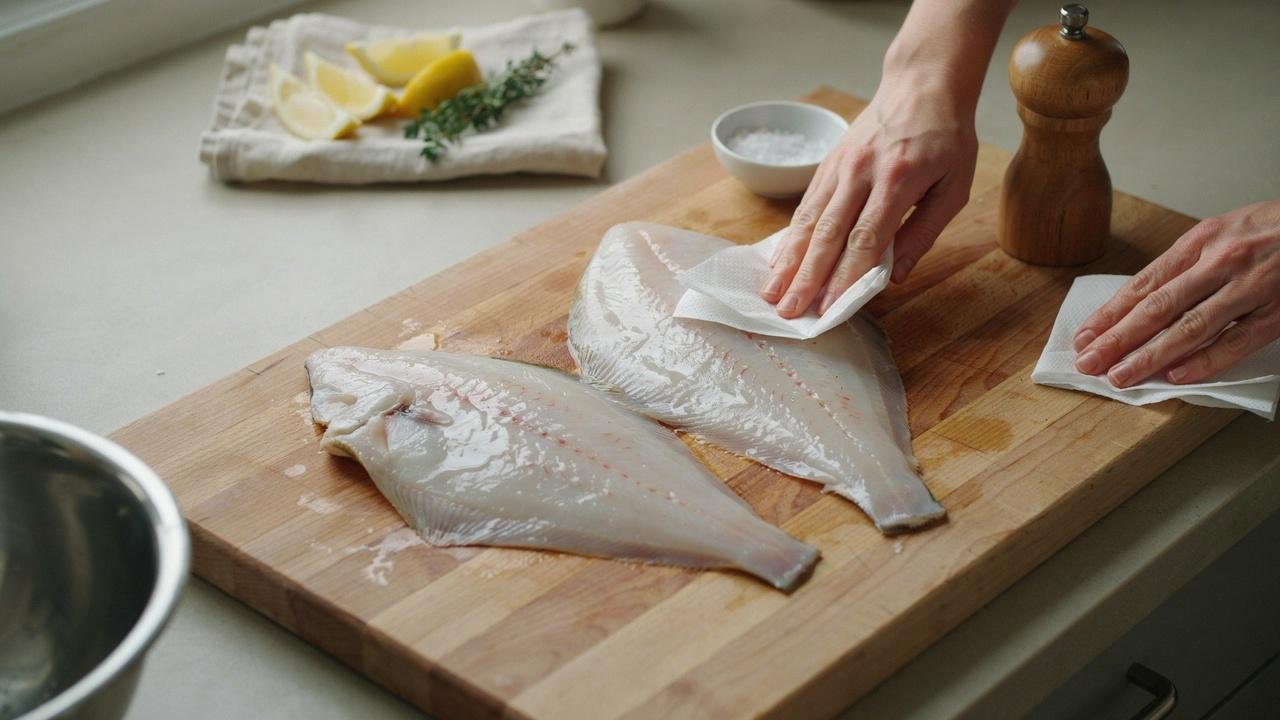
Pat the fillets dry with a paper towel. This removes extra moisture and helps them cook evenly. Skipping this step can leave you with a soggy texture instead of a flaky one.
Step 3: Make the Lemon Garlic Butter Mixture
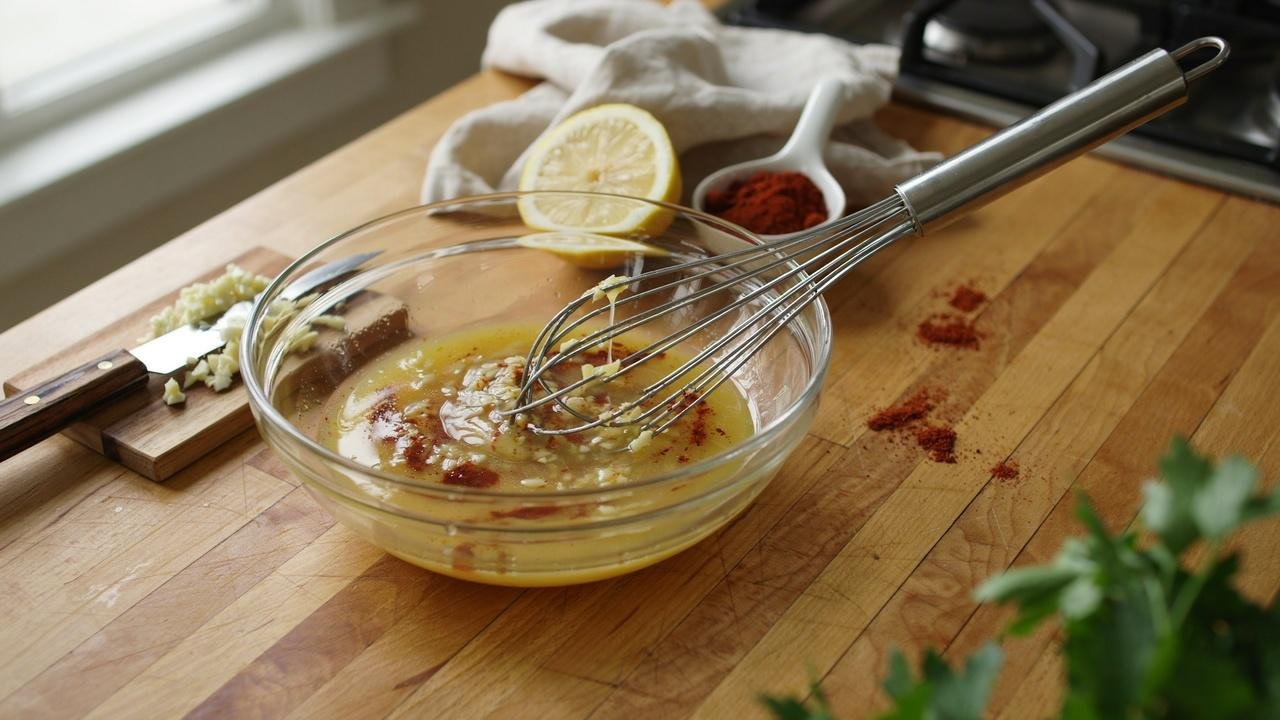
Mix melted butter, lemon juice, and minced garlic together in a small bowl, stirring well so the garlic spreads evenly throughout. This simple mixture is responsible for most of the flavor in the finished dish, so do not rush it.
Step 4: Season and Coat the Fish
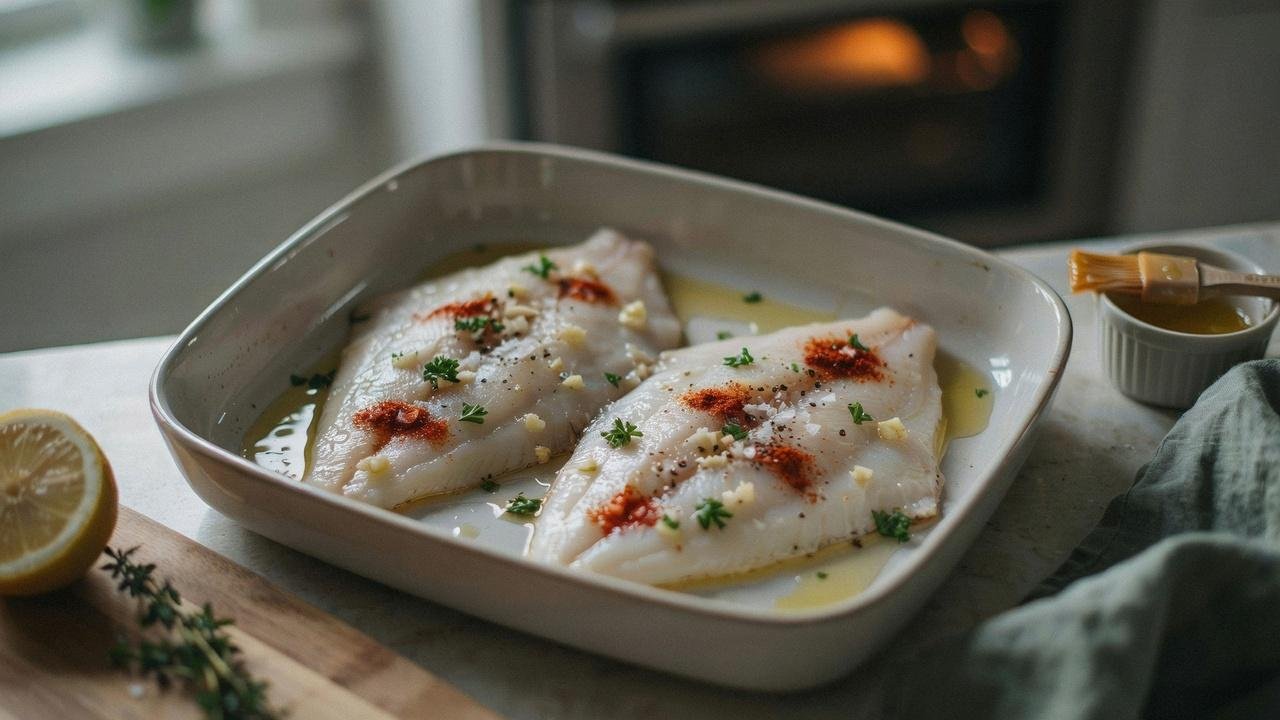
Place the fillets in a greased baking dish, then brush the butter mixture over each piece, making sure to cover the edges too. Sprinkle with salt, pepper, and smoked paprika for an extra layer of flavor before the fish goes into the oven.
Step 5: Add Parmesan Cheese
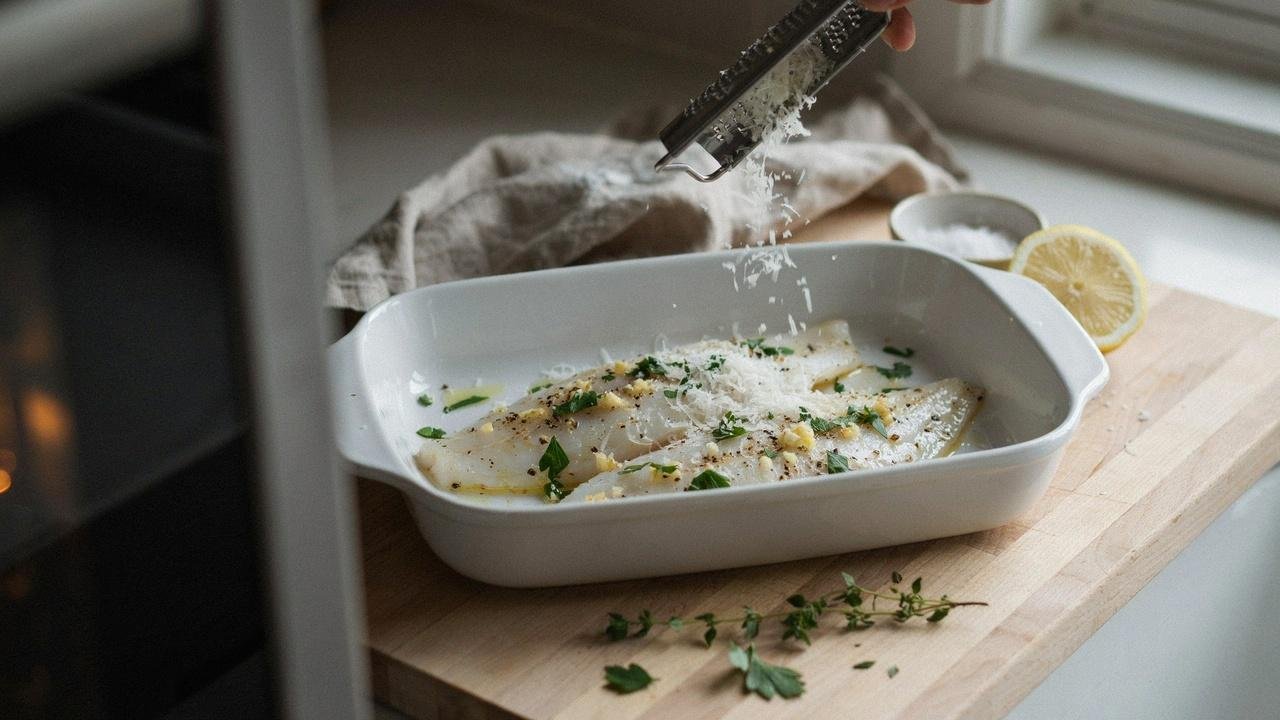
Sprinkle grated parmesan generously over the top of each fillet before the fish goes into the oven. This forms a light, golden crust as it cooks, while also adding a subtle, savory flavor that pairs nicely with the lemon and garlic underneath.
Step 6: Bake Until Flaky
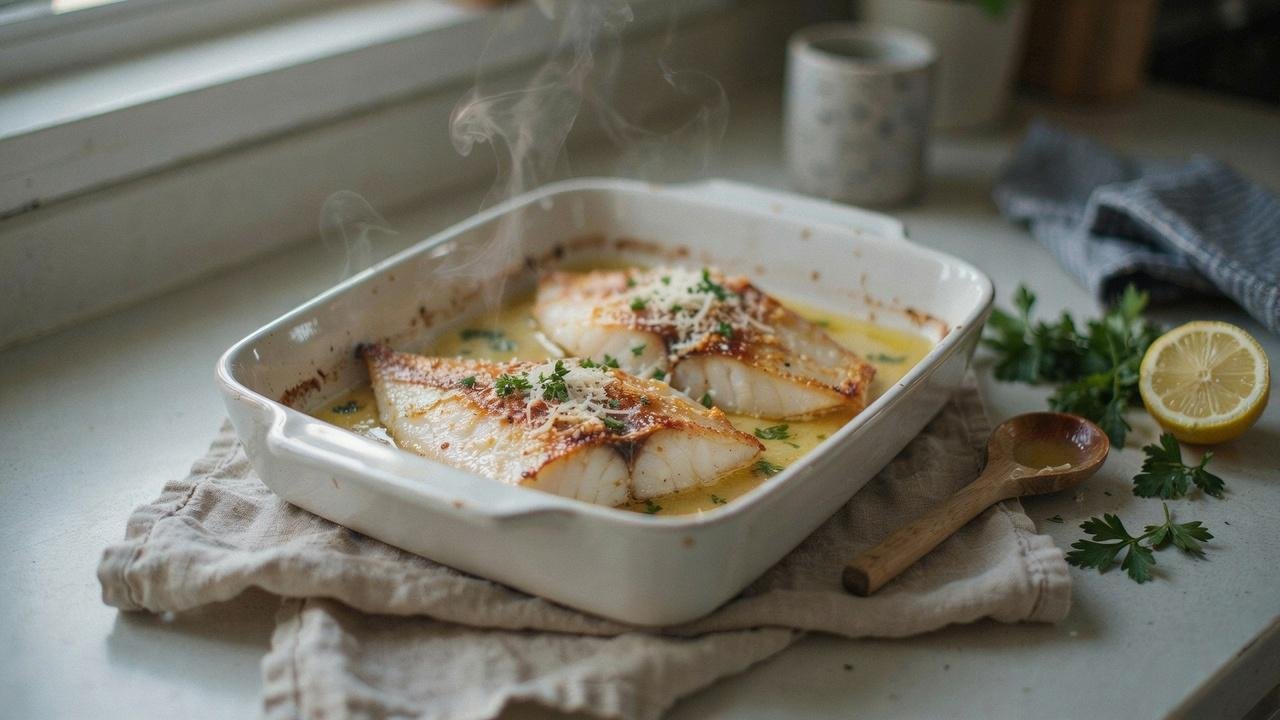
Bake for 12 to 15 minutes, or until the fish flakes easily when tested with a fork. Keep a close eye on it near the end, since flounder cooks quickly and can dry out fast if it stays in the oven too long.
Step 7: Garnish and Serve
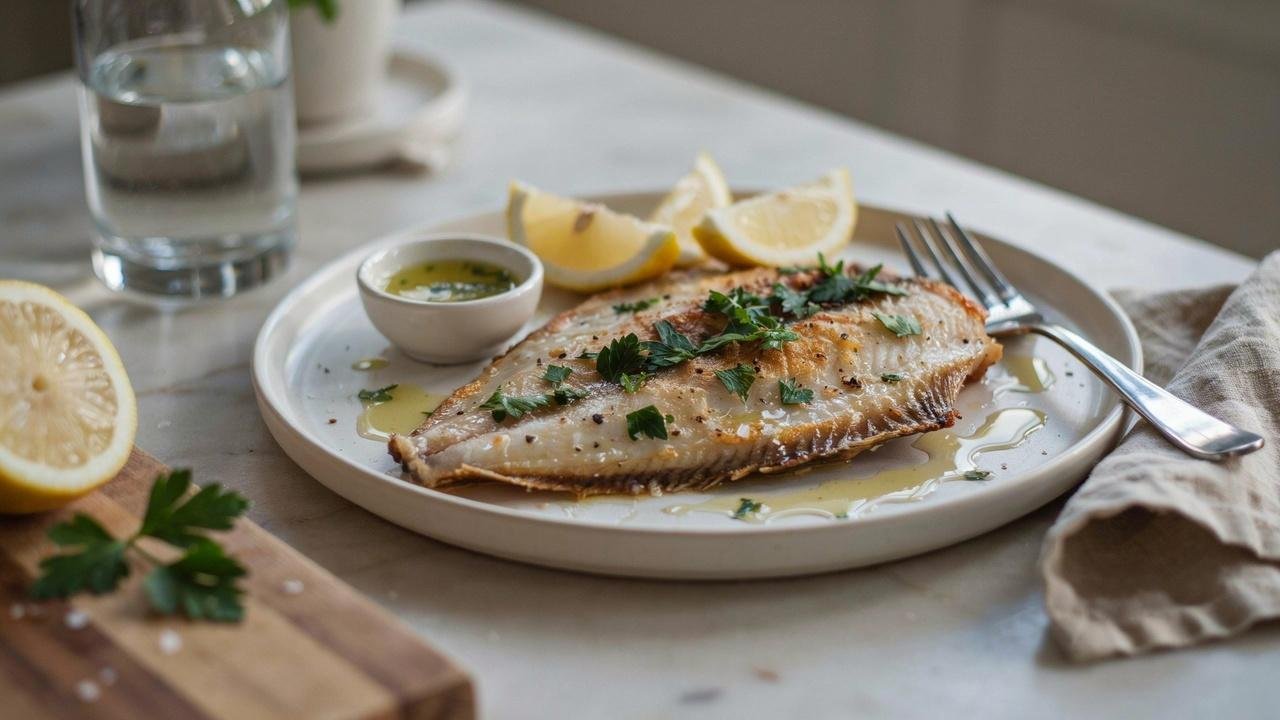
Top with fresh parsley and a squeeze of lemon just before serving it at the table. Serve it warm, straight out of the oven, for the best possible texture, and pair it with your favorite side for a complete, well-rounded meal.
Watch It Made: Baked Flounder
This video follows a similar lemon and garlic approach, coating the fillets in a butter mixture before baking until flaky. Add the parmesan from the recipe above for the same golden crust.
Flounder Baked Variations to Try
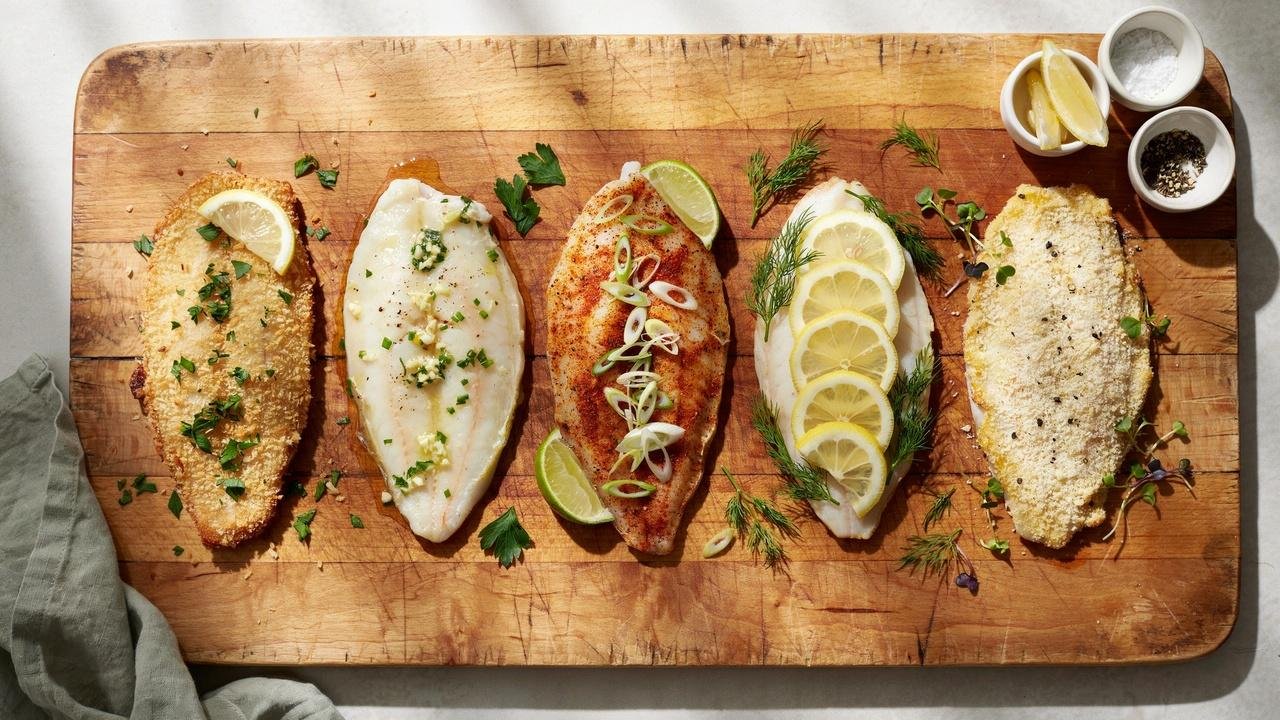
Small swaps give this recipe a fresh twist without changing the basic method at all, so feel free to mix and match depending on your mood that particular night. Each one uses ingredients you likely already have sitting on hand.
- Crispy breadcrumb topping: Add a layer of seasoned breadcrumbs on top before baking for extra crunch alongside the parmesan crust.
- Garlic herb butter version: Mix in chopped parsley, thyme, or dill with the butter mixture for a noticeably deeper, herbier flavor.
- Spicy Cajun flounder: Swap the smoked paprika for cajun seasoning if you want a version with real heat behind it.
- Lemon dill flounder: Add extra fresh dill for a bright, herby flavor that pairs especially well with the lemon already in the recipe.
- Low-carb and keto version: Skip the breadcrumbs entirely and add extra parmesan on top for a lower-carb take on the same dish.
What to Serve with Baked Flounder
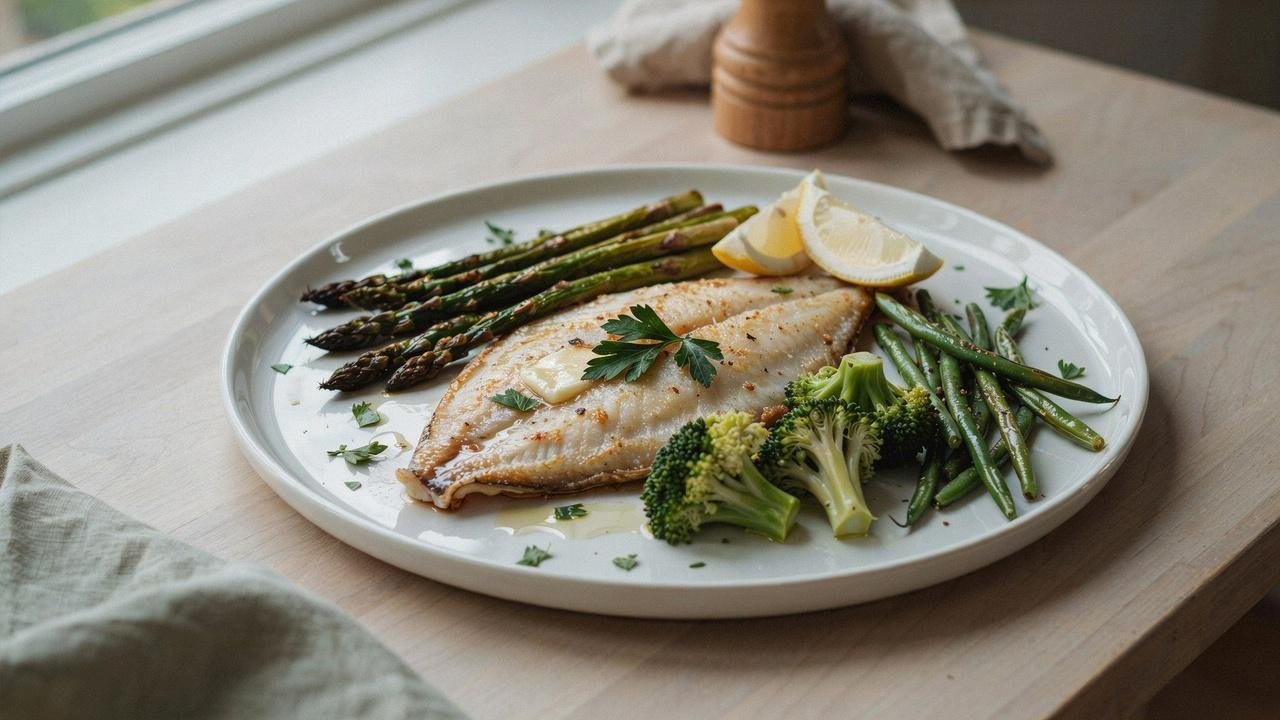
Round out your meal with these simple pairings.
The right sides round out this meal without competing with the mild flavor of the fish itself, so lighter pairings tend to work out best here overall. A little bit of variety across textures makes the plate feel more complete.
- Vegetable sides: Roasted asparagus, green beans, or steamed broccoli add color and a light crunch, needing little more than a drizzle of olive oil and salt.
- Potato sides: Mashed potatoes or roasted baby potatoes add heartiness with very little extra effort, and a bit of garlic or fresh herbs ties the flavors together nicely.
- Rice and grains: Rice pilaf, quinoa, or couscous make a light, filling base that soaks up any extra butter or lemon sauce left on the plate.
- Fresh salads: A simple green salad with a light vinaigrette balances the richness of the fish, especially with a few cucumbers or cherry tomatoes mixed in.
- Bread and sauces: Crusty bread or a light tartar sauce both work well for dipping, soaking up leftover butter sauce or adding a tangy contrast to the mild fish.
How to Store and Reheat Baked Flounder
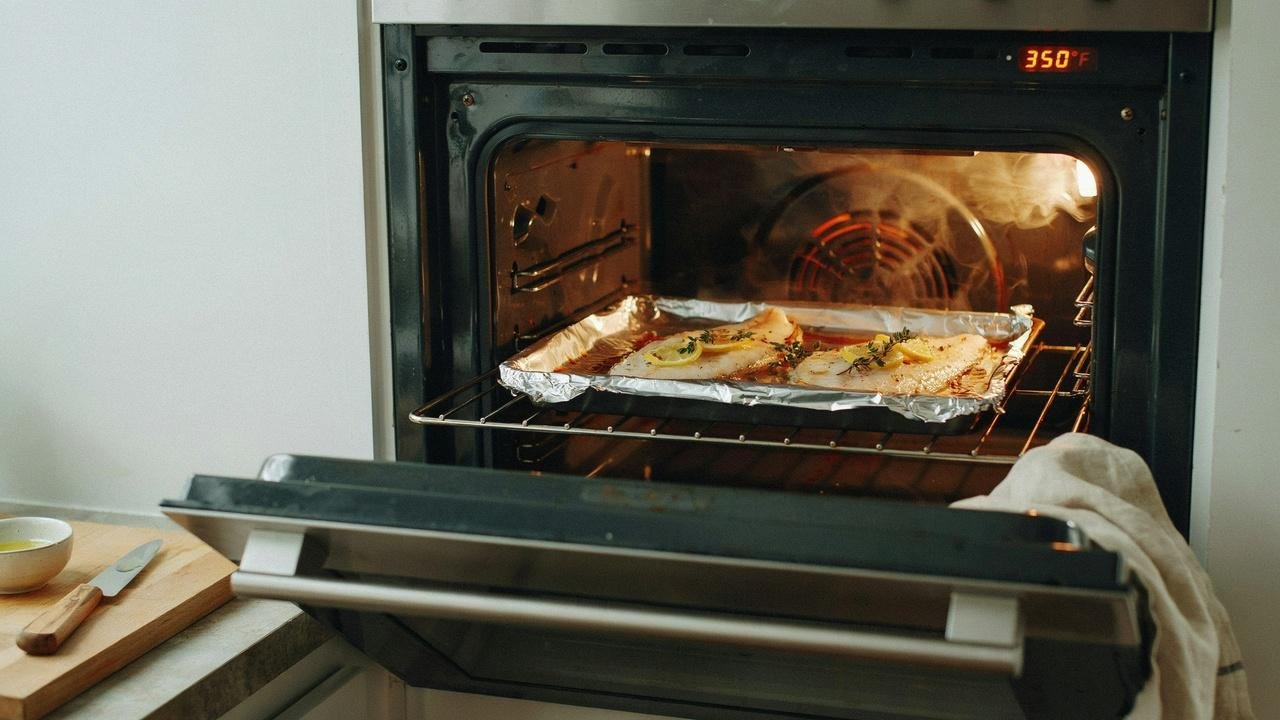
A little care after dinner keeps leftovers tasting nearly as good as the very first serving, whether you are refrigerating, freezing, or reheating them for later. The method you choose mostly depends on how soon you plan to finish them.
Refrigerating: Store cooled flounder in an airtight container in the fridge for up to two days for the best results. Make sure the fish has cooled completely before sealing the container, since trapped steam adds unwanted moisture and softens the texture over time.
Freezing: Wrap fillets tightly in plastic wrap, followed by foil or a freezer bag, and freeze for up to a month without much change in quality. Thaw the fish in the fridge overnight before reheating for the best possible texture.
Reheating in the oven: Reheat at 300°F for about 10 minutes, covered loosely with foil so trapped steam keeps the fish from drying out. This method gets the finished texture closest to fresh-baked out of all three options listed here.
Reheating in the microwave: Heat in short 30-second bursts, checking in between each one so the fish does not overcook. This method is the fastest option, though the texture tends to come out a little softer than the other two.
Reheating in an air fryer: Reheat at 350°F for 3 to 4 minutes for a slightly crisp finish that revives the parmesan crust nicely. Keep a close eye on it throughout, since air fryers tend to heat food faster than a regular oven.
Tips for Perfect Baked Flounder
A few small habits make the difference between good baked flounder and consistently great baked flounder, batch after batch, night after night in your own kitchen. None of these take much extra time once they become part of your routine.
- Use fresh lemon juice rather than bottled for the brightest, most noticeable flavor in the finished dish.
- Check doneness with a fork instead of relying on the clock alone, since ovens vary slightly in actual temperature.
- Adjust the baking time down for thinner fillets, since they cook noticeably faster than thicker cuts.
- Let the butter mixture sit for a minute after mixing so the garlic flavor has time to spread through it evenly.
- Serve the fish immediately after baking, since flounder loses its ideal texture the longer it sits.
Conclusion
You have made it through, and now you are ready to bake flounder like a pro without any guesswork left.
I still remember the first time mine came out flaky and golden, and honestly, it never gets old no matter how many times I make it.
Give this flounder baked recipe a try this week and see for yourself how easy a good dinner can be.
Drop a comment below and let me know exactly how yours turned out this time, or share this post with a friend who loves quick, tasty weeknight meals just as much as this one is.
Frequently Asked Questions
How do I know when flounder is fully cooked?
The fish should flake easily with a fork and look opaque throughout. It usually takes 12 to 15 minutes at 400°F. If it still looks translucent in the middle, give it a few more minutes.
Can I use frozen flounder for this recipe?
Yes, just thaw it fully in the fridge first. Pat it dry before baking to remove extra moisture. Skipping this step can leave the fish watery instead of flaky.
What can I use instead of parmesan cheese?
Try panko breadcrumbs or skip the topping entirely for a lighter dish. Both options still give good texture. A sprinkle of nutritional yeast also works as a dairy-free swap.
Why did my flounder turn out mushy?
This usually happens when the fish isn't patted dry or the oven isn't fully preheated. Both steps matter for a firm texture. A watery baking dish can also add extra moisture during cooking.
Can I make this recipe ahead of time?
You can prep the butter mixture ahead, but bake the fish fresh for the best texture. Baked fish doesn't reheat as well as fresh. Prepping the sides in advance can still save time on busy nights.