Roasting green beans in the oven turns a simple vegetable into a crispy, flavorful side dish.
This guide will show you exactly how to make perfectly roasted green beans every time. You will learn how to pick the right beans and choose the best seasonings.
If you’ve ever ended up with soggy or bland beans, you’re not alone. This article will fix that. I’ve tested this recipe many times in my own kitchen, so you’re getting tips that actually work.
You’ll learn the exact ingredients, step-by-step instructions, common mistakes to skip, and fun variations to try. By the end, you’ll have a reliable recipe you can make anytime.
Why You’ll Love This Green Beans in Oven Recipe
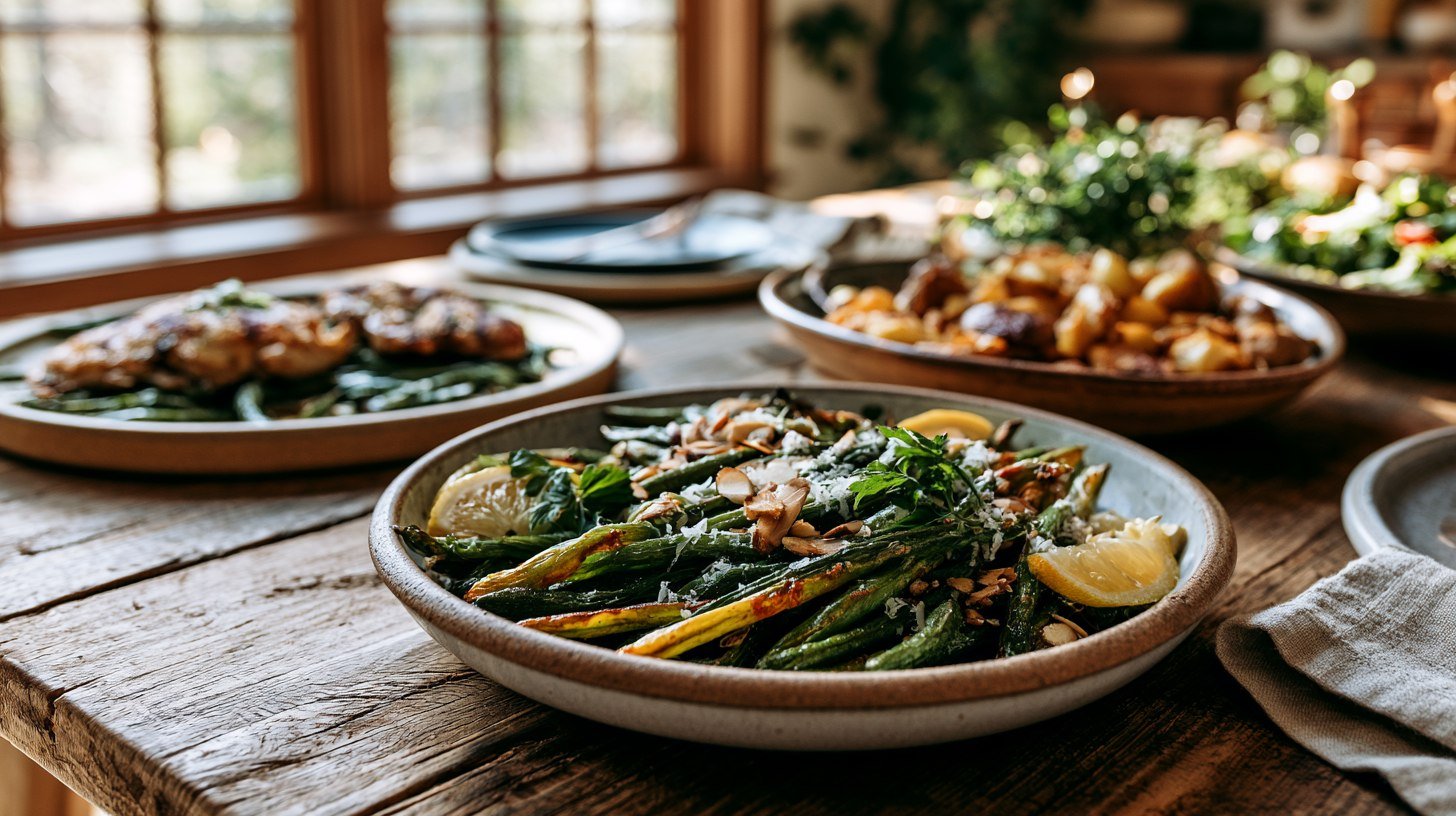
This recipe is fast, healthy, and full of flavor. This green beans in oven recipe is simple and quick. It needs only a few ingredients you likely already have.
The oven does most of the work, so you don’t need to stand over a stove. The beans come out crispy on the outside and tender inside. They also hold their bright color and fresh taste.
This dish works as a weeknight side or a holiday favorite. It fits almost any meal. It’s easy enough for beginner cooks to get right on the first try.
Ingredients You’ll Need
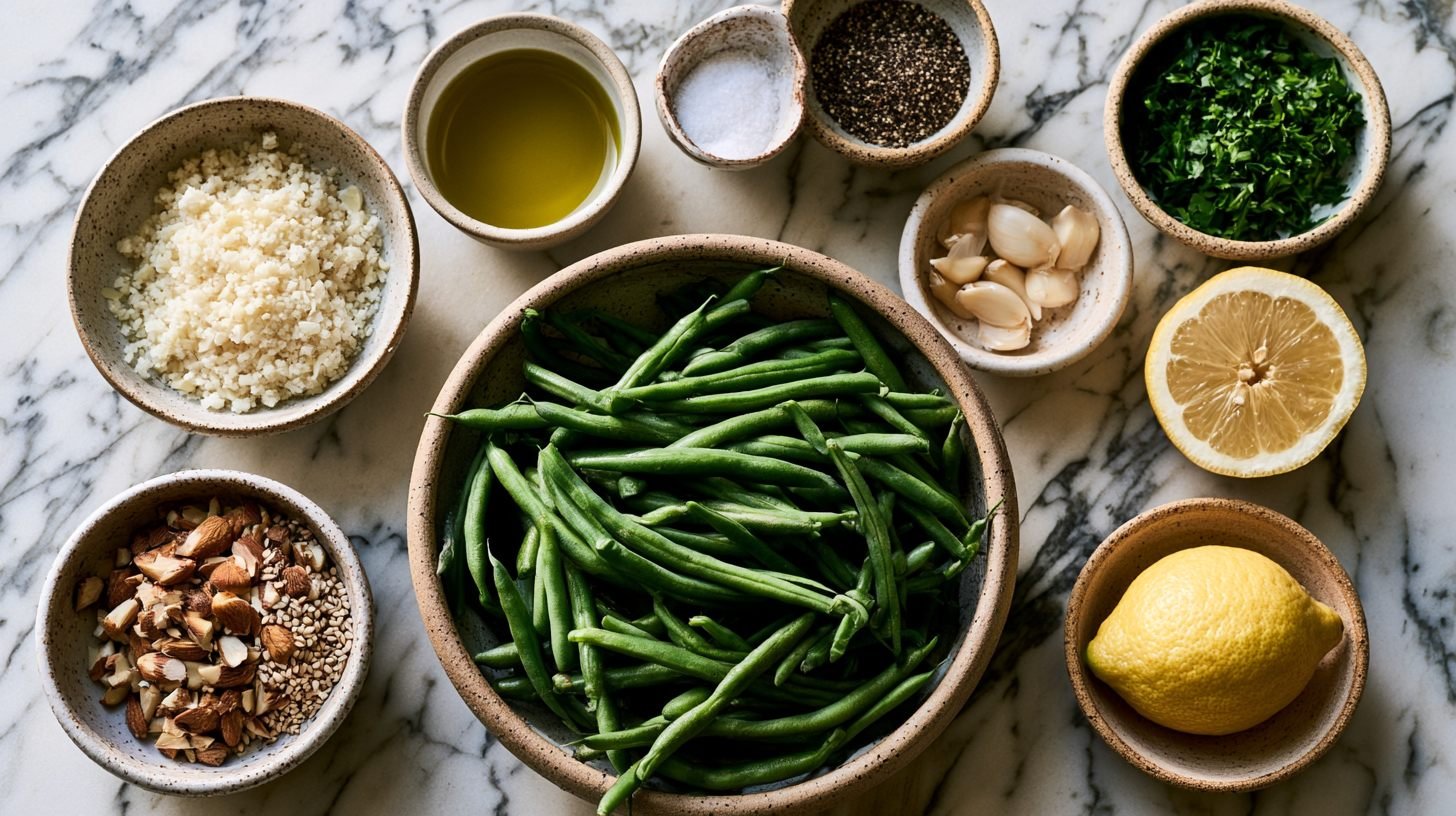
Just a few basics turn plain beans into something special.
Most of these ingredients are pantry staples you probably already have on hand, which makes this recipe an easy one to throw together on a busy weeknight.
The main ingredients build the base flavor, while the optional add-ins let you customize the dish to match whatever meal you’re serving it with.
Feel free to mix and match based on what you have in your kitchen.
Main Ingredients:
- Fresh green beans
- Olive oil
- Salt
- Black pepper
Optional Add-Ins:
- Garlic
- Parmesan cheese
- Lemon juice and zest
- Toasted almonds or pine nuts
- Fresh herbs
- Sesame seeds
How to Make Green Beans in Oven
Six easy steps and dinner’s side dish is done.
This method works every time because it relies on a hot oven, dry beans, and enough space on the pan for air to circulate.
Once you understand the basic process, you can repeat it with almost any seasoning combination you like. Follow the steps below in order for the crispiest results.
Step 1: Preheat the Oven
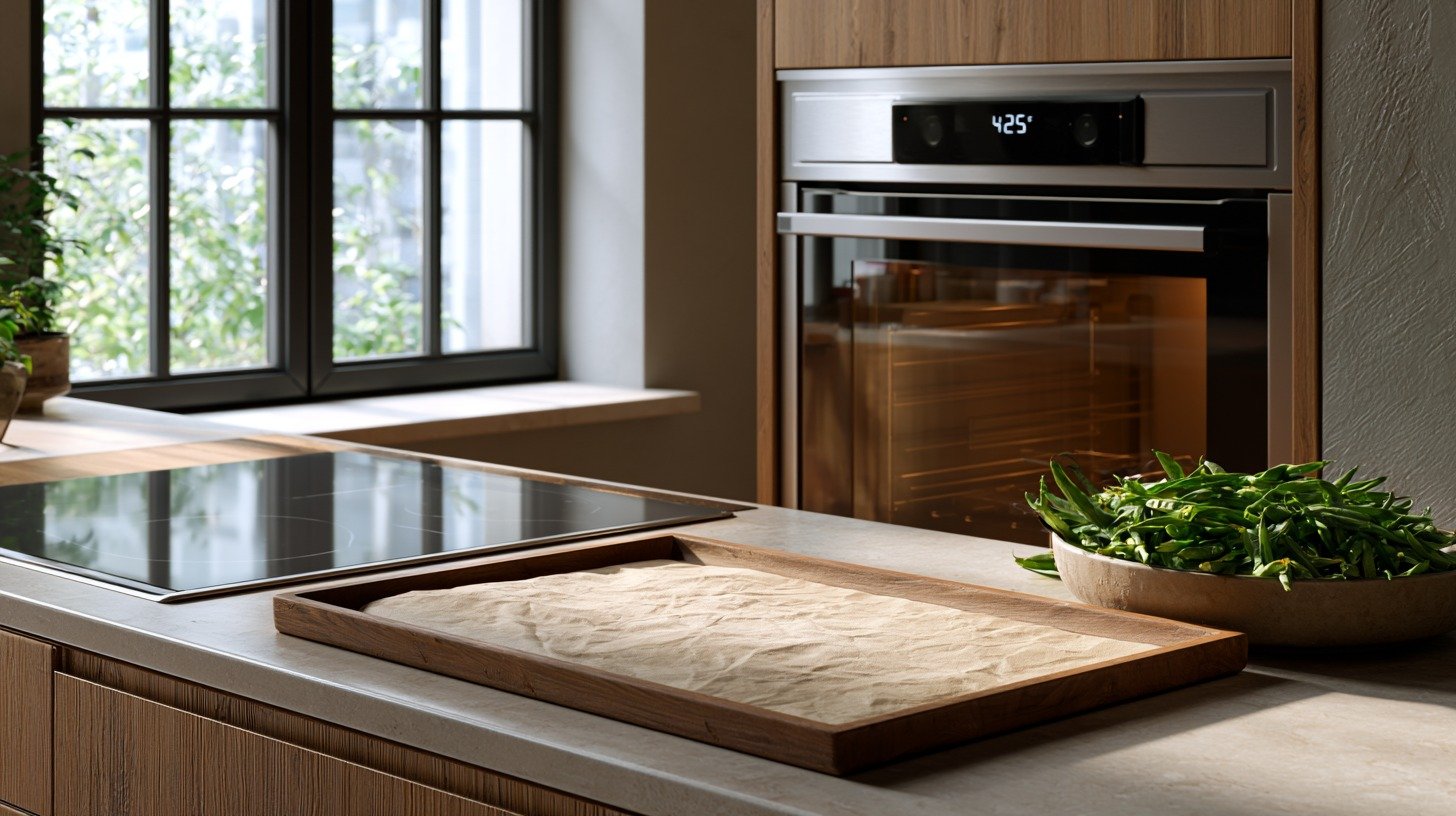
Set your oven to 425°F before you start prepping the beans. A hot oven helps the beans roast fast and turn crisp instead of steaming.
Giving the oven time to fully heat makes a big difference in the final texture.
Skipping this step and adding beans to a cold or partially heated oven often leads to uneven cooking.
The beans may steam at first instead of browning right away. Taking the extra few minutes to preheat properly sets you up for the best results later in the process.
Step 2: Wash, Trim, and Dry the Green Beans
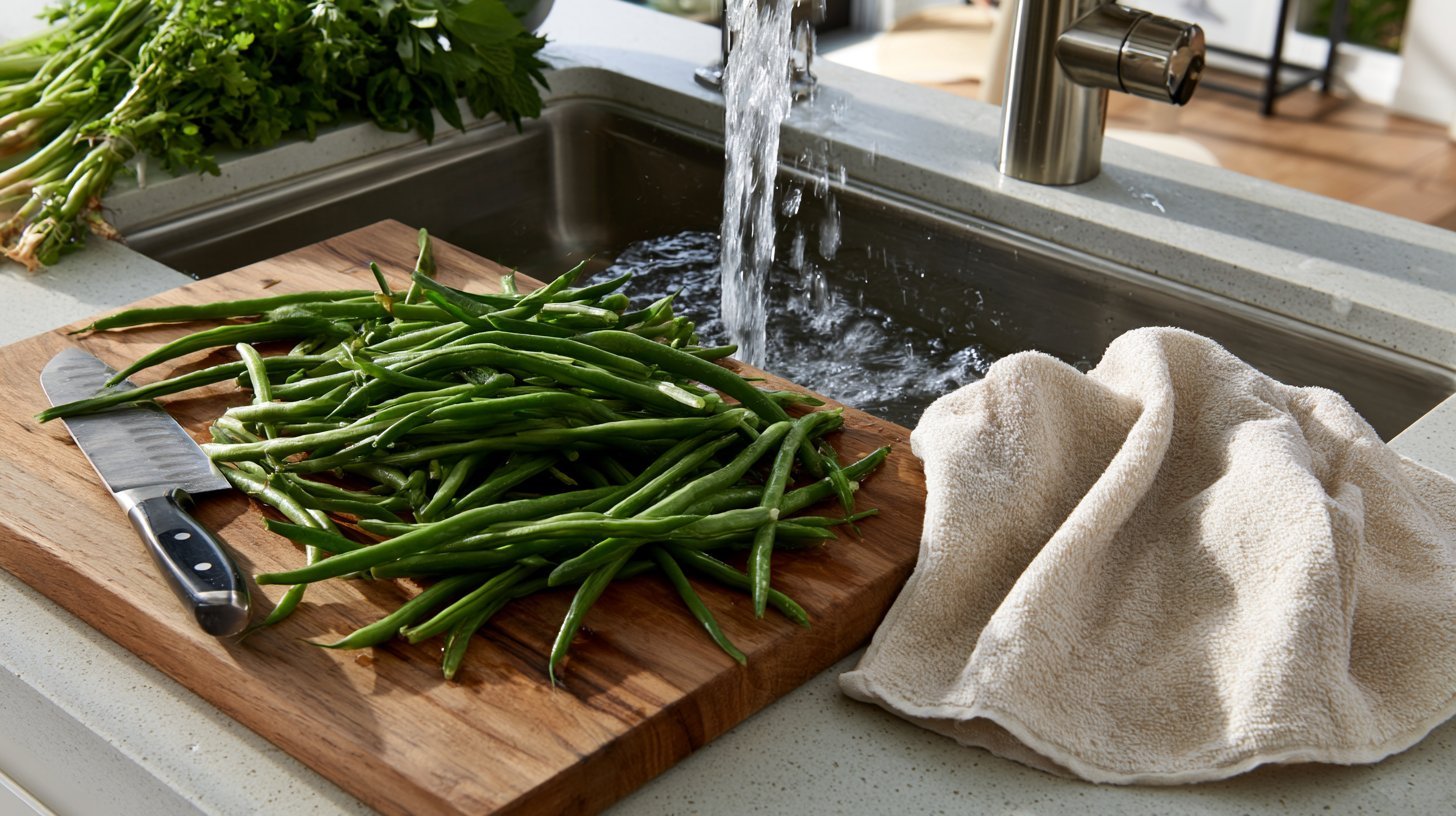
Rinse the beans well under cool water to remove any dirt. Cut off the tough ends with a knife or kitchen scissors.
Pat them completely dry with a towel, since dry beans roast better than wet ones and crisp up faster.
This step matters more than most people expect. Any leftover water on the beans will turn to steam in the oven, which softens them instead of letting them brown.
Taking an extra minute or two to dry them thoroughly makes a noticeable difference in the final texture.
Step 3: Toss with Olive Oil and Seasonings
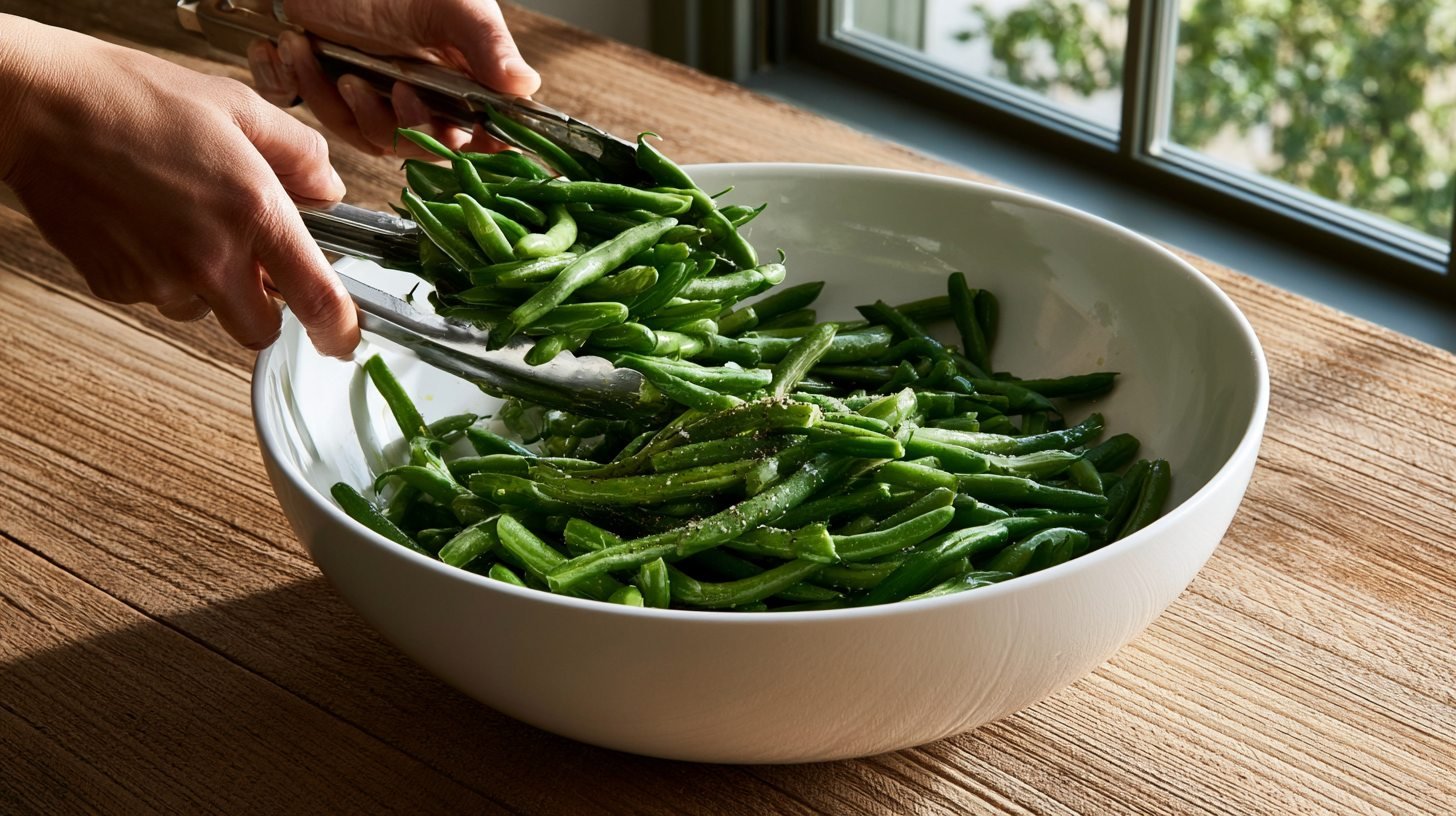
Place the beans in a large bowl so they have room to move. Add olive oil, salt, and pepper, then toss with your hands or tongs.
Make sure every bean is coated evenly so the flavor spreads through the whole batch.
Using a bowl instead of tossing directly on the baking sheet helps distribute the oil and seasoning more evenly.
It also keeps the mess contained to one dish instead of spreading oil across your counter. Take your time here, since even coating leads to more consistent flavor in every bite.
Step 4: Arrange in a Single Layer
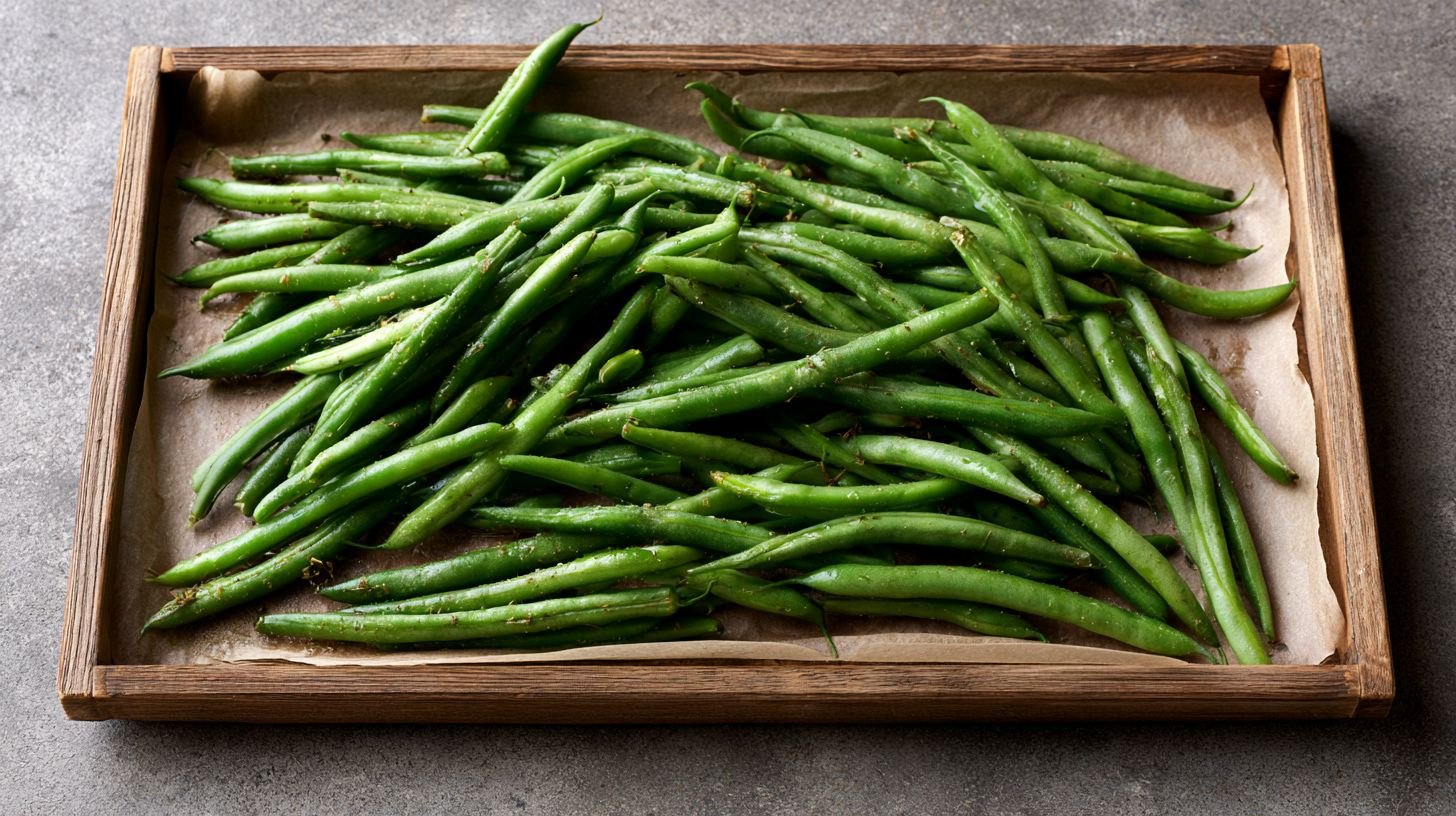
Spread the beans on a baking sheet in one even layer. Keep space between each piece so air can flow around them.
Crowding the pan traps steam and keeps the beans from getting crisp.
If your batch is large, it’s better to use two baking sheets rather than piling everything onto one.
This small adjustment makes a real difference in texture. Beans that have room to breathe roast more evenly and develop those crispy, caramelized edges you’re aiming for.
Step 5: Roast Until Tender and Lightly Caramelized
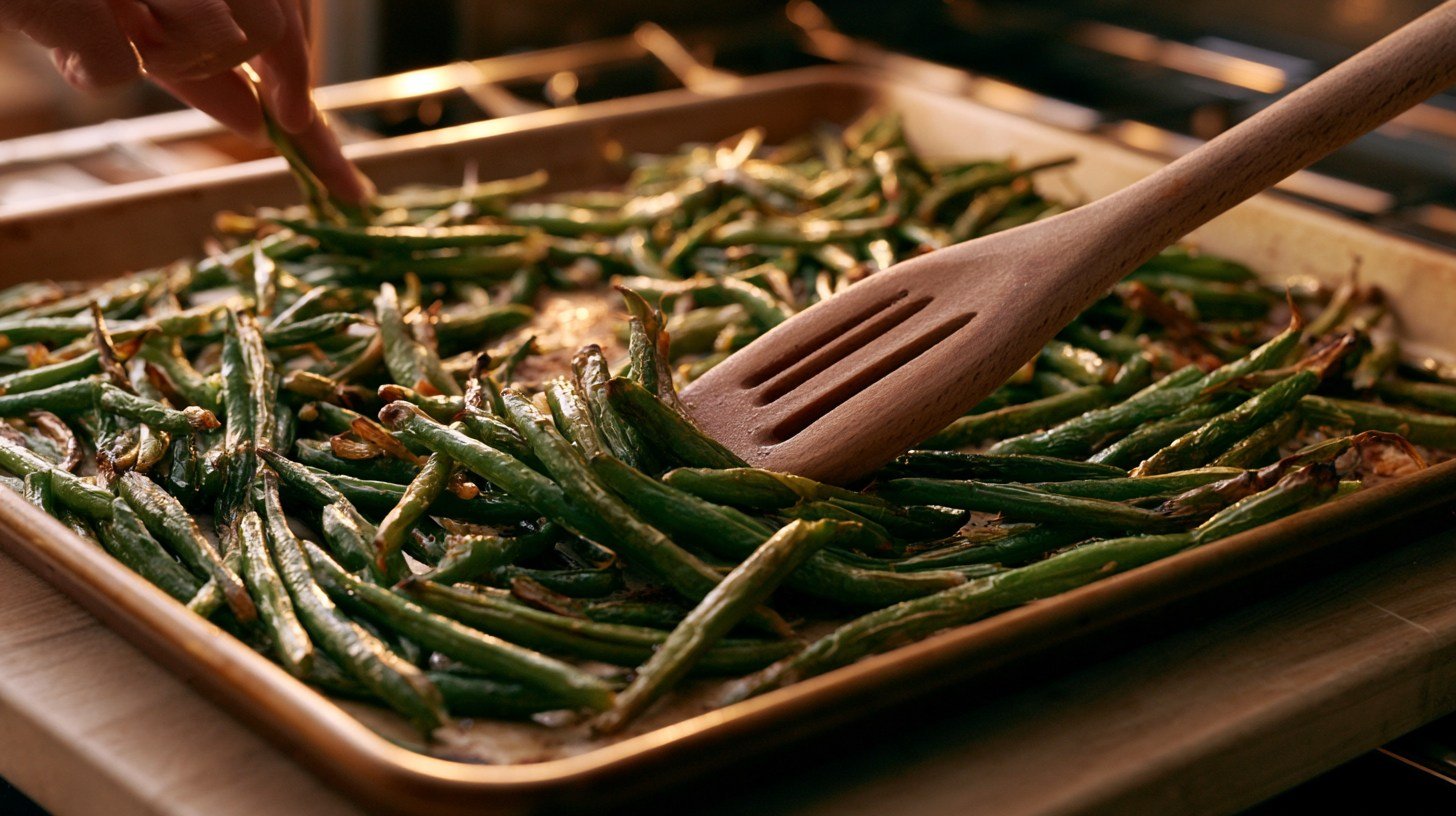
Bake for 15 to 20 minutes, flipping the beans halfway through with a spatula. The beans are done when they turn tender with light brown spots along the edges.
Keep an eye on them near the end since ovens can vary.
Every oven runs a little differently, so start checking around the 15-minute mark rather than waiting the full 20.
Flipping the beans halfway through ensures both sides get exposed to direct heat. This helps them roast evenly and develop that signature caramelized flavor on all sides.
Step 6: Add Toppings and Serve
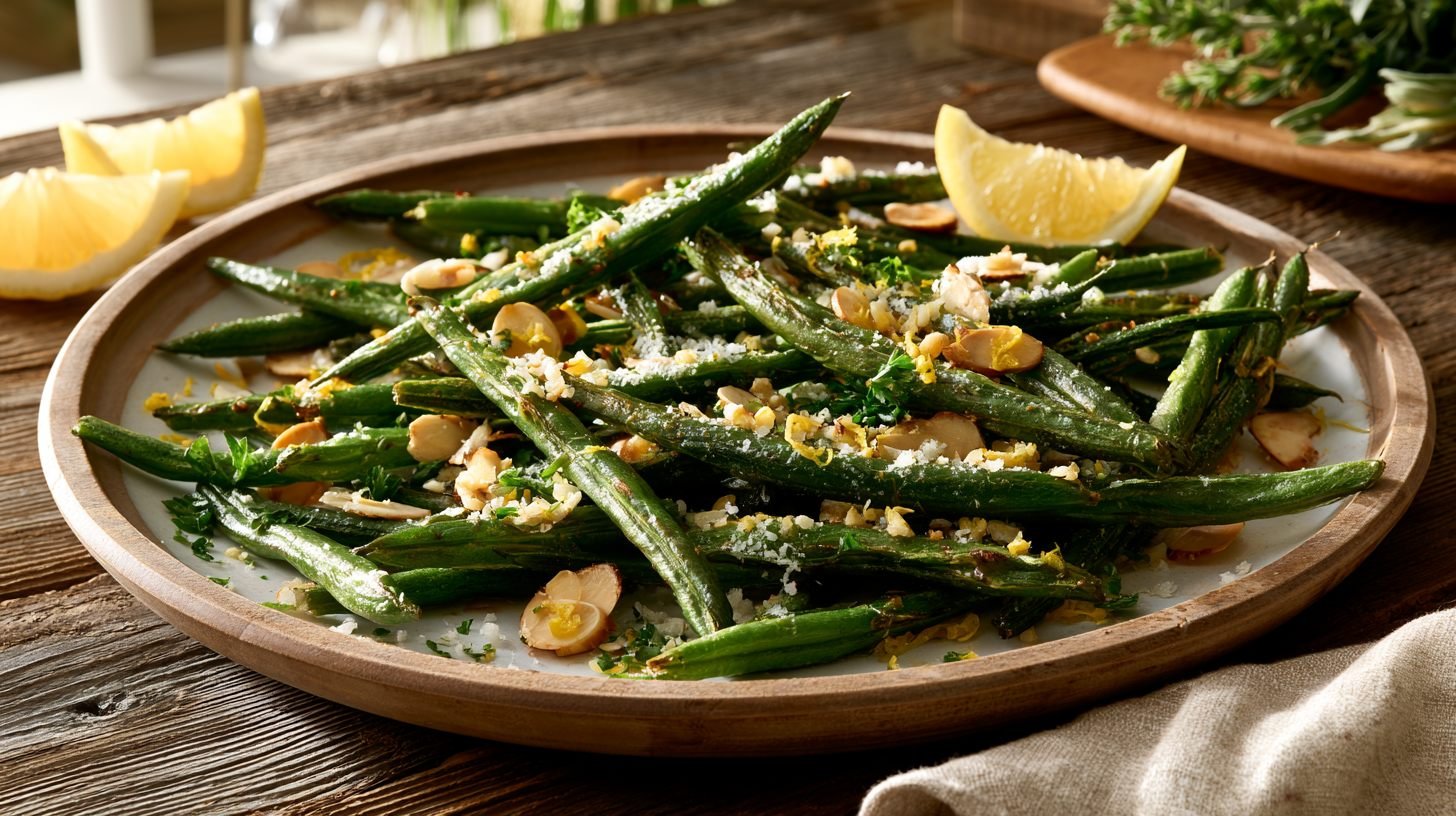
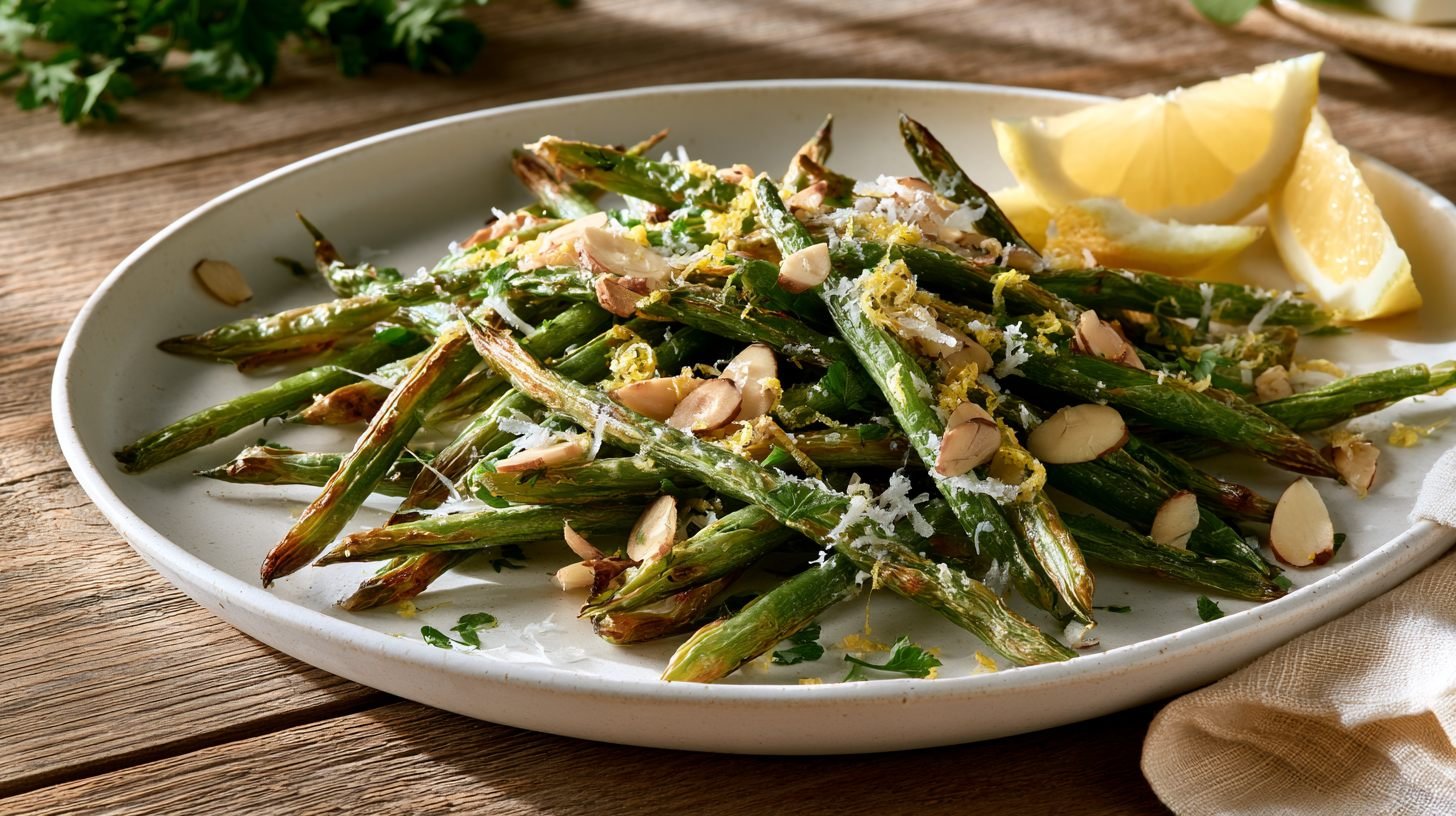
Top with garlic, cheese, lemon, or herbs while the beans are still hot. The heat helps melt cheese and release the aroma from fresh herbs.
Serve warm right away for the best texture and taste.
Adding toppings while the beans are hot makes a real difference in how the flavors come together.
Cheese melts slightly and clings to the beans, while herbs release their oils and become more fragrant.
Waiting too long to add these finishing touches means missing out on that fresh, just-cooked flavor.
Best Seasoning Ideas for Green Beans in the Oven
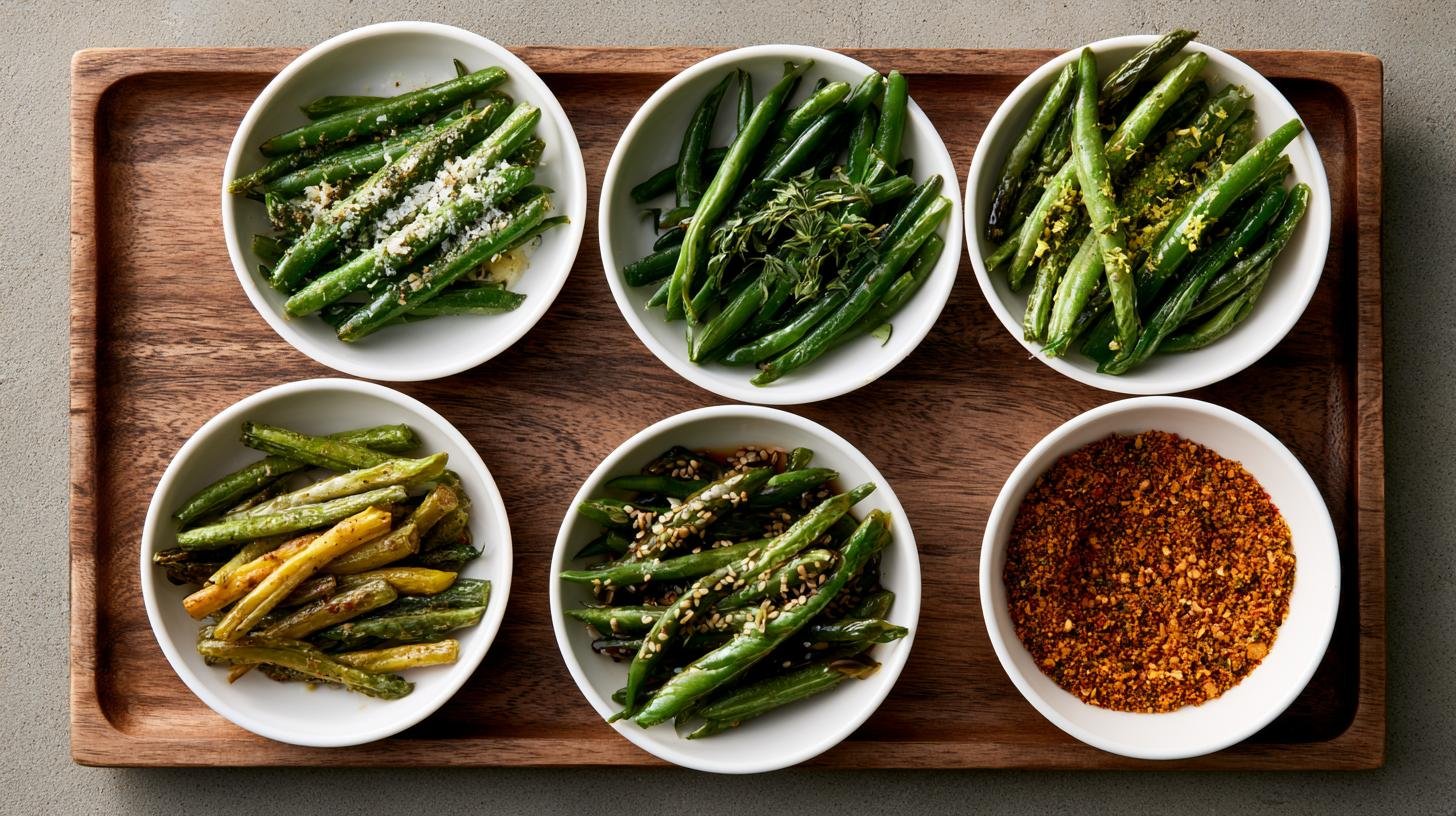
Change up the flavor with these easy combinations. Each one uses ingredients added after roasting, so you only need to master the base recipe once.
From there, you can rotate through different flavor profiles depending on your mood or what you’re serving alongside the beans.
Garlic Parmesan
Toss beans with minced garlic and grated parmesan right after roasting. The heat from the beans softens the cheese slightly and lets the garlic flavor bloom.
This combo works well for weeknight dinners or casual gatherings.
It’s one of the easiest ways to dress up a simple side dish without adding much extra prep time.
The sharpness of the parmesan pairs nicely with the natural sweetness of roasted green beans.
Most people already have both ingredients on hand, which makes this a convenient go-to option.
Lemon Herb
Add lemon zest, fresh lemon juice, and herbs like thyme or parsley once the beans come out of the oven.
The citrus brightens the dish and balances the richness of the olive oil. This version pairs nicely with fish or chicken.
The acidity from the lemon cuts through the richness of the roasted beans and keeps the dish tasting light.
Fresh herbs add a pop of color as well as flavor, making the plate look more finished. This combination works especially well in spring and summer meals.
Brown Butter and Garlic
Drizzle warm browned butter and sautéed garlic over the roasted beans for a rich, nutty flavor.
Browning the butter first adds a deeper, toasty taste that plain butter cannot match. It turns a simple side into something special for holiday meals.
Browning the butter only takes a few extra minutes but changes the entire flavor profile of the dish.
The nutty aroma pairs beautifully with the natural earthiness of green beans. This version tends to be a favorite at larger gatherings where guests expect something a bit more indulgent.
Sesame and Soy
Mix in a splash of soy sauce, a little sesame oil, and toasted sesame seeds after roasting. This gives the beans a savory, slightly nutty edge with an Asian-inspired twist.
It pairs especially well with rice dishes or grilled meats.
The combination of salty soy sauce and nutty sesame oil adds depth without overpowering the natural flavor of the beans.
Toasted sesame seeds add a bit of crunch and visual appeal to the finished dish. This variation works well alongside stir-fries or noodle bowls.
Spicy Cajun
Season the beans with a cajun spice blend before they go into the oven. The spices toast slightly as the beans roast, adding a bold, smoky kick.
This version is great for anyone who likes a little heat with their vegetables.
Because the seasoning goes on before roasting rather than after, the spices have time to develop a deeper flavor in the oven’s heat.
This makes the dish taste bolder than simply sprinkling spice on at the end. Pair it with something cooling, like a yogurt-based dip or a squeeze of lime, to balance the heat.
What to Serve with Green Beans in Oven
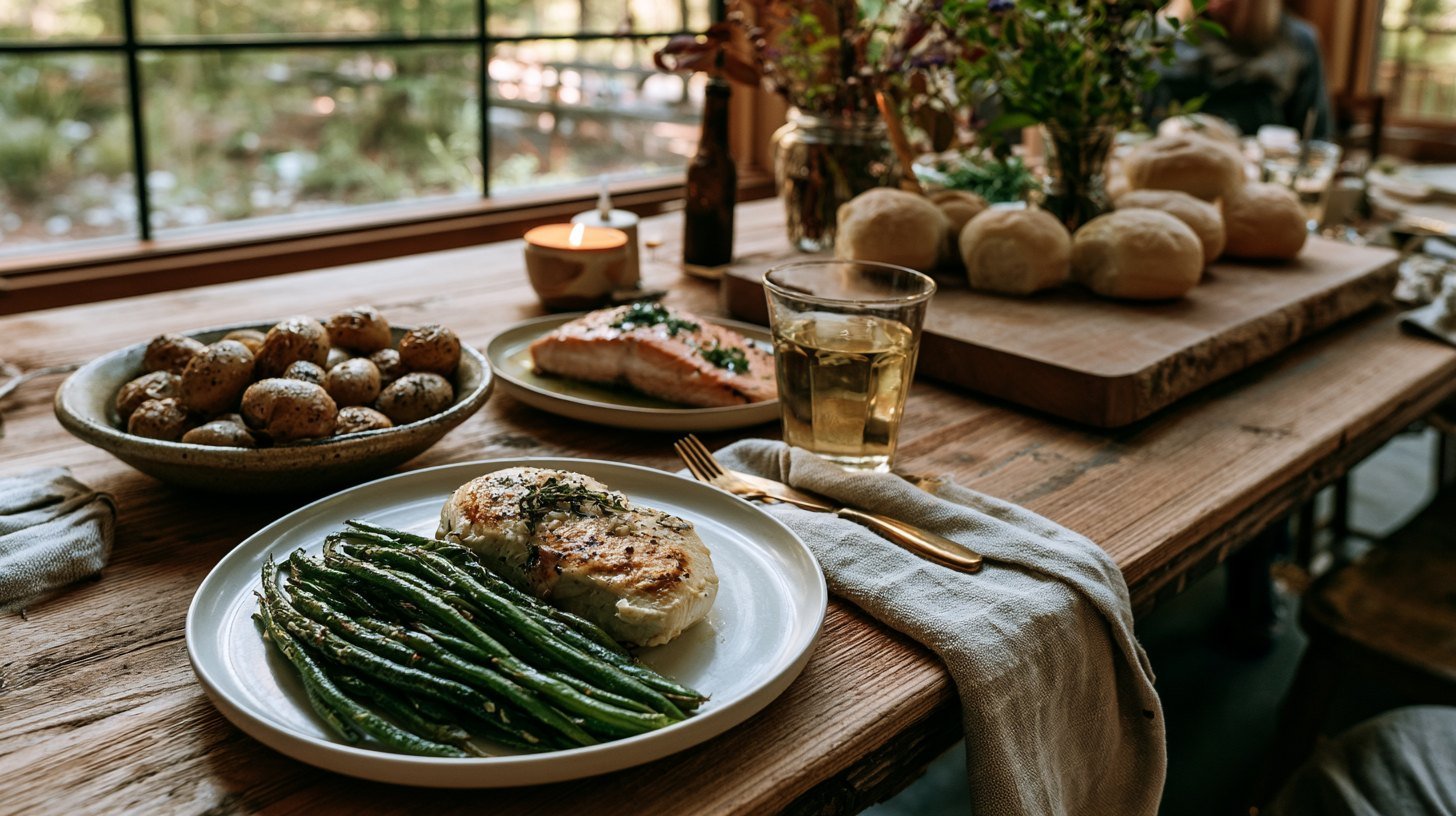
This side dish pairs well with almost any main course. Because the flavor is simple and adaptable, roasted green beans rarely clash with other dishes on the table.
Below are a few of the most popular pairings to help you plan a full, balanced meal.
Chicken and Turkey Dishes
Roasted green beans go well with grilled, baked, or roasted poultry of any kind. Their light crunch balances the softer texture of chicken or turkey.
This pairing works for both weeknight meals and larger family dinners.
Poultry dishes tend to have a mild flavor on their own, so the greener, slightly earthy taste of roasted beans adds contrast to the plate.
This pairing is also easy to prep together, since both can roast in the oven around the same temperature and time.
Beef and Pork Entrées
They balance out rich meats like steak, pork chops, or a Sunday roast. The freshness of the beans cuts through the heaviness of the meat.
This makes for a well-rounded plate without much extra effort.
Rich cuts of meat benefit from a lighter side that doesn’t compete for attention on the plate.
The crisp texture of the beans also offers a nice contrast to the tender, juicy texture of well-cooked beef or pork. It’s a simple pairing that still feels complete.
Fish and Seafood
Serve alongside baked salmon, grilled shrimp, or pan-seared fish for a light, balanced meal. The mild flavor of the beans does not compete with delicate seafood.
Adding a squeeze of lemon ties both dishes together nicely.
Seafood dishes often call for sides that won’t overwhelm their delicate flavors, and roasted green beans fit that need well.
The lemon herb seasoning variation mentioned earlier works especially well here, since it echoes flavors already common in seafood recipes.
This pairing feels light without sacrificing flavor.
Vegetarian Main Courses
Pair with grain bowls, pasta dishes, or hearty veggie casseroles for a filling meatless meal. The beans add texture and color to an otherwise simple plate.
They also add fiber and nutrients to round out the meal.
For meatless meals, texture becomes especially important since there’s often less variety on the plate without meat.
The crispness of the roasted beans adds contrast next to softer grains or pasta. This makes the whole meal feel more satisfying and complete.
Holiday Dinner Favorites
This dish fits right in next to turkey, ham, or stuffing on a holiday table. It offers a lighter, fresher option among heavier dishes.
Guests often appreciate having a simple vegetable side among richer holiday foods.
Holiday spreads tend to be full of rich, heavy dishes, so a crisp vegetable side offers a welcome break for the palate.
Roasted green beans are also easy to scale up for a crowd, since you can roast multiple trays at once. This makes them a practical choice for larger gatherings.
How to Store and Reheat Leftovers
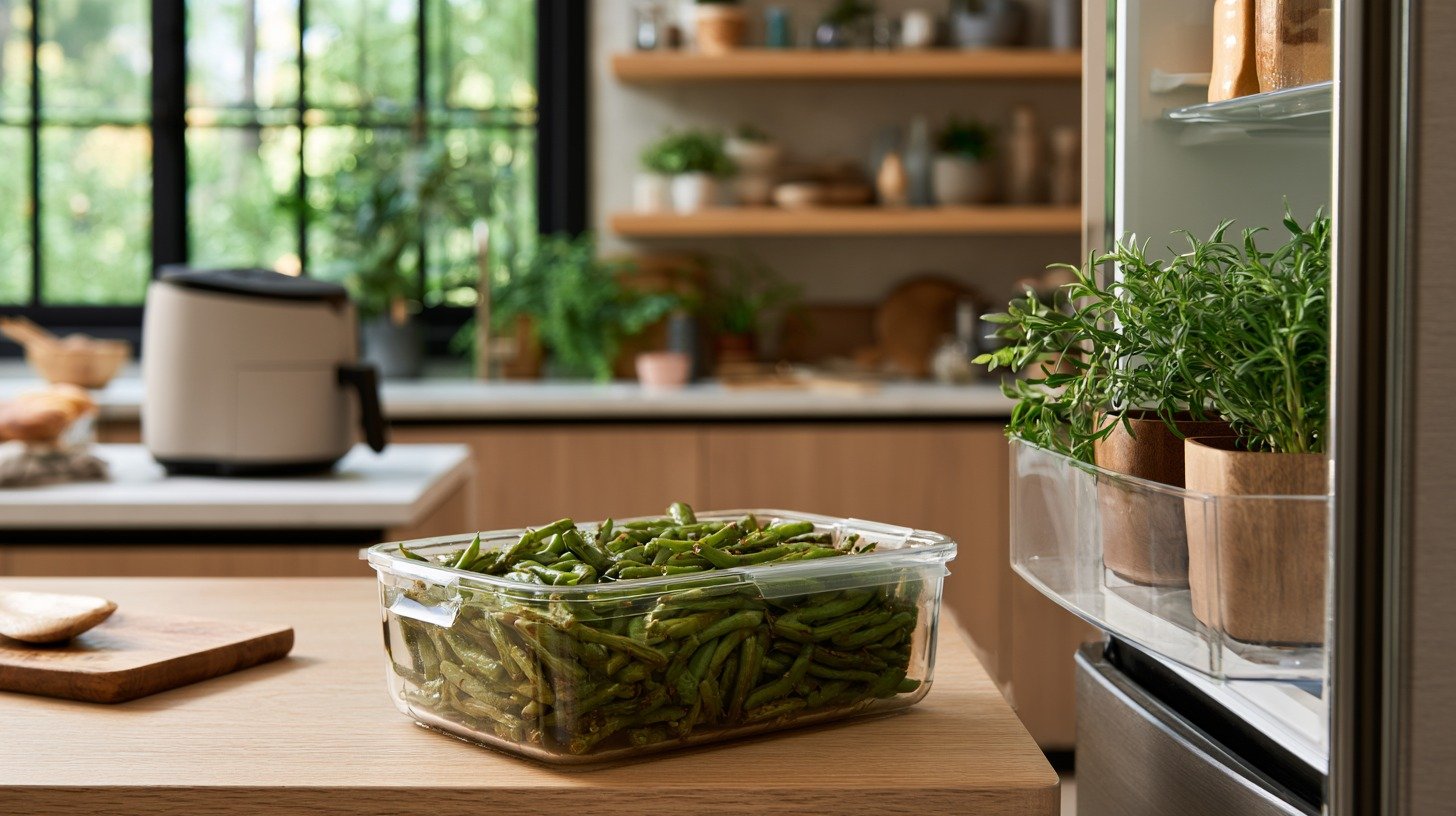
Keep leftovers crisp with the right storage and reheating steps.
Store leftover roasted green beans only after they have cooled completely to prevent trapped steam from making them soggy.
Place them in an airtight container and refrigerate for up to 4 days.
If you want to keep them longer, freeze them in a sealed freezer-safe bag or container for up to 2 months, though the texture may soften slightly after thawing.
Defrost frozen beans overnight in the refrigerator before reheating.
For the best results, warm them in a 425°F oven or an air fryer for a few minutes to restore their crispness, and avoid using the microwave if you want them to stay crunchy.
Easy Variations to Try
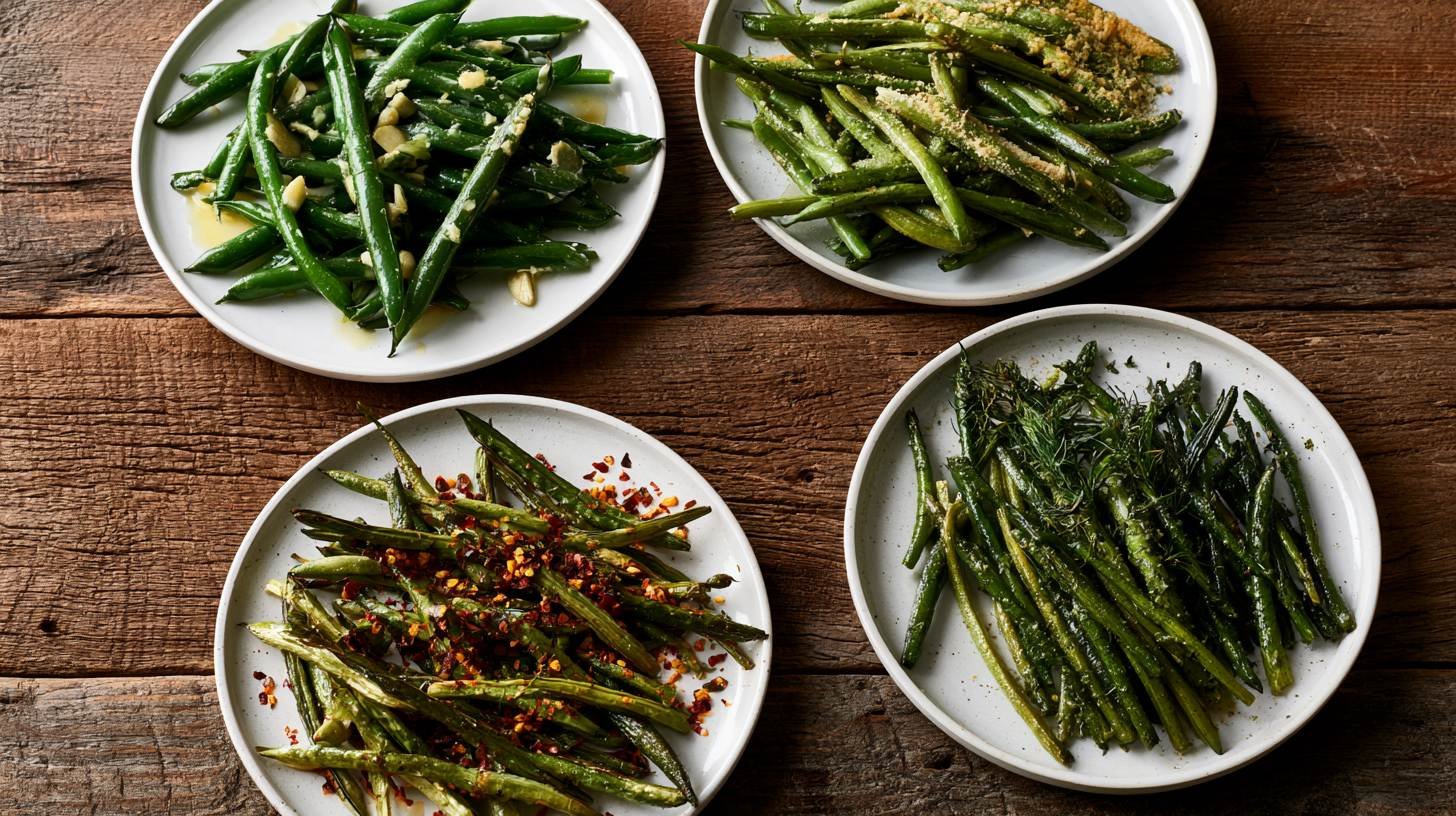
Beyond changing up the seasoning, you can also change how you cook or serve this dish to fit different situations.
These variations focus on method and format rather than flavor, so you can pick whichever fits your schedule or equipment best.
Each one still keeps that same crispy, roasted texture at its core.
Air Fryer Green Beans
If you’re short on time or don’t want to heat up the whole oven, an air fryer works just as well for this recipe.
Toss the beans the same way you would for oven roasting, then cook at 400°F for about 8 to 10 minutes, shaking the basket halfway through.
The air fryer’s smaller cooking space means the hot air circulates more tightly around the beans, often giving you an even crispier result in less time.
This method is especially handy for small batches or quick weeknight sides when you don’t want to wait on a full oven preheat.
Sheet-Pan Meal Version
Turn this side dish into a full dinner by roasting the green beans alongside protein and other vegetables on the same pan.
Chicken thighs, sausage, or cubed potatoes all work well and can roast at the same 425°F temperature.
Just be sure to cut everything into similar sizes so it all finishes cooking around the same time, and give the beans their own section of the pan so they still have room to crisp up.
This variation cuts down on cleanup and turns one recipe into an entire balanced meal.
Frozen Green Bean Version
Fresh beans give the best texture, but frozen green beans can work in a pinch.
Thaw them completely and pat them very dry before tossing with oil, since frozen beans hold extra moisture that can prevent proper browning.
You may also need to add a few extra minutes to the roasting time to account for that added moisture.
The result won’t be quite as crisp as fresh beans, but it still makes a quick, convenient side when fresh produce isn’t available.
Make-Ahead Version
If you’re planning for a busy week or a holiday meal, you can wash, trim, and dry the beans up to two days in advance and store them in the refrigerator.
This cuts down on prep time on the day you actually plan to cook.
Toss them with oil and seasoning right before roasting rather than ahead of time, since letting them sit in oil too long can affect texture.
This approach is especially useful around the holidays when oven space and time are both limited.
Common Mistakes to Avoid
Small errors can ruin an easy dish, so watch for these.
- Roasting wet green beans: Moisture creates steam instead of browning, leaving the beans soft rather than crispy. Pat them completely dry before roasting.
- Overcrowding the pan: Packing too many beans together traps heat and moisture. Spread them in a single layer so they roast evenly.
- Using too low an oven temperature: A low temperature cooks the beans slowly without caramelizing them. Roast at 425°F for the best texture and color.
- Overcooking the beans: Leaving them in the oven too long makes them limp and dry. Remove them once they’re tender with lightly browned edges.
- Underseasoning: Too little seasoning can leave the beans tasting bland. Toss them well with salt, pepper, and finish with fresh herbs, lemon, or Parmesan for extra flavor.
Tips for Perfect Roasted Green Beans
These five habits guarantee crispy, flavorful results.
- Roast at a high temperature: Bake at 425°F so the beans caramelize quickly and develop crispy edges instead of becoming soft.
- Don’t overcrowd the baking sheet: Leave space between the beans to allow hot air to circulate for even roasting and better browning.
- Dry the beans before roasting: Pat the green beans completely dry after washing to remove excess moisture and help them crisp up.
- Use parchment paper for easy cleanup: Line the baking sheet with parchment paper to prevent sticking and make cleanup quick and hassle-free.
- Finish with fresh seasonings: Add lemon juice, herbs, garlic, or Parmesan after roasting to brighten the flavor and enhance every bite.
Conclusion
I’ve made green beans in the oven more times than I can count, and it’s still one of my go-to sides. It’s quick, it’s healthy, and it never fails me on busy nights.
Give this recipe a try and make it your own with your favorite seasonings. If it turns out great, drop a comment and let me know how yours came out.
And if you liked this recipe, check out more easy side dish ideas on the blog.
Frequently Asked Questions
How long do you roast green beans in the oven?
Roast green beans for 15 to 20 minutes at 425°F, flipping them halfway through for even cooking.
The exact time can vary slightly depending on your oven and how thick the beans are.
Start checking around the 15-minute mark so you can catch them right when they turn tender with lightly browned edges.
Why are my roasted green beans soggy?
Wet beans or an overcrowded pan are the two most common causes of sogginess.
If the beans still have water on them when they hit the oven, that moisture turns to steam and softens them instead of letting them crisp up.
Dry them thoroughly with a towel and give them plenty of space on the baking sheet to avoid this problem.
Do you need to boil green beans before roasting?
No, boiling is not needed for this recipe. Roasting raw beans directly gives them a better texture and a more concentrated flavor than beans that have been boiled first.
Skipping the boiling step also saves time and keeps the process simple, since you only need one pan and one cooking method.
Can I make roasted green beans ahead of time?
Yes, you can wash, trim, and dry the beans a day or two in advance and store them in the refrigerator until you’re ready to cook.
However, they taste best when roasted fresh and served right away, since reheated beans lose some of their crispness.
If you do need to make them ahead, reheating in the oven or an air fryer helps restore some of that texture.
What temperature is best for roasting green beans?
A temperature of 425°F works best for crisp, tender beans with light caramelization along the edges.
This high heat helps the beans brown quickly without overcooking the inside.
Lower temperatures tend to steam the beans instead of roasting them, which leaves them softer and less flavorful.